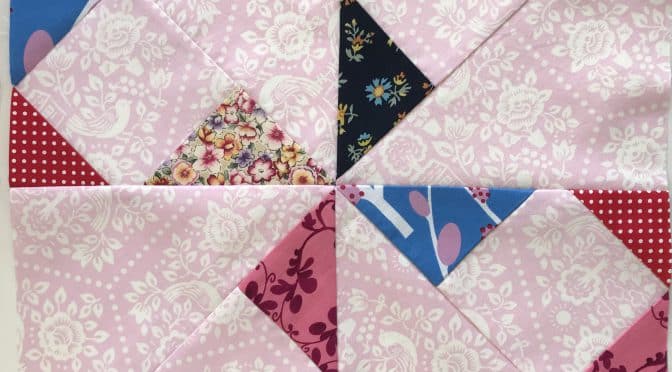
Endless Scrappy Pinwheels Block
I know many of you have enjoyed Scrappy Pinwheel in a Square.
Scrappy Pinwheel in a Square
And Double Pinwheel Block Easy Scrappy Style.
Double Pinwheel Block Easy Scrappy Style & Tutorial
Hello Dear Friends and Readers,
Here is another block to add to the collection of easy pinwheel designs.
You know when you wake up at night with a great idea? I just had to get up at 3.00am to see if it would work. Here is the result. Hope you like it. It’s a big block, so you can grow a quilt real quick. The blocks also feed into each other, that’s why I called it Endless Pinwheels!
Yes! You can use your scraps. You will need a light background fabric.
Can you go wrong with scraps? I don’t think so. Having said that, one can be selective and choose a certain theme or style.
I have discussed that in other posts.
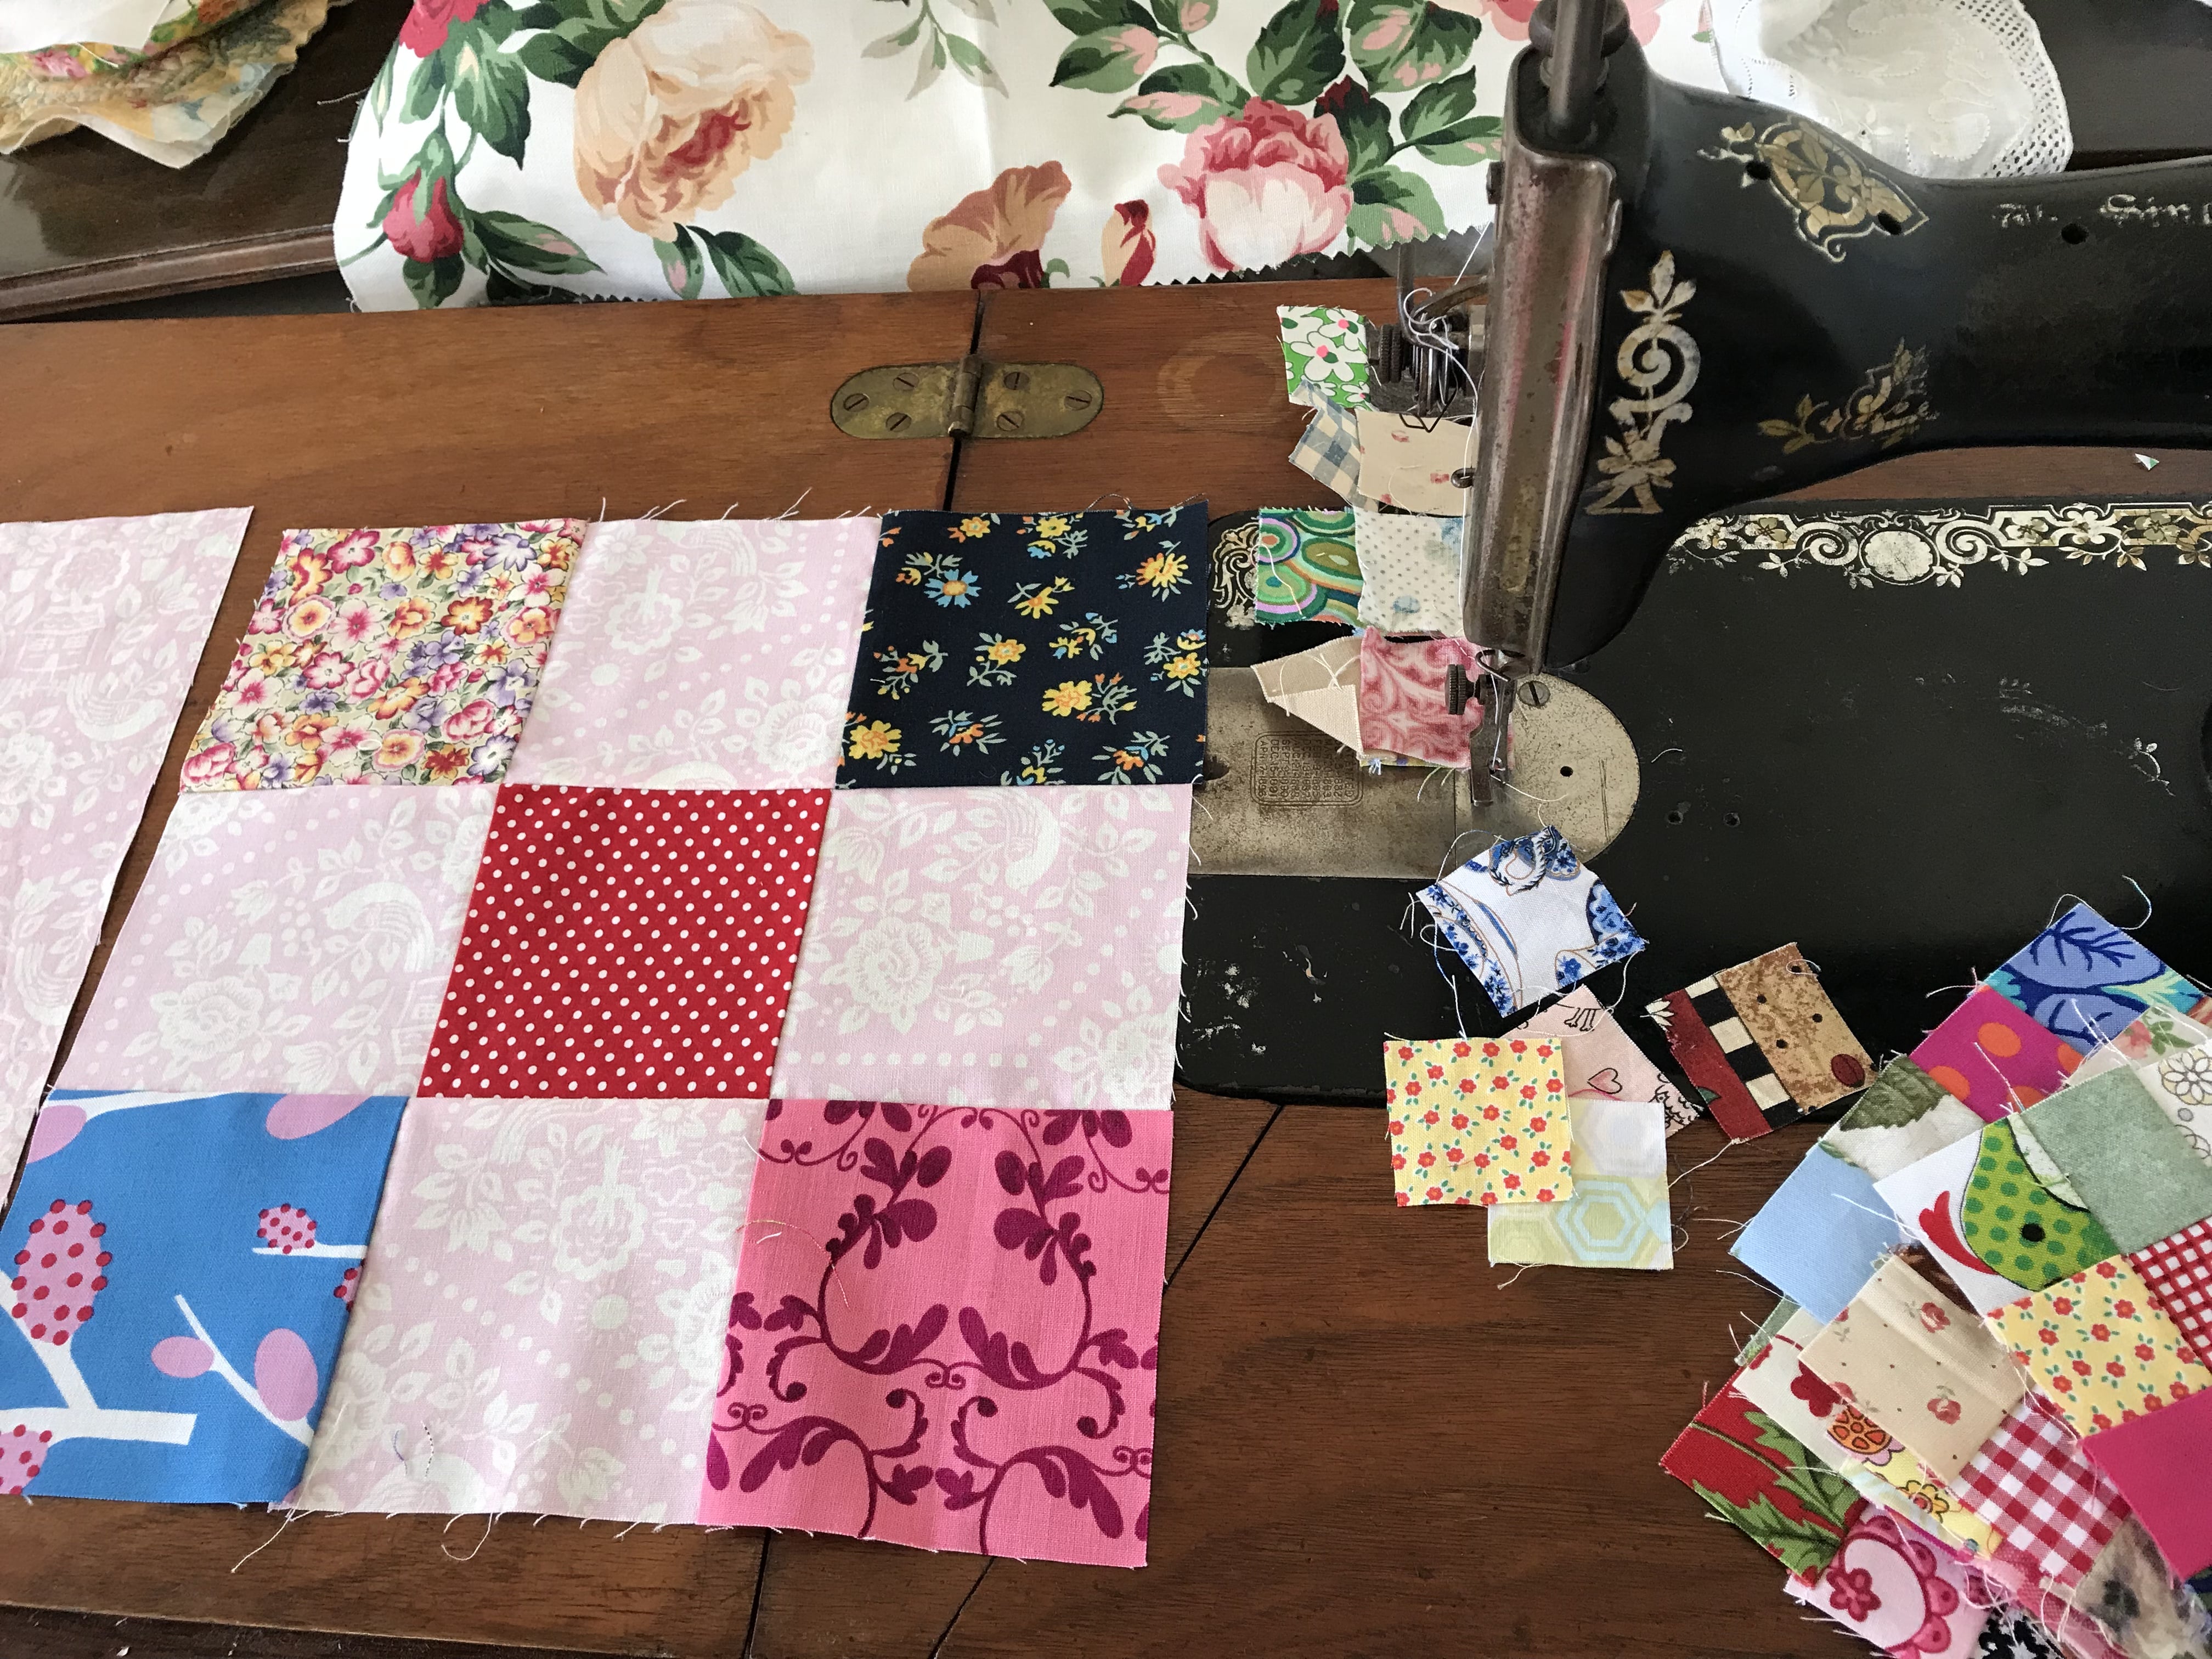
Here is a selection of the fabrics I have chosen for these blocks.
All seams based on 1/4″.
Block size 14″ x 14″

Without further ado, let’s get on with it!
Requirements for one Endless Scrappy Pinwheel Block
1 of light background square 11″ x 11″
4 of 4″ x 4″ light background squares that match the 11″ square.
1 of 4″ x 4″ red print square for the centre
4 of 4″ x 4″ scrap fabric squares
Method of Construction
Lay out the 4″ x 4″ squares in a Nine Patch configuration. The red square must be in the centre. The scrap fabrics in the corners and the pale background fabrics in between. Sew together. Press.
In between, I’m still treadling on these little cutie Postage Stamp Blocks . 😊
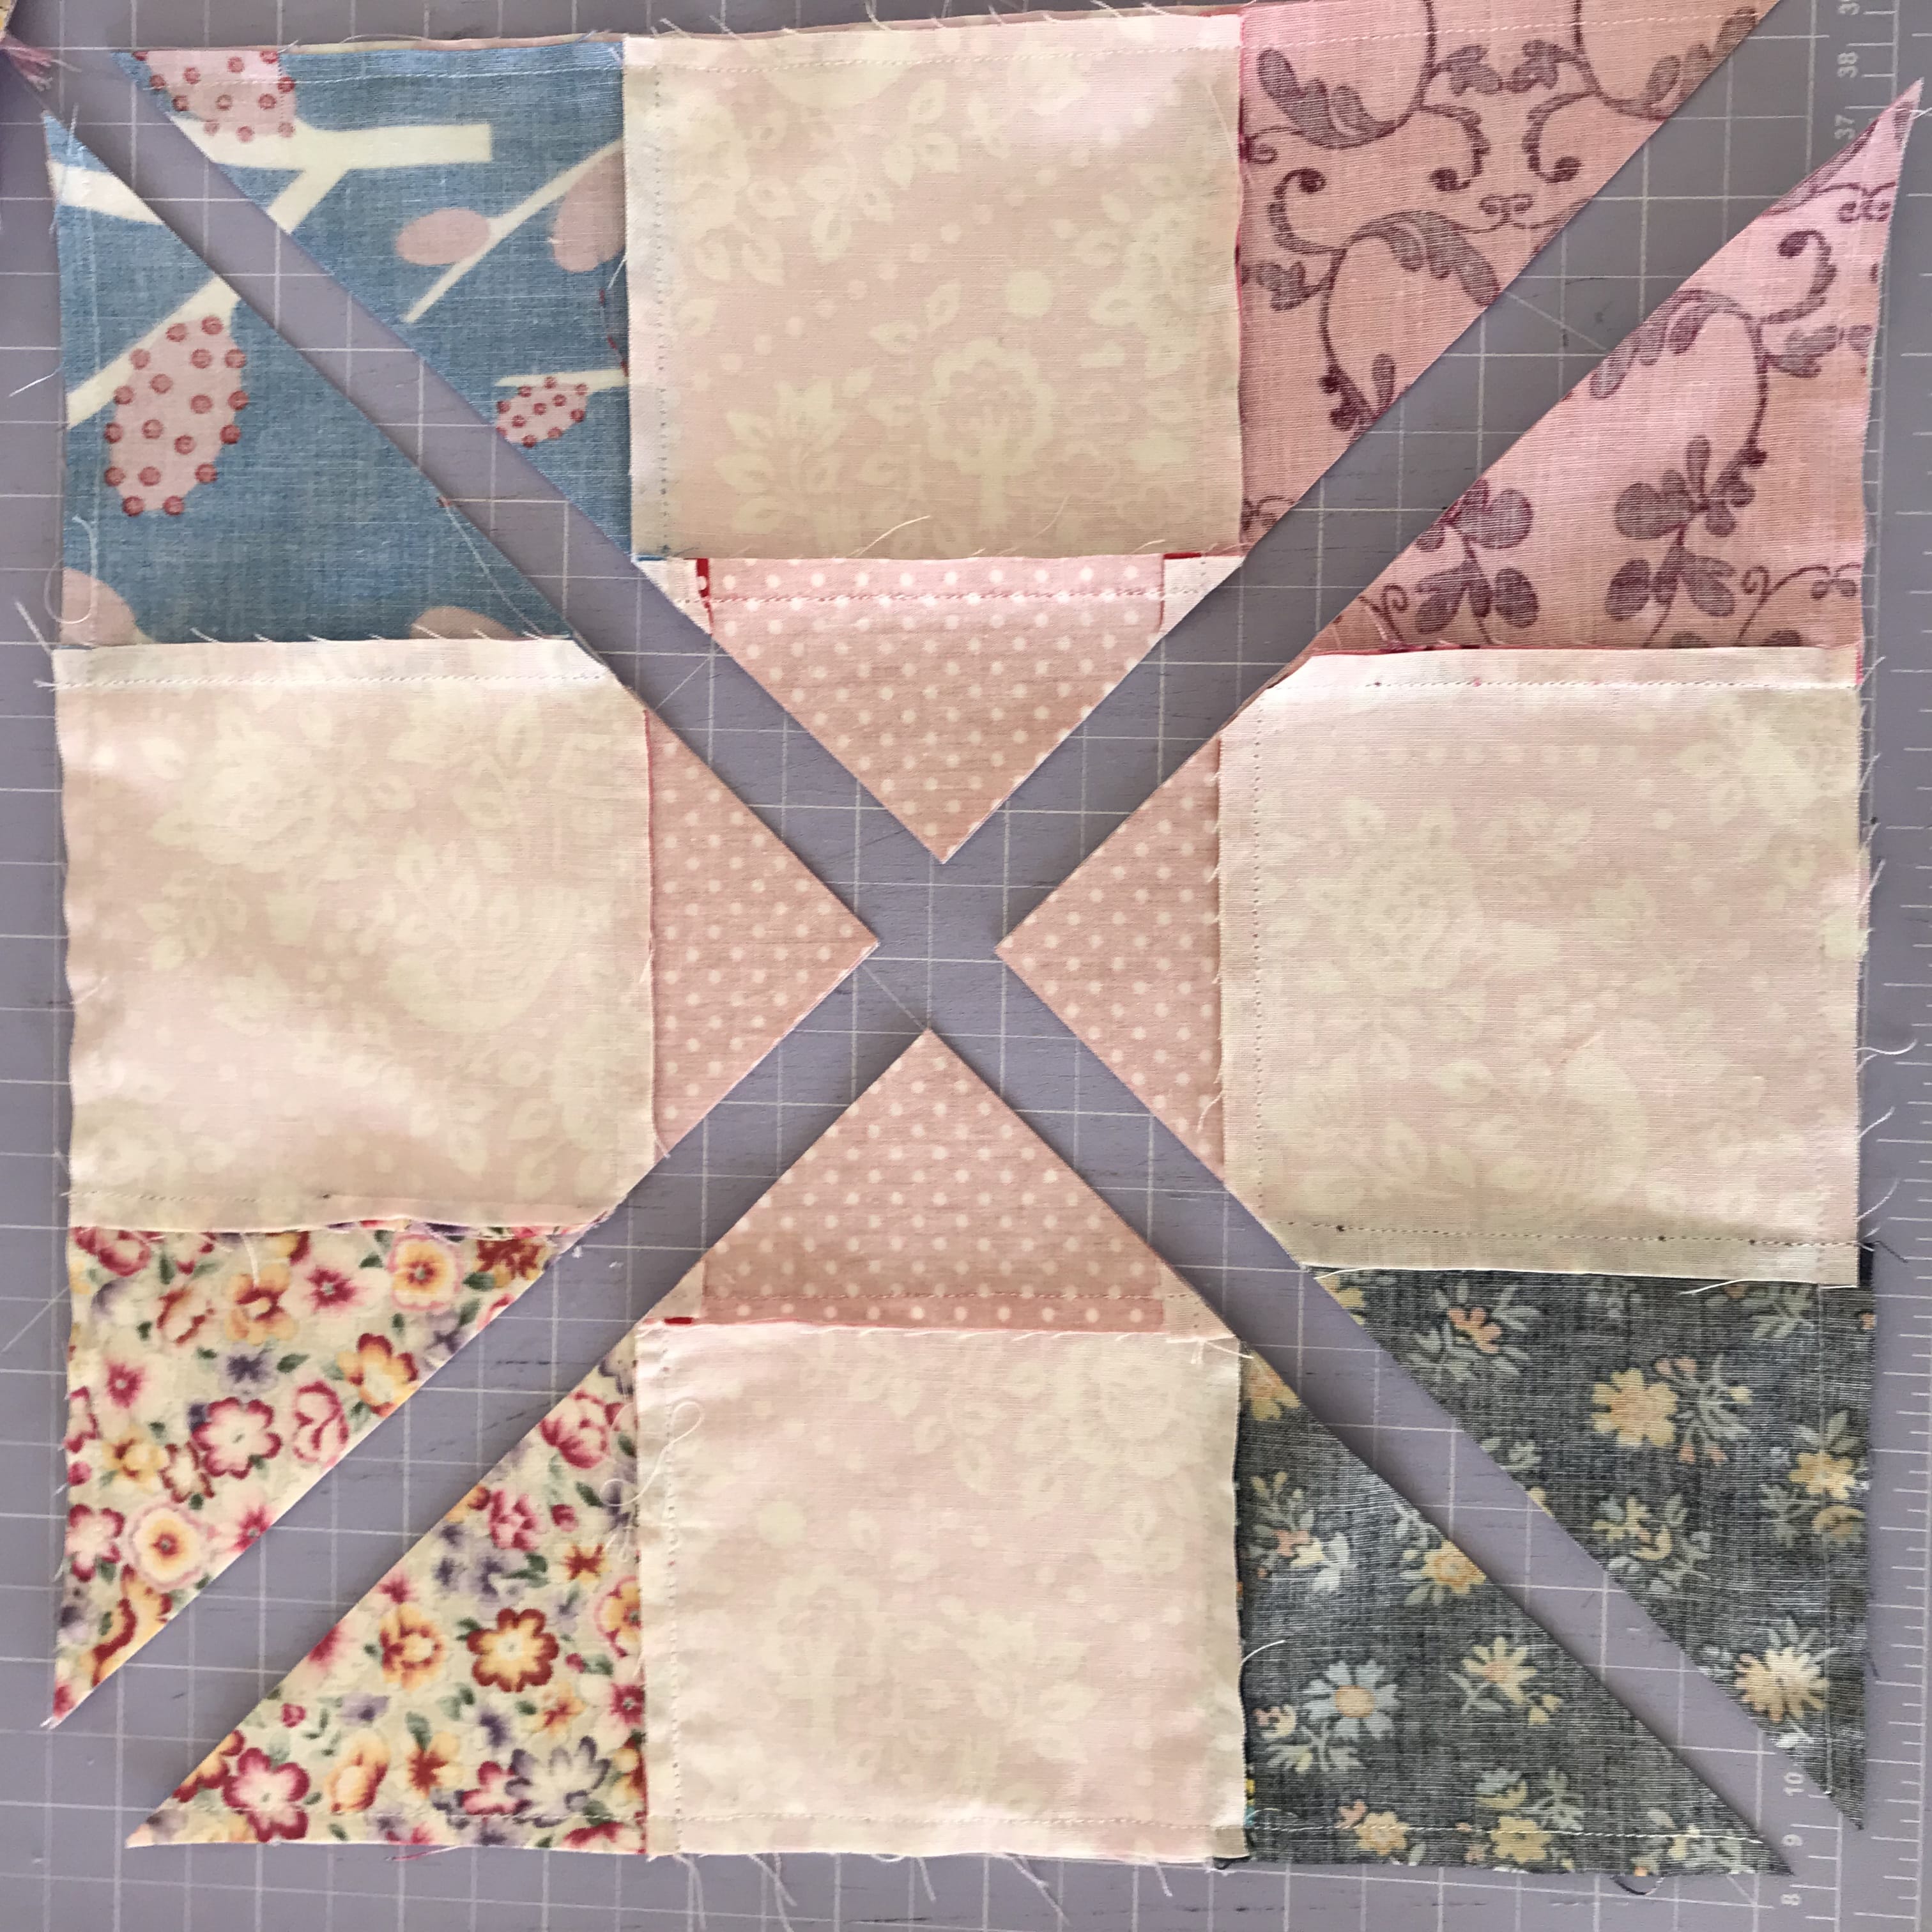
Put the Nine Patch and the 11″ x 11″ background square right sides together. Pin. Sew a 1/4″ seam all the way around the perimeter.
Take to the cutting board. Very carefully, cut from corner to corner on each diagonal ensuring you are cutting through the seam intersections.
Now you will have four blocks which look like this. Trim off the doggy ears.
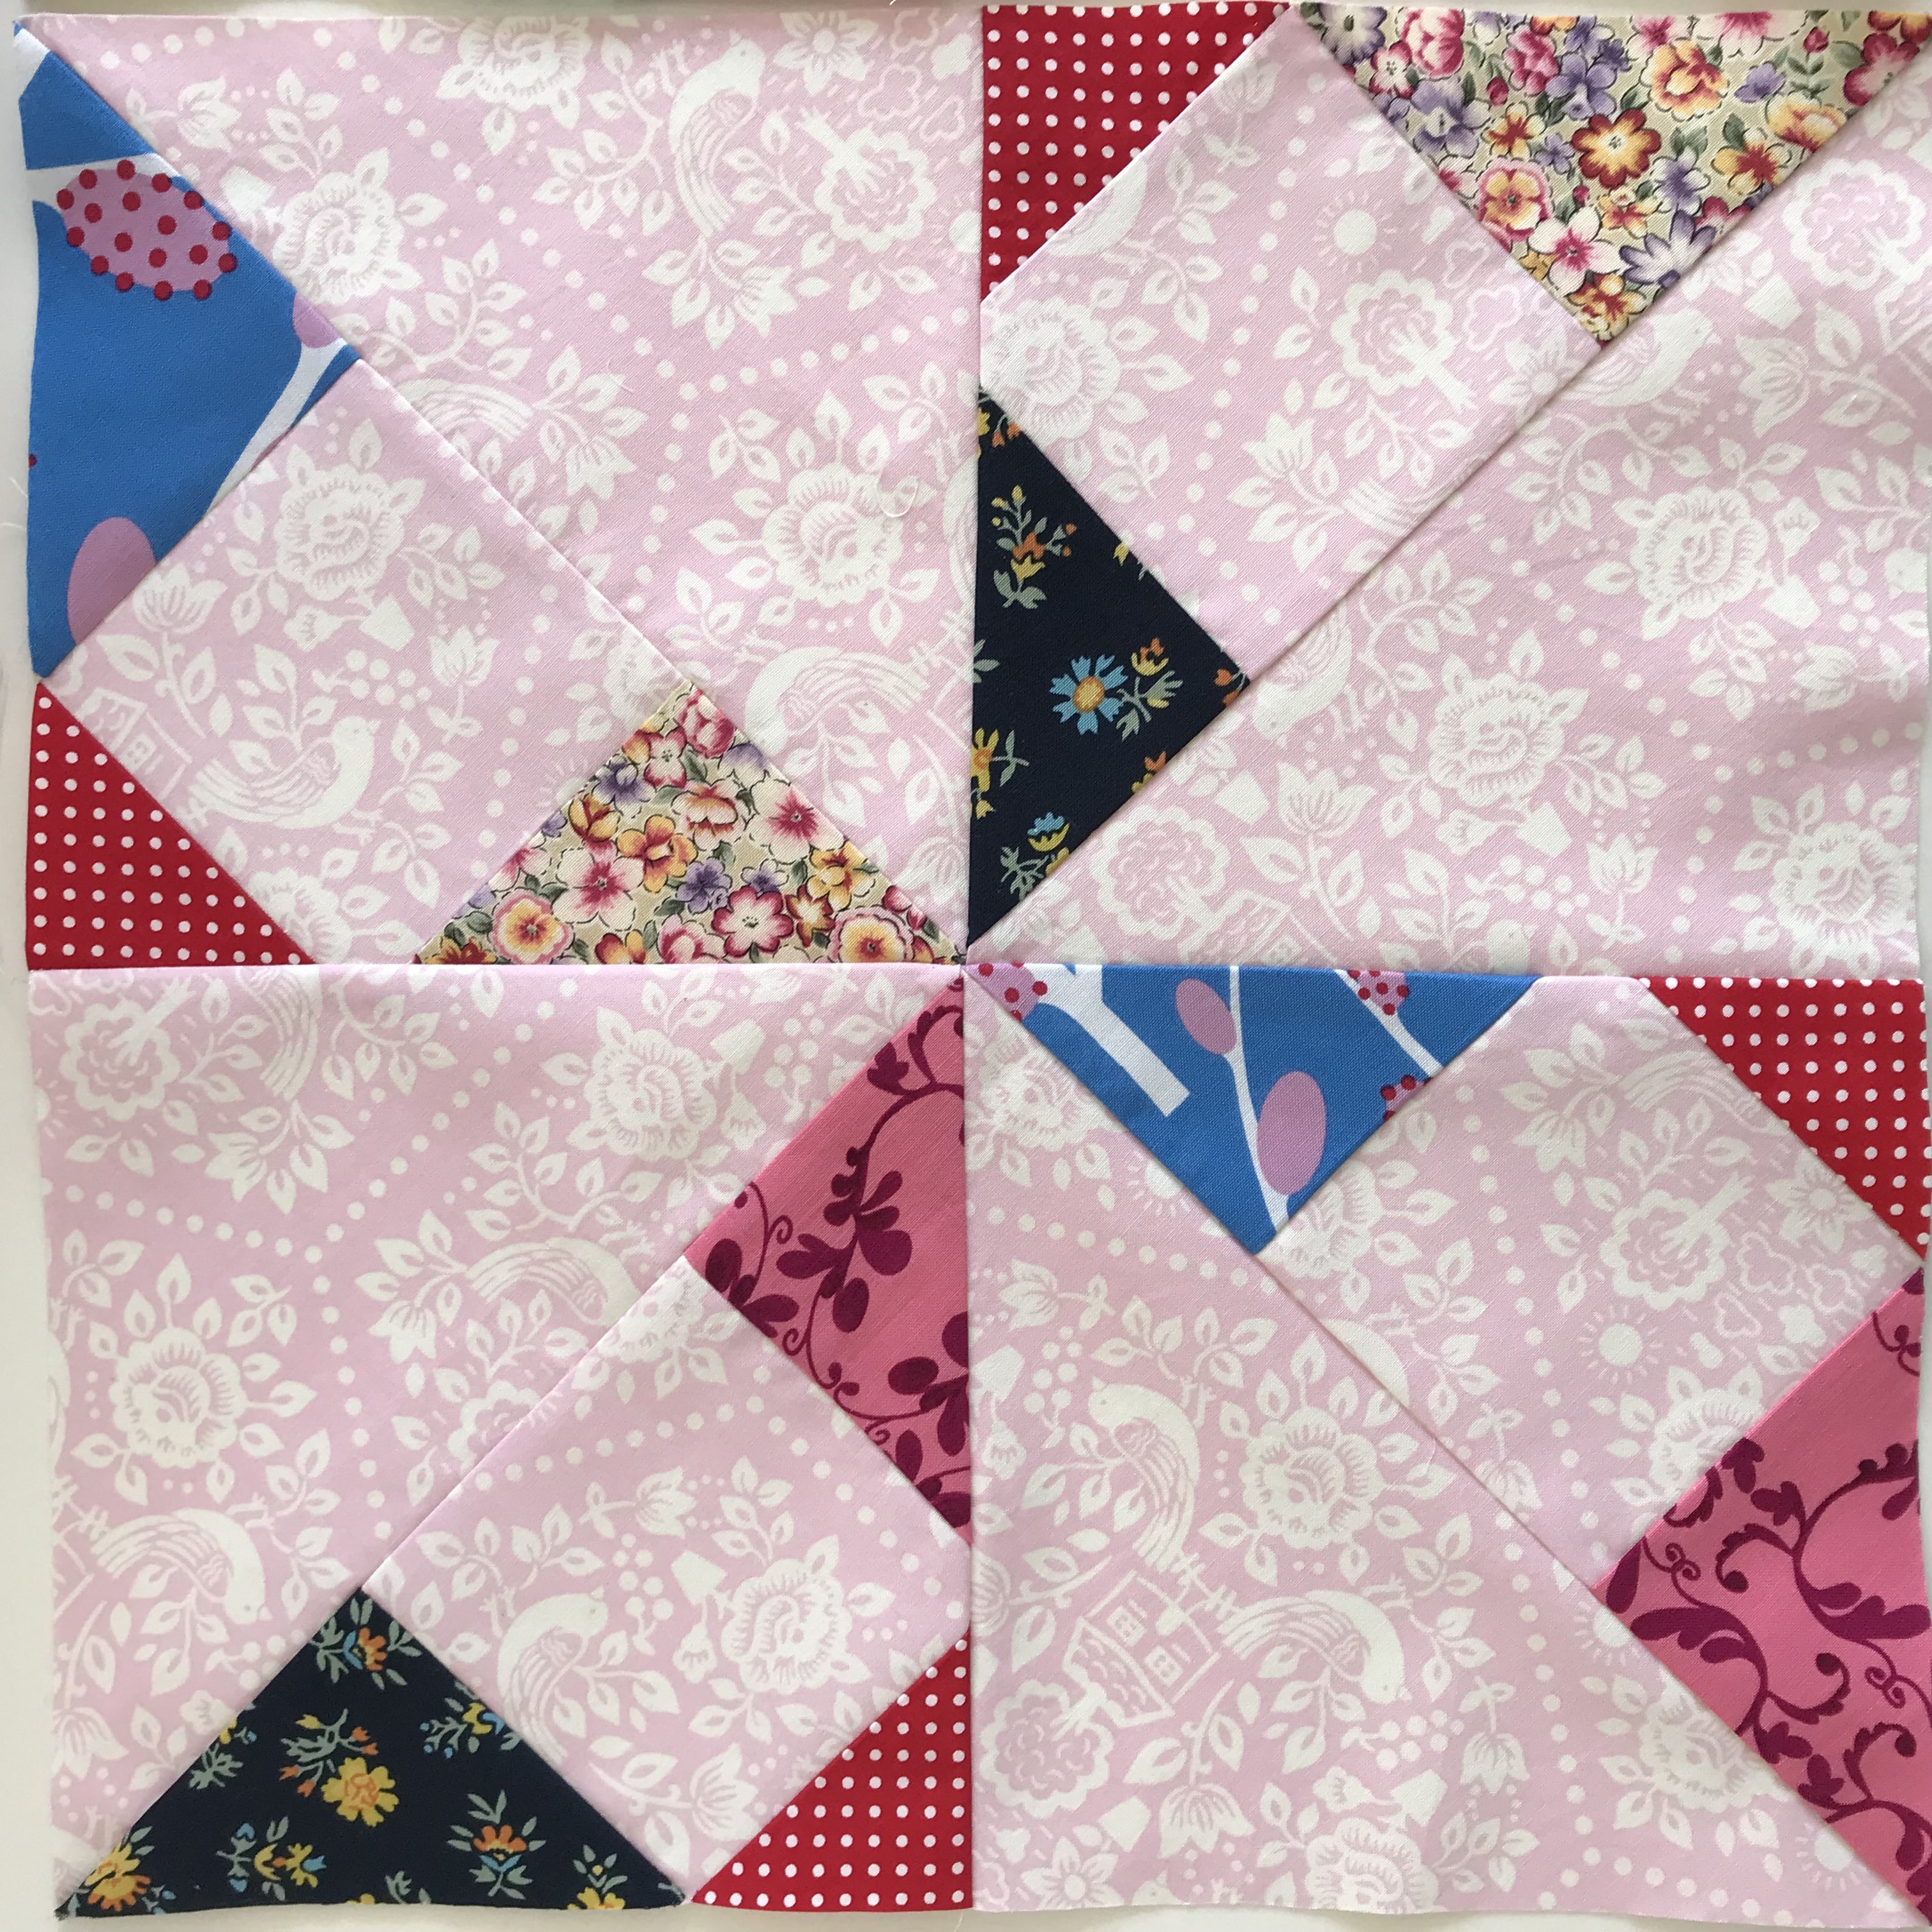
Assemble into a pinwheel. NB. Make sure all your subsequent Pinwheels are all placed rotating in the same direction, otherwise they won’t feed into each other. Press very gently as you are now dealing with bias seams.
Make some more! You will see more pinwheels emerging as you join the blocks together with little red bows in between.
Here is how I have put these blocks together.
If you enjoyed this post you may also enjoy
Or this easy pinwheels quilt
Happy Quilting!
All the best,
Susie


I’m on your mailing list and really enjoy your website and beautiful blocks. Thank you for sharing your expertise and passion but I wish that you would provide the ‘print’ option so I could store a hard copy of your patterns until I’m ready to use them. Is that a possibility? Thanks again.
Each post or page is able to be printed through your browser such as Internet Explorer. If you are on a windows machine simply hold down the CTRL button and hit the P button or if on a Mac it is that four clover leaf button with the P button. Hope this is of some help. Let me know if you have any further problems.
–Susie
WOW thanks for the computer assistance! I’m far more comfortable with a sewing machine, than the laptop.
I made your vintage twist quilt-made it 15 rows instead of 20 and put a 1″border between the triangles and the 2×6 border. It turned out adorable–thank you so very much for the pattern. Now I have lots of pieces remaining, will have to cut some more and make another one.
Dear Helen, thats wonderful!!💕💕💕
Would love to see the finished quilt.
very clever and timesaving! Thank you.
Aren’t you the clever one! I look forward to working on some of these today. Thank you, Susie.
I always love your tutorials – I have to be careful as I could be here all day, clicking link after link haha
Beautiful and very clever Susie ..
Thank you so much Jill!