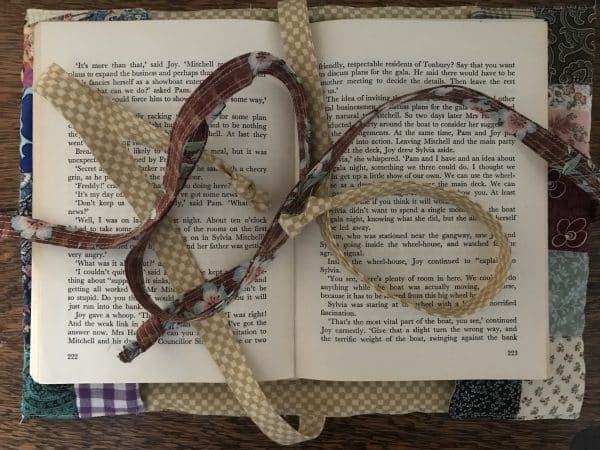
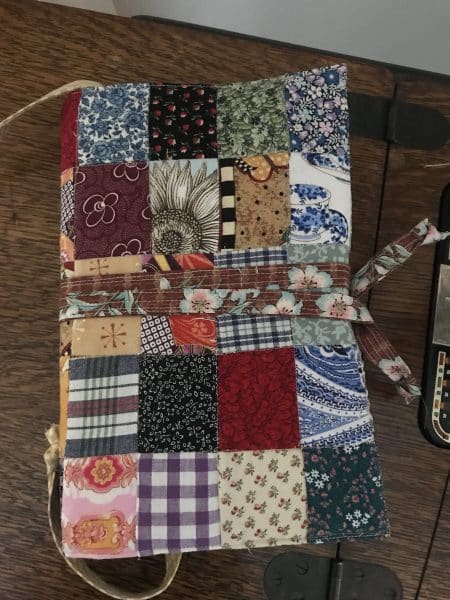
Quilted Scrap Fabric Book Cover Tutorial
Hello Dear Quilty Friends and Readers! I’ve got a lovely small project to share with you today. I love to create a design that can be made straight away with ingredients you already have! No special notions are required!
I’m always dreaming up ideas for new projects using scrap fabric, so, recently, when my Son asked me if I had any ideas for making him some sort of pouch for his book when he is travelling, something which could protect the book from damage, in the suitcase, or on the plane, of course I was delighted to oblige…..
Actually it doesn’t really matter if you are travelling or at home, I think anything quilted gives a sense of comfort and home, so its just a nice project to use yourself or maybe create for someone special.
I drew some inspiration from a previous project, because I like the shape of the blocks and I thought it would be complementary to the shape of a book or novel. Here is the link.
Patchwork Celebration Bags – Antique Japanese Style Tutorial
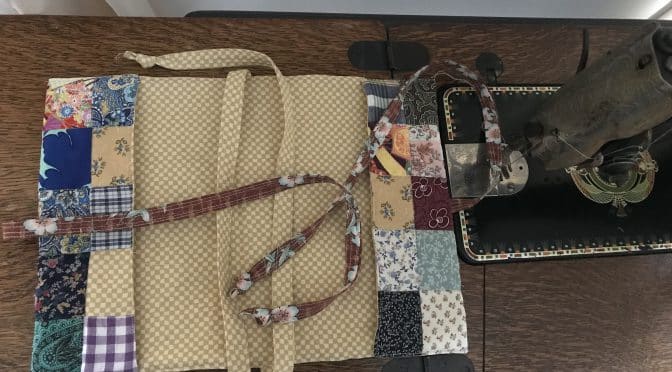
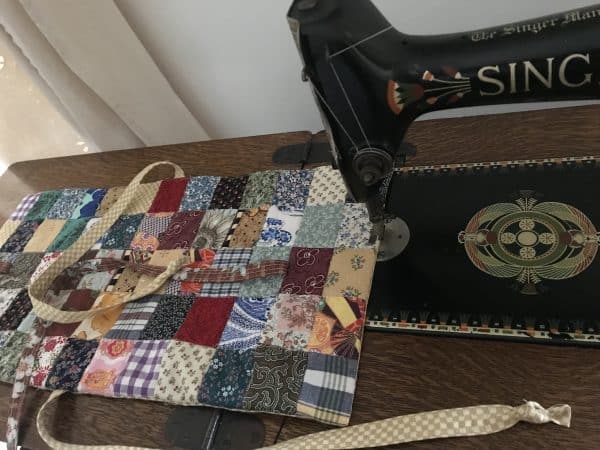
I decided a cover would be nicer than a pouch. This is what I came up with.
Finished size 10“ x 13 1/2“ (open) 10“ x 6“ (closed)
All seams based on 1/4“ unless otherwise indicated.
Ingredients for the Quilted Scrap Fabric Book Cover
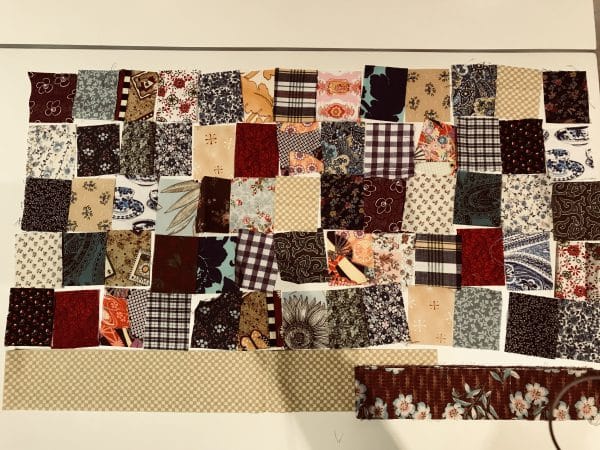
65 of 2“ x 2 1/2“ oblongs of differing scraps of quilting fabric
1 of a 2“ Width of Fabric strip (WOF) To make the ties
1 of a 2 1/2“ WOF strip to make the bookmarks
One piece of scrap batting approximately 12“ x 22“
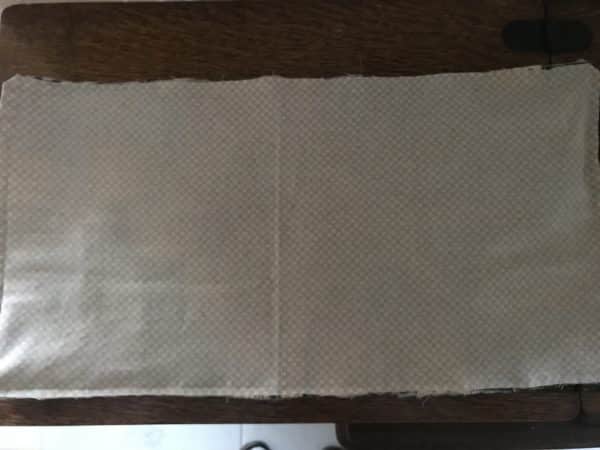
1 piece of lining fabric 10 1/2“ x 20“
Method of construction
Taking the two WOF strips, fold both of the long sides toward the centre, then fold the strip in half again, pin in place, sew close to the edge on each side of the strip. Repeat for the second strip. Cut both of the strips in half.
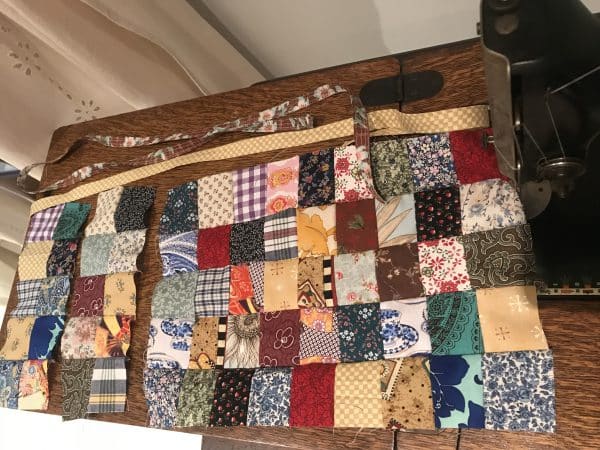
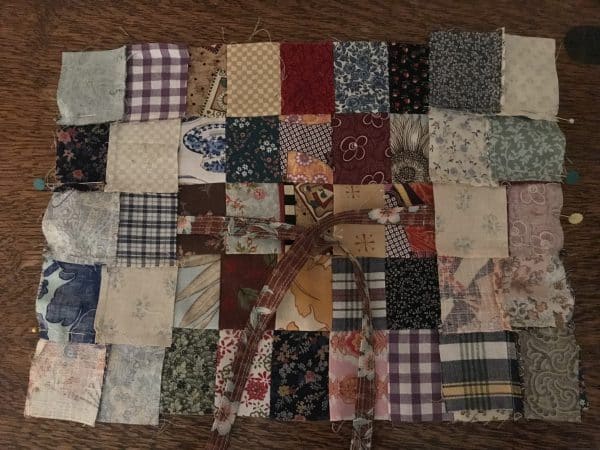
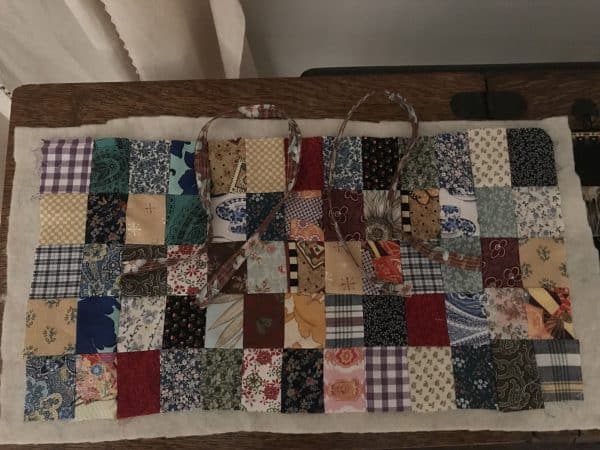
Using the 65 of 2“ x 2 1/2“ scraps, arrange them into 2 groups of 10 and one group of 45. Sew the two groups of 10 into a 5 x 2 configurations so they will each measure 3 1/2“ x 10 1/2“. Sew the remainder 45 pieces into a 5 x 9 configuration which will measure 10 1/2“ x 14“ as pictured below. Press the three units.
Place the two narrow strips on the larger unit at the edge of the centre of the two short sides, raw edges aligning. Now place the two smaller units on the two short sides, over the strips, right sides together. Pin in place. Sew along each side, including the strips.
Now when you open the sides the ties will be exposed. Press the unit then place wrong side down on the batting piece. Quilt as desired. I just quilted straight lines along all the intersections.
Attach the two bookmarks at the centre of the long edges, raw edges aligning. Place the lining piece over the whole piece right sides together. Stitch around the perimeter, leaving a 5“ gap for turning. Trim off the batting, clip the corners.
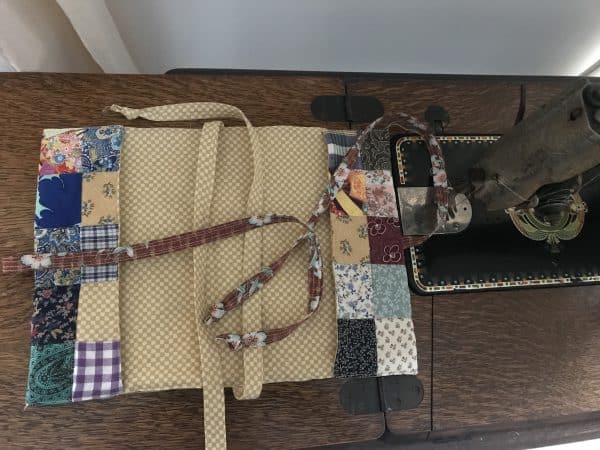
Turn the whole piece to the right side. Use a chop stick or similar to push out the corners. Turn in the opening edges and pin in place. Carefully stitch alll the way around the perimeter as close to the edge as possible.
Fold the two short sides toward the lining sides. The ties are now on the outside edges. Pin in place. Slowly and carefully stitch the ends down, close to the edge as before. Tie a knot at the end of the ties and the bookmarks.
Insert your book.
Get comfy on the couch (or aeroplane).
Enjoy!
If you liked this post, you may also like…
Quilted Scrap Fabric Basket Upsize It Tutorial
Or this lovely scrap project…
Have a great day!
Susie

