Periwinkle Blues Quilt – Part 2
Hello Dear Friends and Readers. I’m still working on my Periwinkle Blues quilt top. I decided to add a border to the 36 blocks.
Here is the link to the Periwinkle Blues Quilt.
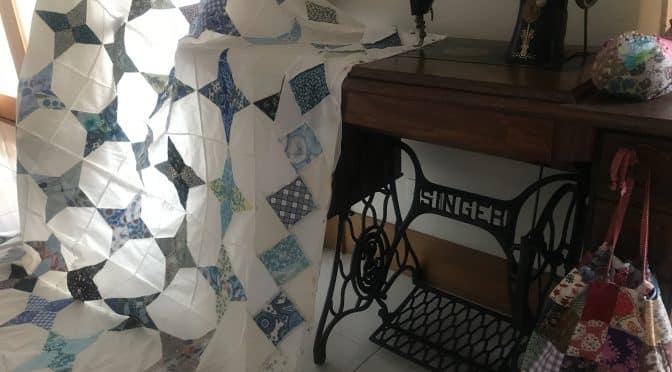
I thought an “On Point” border would be fitting and mathematically sympathetic to the design. As it turned out, using the same size pieces as for the Periwinkle Blocks Made Easy means that the leftovers from the blocks can be used, and well reflect the style and flavour of the blocks.
After adding the border lengths, this top measures 72” x 72”.
Requirements for Periwinkle Blues Border
52 of 4” x 4” scrap blue squares (as used to make the Periwinkle Blocks Made Easy)
24 of 7” x 7” white or cream homespun or quilters muslin as used for (making the blocks)cut once on each diagonal to reveal 100 triangles
8 of 4” x 4” muslin squares cut once on the diagonal to reveal 8 triangles
 jj
jj
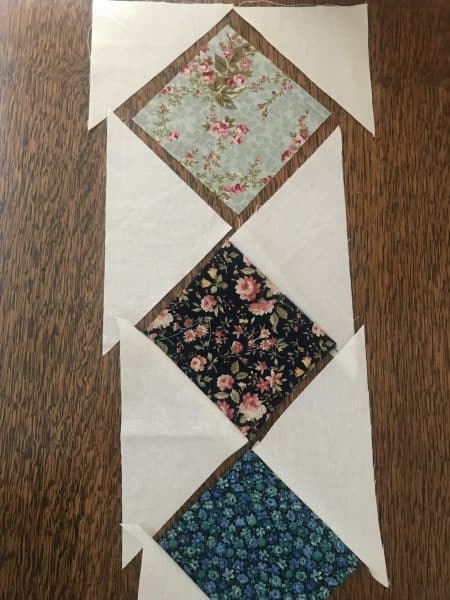
Arrange the 4” x 4” squares on point alternating the larger triangles between each square. Begin and end each border length with the smaller triangles to square up the ends, as pictured above.
Make two border lengths with 12 assorted blue squares on point, and two border lengths with 14 assorted blue squares on point.
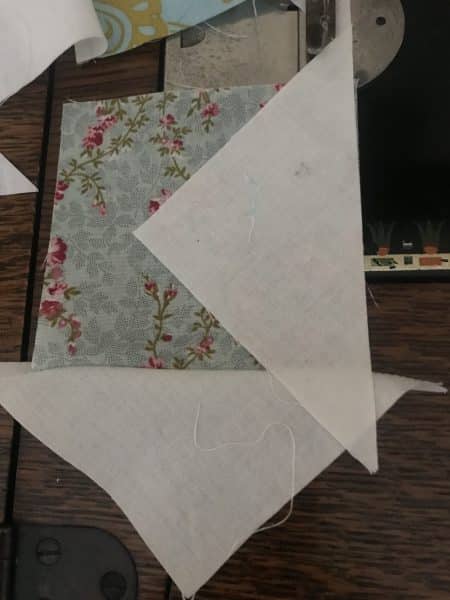
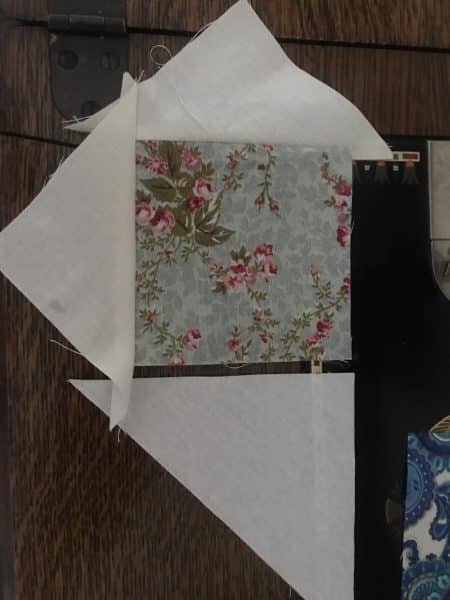
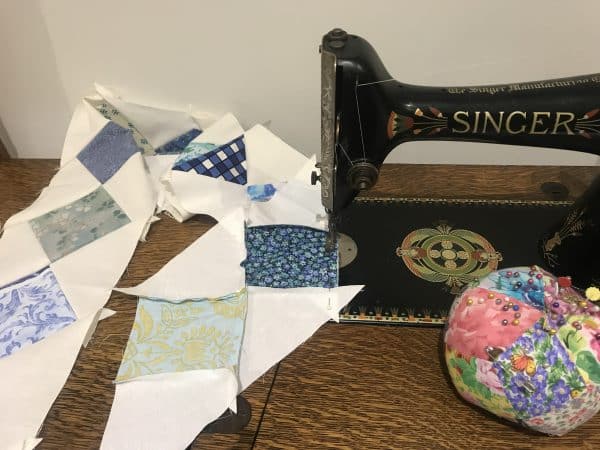
Here you can see I’m attaching the two small triangles to two adjacent sides of one square to become the end piece. Each triangle is centered to each side.
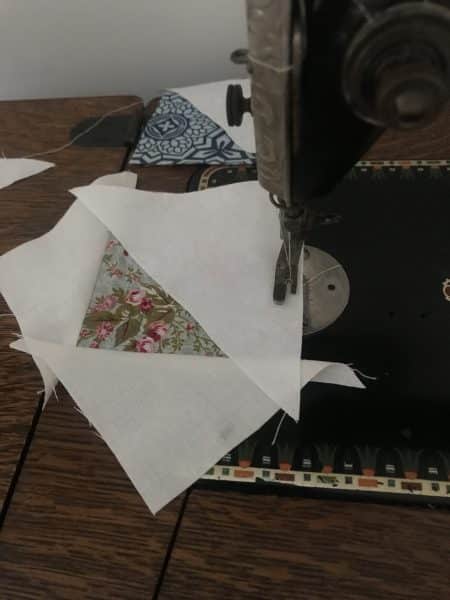
Next I will sew the larger triangle to a third side of the blue square, making sure to line up the edges of the two right angles.
Sew on the triangle. I put the border units together on this 201k treadle.
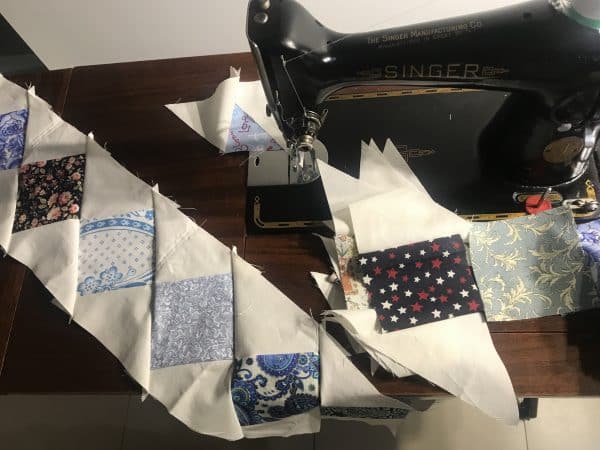
Make border units by attaching a large triangle to two opposite sides of a blue square. Sew a short side of each triangle to the square. The right angle of each triangle will be diagonally opposite to each other, so that the hypotenuse of each triangle will be parallel.
Continue to add onto the border until its completed. Press. Trim off the doggy ears.
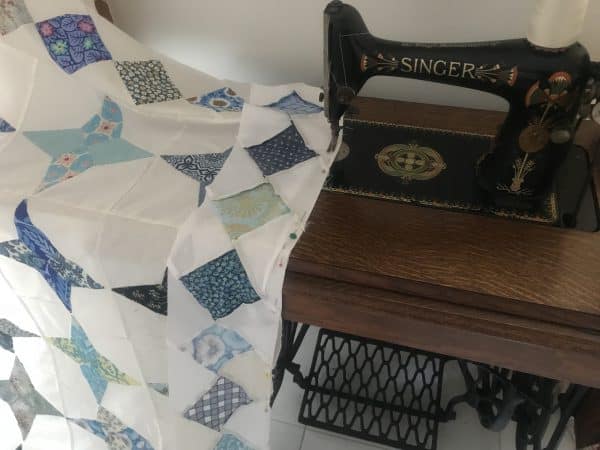
Sew the two strips of twelve squares on point to two opposite sides of the Periwinkle Blues top. Make sure to pin well and ensure even distribution of the border length. Follow with the two strips of 14 squares on point to the two remaining sides of the top.
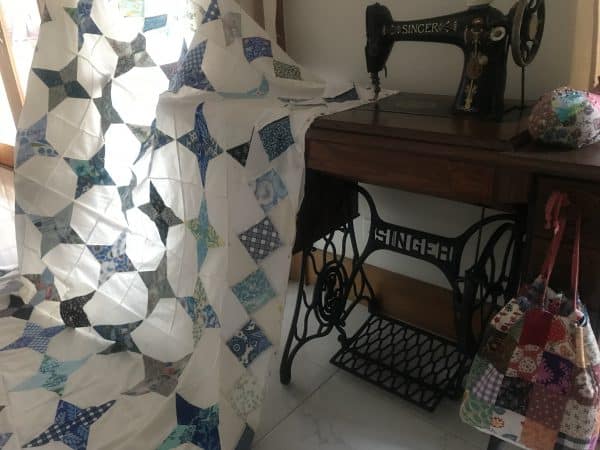
You can see I’ve used my trusty Singer 66 C1923 treadle, to put the borders on.
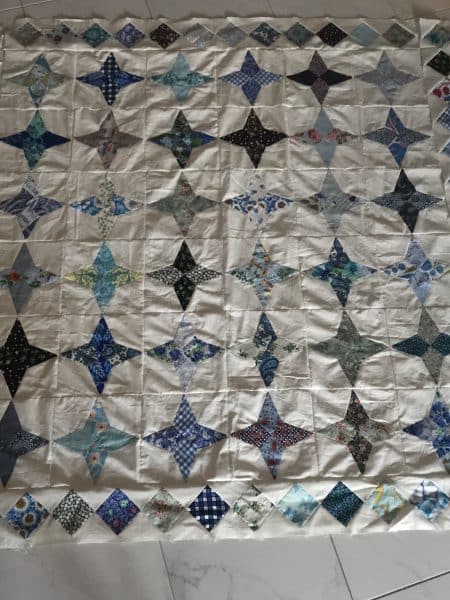
Here is how it has come together. I’m pleased with how the mathematics worked out. Who would have thought the same size squares would fit the border perfectly!
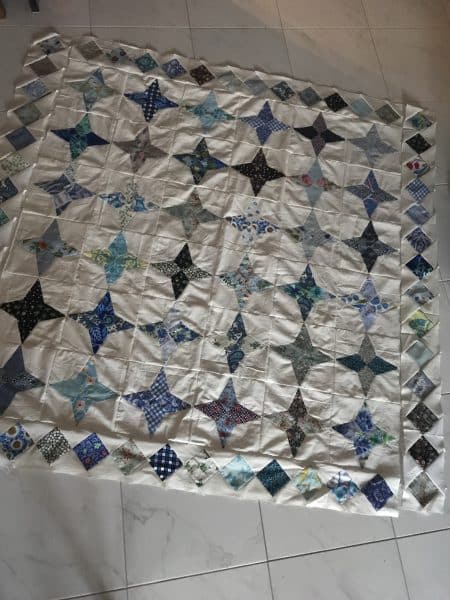
Now for the quilting! I’m going to free motion quilt this quilt by treadle too!
Here is how I quilted this quilt on my treadle. You can see the finished quilt.
Cockle Quilting by Treadle Tutorial
Happy sewing!
If you enjoyed this post, you may also like,
Country Roses Four Patch Quilt Pattern
Or this one,
Chocolate Box Four Patch Quilt
Susie

Thankyou Susie, I always enjoy your posts and your projects are so pretty.
Just beautiful!
but of course I am partial to blue and white 💙