Pink Strippy Baskets Quilt Antique Inspired
Hello Dear Friends and Readers, welcome to today’s post. You may recall some time back that I shared with you a way to use up all those little waste triangles, which, granted, you could just throw out, but my thoughts are, why would you? When some of the hard work has already been done. This being, collecting an array of different fabrics and the fact that they are already cut! When you see them in a pile they look so pretty!
This was the post which used the little waste triangles called Little Beauty Scrappy Baskets in a Nine Patch. Click on the link for the details.
Little Beauty Scrappy Baskets in a Nine Patch
I have made quite a few of these blocks so today I am sharing how I am setting the blocks. One of the dilemmas of basket blocks is how to set them. As Basket Blocks are often constructed to be on their side, it lends itself to settting the blocks “On Point” so that they are the right way up. Of course this a purely individual choice. But that is what I decided to do.
Here is a beautiful example of a basket quilt from Q is For Quilter of the baskets lying on their side.
qisforquilterreproduction-antique-basket-4-patch-crib-quilt-top
Antique and vintage quilts are always a source of interest, fascination and inspiration for me and this quilt is no exception. Many antique and vintage quilts have used bright pinks, which may not always seem like a intuitive colour to use, but I believe that the colour really gives a fabulous backdrop to the blocks. It makes them stand out. So that is why I decided to use it for this quilt top. I have cut pink setting triangles for this Pink Strippy Baskets Quilt Antique Inspired.
Requirements for the Pink Setting Triangles
Allow at least 2 ½ yards/metres of the pink background fabric for the setting triangles.
Cutting the Pink Setting Triangles
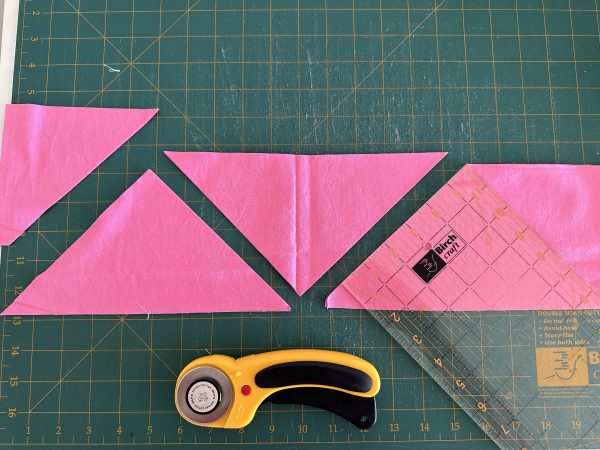
Cut 17 of 5″ width of fabric strips from the pink background fabric.
From each strip, cut on the 45 degree line, alternating the cutting ruler to cut the triangles.
Subcut 104 triangles. (the hypotenuse of the triangles should measure 10″)
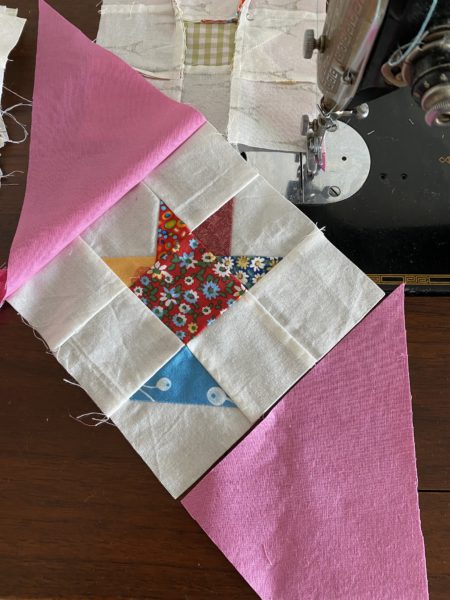
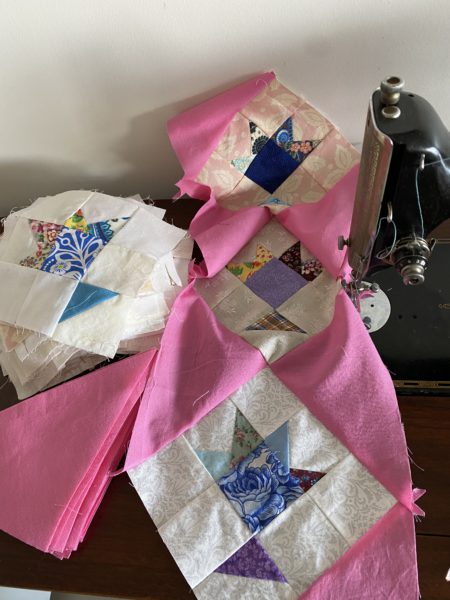
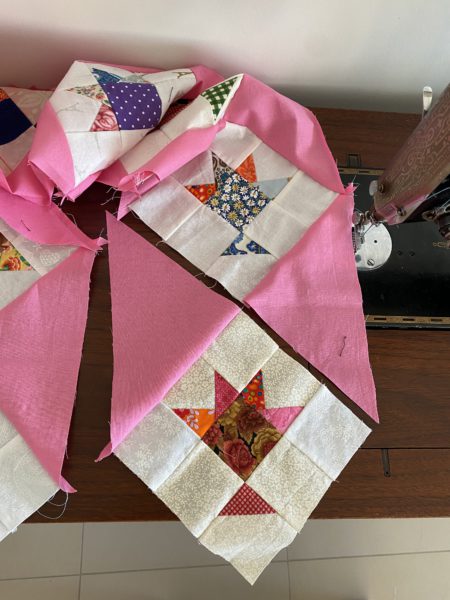
Sew a short side of a setting triangle to two opposing sides of each Little Beauty Scrappy Basket In a Nine Patch. Handle the triangle edges with care as they are cut on the bias. The long non bias side (hypotenuse) will be on the outside of the strip. Today i am constructing these units on a Singer 201K treadle. I just love using this machine.
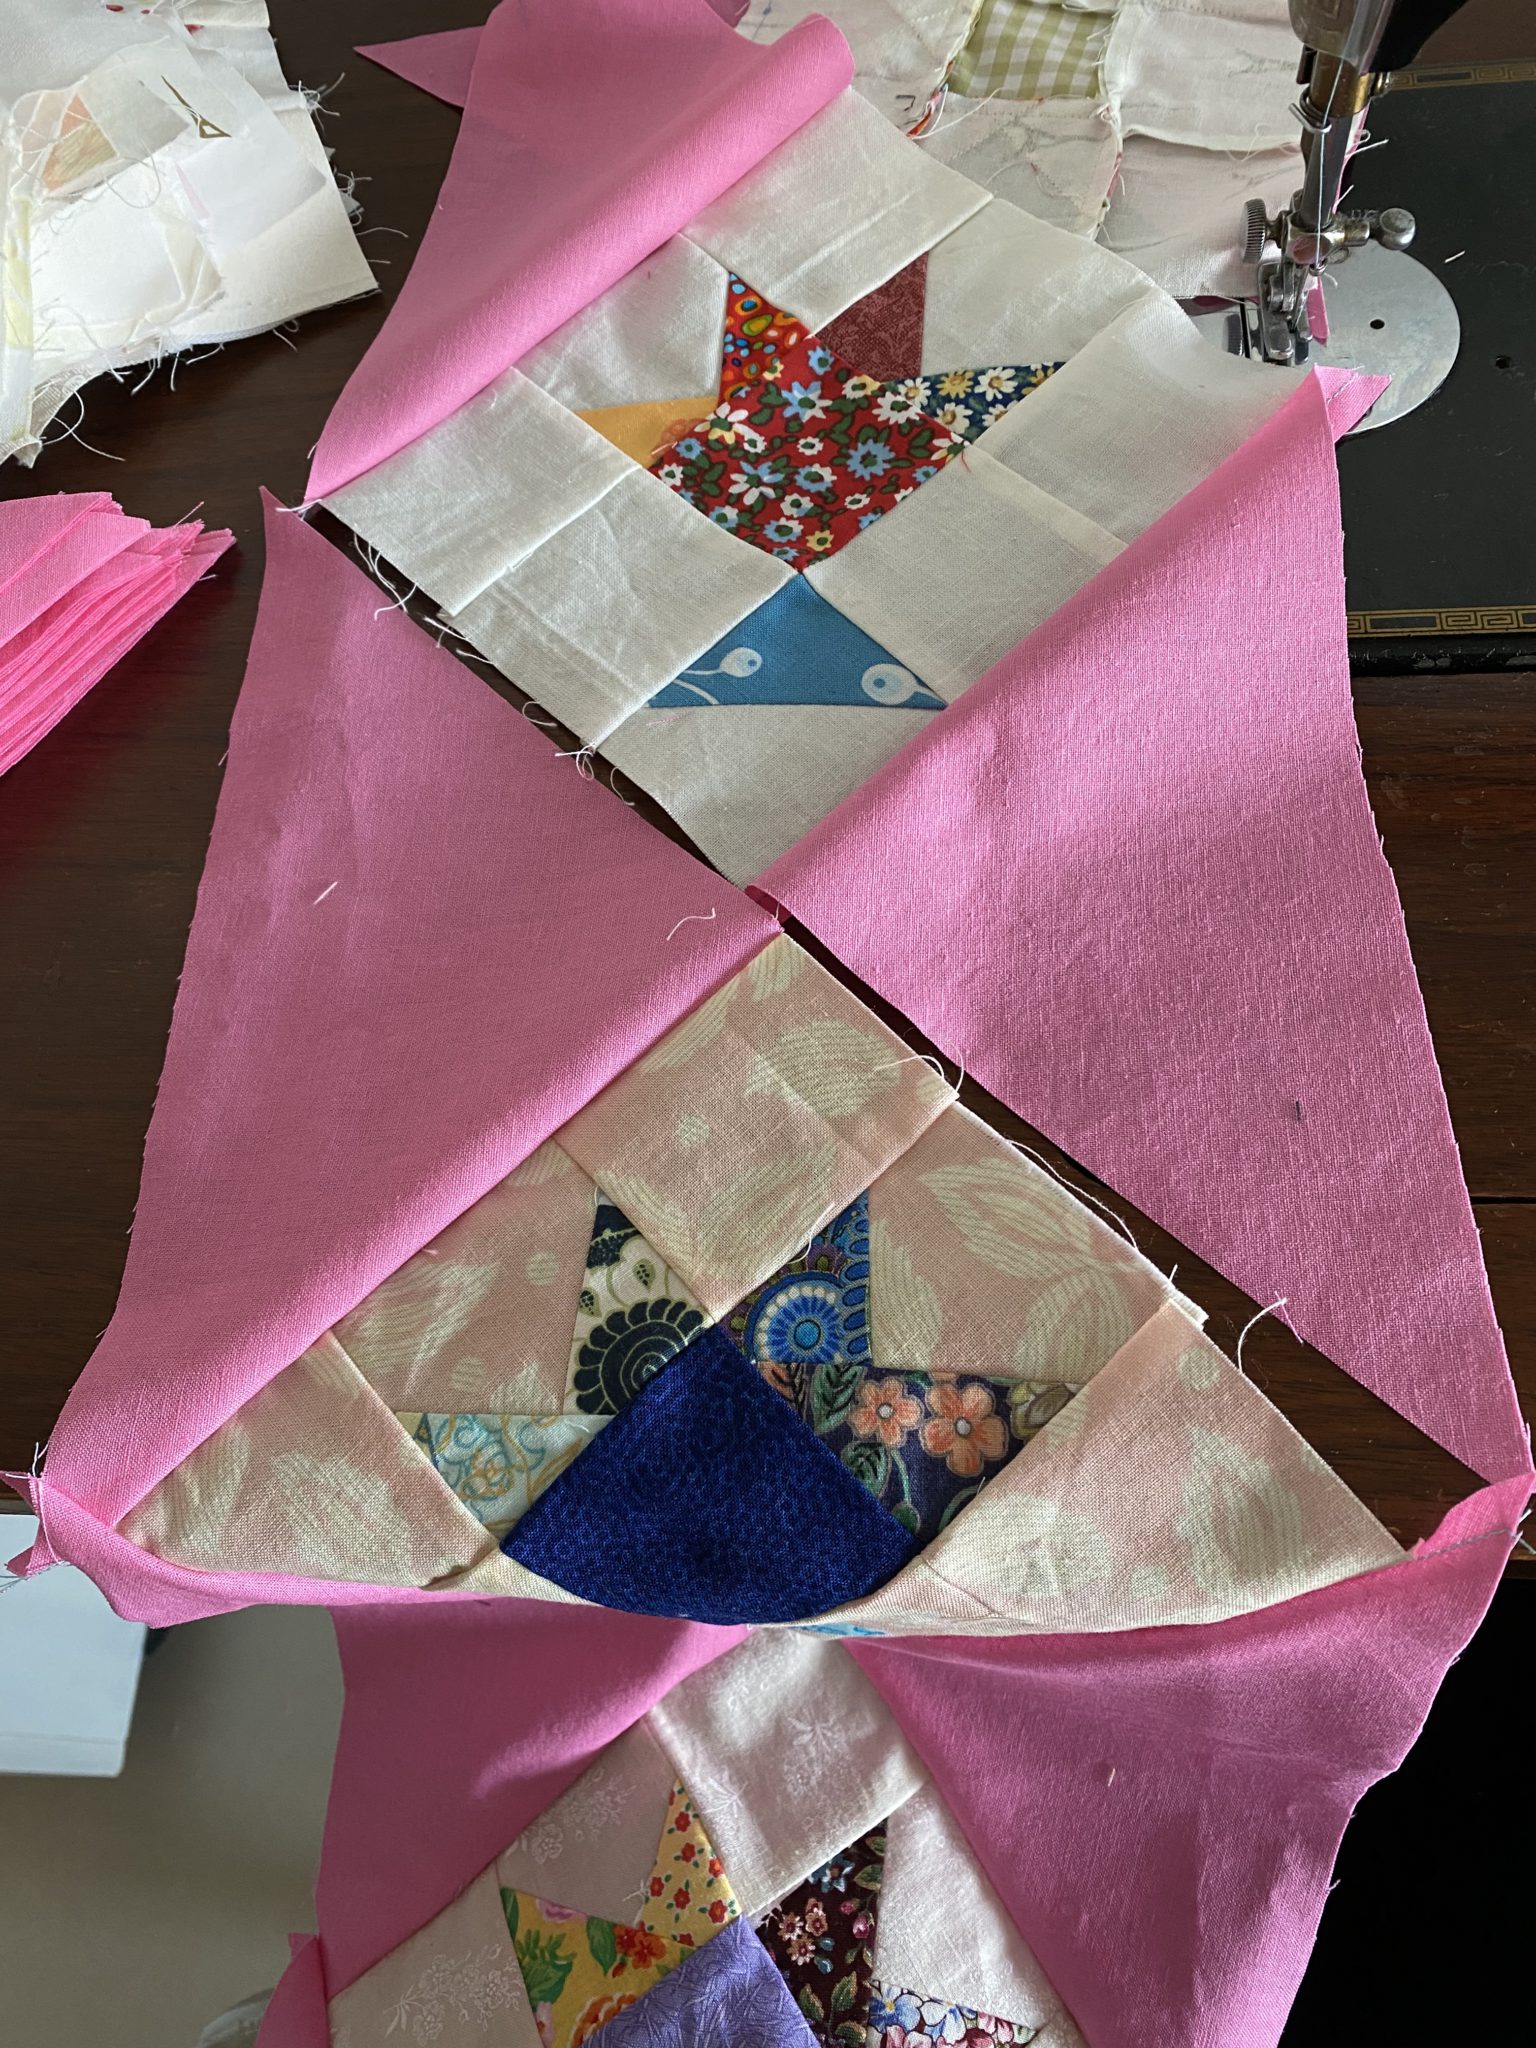
Then these units can be joined in a strip. Make sure to nest the units well at the point of where the triangles and basket blocks intersect.
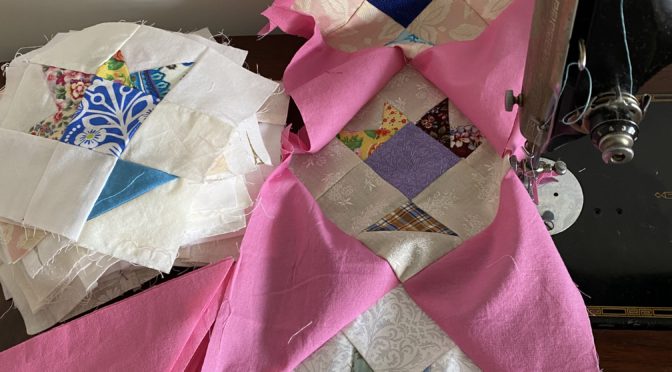
Here you can see my nice pile of basket blocks and pink setting triangles.
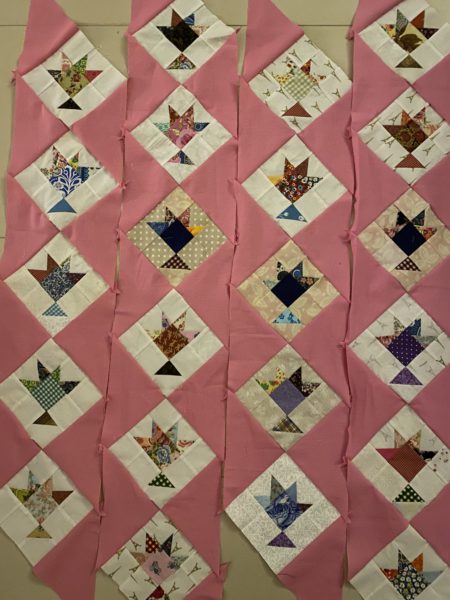
This is how they are coming along.
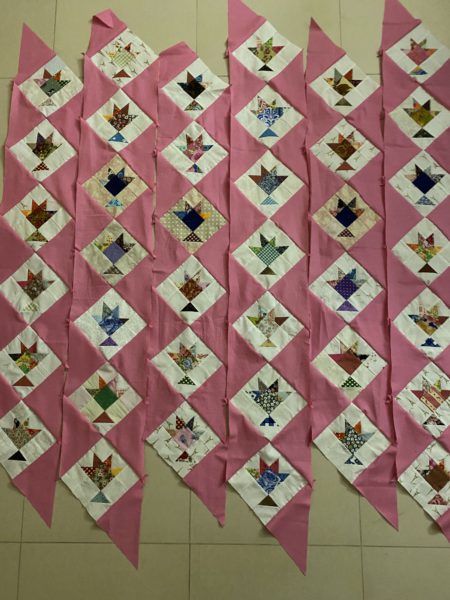
I’m going to of set the blocks like this.
The strips are growing, however, I am running out of pink I think!!! Just a little bit short.
I’m going back to my stash for a rummage. I hope I have a bit more pink left. I do not really want to go back to the shops.
I will let you know in the next instalment of this quilt top journey including the measurements for the finishing setting triangles.
For Part 2 of this quilt top, here is the link.
Pink Strippy Baskets Quilt Antique Inspired Part 2
Hope you are sewing today.
If you enjoyed this post and using small triangles , you may also like,
Scrappy quilted coastal coasters
Holiday Stars Quilt and Pattern
And if you have some fabric strings, how about this!
End of Day Quilters Holiday Basket
Susie
© Susan Stuklis 2021

These are brilliant, so forgiving of my less than perfect piecing. I am struggling a bit with bulk and getting seam directions right, could you add a note re piecing order and seam press directions?
I have been wondering how to set a square on point. Thank you for the simple instructions. I love those scrappy little baskets. Those are a must try.
This is looking great!