Little Strawberry Bags
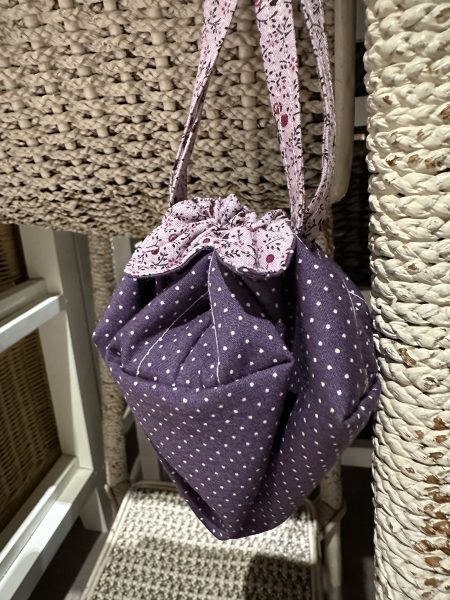
Hello Dear Friends and Readers and welcome to todays post. Although I do focus on quilts in this blog, I also really enjoy making bags and baskets. Many of them are made with scraps. Today’s pattern is very easy, requires very little fabric, is made using simple seam lines, is time efficient and yet, turns into this delightful Strawberry shaped bag. It has become one of my favourites, with. myriad of uses. The first one I made some years ago was a very small patchwork style which I gave to my husband for storing a small item. and he has used it ever since.
These can be easily adapted in size and I have used these to hold charging cables, coins, cosmetics, medicines, sweets and sewing notions among other things. I am sure you could think of more. Little Strawberry Bags are great as handbag organisers and for travel or gifting.
With Easter nearing us soon, these Little Strawberry Bags could well be used for holding Easter treats too!
This could be a good way to use up some left over layer cake squares.
The seam construction of these bags is reminiscent of the way that Bento Bags are made and I suppose it would be fair to call it a type of origami bag.
I am using my 1902 Singer Treadle Treadle Tinkering today to create these bags.
These Little Strawberry Bags are very easy to scale up.
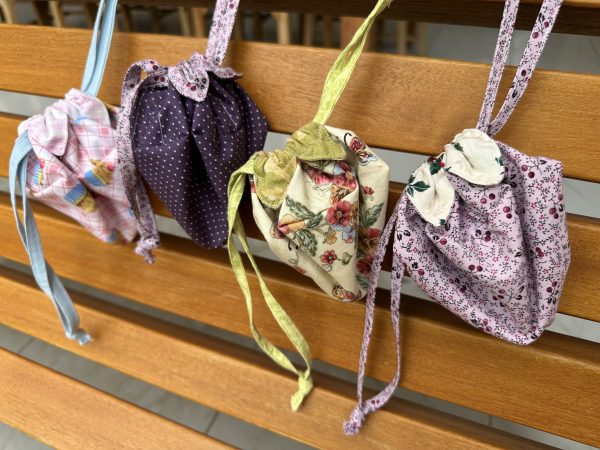
The picture above shows the small version using 10” squares. My example for sewing today is using 10” squares however 12” and 14” squares will work very well too.
Requirements for the Little Strawberry Bag
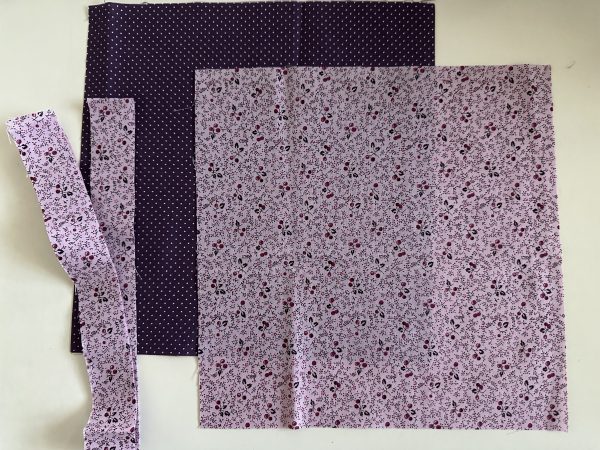
2 of 10” x 10” squares in complementary fabrics
1 of 1 1/4” width of fabric strip for the ties
One small saftey pin
Instructions – Making a Little Strawberry Bag
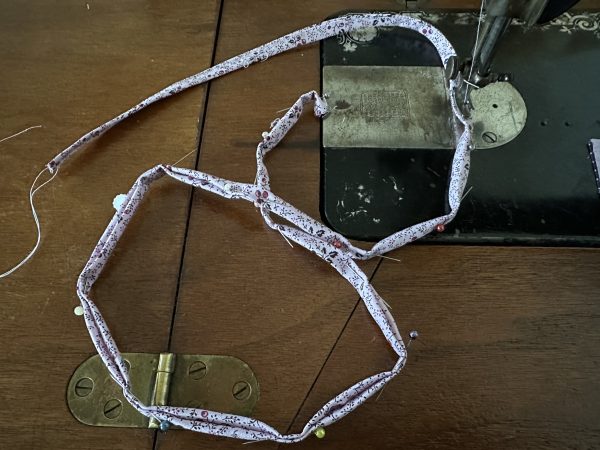
Turn in each long side of the tie towards the wrong side of the fabric, so that they meet in the centre and the fold in half to encase the long raw edges. Pin in place to secure. Carefully sew down each side as close to the edges as possible.
Cut in half to reveal two ties.
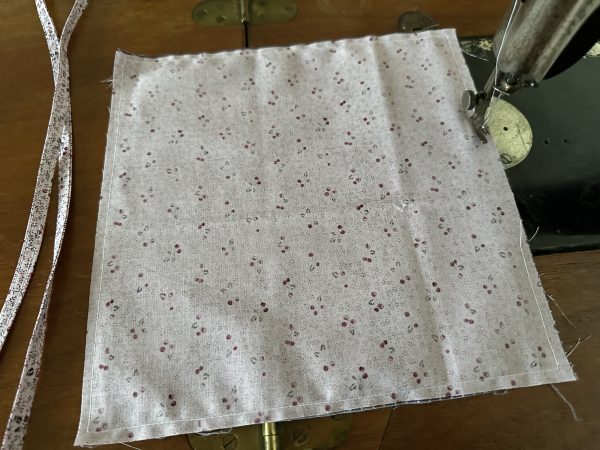
Put the two right sides together of the 10” x 10” squares. Sew a 1/4”seam around the perimeter, leaving a three inch gap for turning.
Clip the corners and turn to the right side. Press.
Turn in the opening edges 1/4”. Sew a seam as close as possible to the edge all the way around to close the gap and secure the edges.
TIP
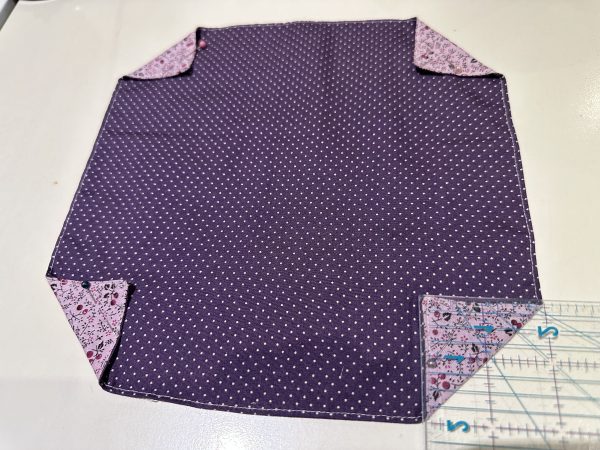
Decide which fabric will be the inside and which will be the outside. I am making the dark purple the outside fabric for this bag.
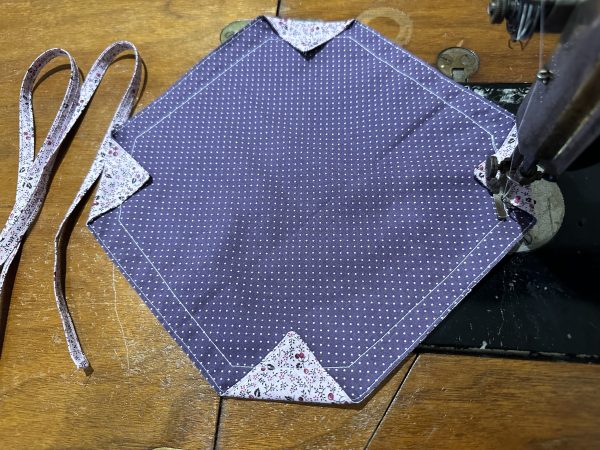
Fold the corners toward the outside side so that each side of each corner fold measures 2” as pictured below. It will now look like an uneven octagon shape.
Following the shape, sew a seam 1/2”. away from the edge all the way around, pivoting at each corner.
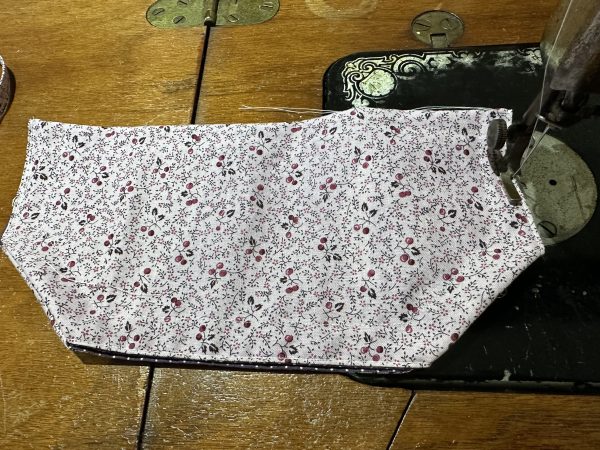
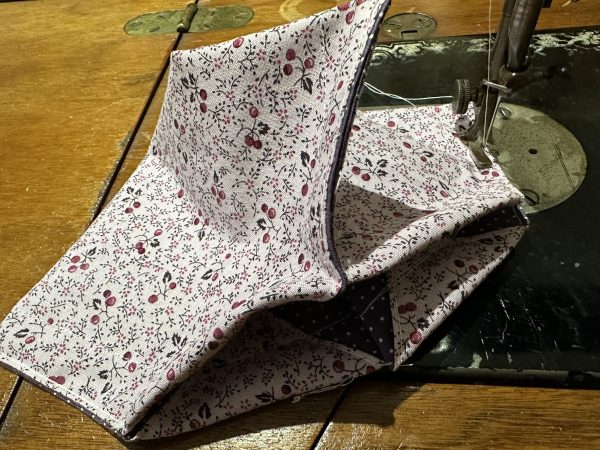
Fold the bag in half so that the right side is facing in. Sew a tiny seam very close to the two short side edges backstitching at the ends.
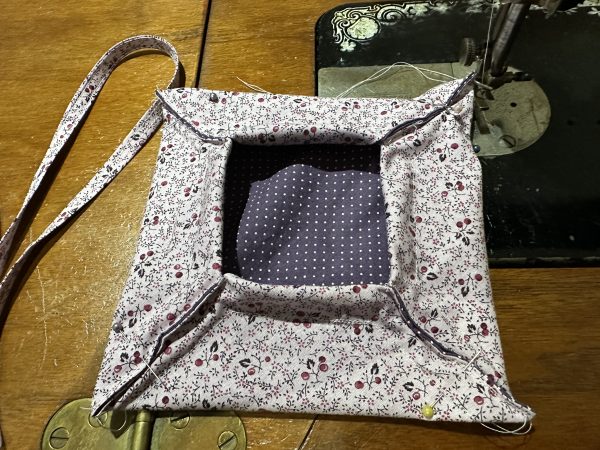
Open the long edges and fold in half agin and sew the other two short sides in the same manner.
Now It should look as pictured below. Wrong side still facing. Sew a seam across each corner approximately 1” from the corner edge.
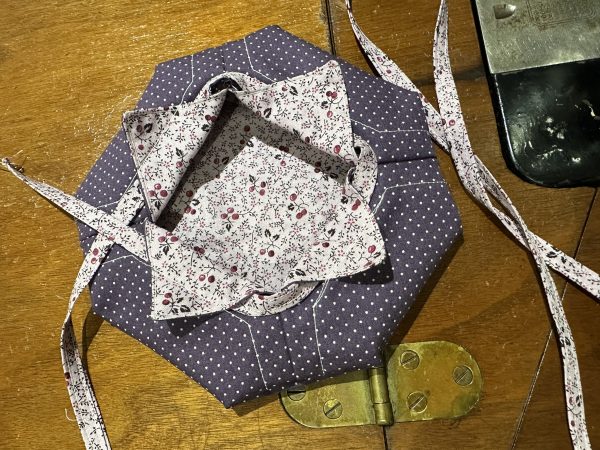
Turn the bag to the right side.
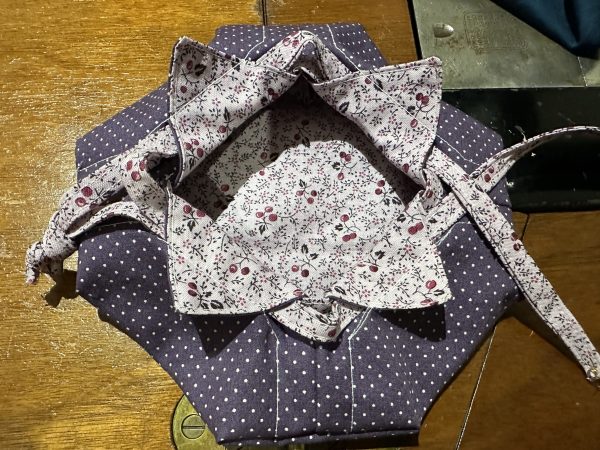
Put the saftey pin onto the end of one of the ties. Thread it through all the loops then remove the saftey pin and keeping the ties as straight as possible put the two ends together and put a knot in them as close to the ends as possible.
Repeat with the second tie, beginning from the opposite side.
Now the bag is ready to use.
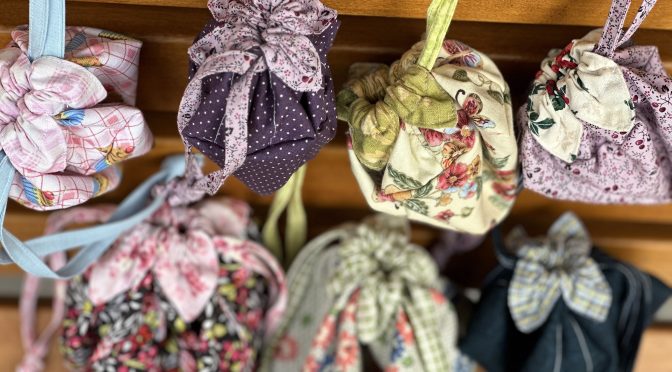
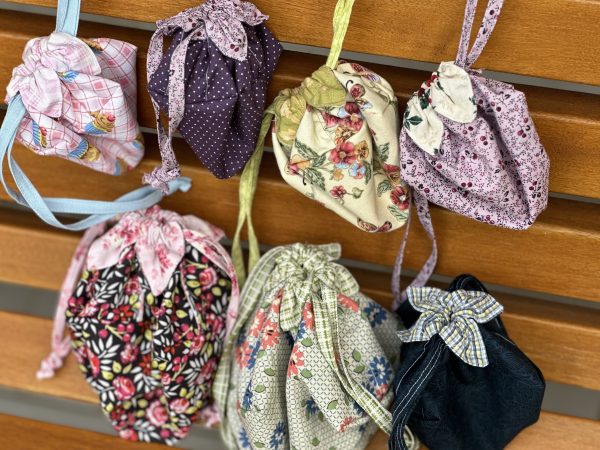
Here are some more. The larger ones are 14” squares. I have used these successfully as cosmetic bags. The dark blue one is a 12” square.
When the bag is filled they take on a lovely melon shape and nothing spills out which I really like.
If you enjoyed this post, you may also like
Happy Day Microwave Bowl Holder Pattern
Little Flower Bag and Tutorial
Little Origami Patchwork Bag Tutorial
Although a bigger, project this is one of my favourites
Japanese Knot Bag – A New Pattern
Happy Sewing,
Susie
© Susan Stuklis 2023

Sorry, I re-read the directions and see the term “width of fabric” as the length of the ties strips. That answers my previous question.
your instructions call for a 1 and 1/2 inch strip for the ties, but does not give the length. Could you give us the length for each size bag? Thanks so much, I plan to try to make one soon.
I just made Susie’s “Little Flower Bag” which also starts with 2 layer cake squares. For that one, she recommends two ties, each 23″ long. I’m going to make one of these tonight, and that’s what I’ll try. Hope that helps.
Great tutorial, I will be trying this soon. I think it’ll make a lovely gift bag ❤️
Thanks Susie for this lovely tutorial. I’ve sewn something like this before but this version is a lot better with those side and corner seams.
Hope all is well with you and the weather is treating you nicely. We had some snow 2 days ago – seems like the whole world is going through some sort of turmoil at the moment, with winds, rain or snow! Chins up – Spring is almost here 🙂