Garlic Ginger Chilli Bag and Tutorial.
Today I thought I would share with you one of my all time favourite bags!
This is a bag that I have been using successfully for years now so when Wendy Churchill was kind enough to share some of her vegetable fabrics with me, I knew exactly what to do. This bag lives in my refrigerator. I probably use it almost every day of the year.
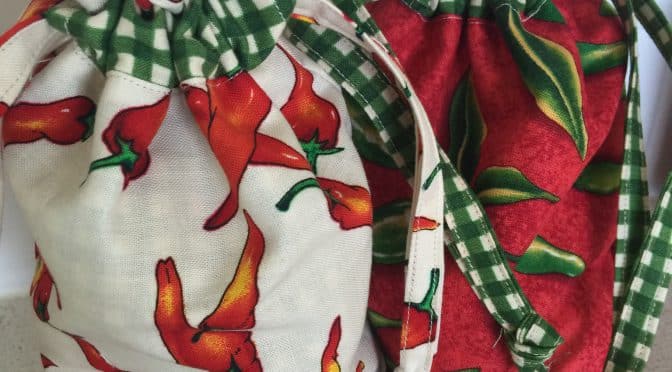
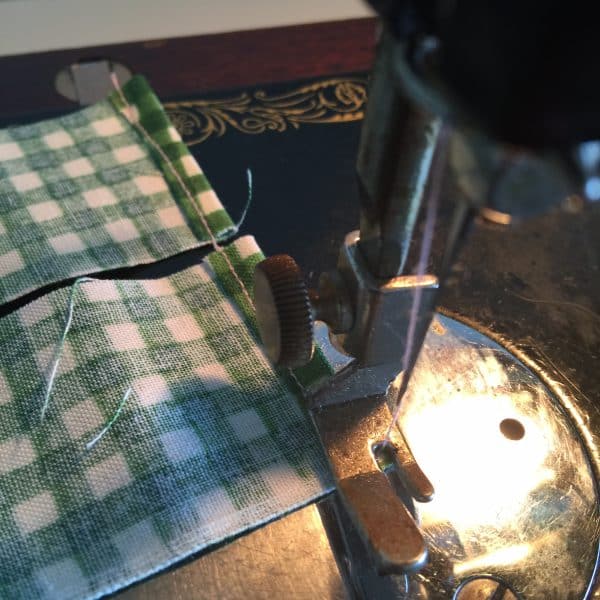
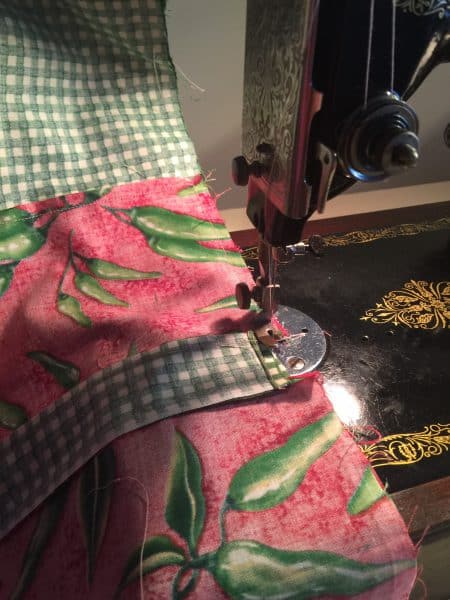
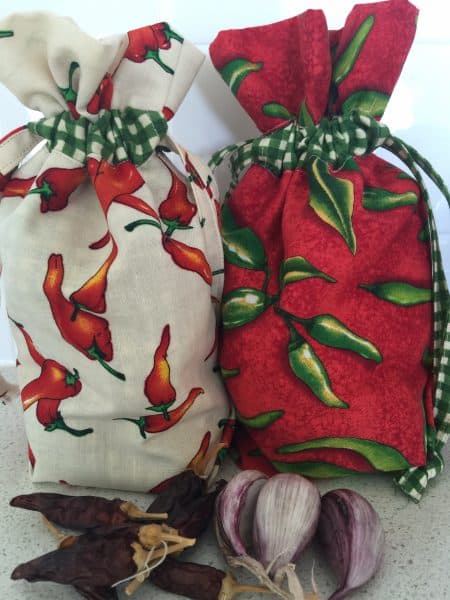
As I am sure you would agree, garlic bulbs, ginger, turmeric and galangal rhizomes, along with fresh chilli are small but expensive and essential ingredients to have available for cooking. I’m not overly fond of plastic and it is not necessarily the most effective way to store things. So years ago I began to store these ingredients in a small but pretty cloth bag in my refrigerator. It’s organised and always easy to find. I’ve never had the ingredients go off, or found them to be slimy or inedible. I have found I can store and use these ingredients with great freshness, for long periods and with no waste. Don’t they look Christmassy by the way? Would make a useful gift for a foody friend! Oh incidently, today I’m sewing on a C1948 Singer 99K . Makes beautiful little stitches!
Singer 99K
This is how I do it.
Please note that all fabrics are 100% cotton and have been washed and ironed before use.
Requirements for the bag
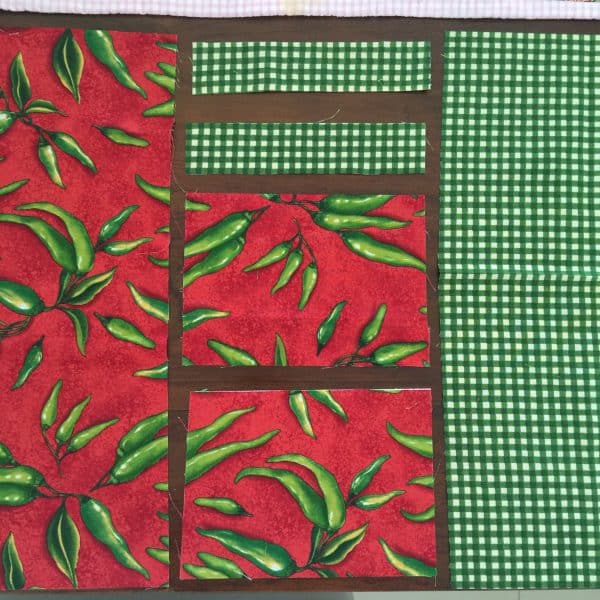
1 x 7″ x 16″ piece of the focus (vegetable) fabric
2 x 7″x 5″ pieces of the focus fabric
1 x 7″ x 16″ piece of contrast fabric
2 x 7″ x 1 1/2″ pieces of contrast fabric
1 x 1 1/2″ strip of the WOF ( Width of Fabric) of the contrast fabric
Method
Make a very small hem on each of the short ends of the 7″ x 1 1/2″ contrast fabric pieces.
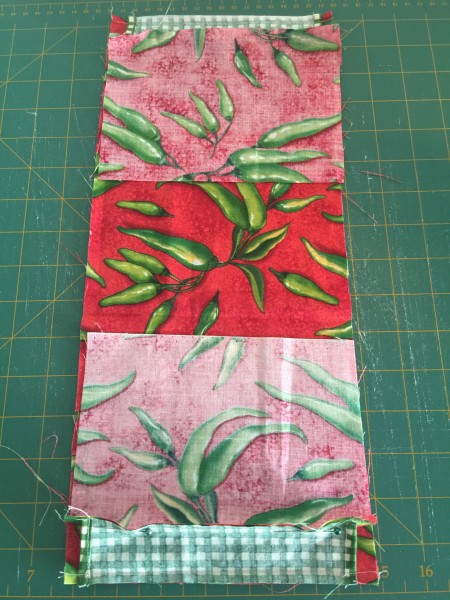
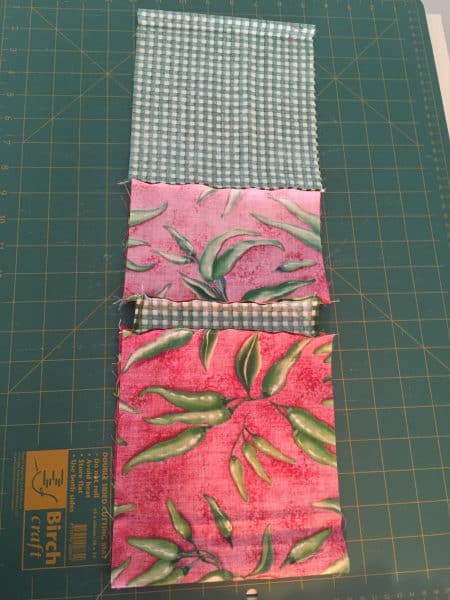
Once the ends are hemmed, centre these pieces, right sides together to each short end of the main vegetable fabric piece 7″ x 16″. Then repeat with the 7″ x 5″ pieces of the vegetable fabric, centring them on the contrast fabric, and ensuring they line up with the main fabric pice as pictured.
Now take the 7″ x 16″ contrast fabric and attach with right sides together to each end of the two previously added pieces, so that now it is a circle. Press.
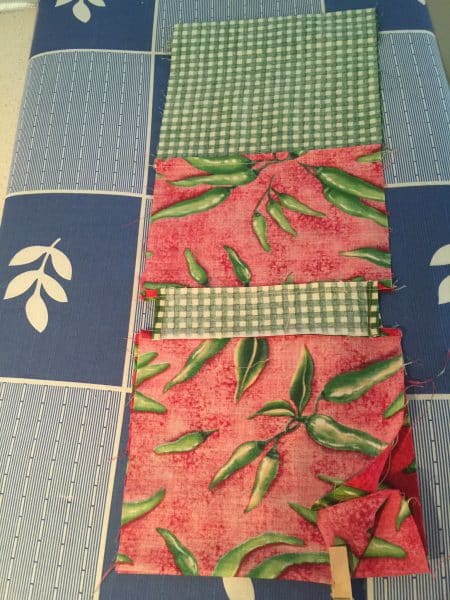
Lay out the piece so that the seams line up and the main fabric is at one end and the contrast fabric is at the other. Make an inverted pleat approximately 1 1/2″ at each end as pictured below. The peg is showing the inverted pleat.
Press. Sew down each long side omitting the hemmed inserts and leaving an opening for turning in one side of the contrast fabric.
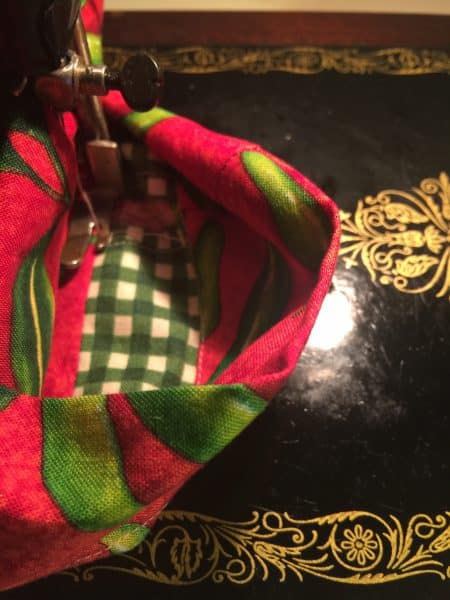
Turn the whole piece to the right side. Stitch close the opening. Now push the contrast side into the main fabric side until it is even.
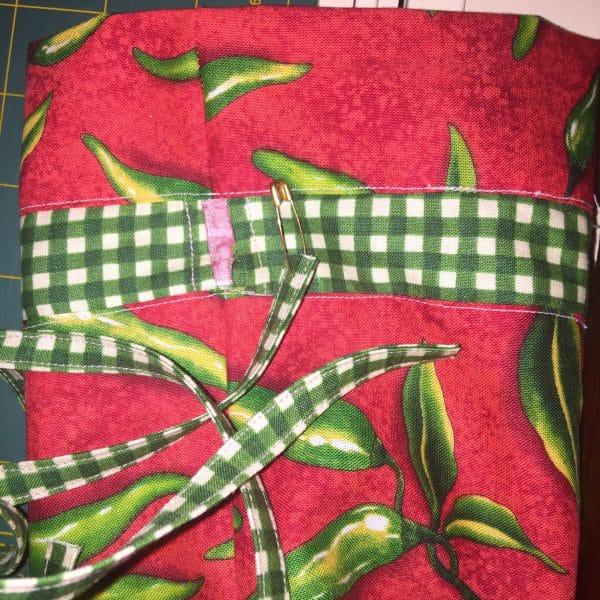
Carefully stitch once around each side of the contrast fabric inserts. This will make the casing.
Take the 1 1/2″ WOF strip and turn the long edges to the centre, wrong sides together, then fold in half and pin well. Sew along each long side close to the edge to make the drawstring. Cut in half to make two.
Use a small safety-pin to thread the drawstring through the hole in the casing all the way around coming out through the same hole. Line up the ends of the drawstring and knot the ends together. Repeat with the other drawstring on the opposite casing opening.
Fill with garlic, ginger chilli etc. and refrigerate.

