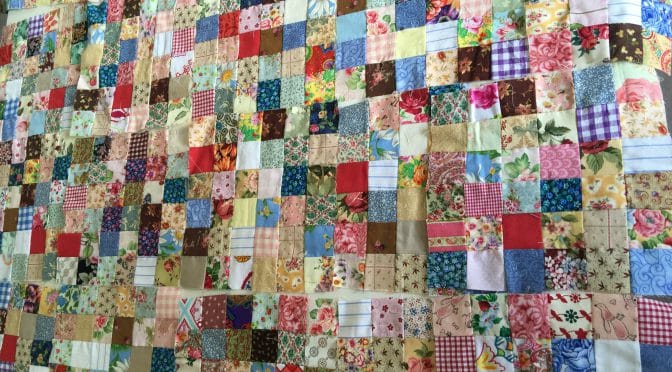
36 Patch Postage Stamp Blocks
Hello Dear Friends and Readers. Ever wondered what to do with all those small scraps?
With this block, you can literally make fabric with all the small scraps.
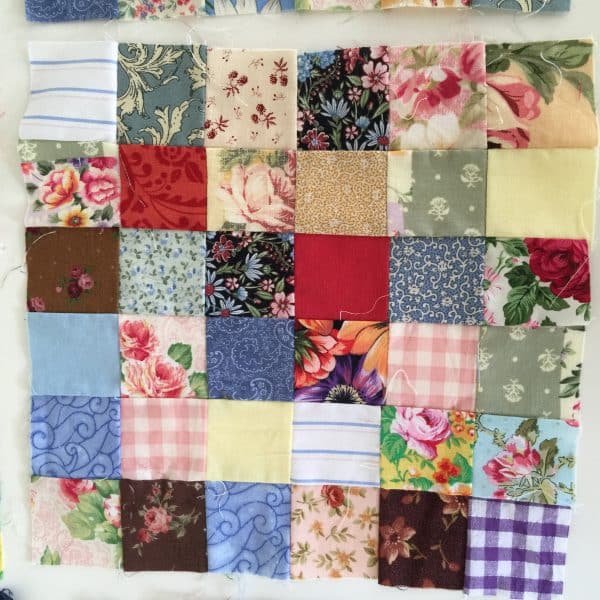
This block uses all fabrics. If you were ever scared to try a scrap quilt or scrap blocks, you can do this with confidence. Put in all the small seemly unusable pieces. Don’t worry if the fabrics have no relation to each other. Don’t worry if they are solids, plaids, moderns, novelty prints, florals….it really doesn’t matter. In fact the more variation, the better.
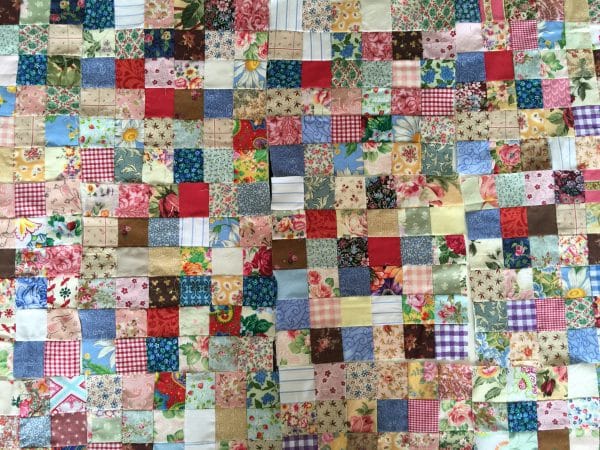
I am using 2″ squares to make these blocks.
When I have left over fabric from another project, then I cut them into useable size scraps.
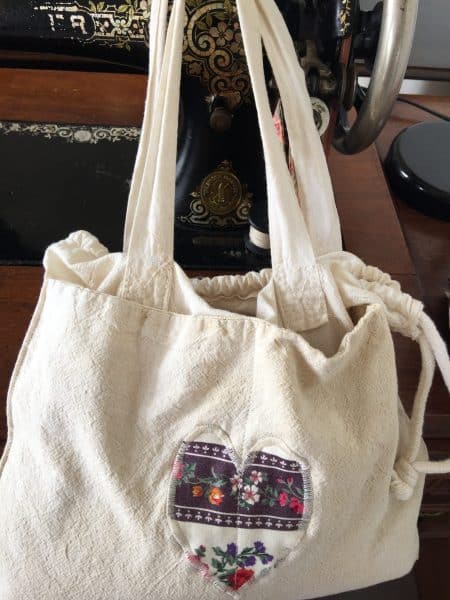
Here is my bag of 2″ squares. I just added to it periodically.
Naturally there are many ways you can approach putting this block together and believe me I’ve tried quite a few, like making two patches, four patches or nine patches or individual rows. If you look closely you will see that some of my blocks are not as neat. They were part of the learning curve. I genuinely believe the best way is to make them into connected blocks. This is how I do it.
Ingredients for one 9 1/2″ Block
36 of 2″ x 2″ scrap fabric squares
Making the 36 Patch Postage Stamp Block
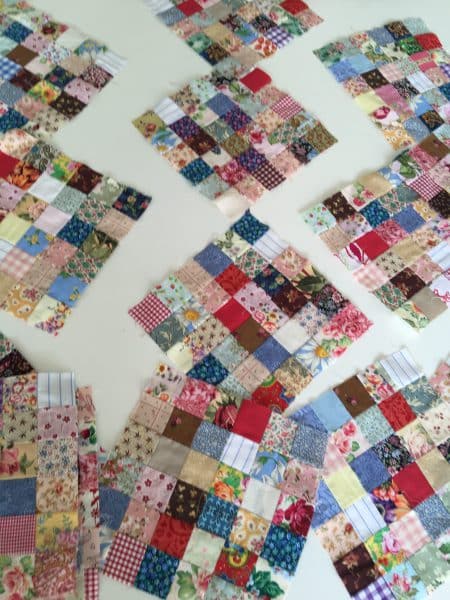
Test your 1/4″ seam. The main thing is to be consistent and probably on the scant side of 1/4″. Sew fabric squares together in pairs. Make sure no two same fabrics are next to each other. Sew six pairs, chain piecing, them. Do not cut them apart. Open up the connected pairs, then sew another six squares to the six squares on the right. Again, do not cut them apart. Here I have finished 4 squares in each row.
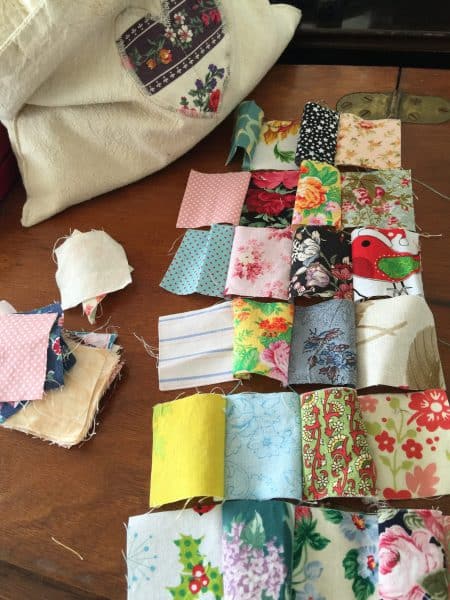
Now here is 5 squares in each row and commencing number 6.
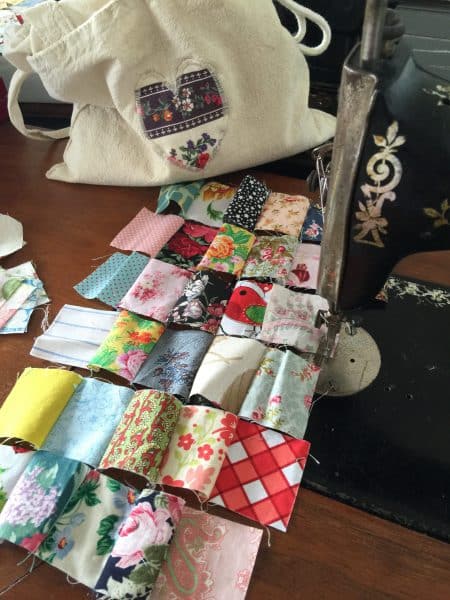
Continue, using the same method, until all the 36 squares are used, and you should now have 6 rows of 6 squares. By using this method it will create a scaffold or framework between the squares, the result is much neater and so much more organised and the seams will abut each other very nicely.
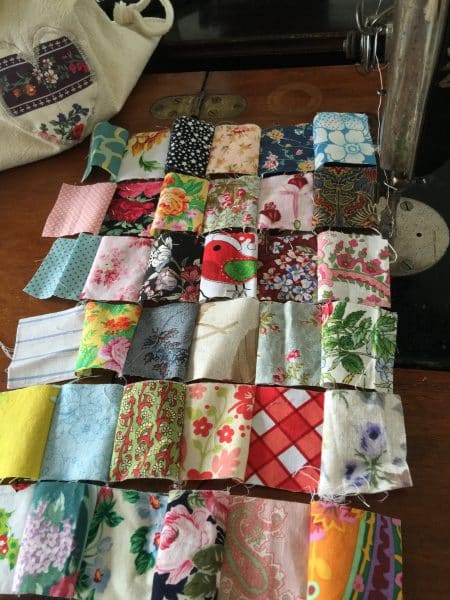
Do not press yet. Now turn the block to sew the columns. Make sure when you sew each row that the seams are nested and all travelling in the same direction for each column. I hope you can see that the seams are all facing to the right, and underneath they are all facing to the left. I find pinning is very useful at this point. This will give nice even points and then when you press the block it will sit nicely, despite the fact that it has many pieces.
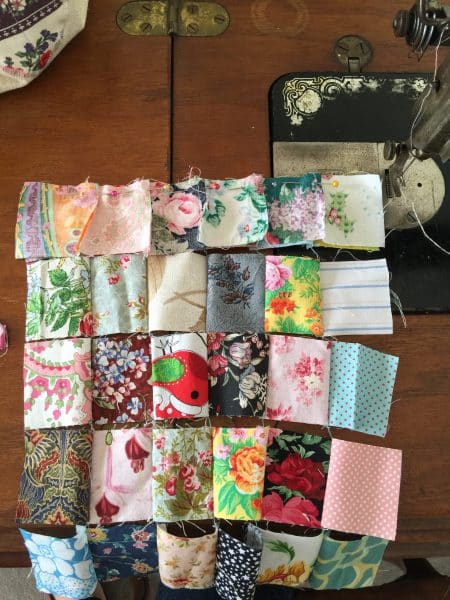
Do the same thing with each column, ensuring that the seams sit alternating with each other. Now press the block. Trim to 9 1/2″ if necessary. Of course making a few at a time means something can always be under the needle.
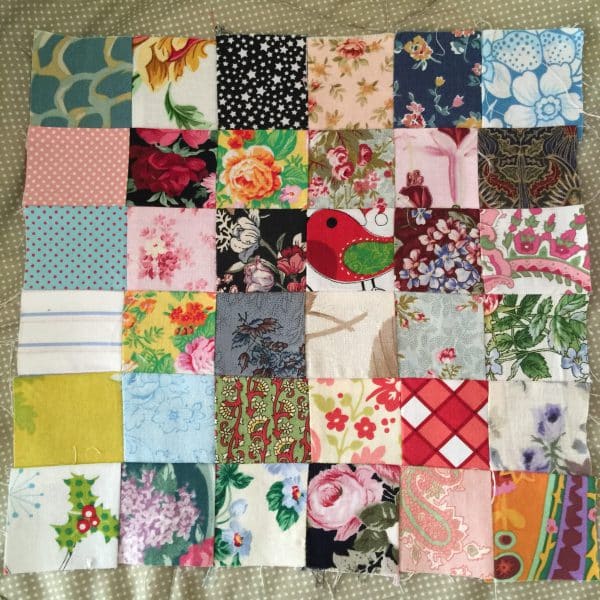
I’m putting these together on my Singer Treadle.
A Journey with Sewing Machines
These blocks are quite addictive. They are an easy project to do at any time. There is no particular planning involved. Once they are made, they can be put together as you like. They can be joined together directly, or put together with sashings, or, placed with alternate plain blocks, or set on point and many other variations. It’s really up to you!
I decided to combine these blocks with the Around the Garden In Scraps Block.
You can see how that is progressing here.
If you enjoyed this post, you may also like
Quilted Scrap Fabric Baskets & Tutorial
Quilted Scrap Fabric Book Cover Tutorial
Have a great day!
Susie

