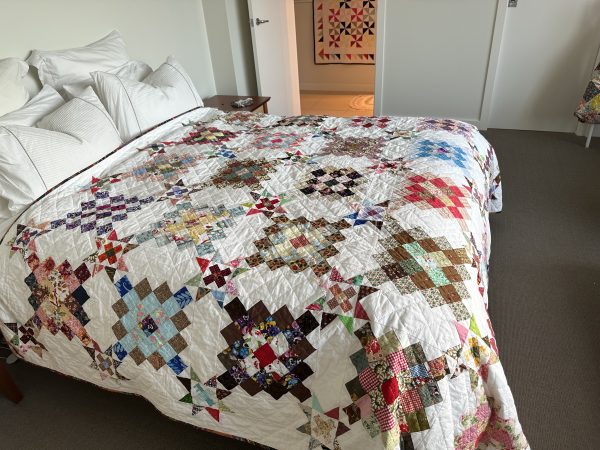
Great Granny Stars Hand Quilting Finish
Hello Dear Friends and Readers and welcome to todays post.
A few months ago I was contacted by the past president of the Australian Quilters Association. She had seen my Great Granny Stars Quilt and Pattern on Instagram and thought that it would be a good pattern for her group to undertake. So she asked me if I would like to come to Surrey Hills, Melbourne in June to do a trunk show of my quilts. That was in February and I had just finished the top but it was not quilted.
This is quite a large quilt being 88 ½” x 104 ½”. I decided to hand quilt it, however it had to be ready by June. So I set myself the challenge!
One of the lovely things about hand quilting is that it is a great way to keep warm in the cooler months and enjoy our hobby in a very relaxed way. I use a headlight in the evenings which makes it easy.
Method for Hand Quilting the Great Granny Stars Quilt
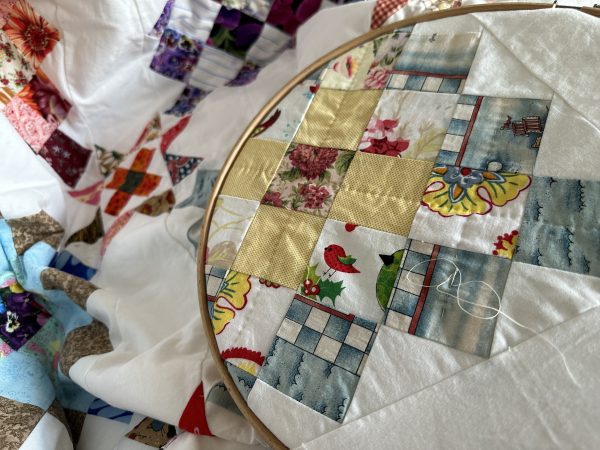
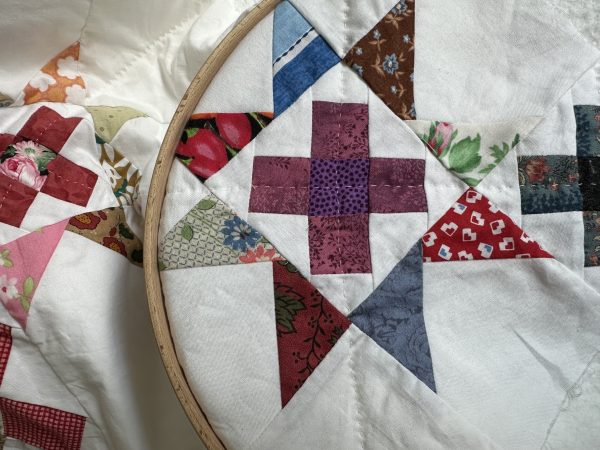
I basted the whole quilt with lots of quilting safety pins. The hand quilting is all done in straight line quilting. I did not mark the quilt. I used the diagonal direction of the Great Granny Blocks as the inspiration for the hand quilting. I quilted through all the center’s of all the squares of the Scrappy Great Granny Blocks Scrap Great Granny Square Block Tutorial
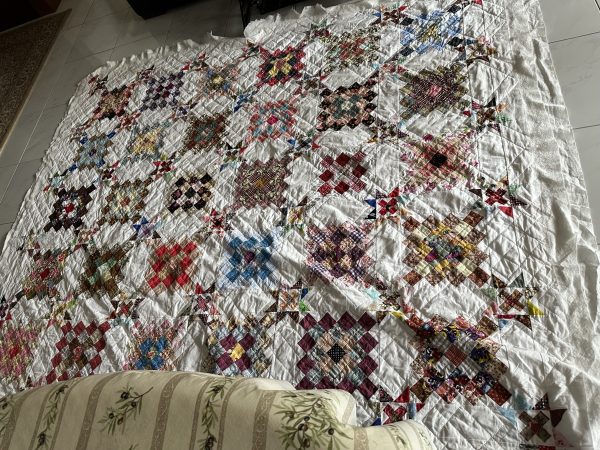
Here you can see some of the beginnings of that process. For those of you who like a bit more detail, I am using a no. 9 quilting needle and a single thread of Gutermann Quilting cotton – colour pearl 919 40wt with a quilting hoop.
The Scrap Mini Granny blocks were quilted though the centre’s in the same manner Scrap Mini Granny Square Quilt Blocks
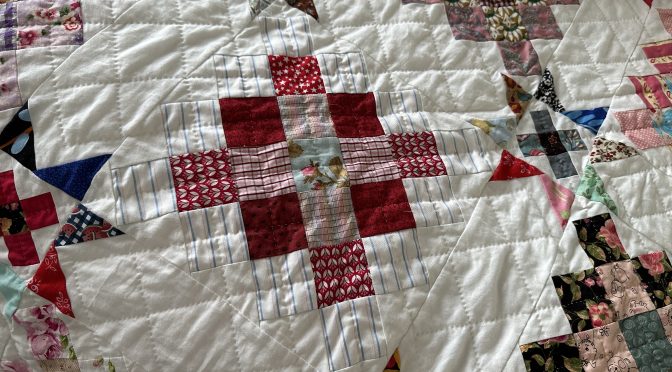
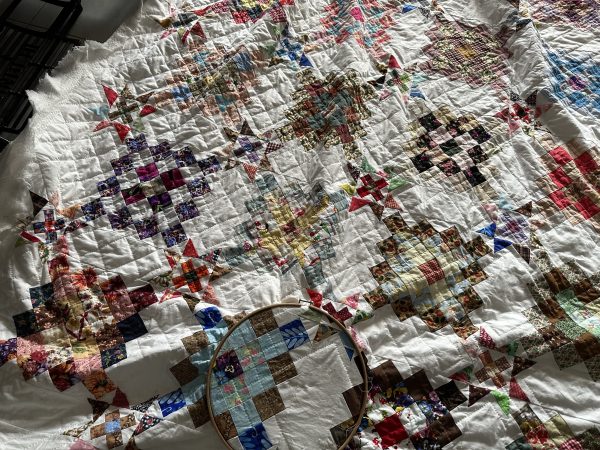
Essentially this has amounted to the whole quilt being quilted in an approximately a 2” grid pattern. The next photo shows a lot of that progression.
Now at this stage most of the blocks have been quilted and I am now quilting the sashings and all around the border.
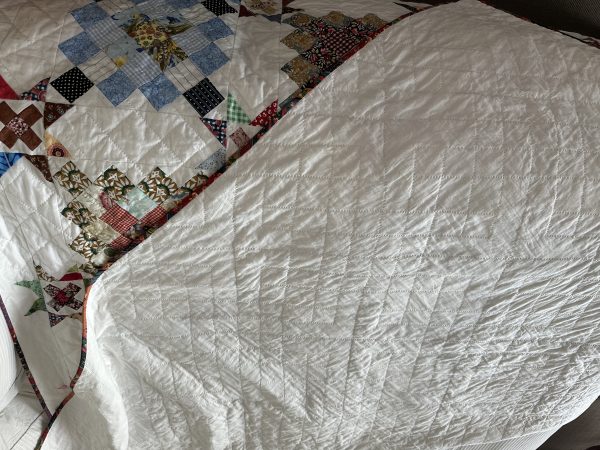
I needed to be quite diligent and try to do a little bit most days otherwise it was not going to be finished for the trunk show. Here is a view of some of the back and the diagonal 2” grid pattern.
I did get it all quilted and bound by June so about four months of hand quilting in all.
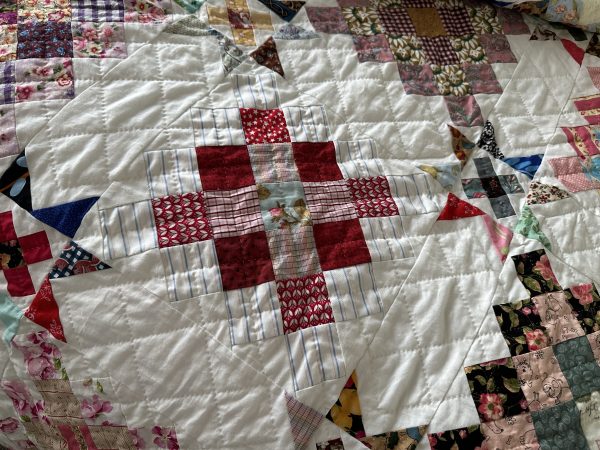
Here is a close up of part of the front.
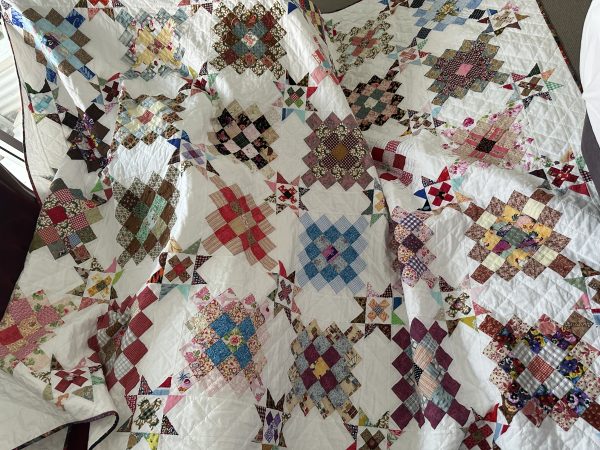
And the finished Great Granny Stars Quilt and Pattern. It is a big quilt.
Very well covers a queen size bed. It is so nice to finish a quilt! I hope I can inspire you to do some hand quilting when the weather is cool.
So we went to Melbourne in June with the finished quilt and the trunk show. But that’s another story. 😊
If you enjoyed this post, you may also like
Grandmother’s Flower Garden Quilt Like Grandma Used to Make
Hand Quilting Scrappy Thousand Pyramids
All In Hand – Lessons In Hand Quilting
Free Motion Quilting Feather Continuum
Happy stitching,
Susie
© Susan Stuklis 2023

