Ragtime Blues Shadow Quilt and Tutorial
Hello Dear Friends and Readers. In as much as it is so lovely to make complex quilt projects, sometimes it really is such a delight to make something quick and simple and yet still quite gorgeous I think. And…. lets face it, quilts are meant to be utilitarian, so what could be more so than a rag quilt. Often I have seen people on line complain that their quilt they gave was not appreciated. I think it is good to understand that not everyone has that appreciation and sometimes a smaller time investment may indeed be better for both parties.
I have made some rag quilts in the past which have been well used and are still performing well today and have been extraordinarily useful. So when I was recently blessed by chance, by two of my friends Ellie and Wendy who gifted me with some flannellete, I just knew it was time to make another. I have also been inspired particularly by a gal in the Rag Quilting Group who posted a quilt which was made with recycled sheets. To me that epitomises what a rag quilt can be. Being made with recycled fabric makes it a true rag quilt and to be fair, they do require quite a bit of fabric. I just happened to have a set of queen sheets which I could no longer use and I had planned to make them into a crochet floor rug like this Crochet Floor Rugs – Updated
However when I saw what that lady had done, I was inspired to use the sheets for a quilt.
I know what you are thinking – but it is difficult to cut all the ragging! Well I have to say doing it with recycled sheets that were sooooo soft, it was easy. Plus I have developed this idea which helps too. Best not to cut it all at once Clip As You Go Technique
The flannelette has blue and yellow flowers and that is why I chose blue squares for the decorative part of the blocks. a little bit of blue will peek through with the ragging.
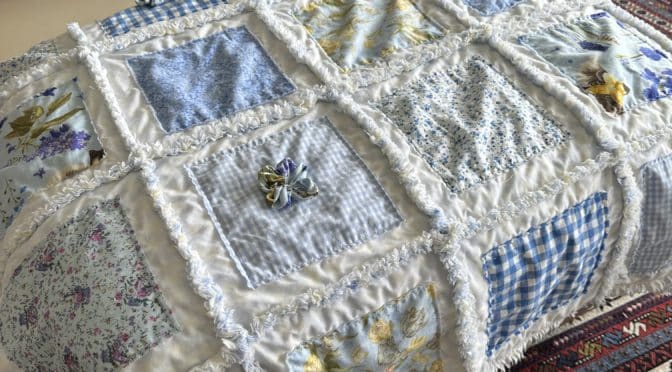
Why I called it a shadow quilt? The patterned flannelette can been seen a little through the white sheet from either side.
Finished quilt size approximately 48 1/2” x 40 1/2”
Flannelette is notorious for shrinkage so please wash fabrics before using.
Requirements for Ragtime Blues Shadow Quilt
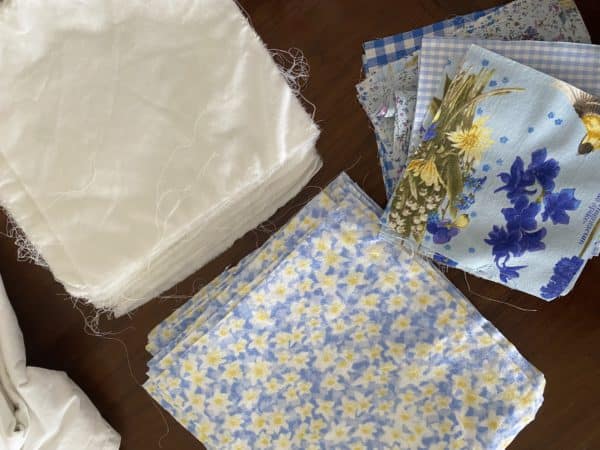
60 of 9” x 9” white cotton squares. I used a recycle white queen sheet and tore it up into the squares
Patterned flannelette 30 of 9“ x 9“ squares
30 squares of 7 different blue cottons cut 6“ x 6“.
Layering the Ragtime Blues Shadow Blocks ready for Quilting
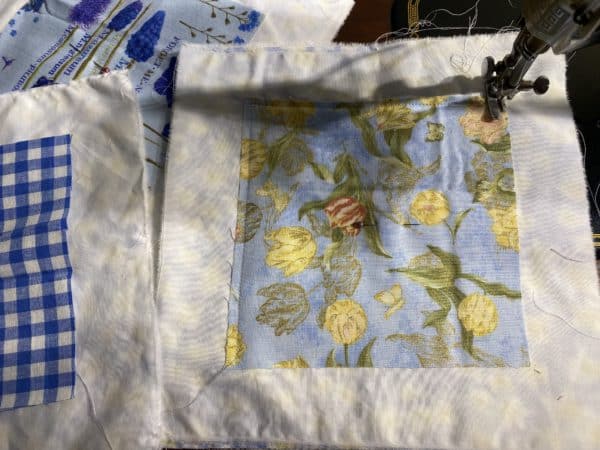
Lay down one 9“ x9“ white sheet square. Add a flannelette 9“ x 9“ square right side up, lining it up as neatly as possible with the underneath square, now add another white sheet square to the top. Place one of the decorative 6“ x 6“ blue squares into the centre. I just eyeballed it. Make sure all layers are nice and smooth. Pin if desired.
Take the block to the sewing machine and stitch the perimeter around the 6‘ x 6“ square approximately 1/4“ in from the edge of the blue square. If you have a walking foot that would be an advantage but not essential. I didn‘t have one.
Repeat for the rest of the centre blocks, 30 in total.
Now join all the blocks together in a 5 x 6 configuration. using a 1/2“ seam allowance
Tip
When joining the blocks, it is wise to snip a gap upto the seam line at the half inch mark for each block so that it is easier to sew through the join. ( it will make the clipping easier too)
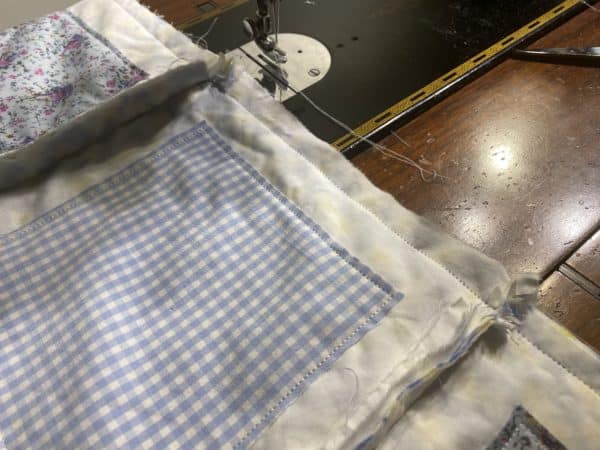
Once all the blocks are together the seams can be snipped. Or… if joining the blocks together in small groups, the seams can be clipped as you go. Clip As You Go Technique
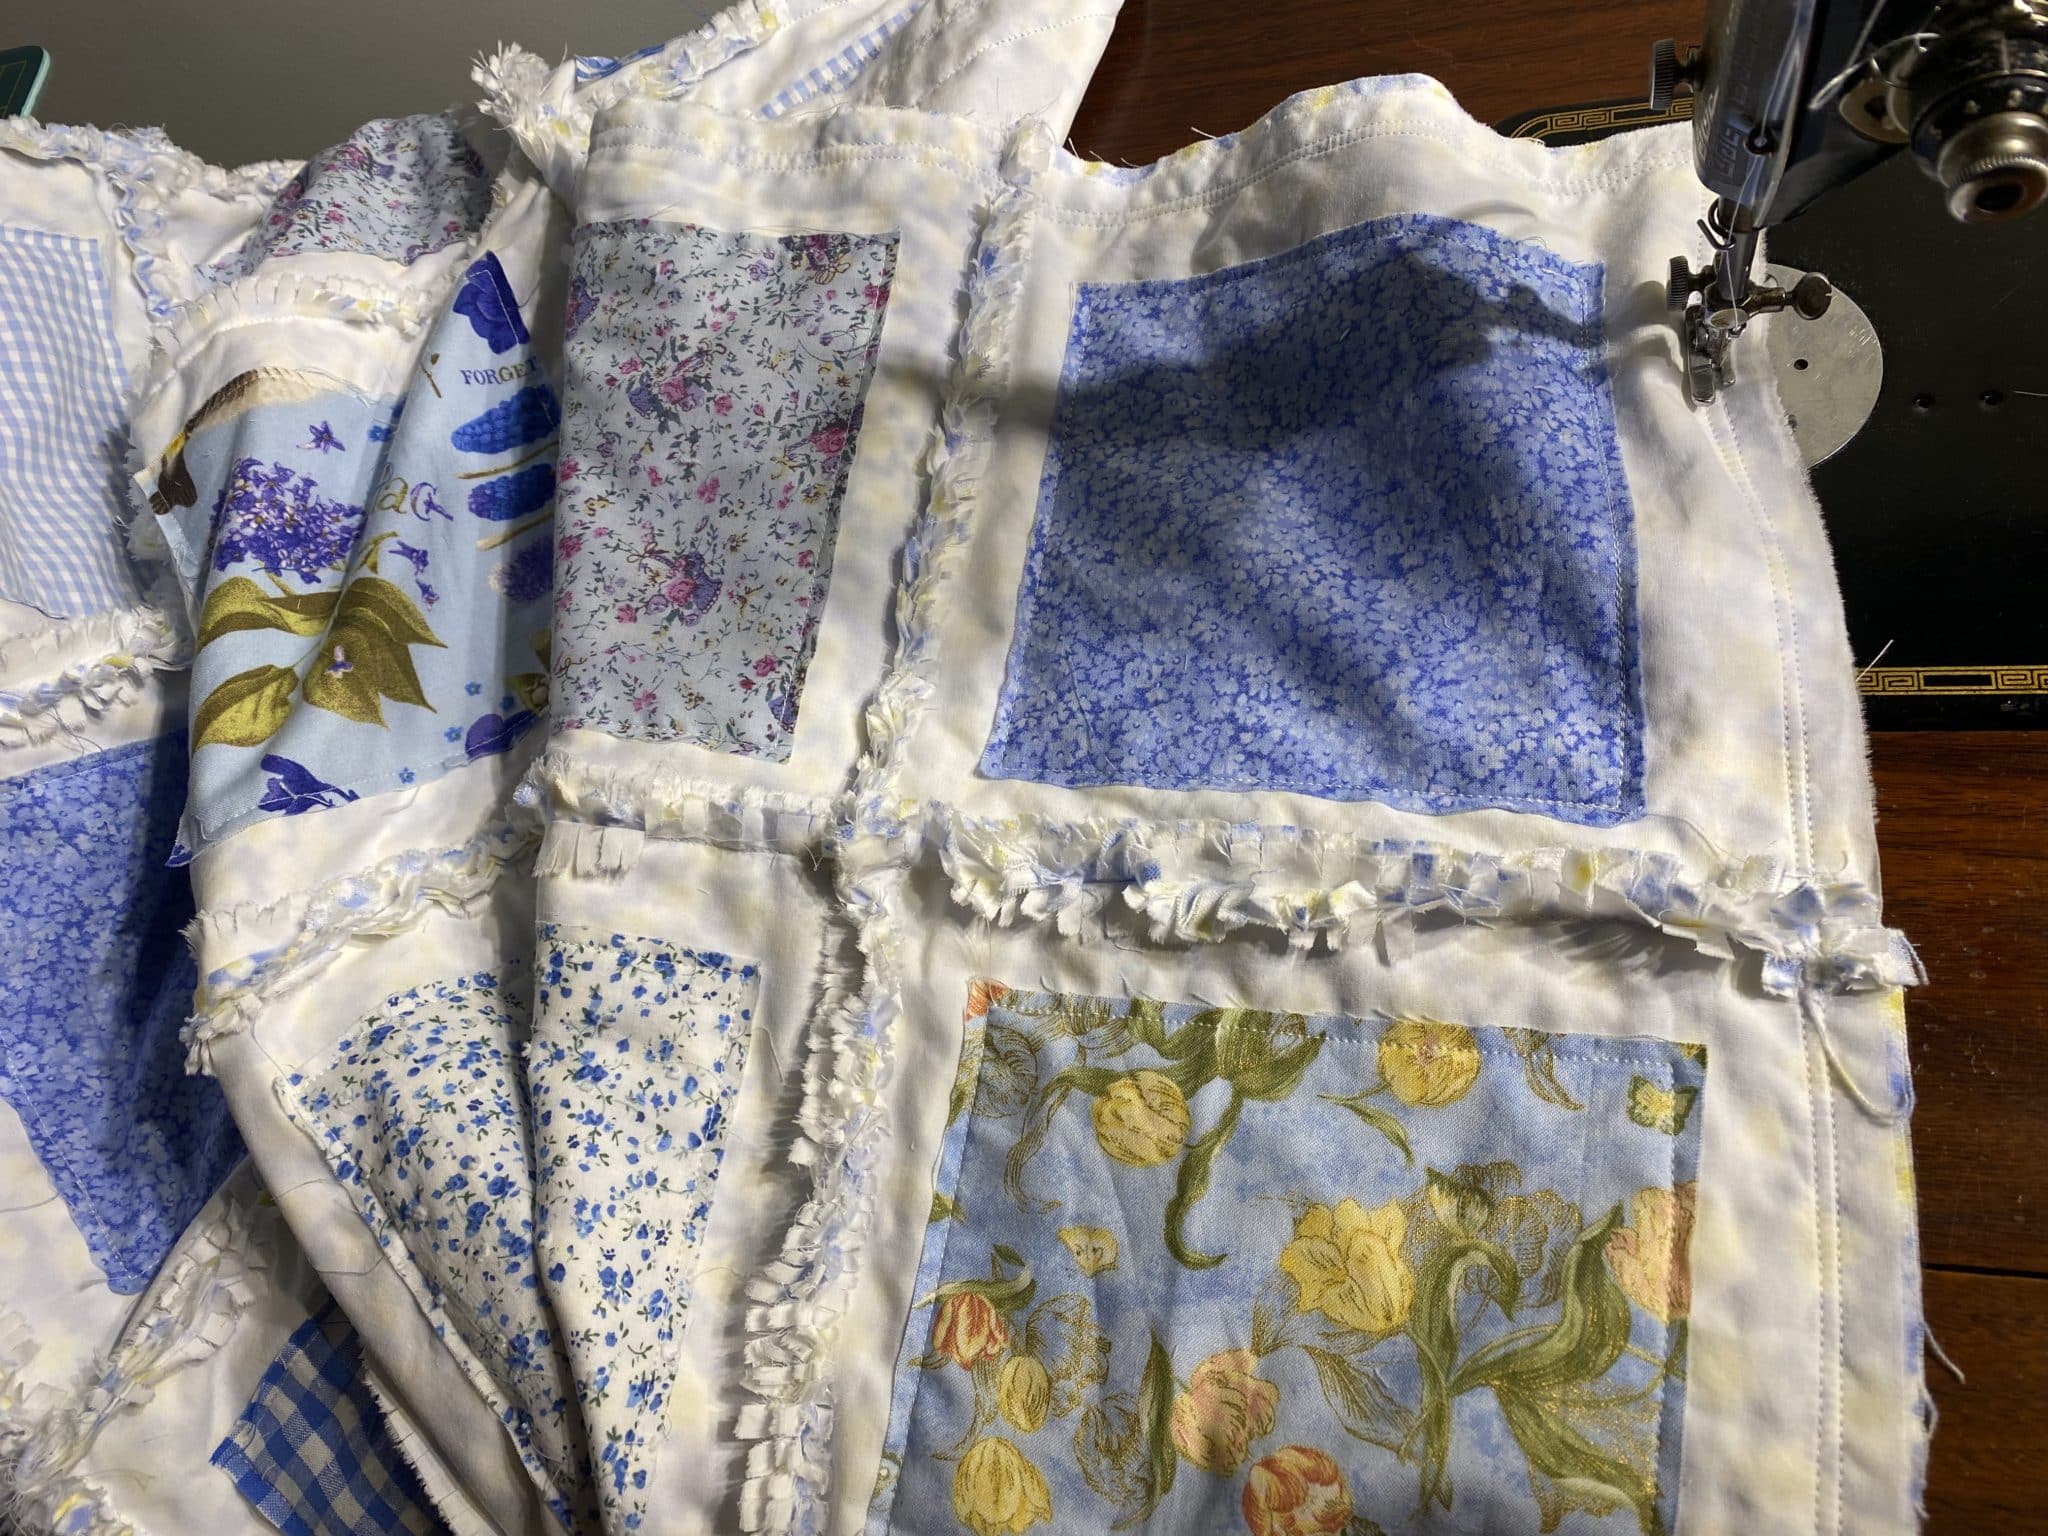
This image show how some of the seams have already been clipped before the next row is being added.
The seams were clipped at approximately 1/8th to 1/4” of an inch. (3/16ths)
After clipping the seams, take it to a flat surfeace (preferably outside) and rub over the seams with the back (blunt) side of a knife. This will release a lot of the threads and make the seams fluffy.
Once the quilt is assembled. I sewed two seams approximately 1/2” away from the edge around the complete perimeter. Then I clipped all the edges and washed the quilt.
Rag Time Blues Shadow Quilt Finish
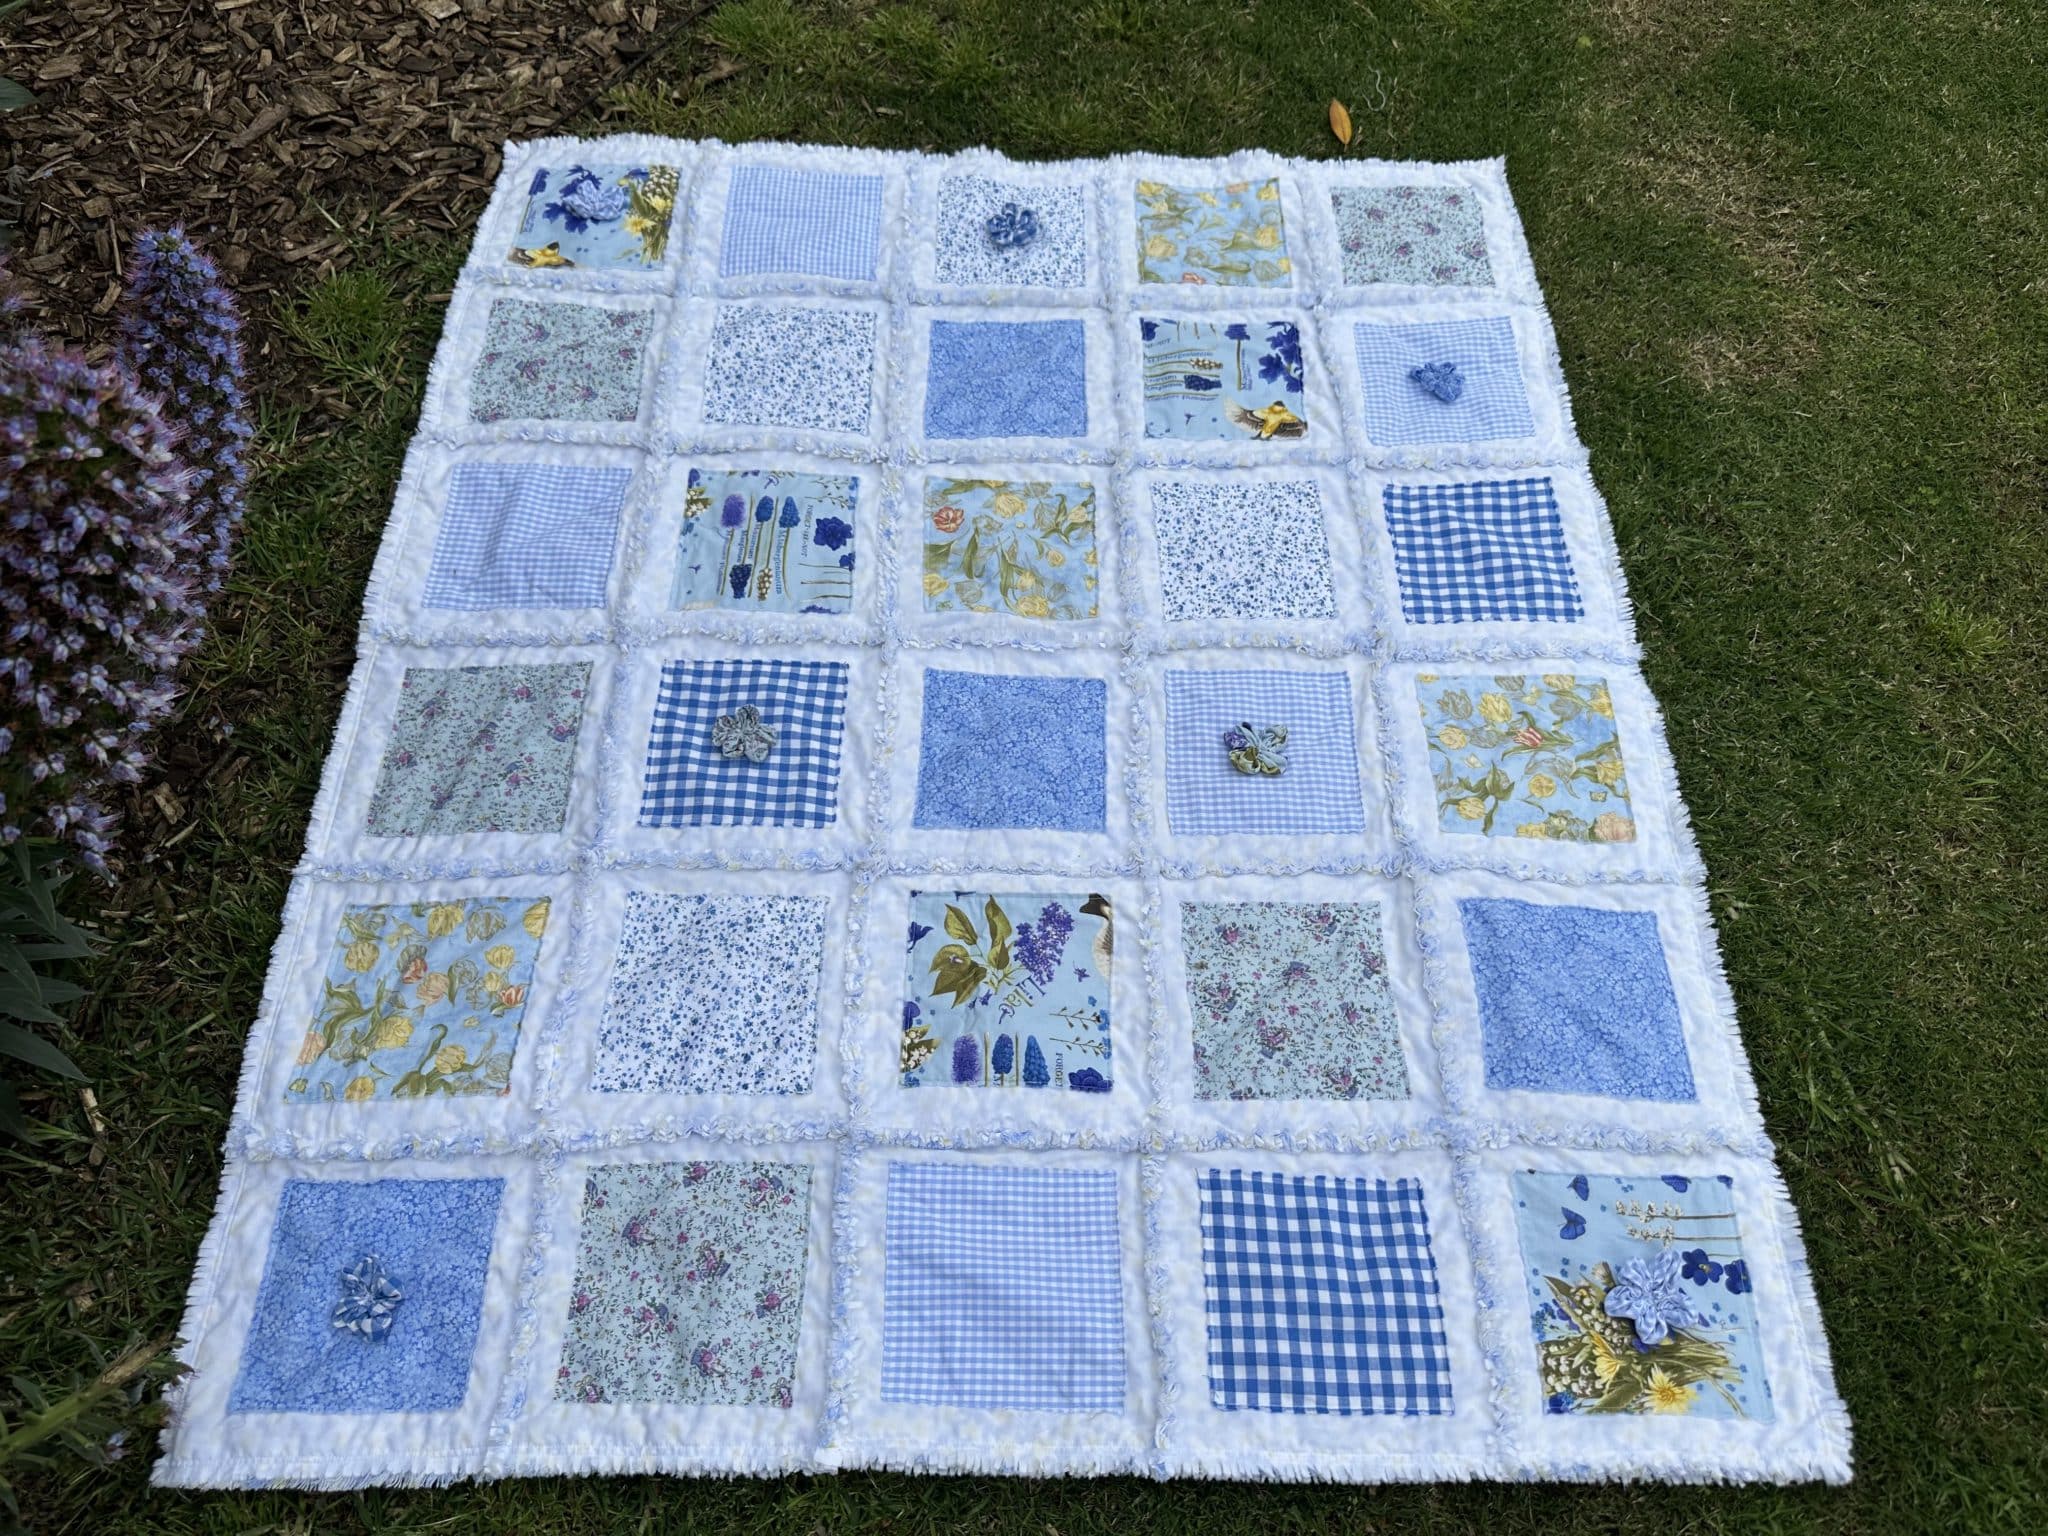
There were a few leftover 6” squares that I had cut so I made them into Yo-yo Daisies and used them to embelish a few of the squares.
This Rag Time Blues Shadow Quilt is very soft and cuddly.
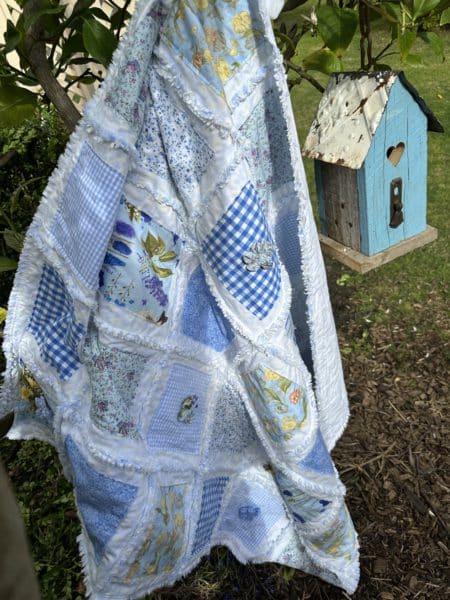
This is a very quick quilt to assemble. A perfect lap or cot quilt size.
If you like blue quilts you may also like Delft Blue Chaining Nine Patch and Pattern and Periwinkle Blues Quilt
Here are some links to other rag quilt projects
Quickest Queen Quilt Ever & Tutorial of a Rag Quilt
Hope you get to sew today.
Susie
© Susan Stuklis 2022

