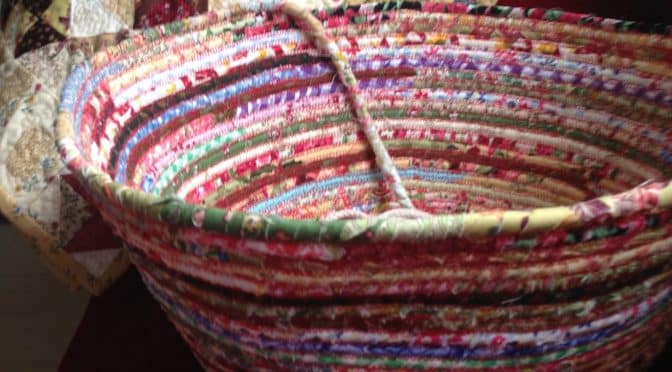
“End of Day” Quilter’s Basket – Free Tutorial
Dear Friends and Readers,
You can easily make this project at home if you have a sewing machine which sews a zig-zag stitch. Set your machine to a wide zig-zag stitch. I recommend using a 100 needle which is new and sharp. If you struggle with the project at any stage – change your needle.
Here is the link to the previous post, where I introduced the “End of Day” Quilters Baskets…
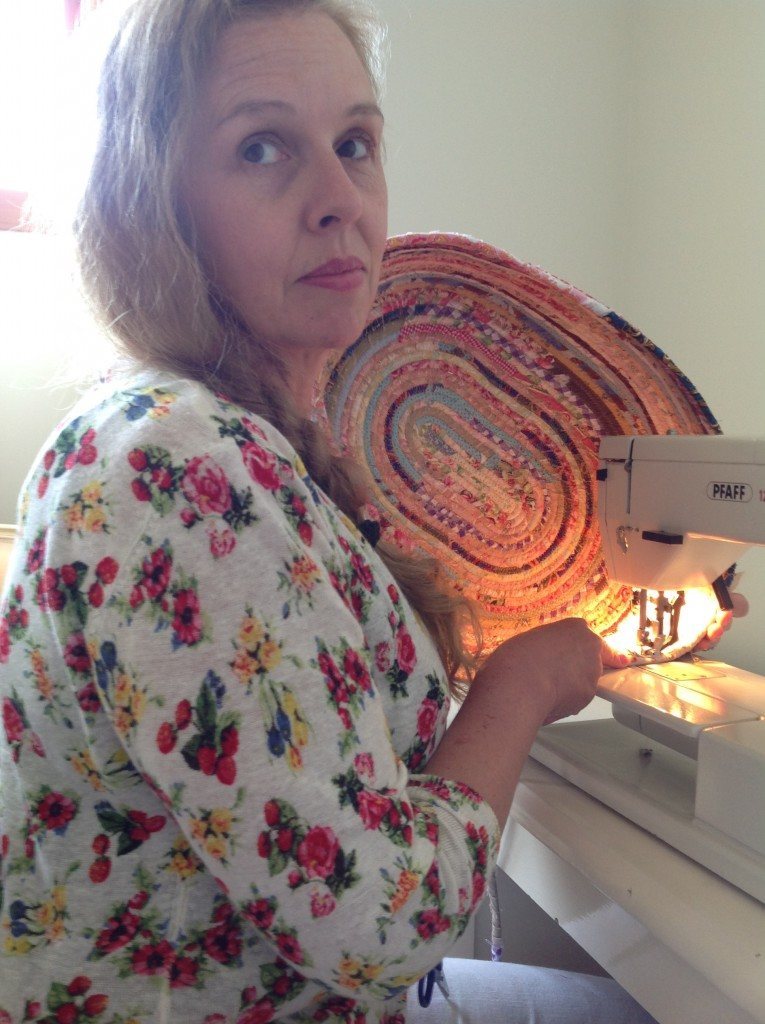
Begin by saving all your string off cuts from quilting. All strings are welcome. With this method it is all created with raw edges. I don’t believe this distracts in any way from the finished product.
You will need 6mm cotton clothesline rope – do not attempt to use any other kinds – no plastics or polypropylene. You will need plenty of pins and thread of your choice of color. The glass head pins are best because you have a good chance of removing them without accidentally sewing through as they stand out better.
As a post script to this tutorial I would also add a thank you to the ladies on FB who also suggested using a glue stick to hold the fabric in place or clothespins. These are both great alternatives,
The number of skeins required will depend on the size of the project you wish to make. If you wish to make a large basket you will need 3 skeins, for a medium basket 2 skeins, for a small bowl 1 skein. Please bear in mind these amounts are approximate. I would recommend beginning with a small bowl but if you are feeling brave and determined, go for a large project.
This is a project done in stages much like quilting. Assemble your strings. A good TV job. Begin by covering the tip of the rope and then wrapping your strings around the rope in a clock wise direction at a 45 degree angle. This will ensure that the rope is overlapped with fabric twice so that no rope shows through.
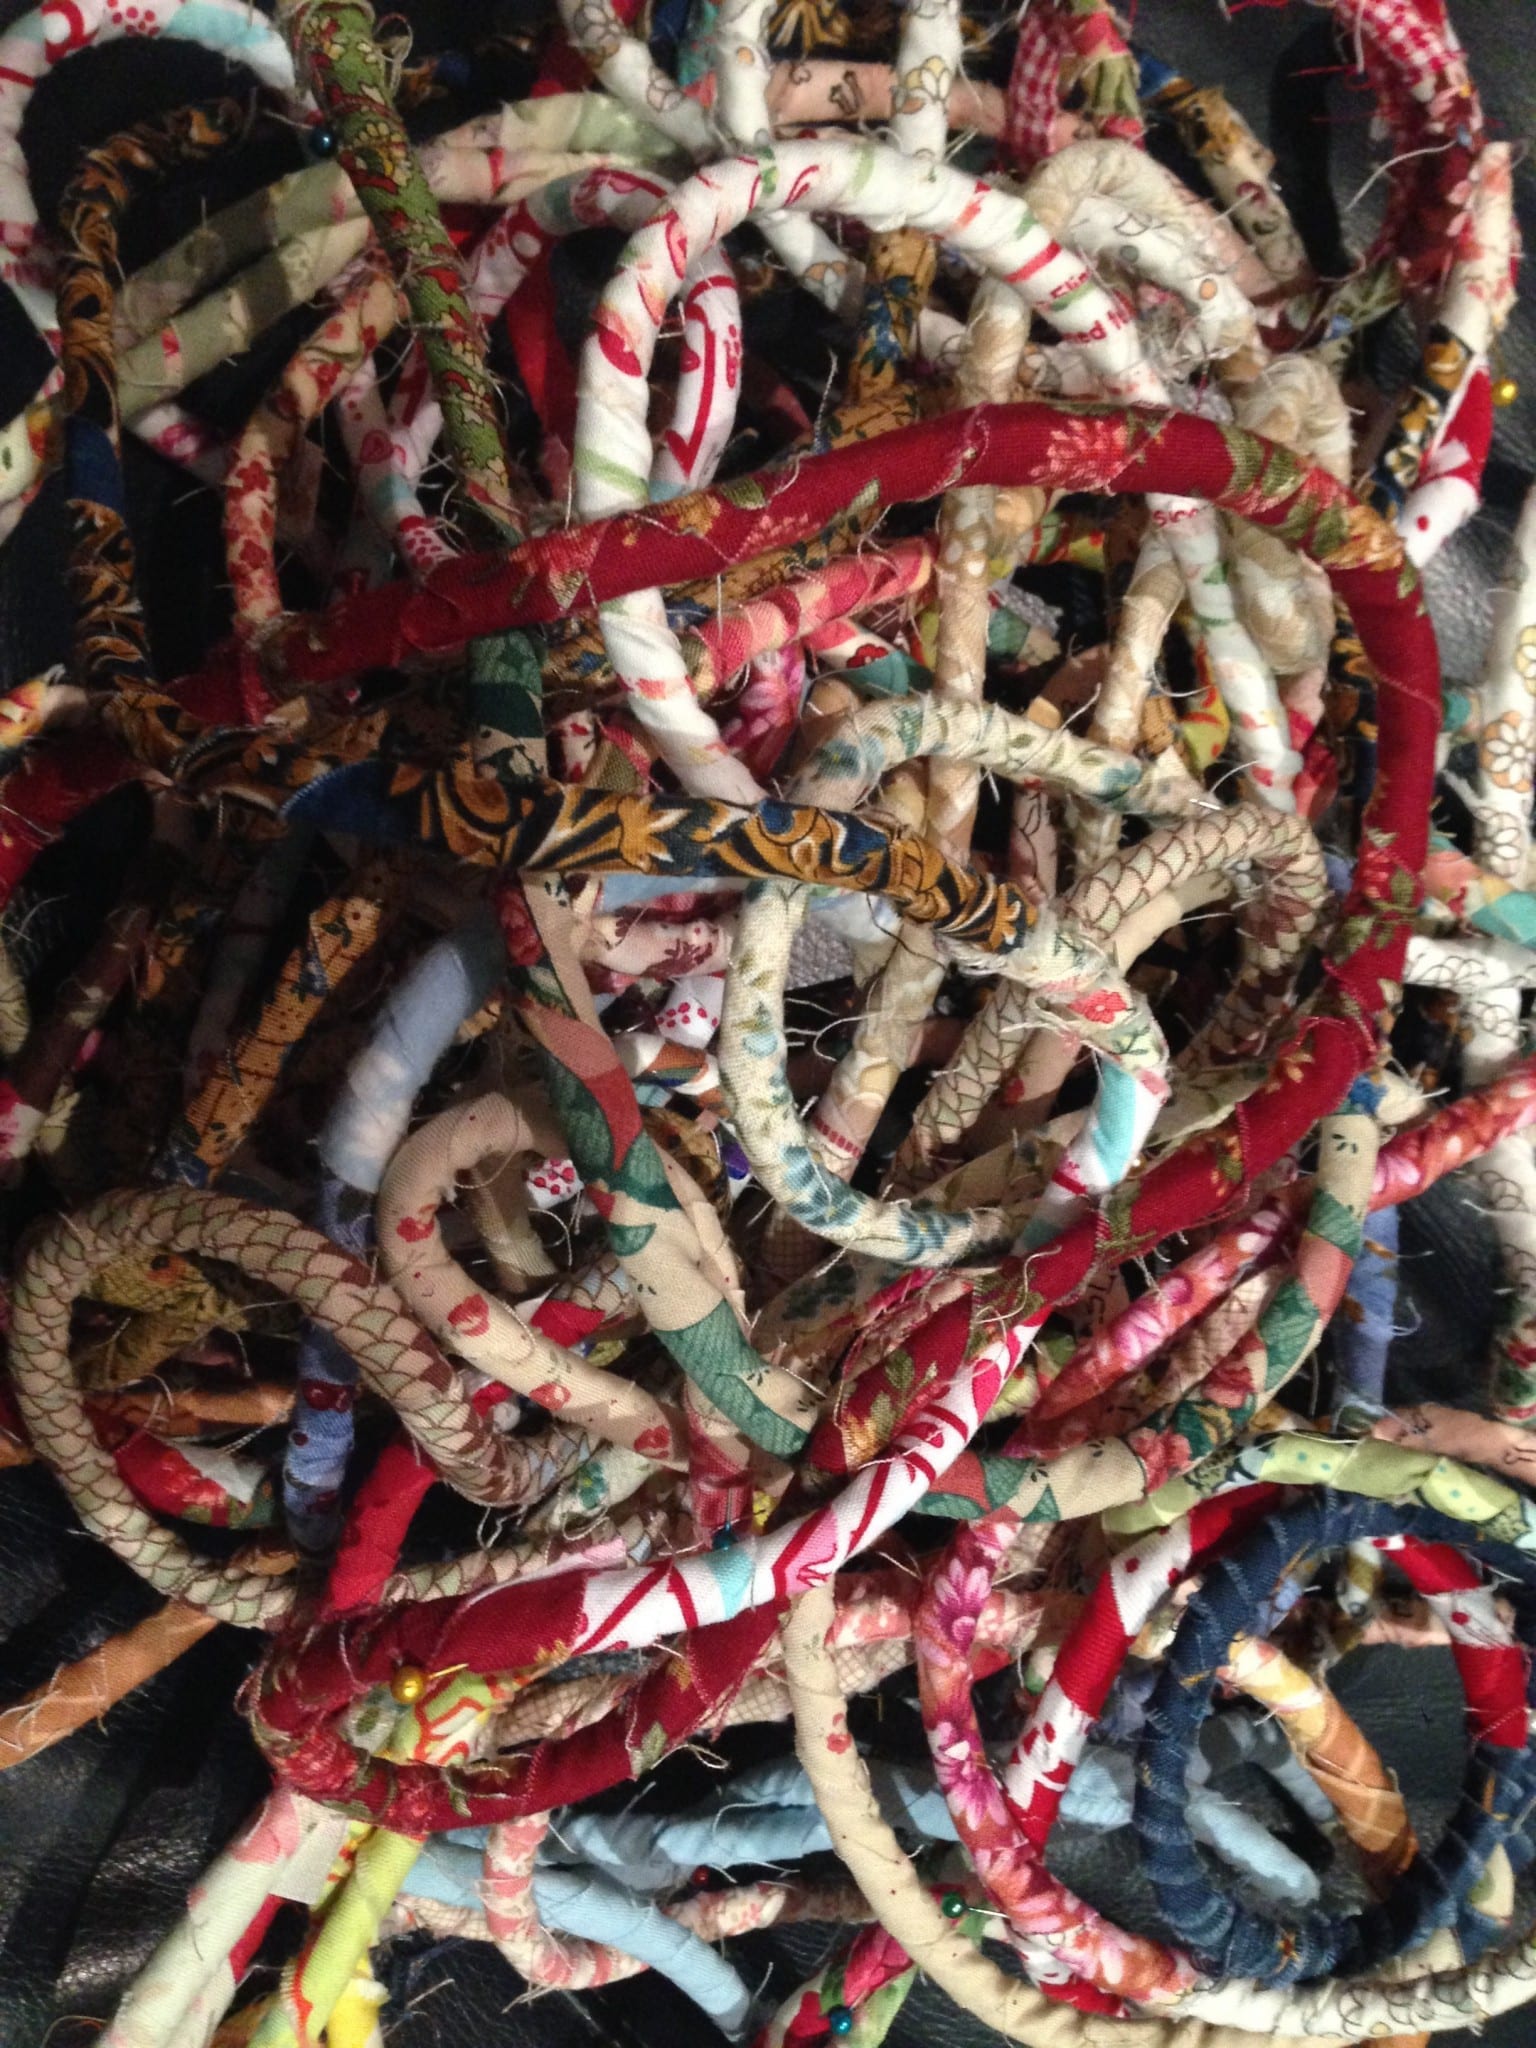
Each time you add a new piece of fabric tuck it under the existing piece then continue wrapping. Add your pins longitudinally, that is insert them into the rope so that they hold the string but then down the rope so that you do not prick your hands every time you pick up the rope. Keep going until you have covered all of the rope and it looks like these!
Now take to the sewing machine and start by making a coil at the tip. Begin to zig-zag and stitch together. Go slowly. Remove pins as you go. You will need to turn the coil to align the zig-zag so that it catches both sides of the flat coil. Ensure that the coil will be emerging to the left of your needle. Keep sewing around to make the base until it reaches the base size that you like. Then the next row you will need to tip the coil onto its side to create an angle (of your choice).
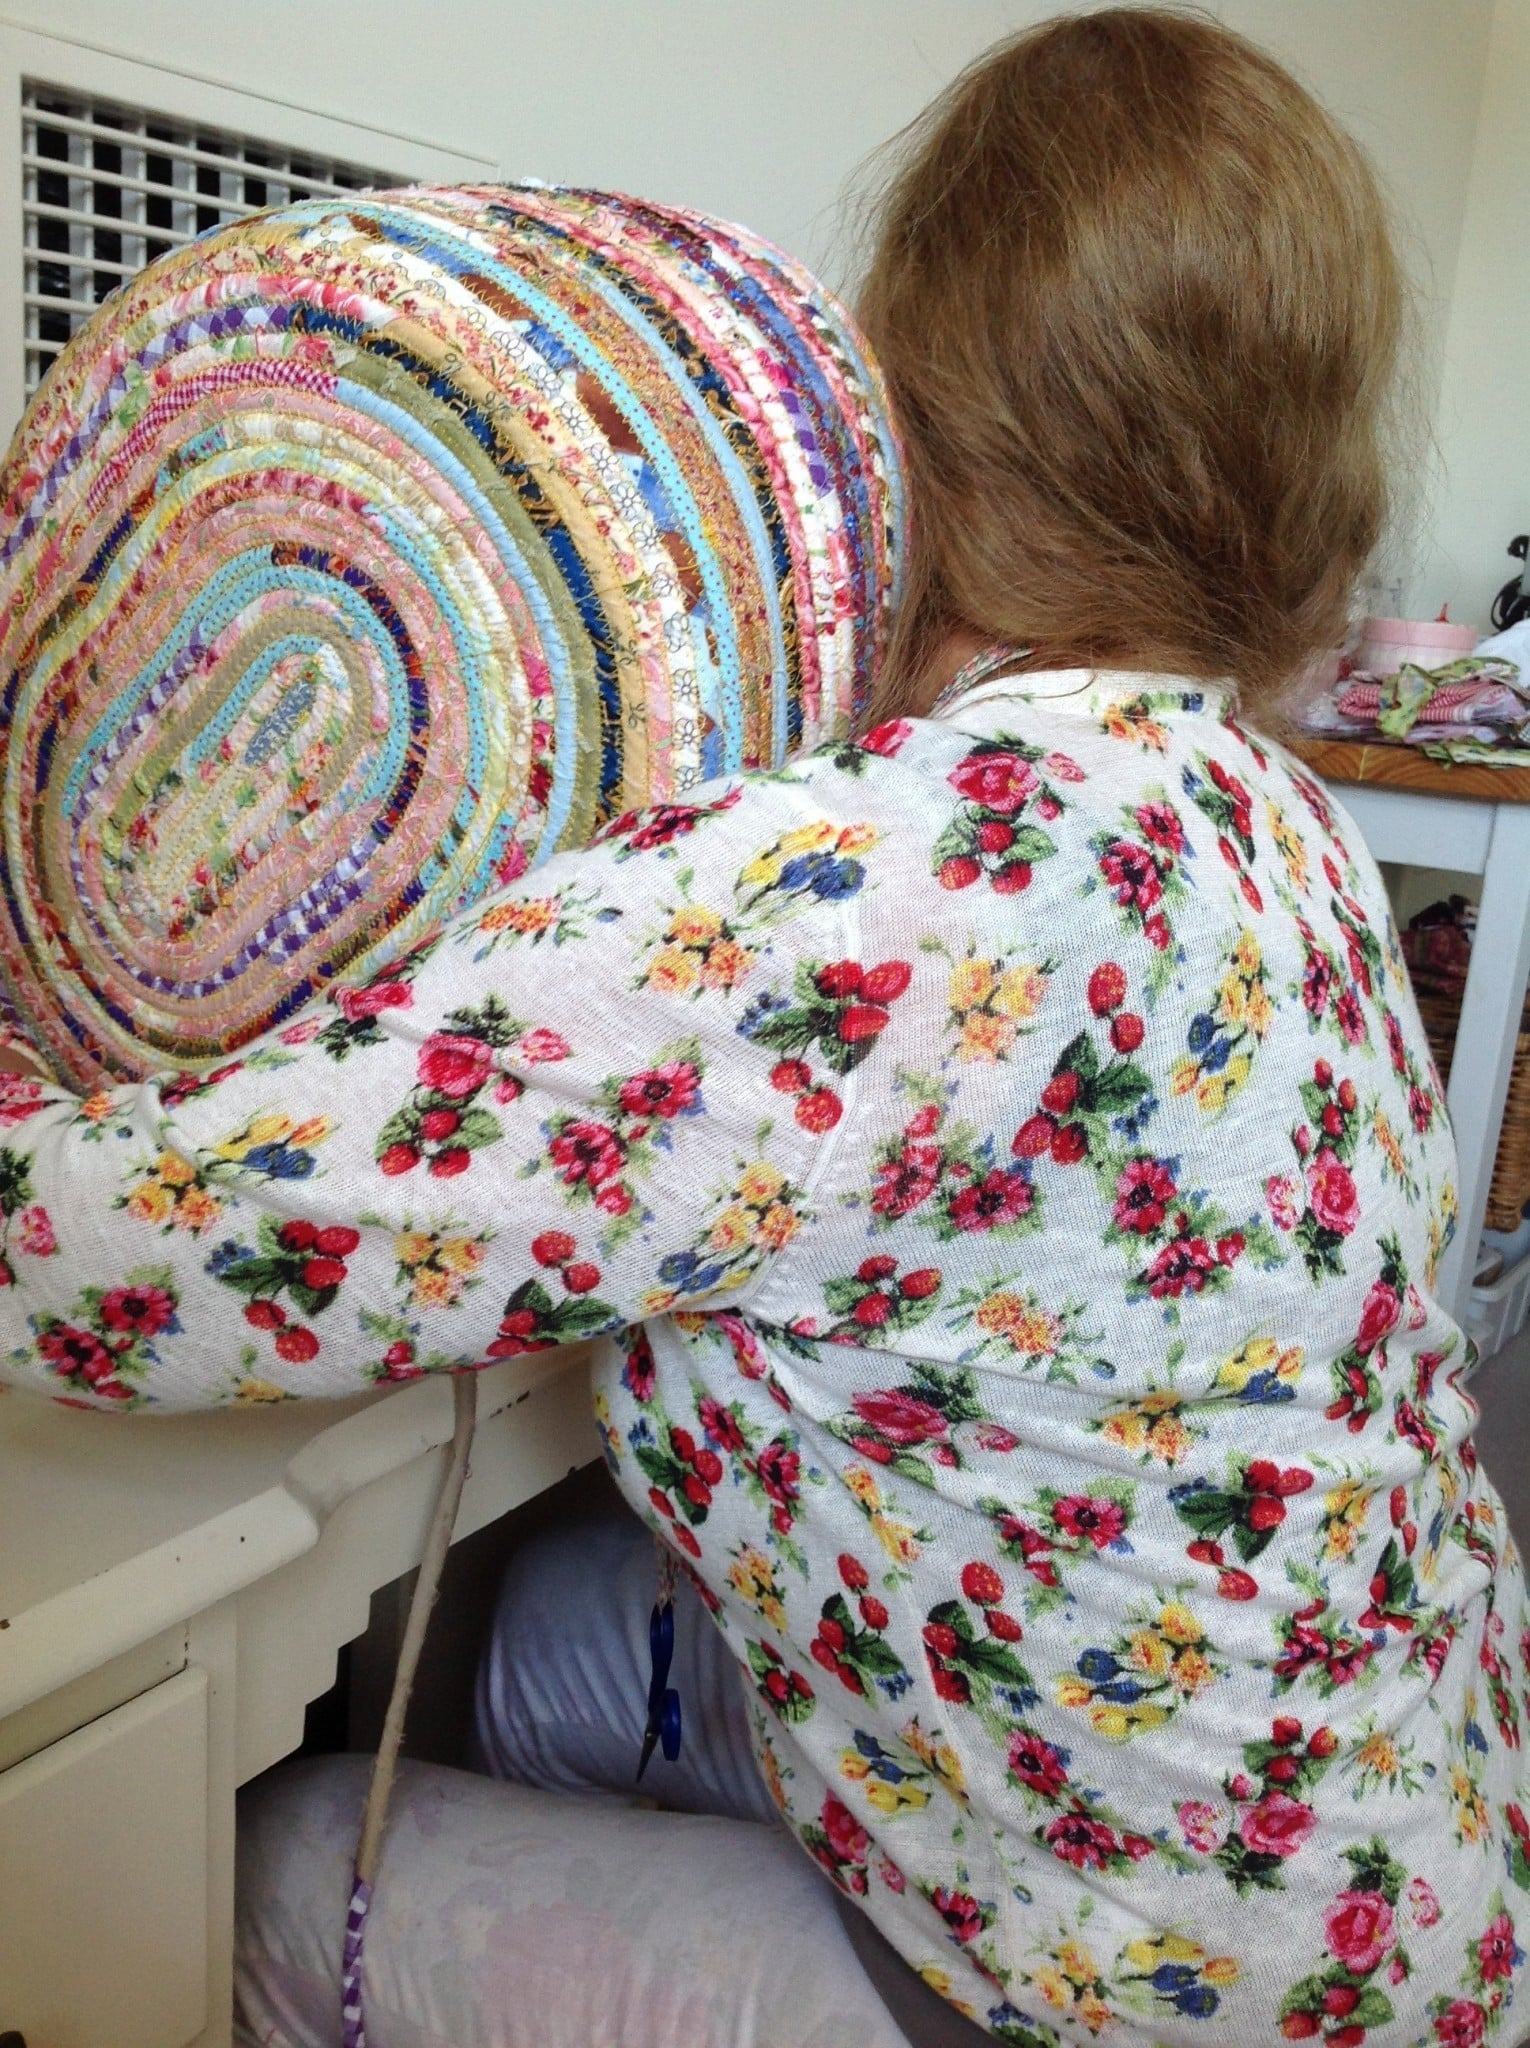
Link to the above basket “Laundry Love”
Try to maintain the same degree of tipping especially through that first turning row. The basket will naturally want to splay out as you sew. If you want your sides steeper you will need to ensure that a bit more tension is put uniformly on the basket base to each new row. You will develop a ‘feel’ for it. When the basket or bowl is nearing the size you are happy with decide whether or not handles are required. You can shape the handles as a continuum of the basket by leaving a gap (as pictured below) and then allowing an amount of slack on the rope until it is the length required then recommence sewing. When you are ready to finish off the bowl or basket I like to cut the rope on an angle and then continue wrapping the fabric so that it does not look like an abrupt ending but finishes gradually 🙂
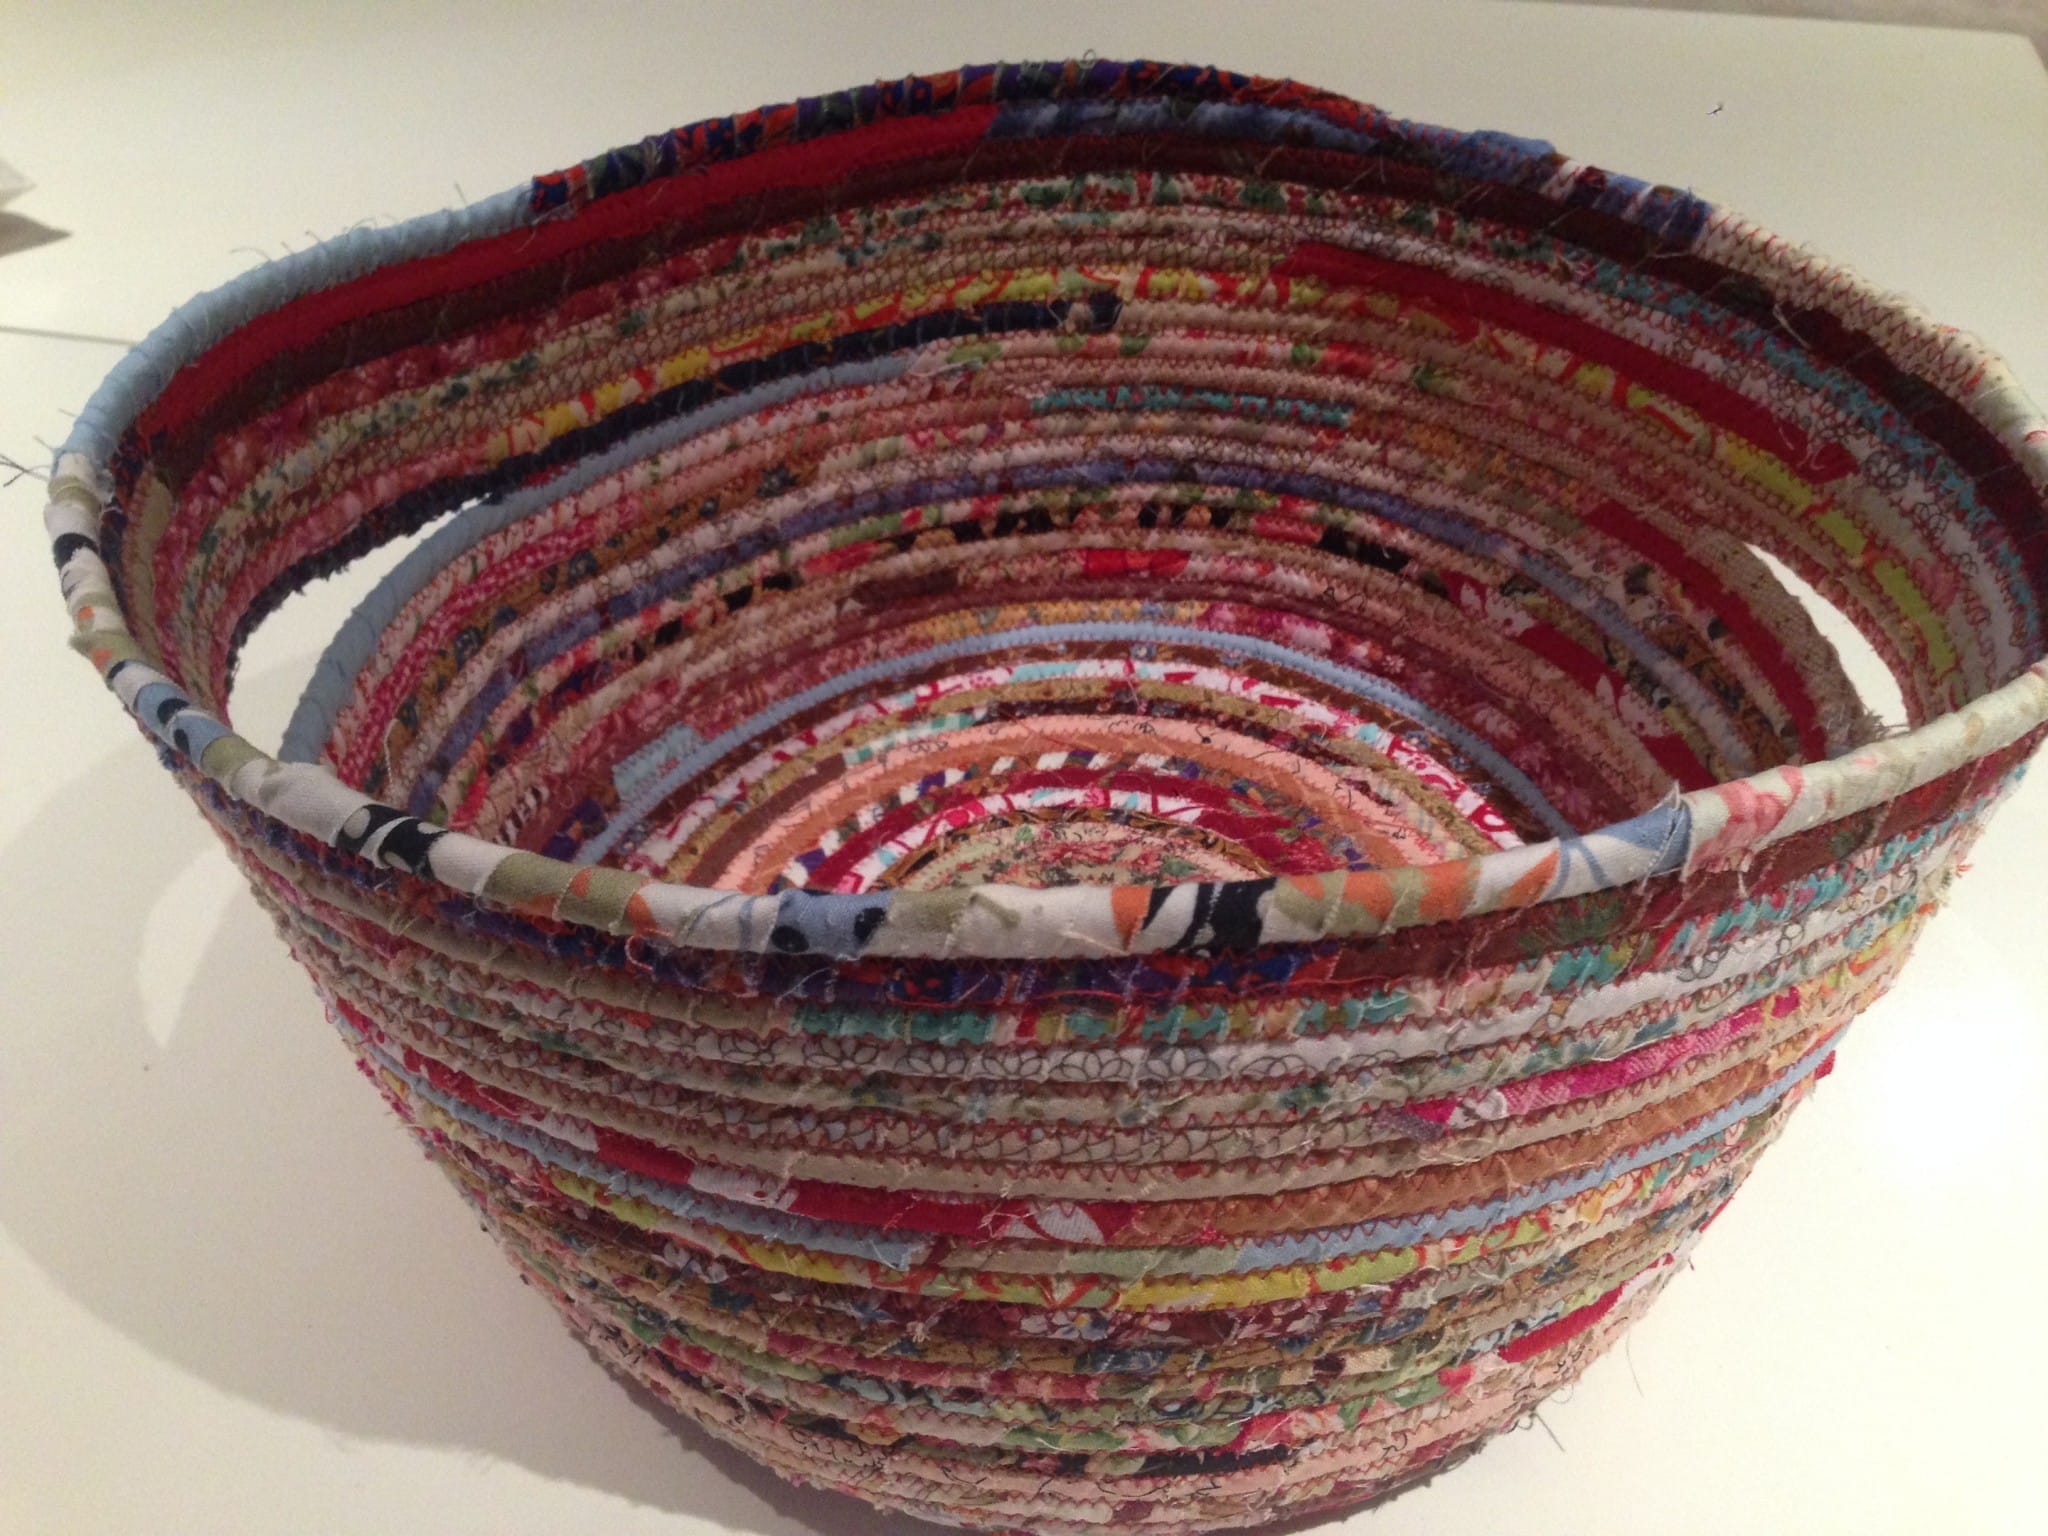
Now that you have the basic idea, you may line to try some of these other basket projects.
Making a new End of Day Quilters Basket
Or…
End of Day Quilters Holiday Basket
Here is a nice little Easter Basket…
End of Day Quilters Chicken Egg Basket & Tutorial
Have a lovely day!
Susie

