
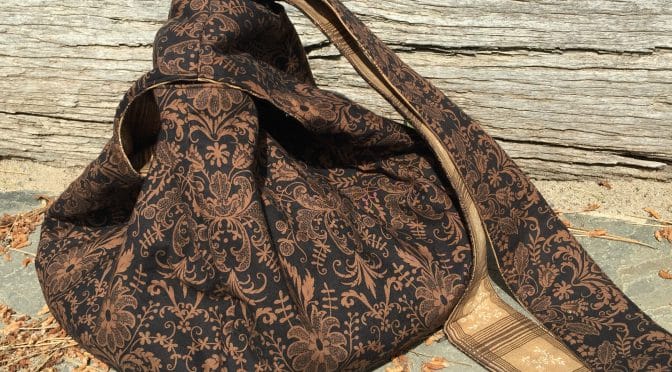
Japanese Knot Bag – A New Pattern
Hello Dear Friends and Readers. Japanese Knot Bags are bags which have a beautiful shape, due to the bag having only one main strap. It is looped through a short strap on the opposite side which brings the bag top together. Therefore, closure devices are not required. No zippers, buttons or buckles. This certainly ensures a beautifully simplistic design and style which can easily be created in various sizes.
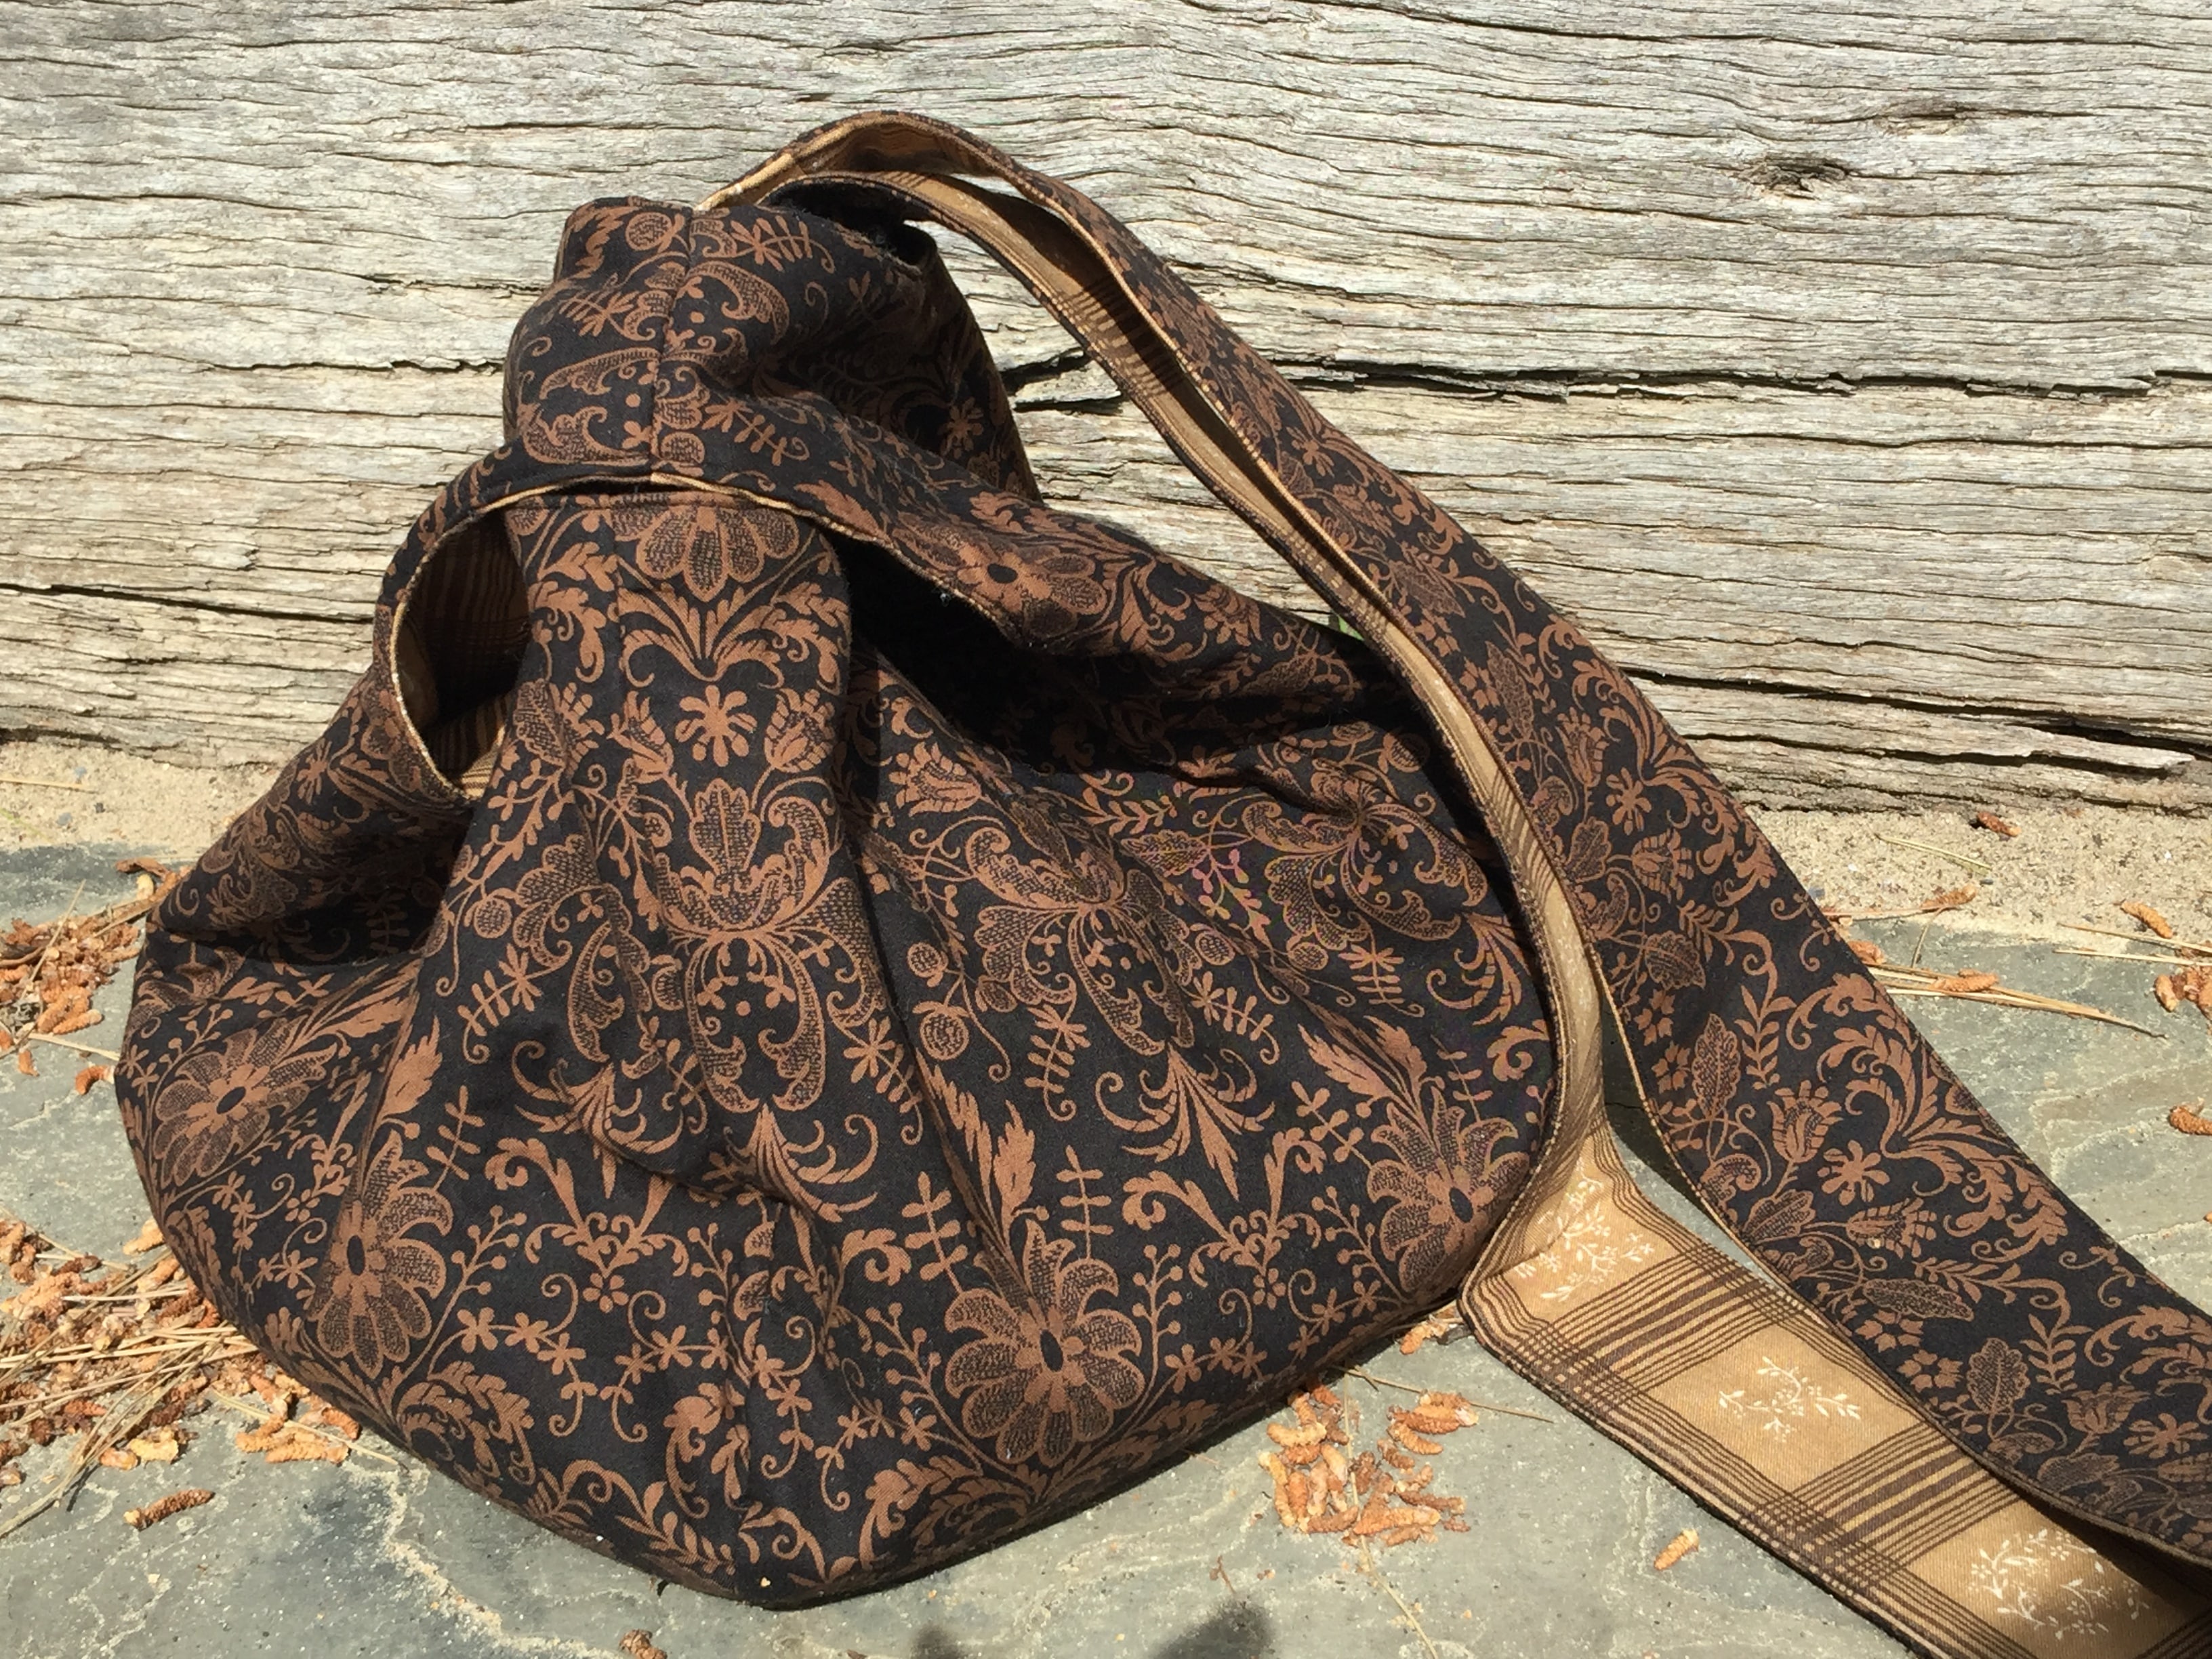
carry-history-antique-japanese-bags
The strap can be altered in length depending on whether the bag will have a wrist strap, handbag length or as in the case of this bag, a shoulder or cross body bag. This means a hands free bag, which I find is very useful.
Japanese Knot Bags can also be knitted, crocheted or even felted. These bags in particular caught my attention, because of their symmetry and the ability to have a flat base, without having a round inset to sew in.
This got me thinking about creating a New Japanese Knot Bag Pattern for sewing which also has these features.
This is an opportunity to use some of the beautiful Quilting cottons you have in your stash, or left over upholstery fabrics will be gorgeous too.
All fabrics have been washed before commencing.
Seam allowance of 3/8″ included.
Requirements for one Japanese Knot Bag – A New Pattern
3” WOF strip of bag outer fabric for the strap (approx 42”)
Method
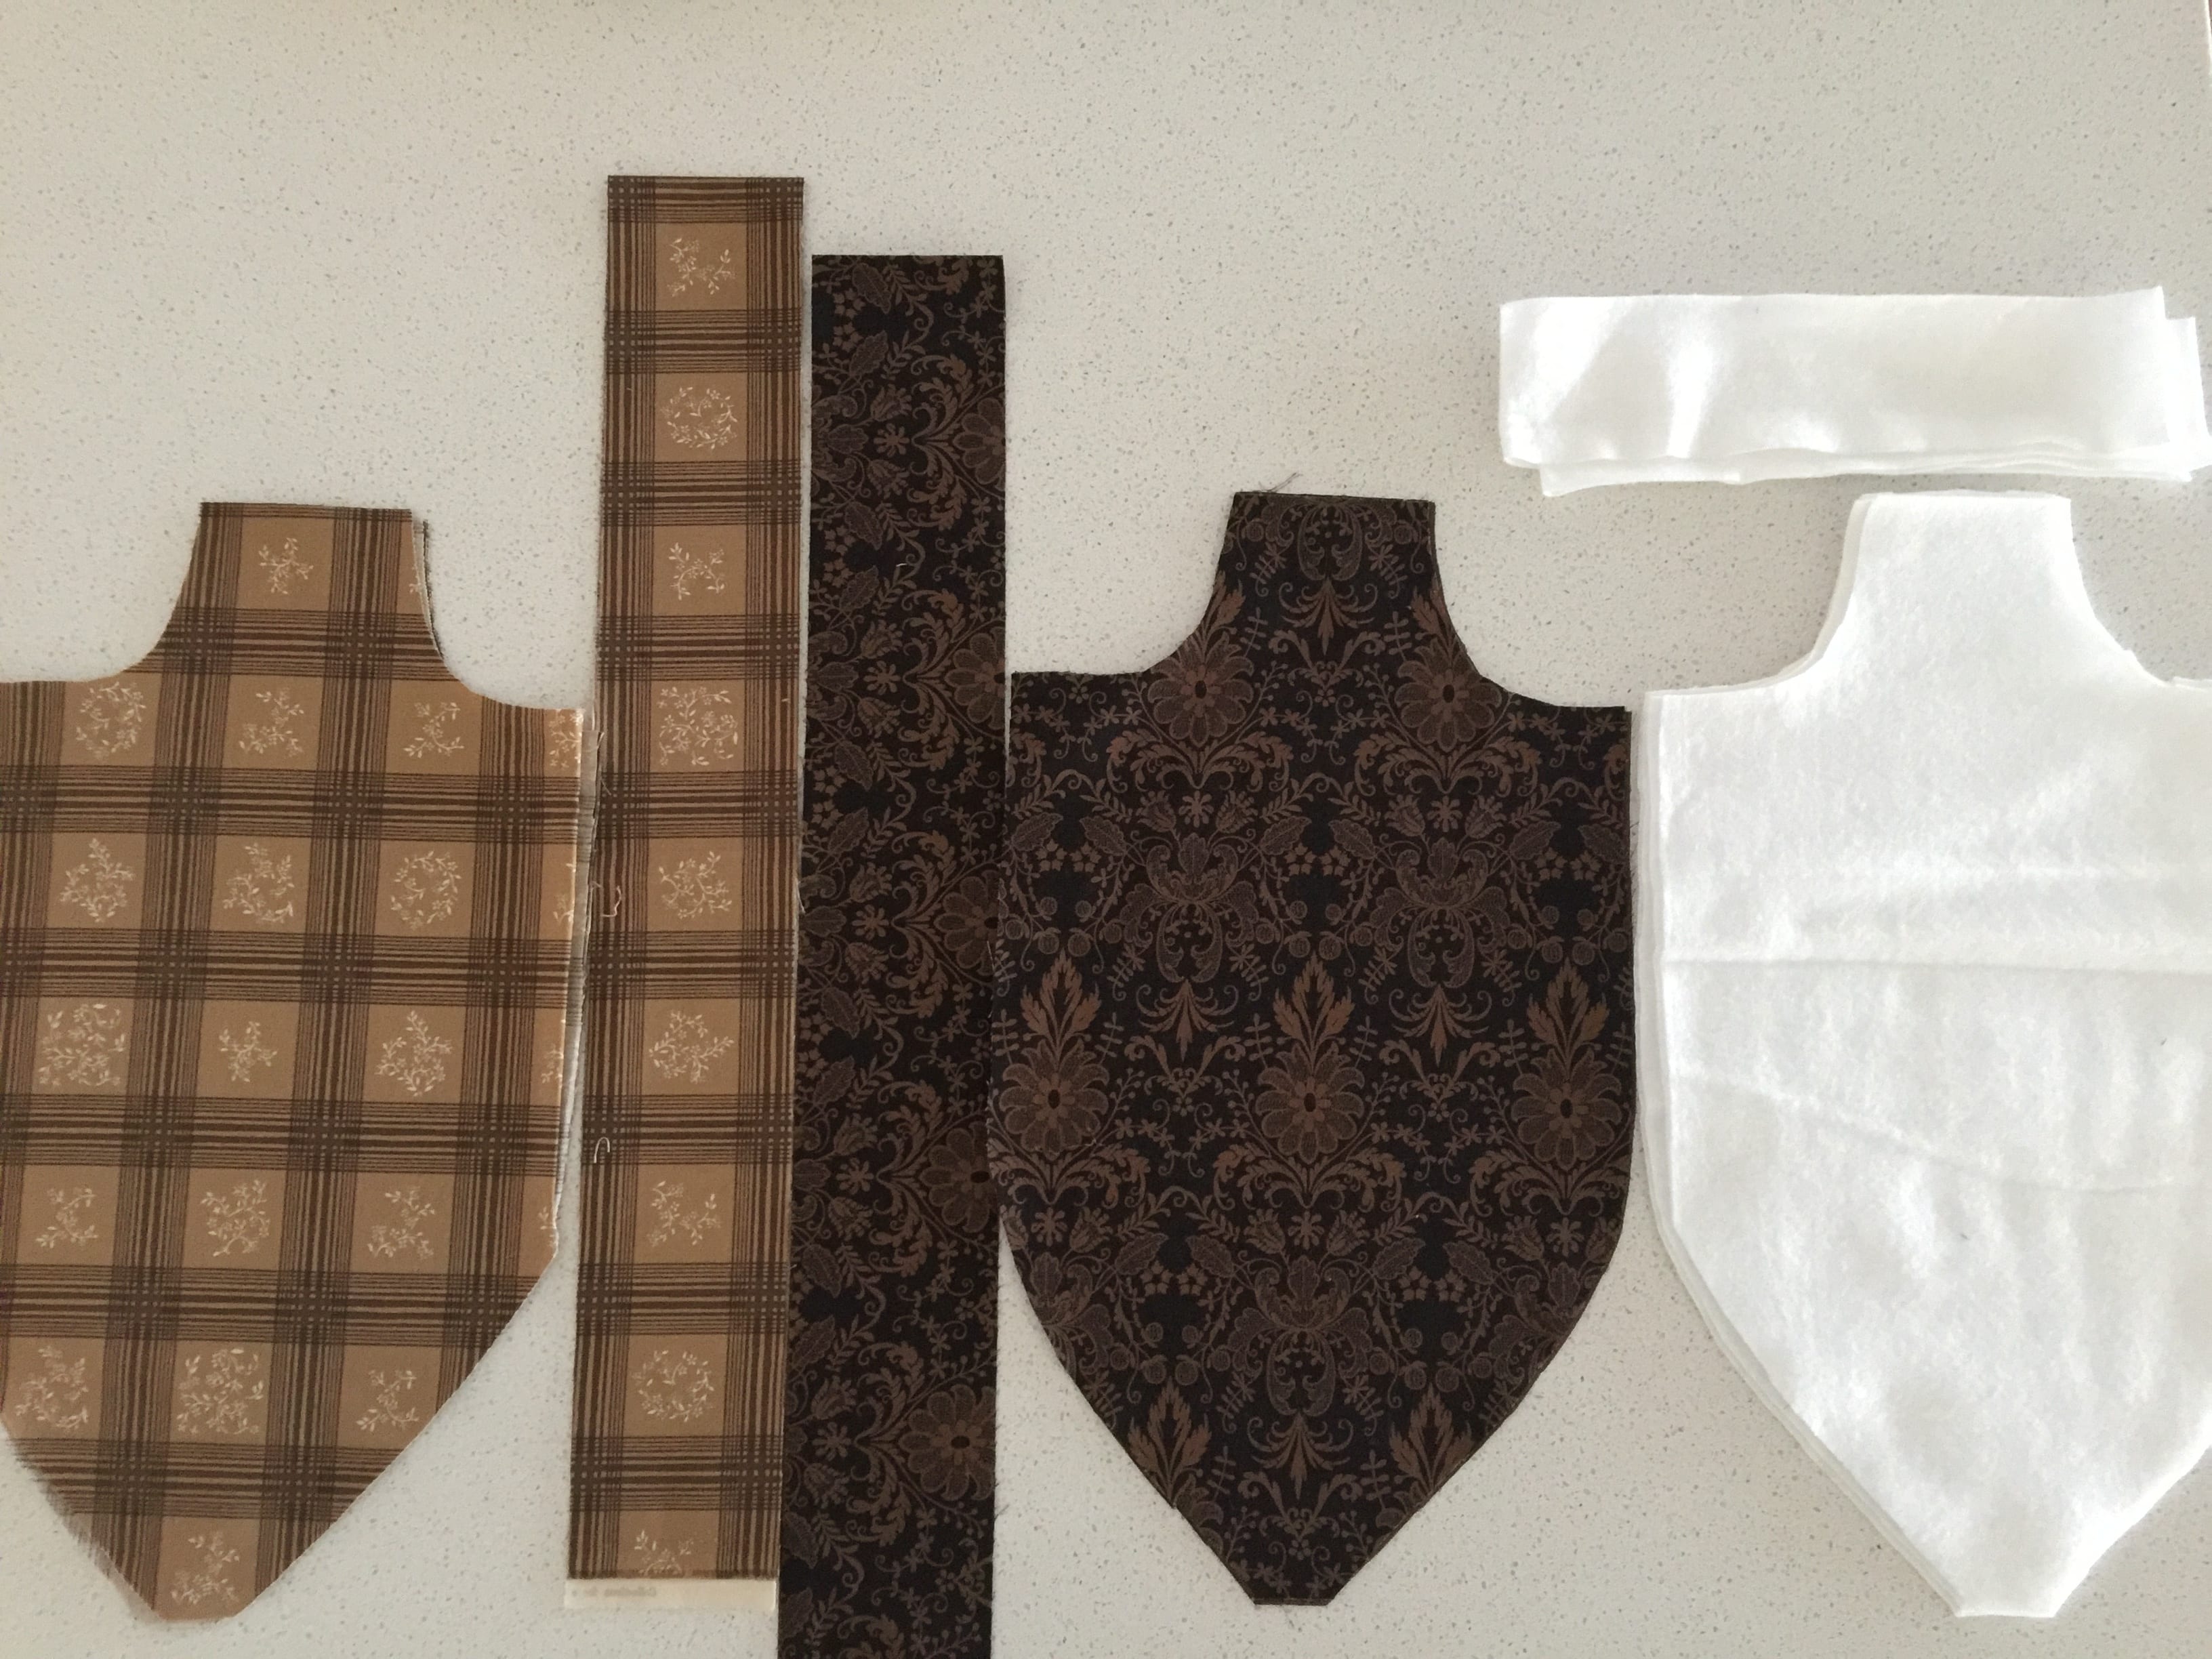
Draft the bag pattern as pictured below.

From each of the bag outer fabric and the bag lining fabric, cut a 3″ WOF strip for the bag strap.
Cut 4 bag pieces from the outer fabric, the lining fabric and the interfacing.
Cut a 2 1/2″ WOF strip from the interfacing
Iron on the interfacing pieces to the wrong sides of the bag outer pieces. Centre the interfacing strip onto the wrong side of the outer bag strap and iron in place. NB. If you wish to add pockets to the lining, do so now.
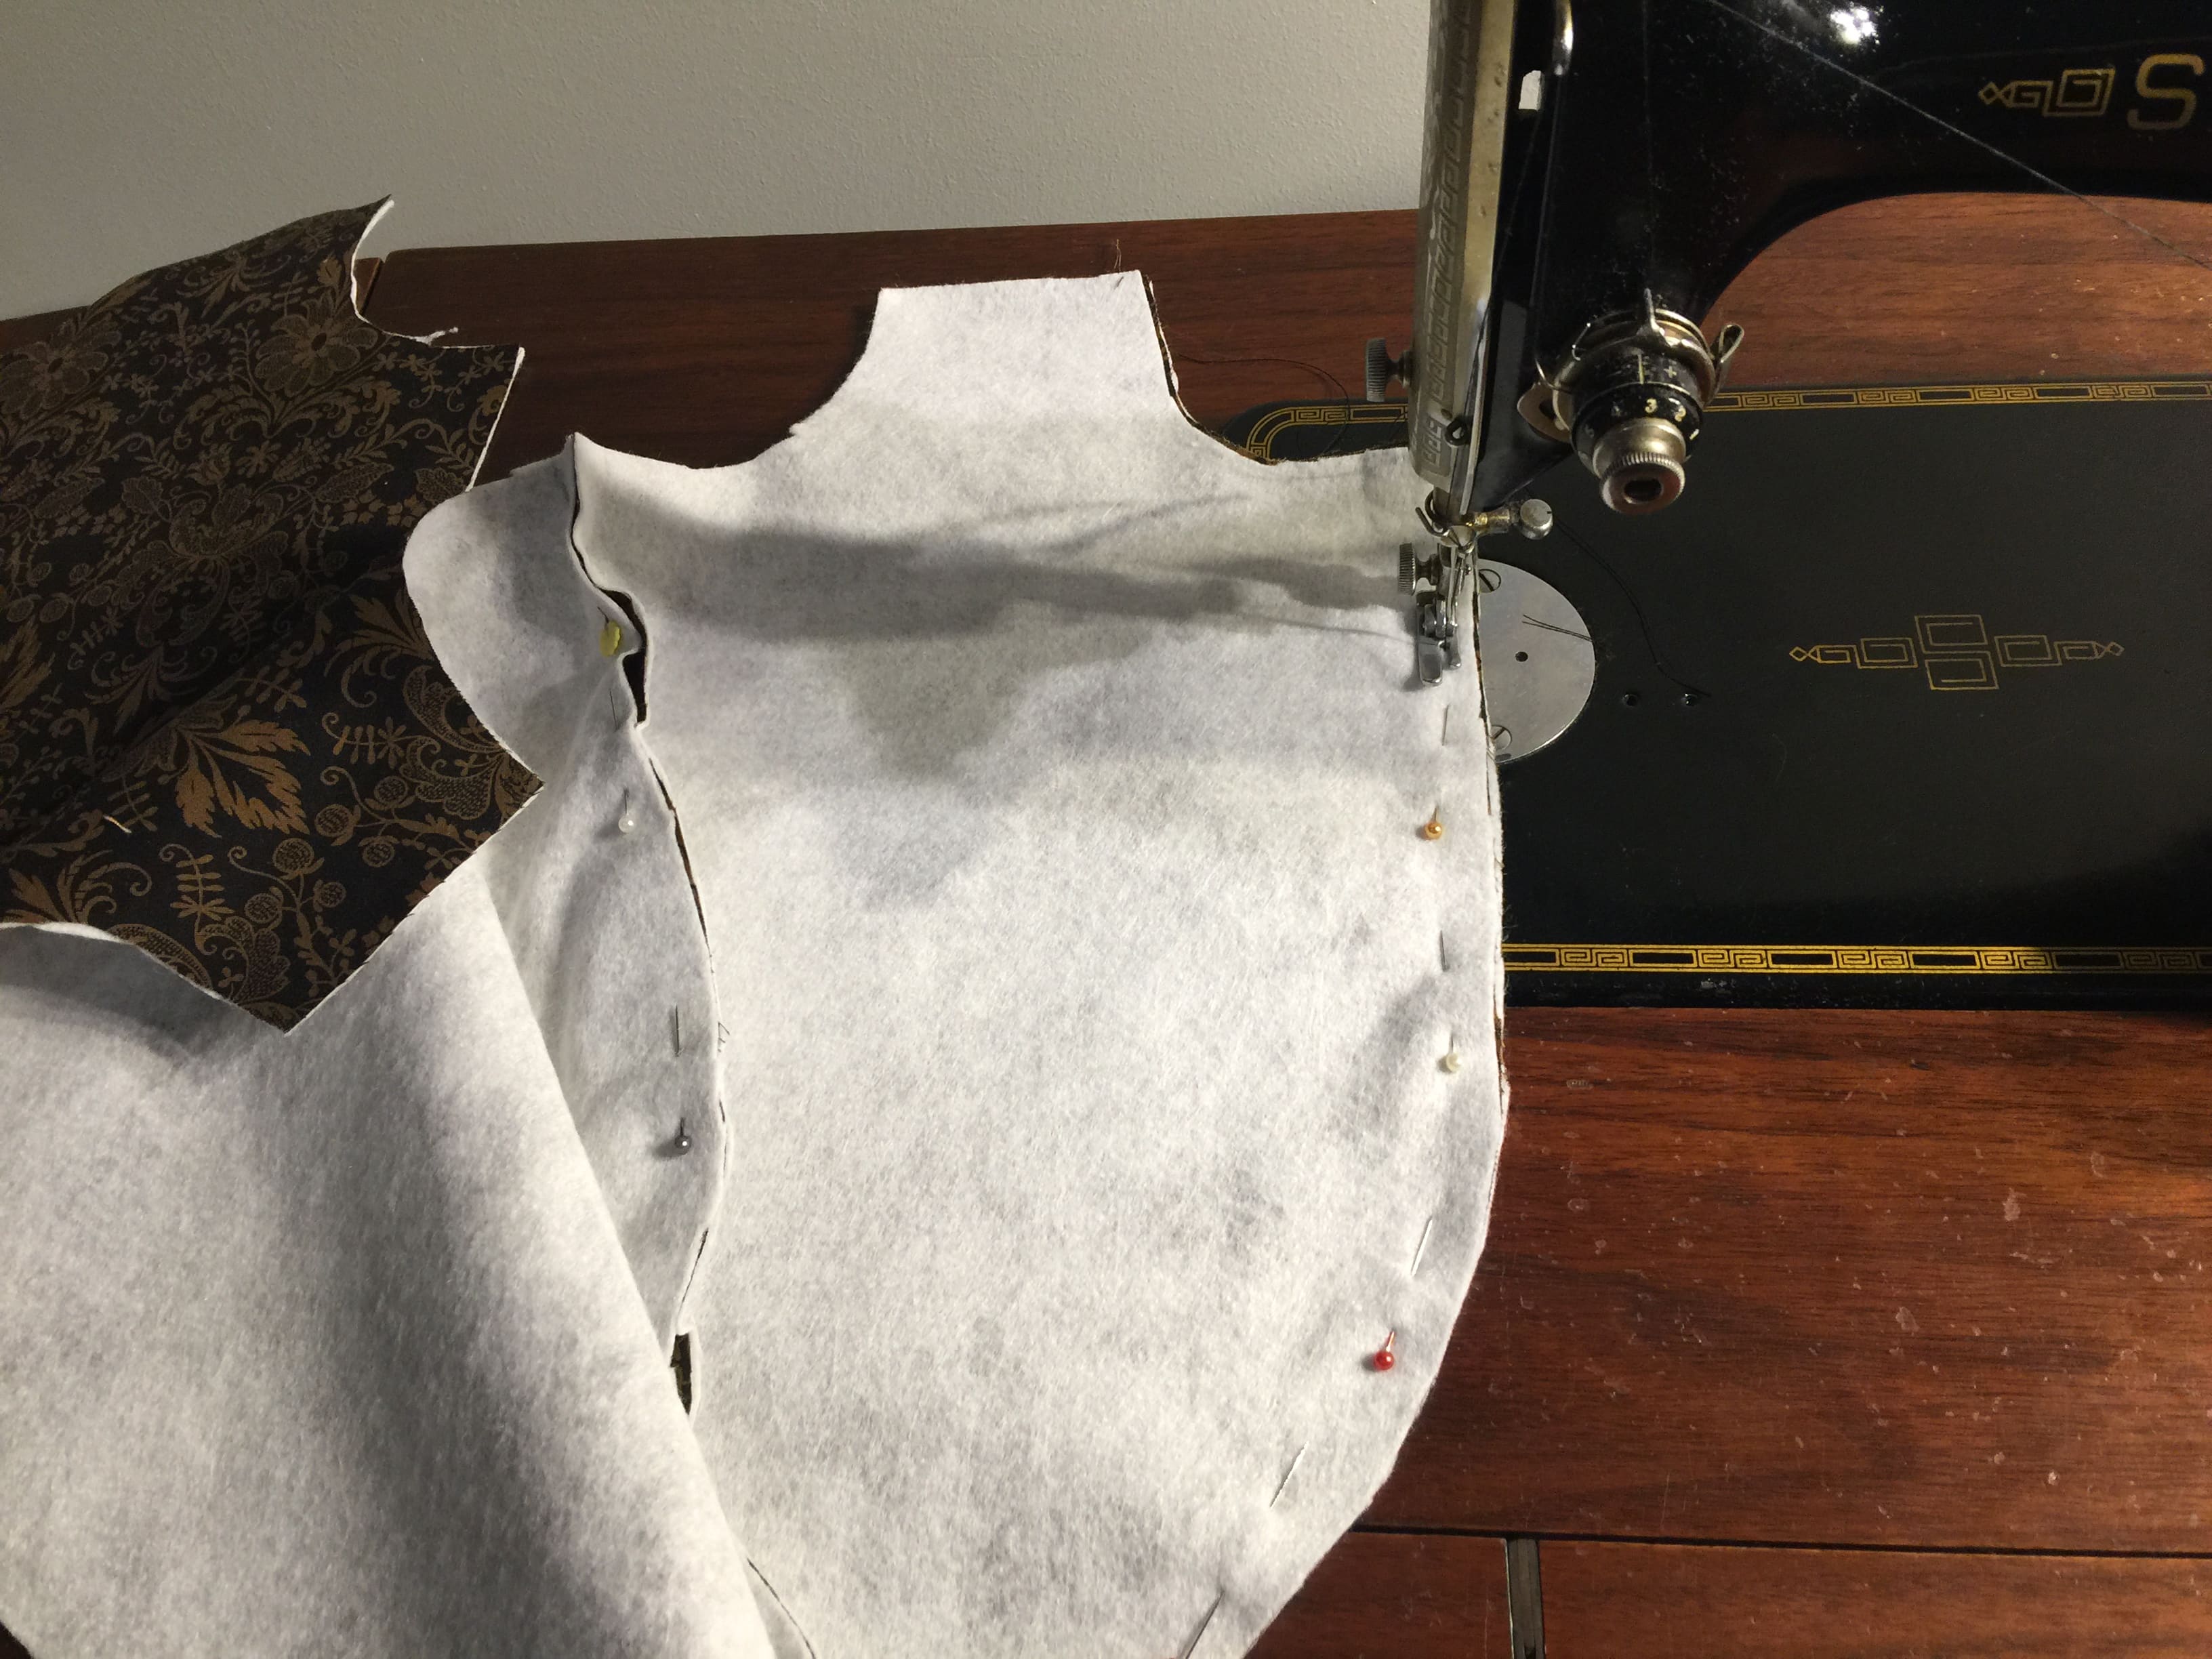
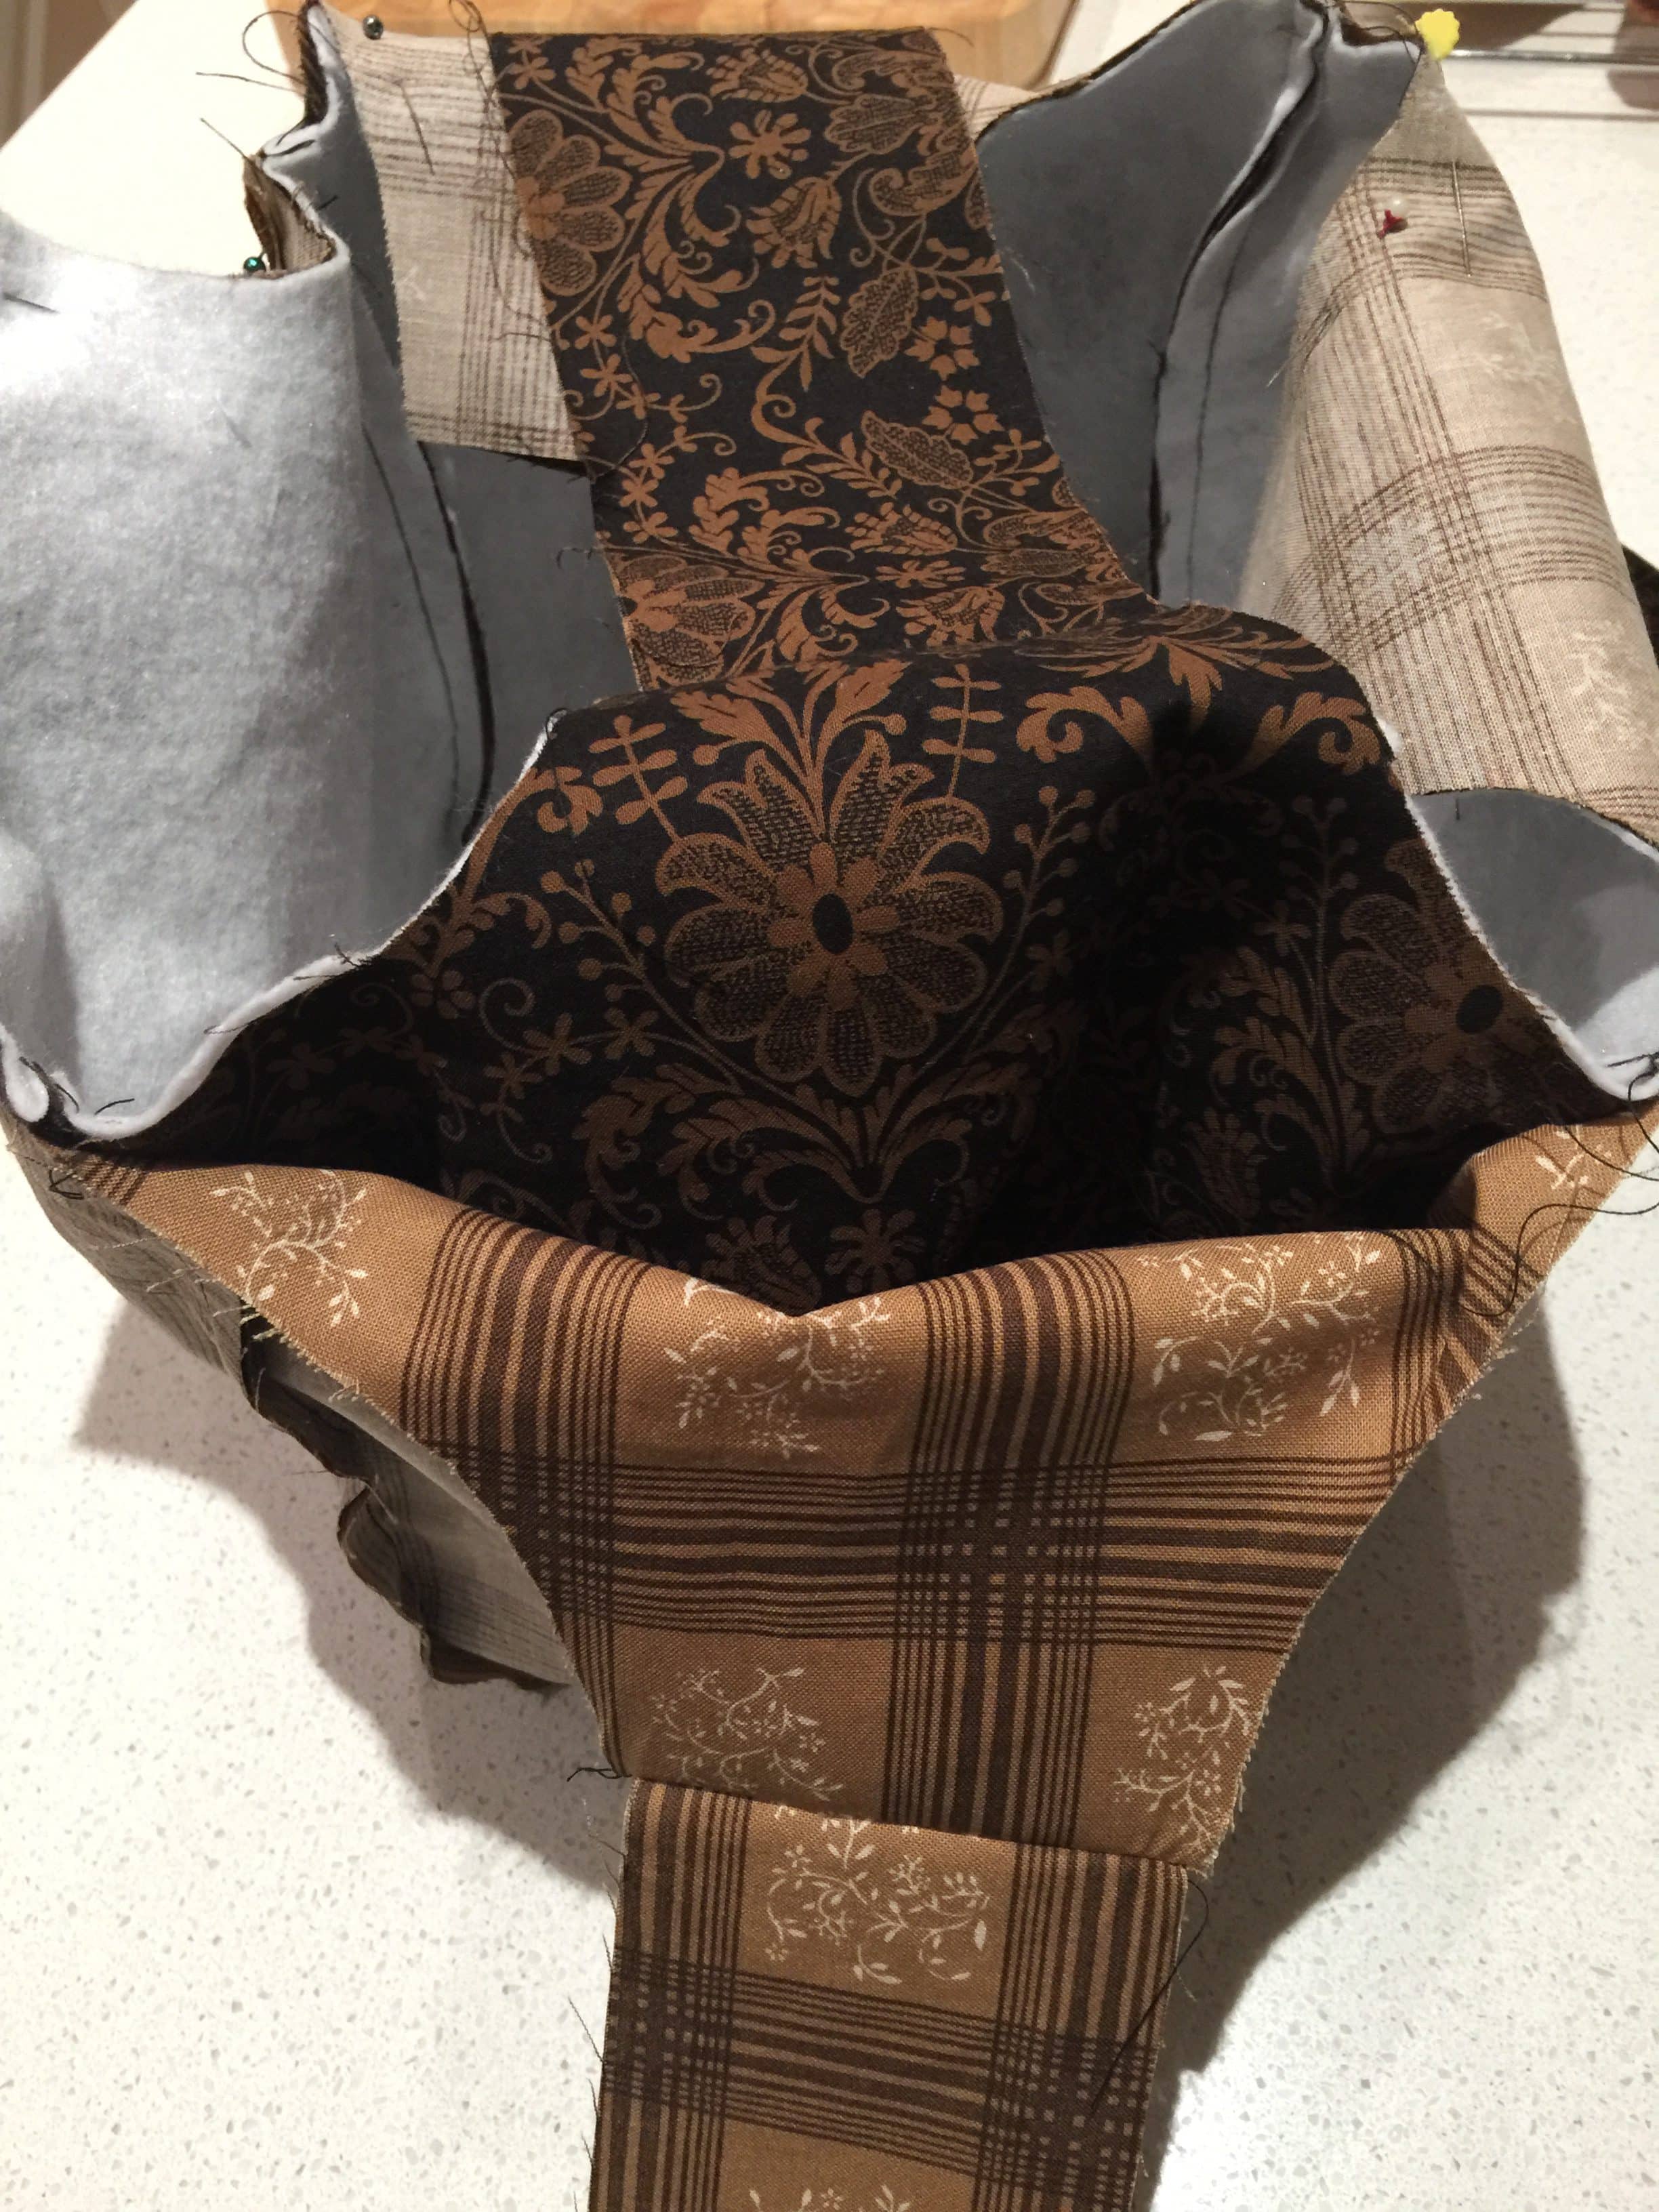
Join the four bag outer pieces right sides together and sew down the long sides. The four seams will intersect at the base. It should look like this.
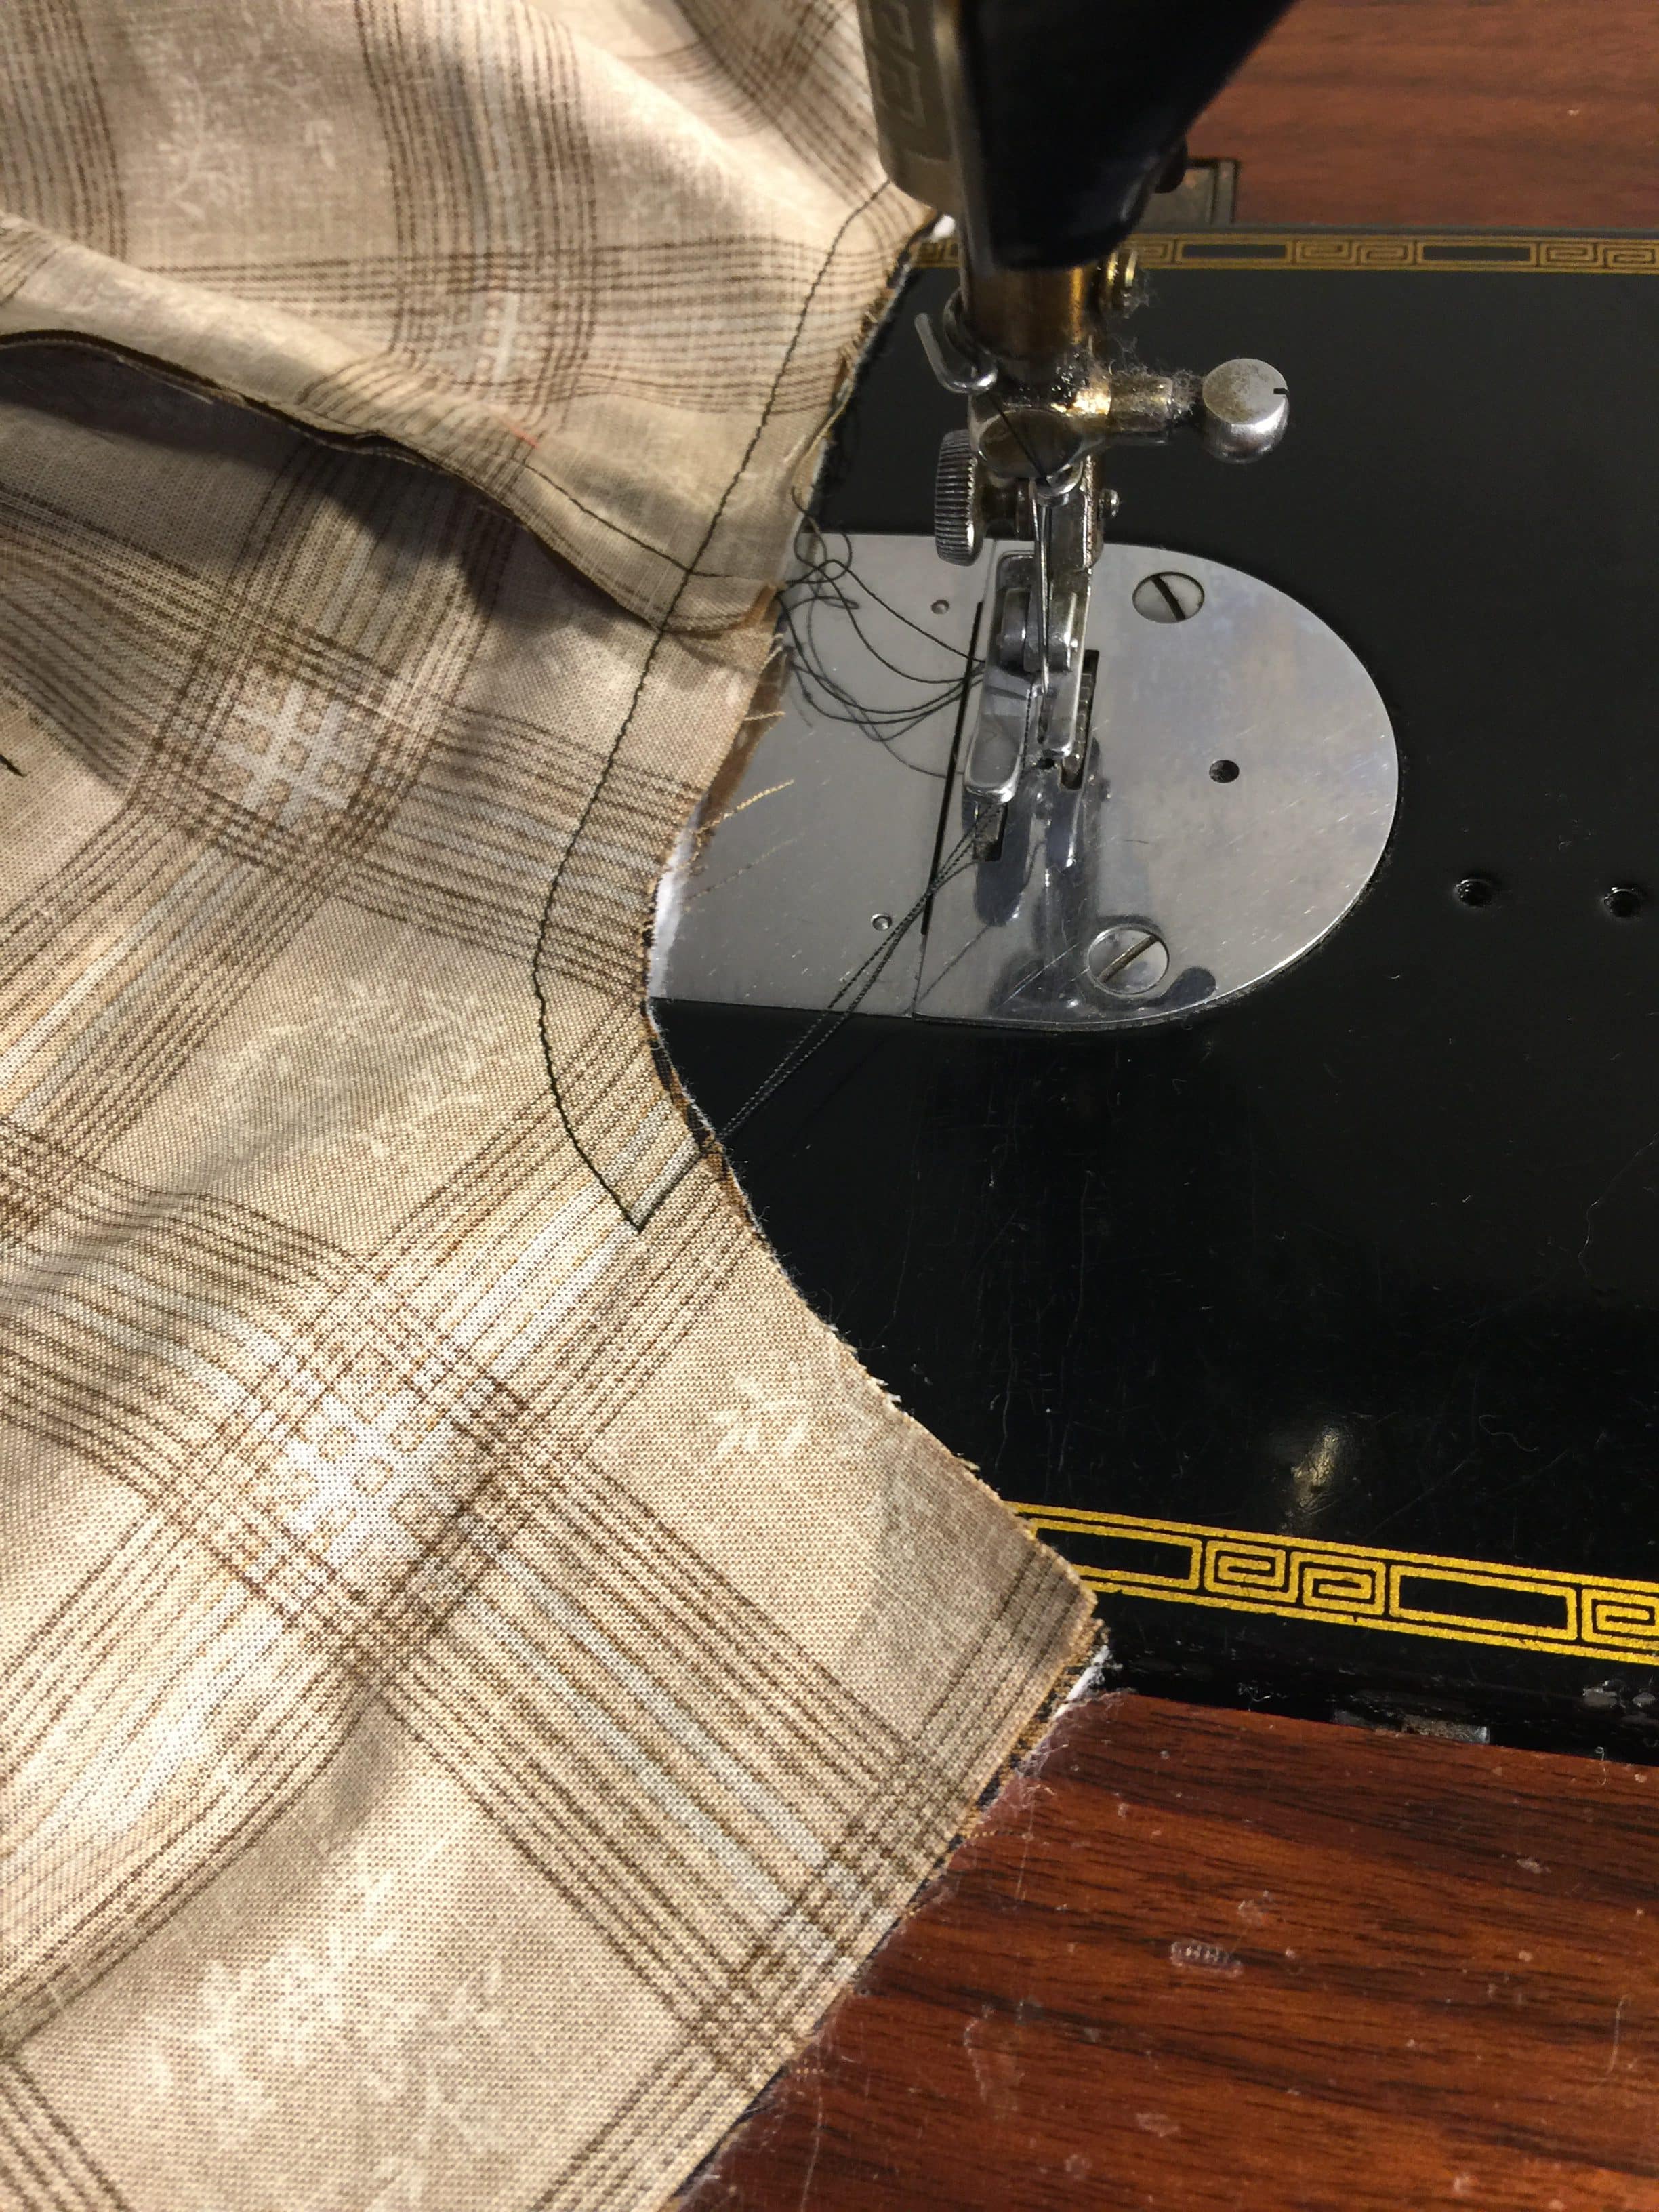
I’m sewing on this vintage treadle machine.
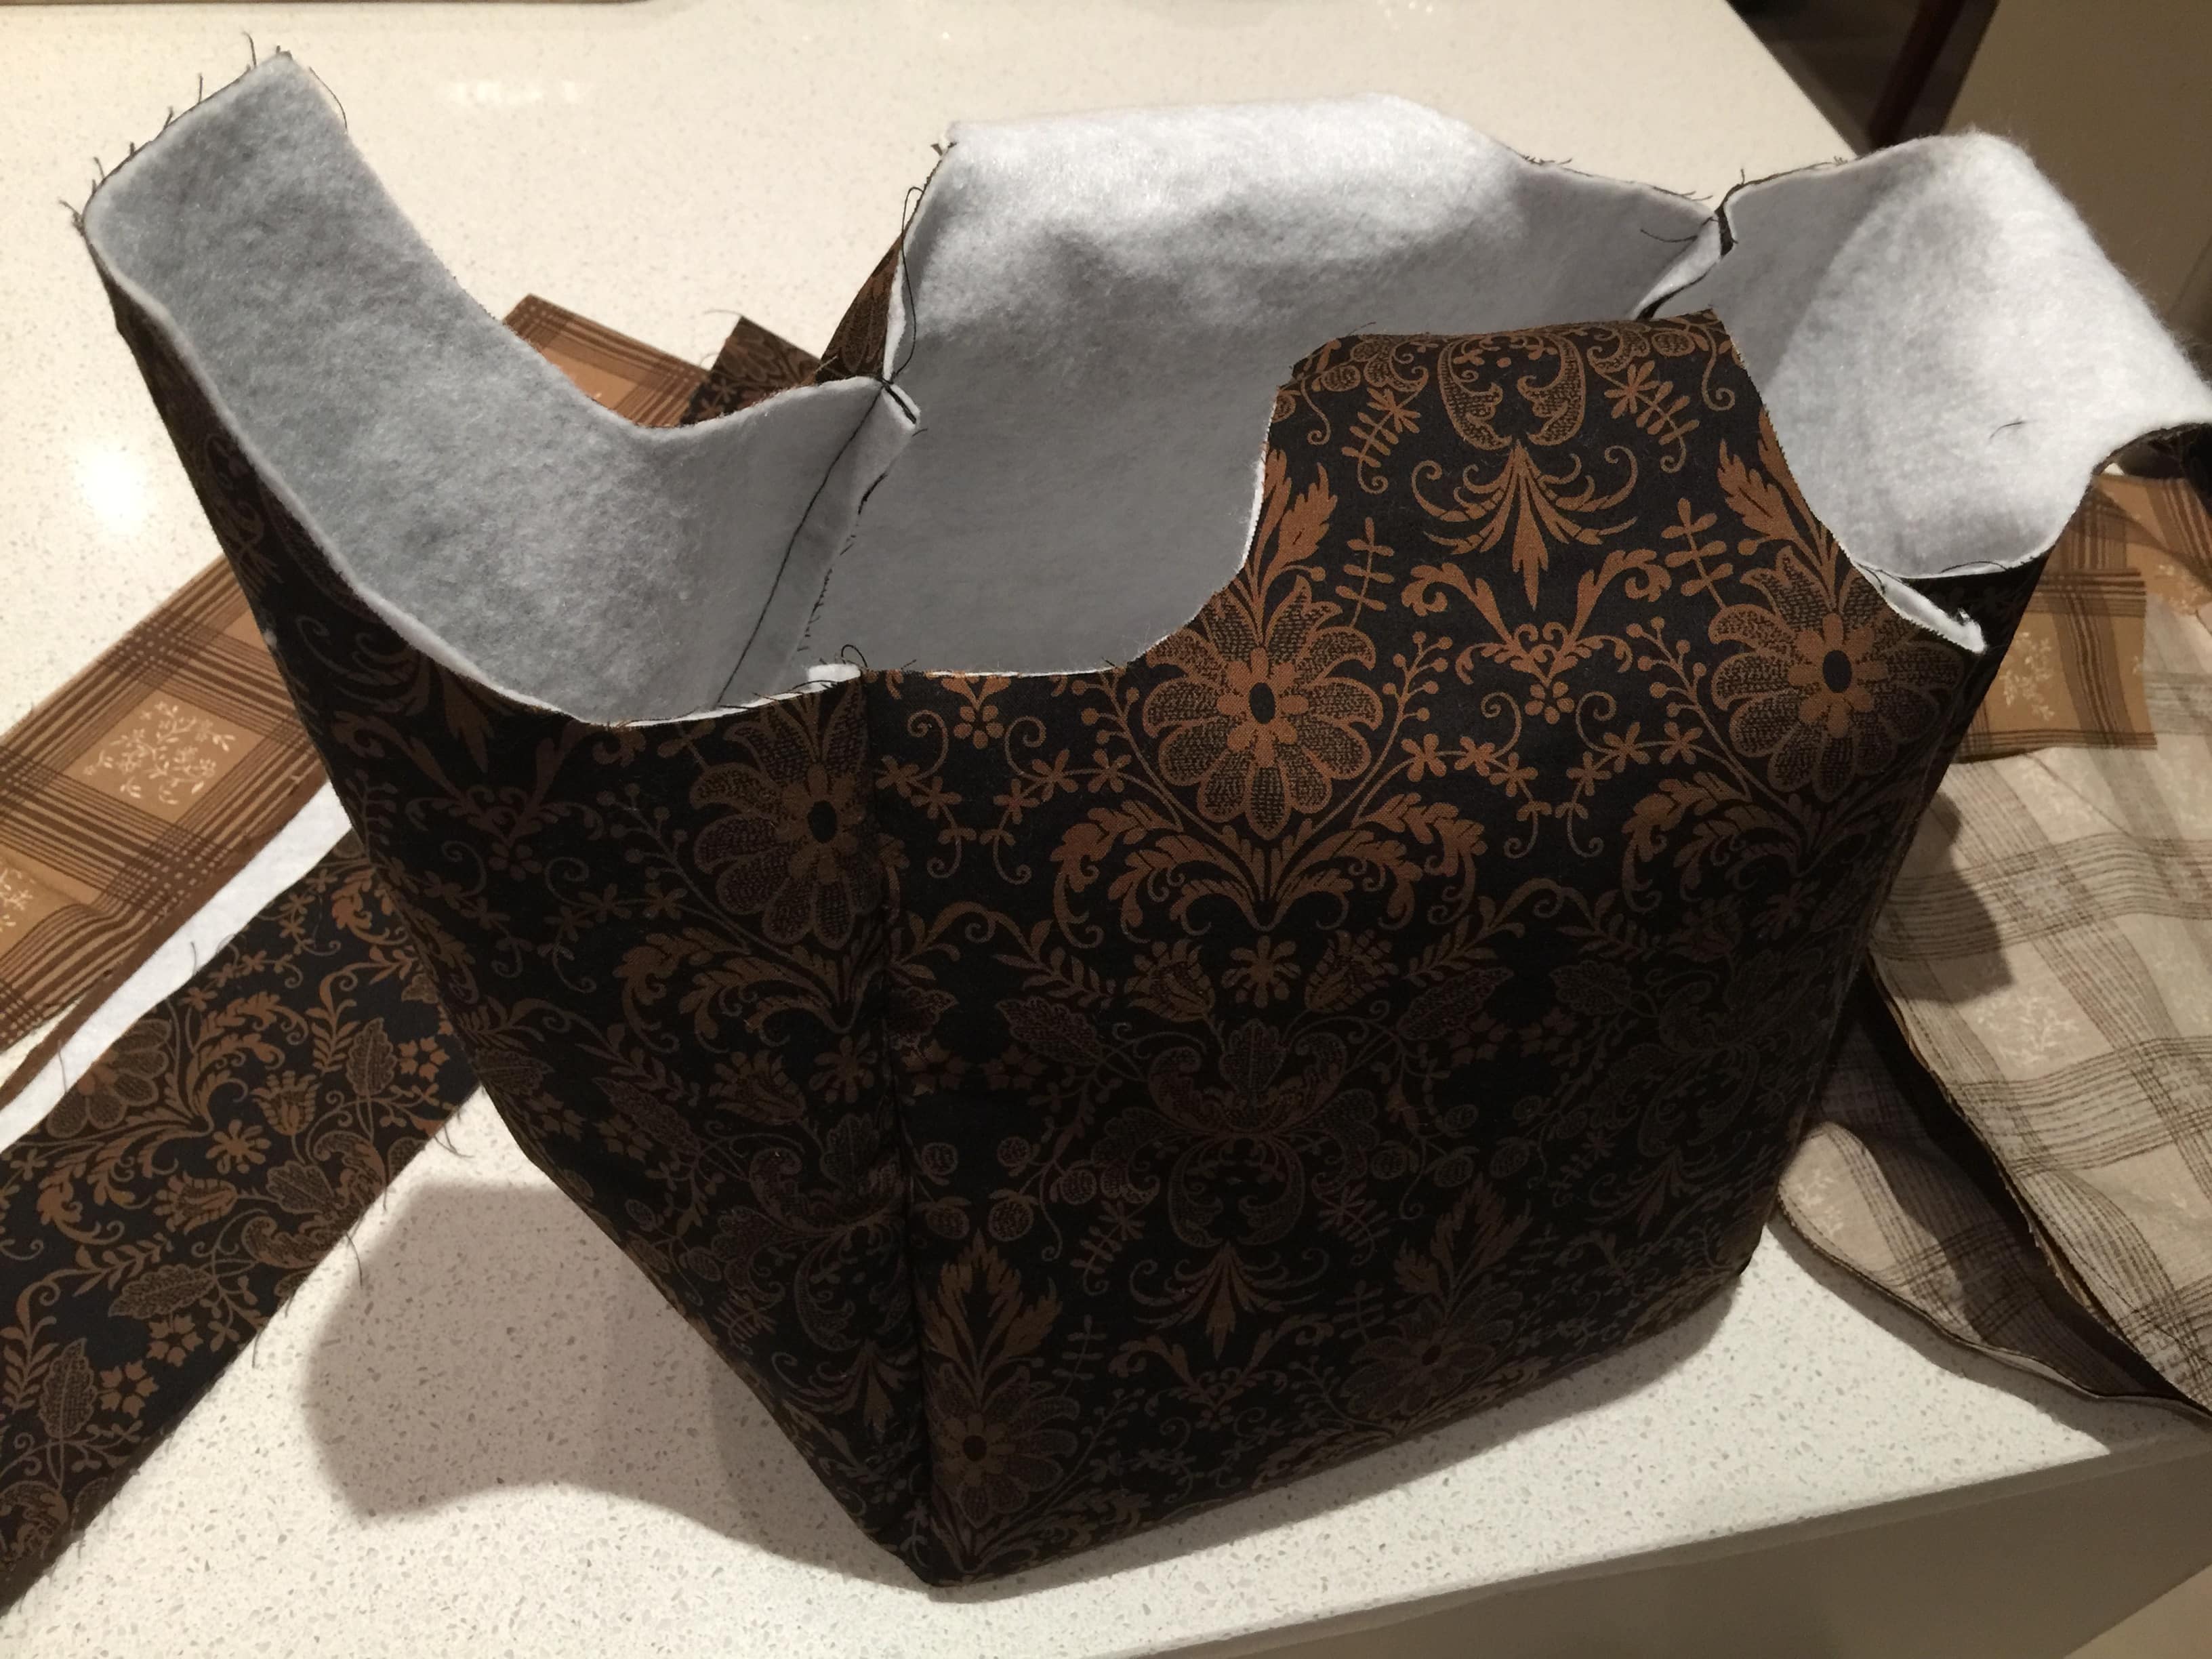
Repeat with the four lining pieces. Sew the bag strap to one of the straight edges, right sides together. The straight edges will join later to become the strap and the loop. Repeat for the lining strap. Put the bag outer and lining, right sides together. Make sure the straps are positioned together. Line up all the side seams.
Pin well. Begin sewing about 3″ down from the end of the bag strap. Continue, until about 2″ from the next straight edge. Repeat for the other side of the strap.

Then sew the remainder two curves in the same manner, beginning and stopping about 2″ from the end as pictured below.
Clip the curves.
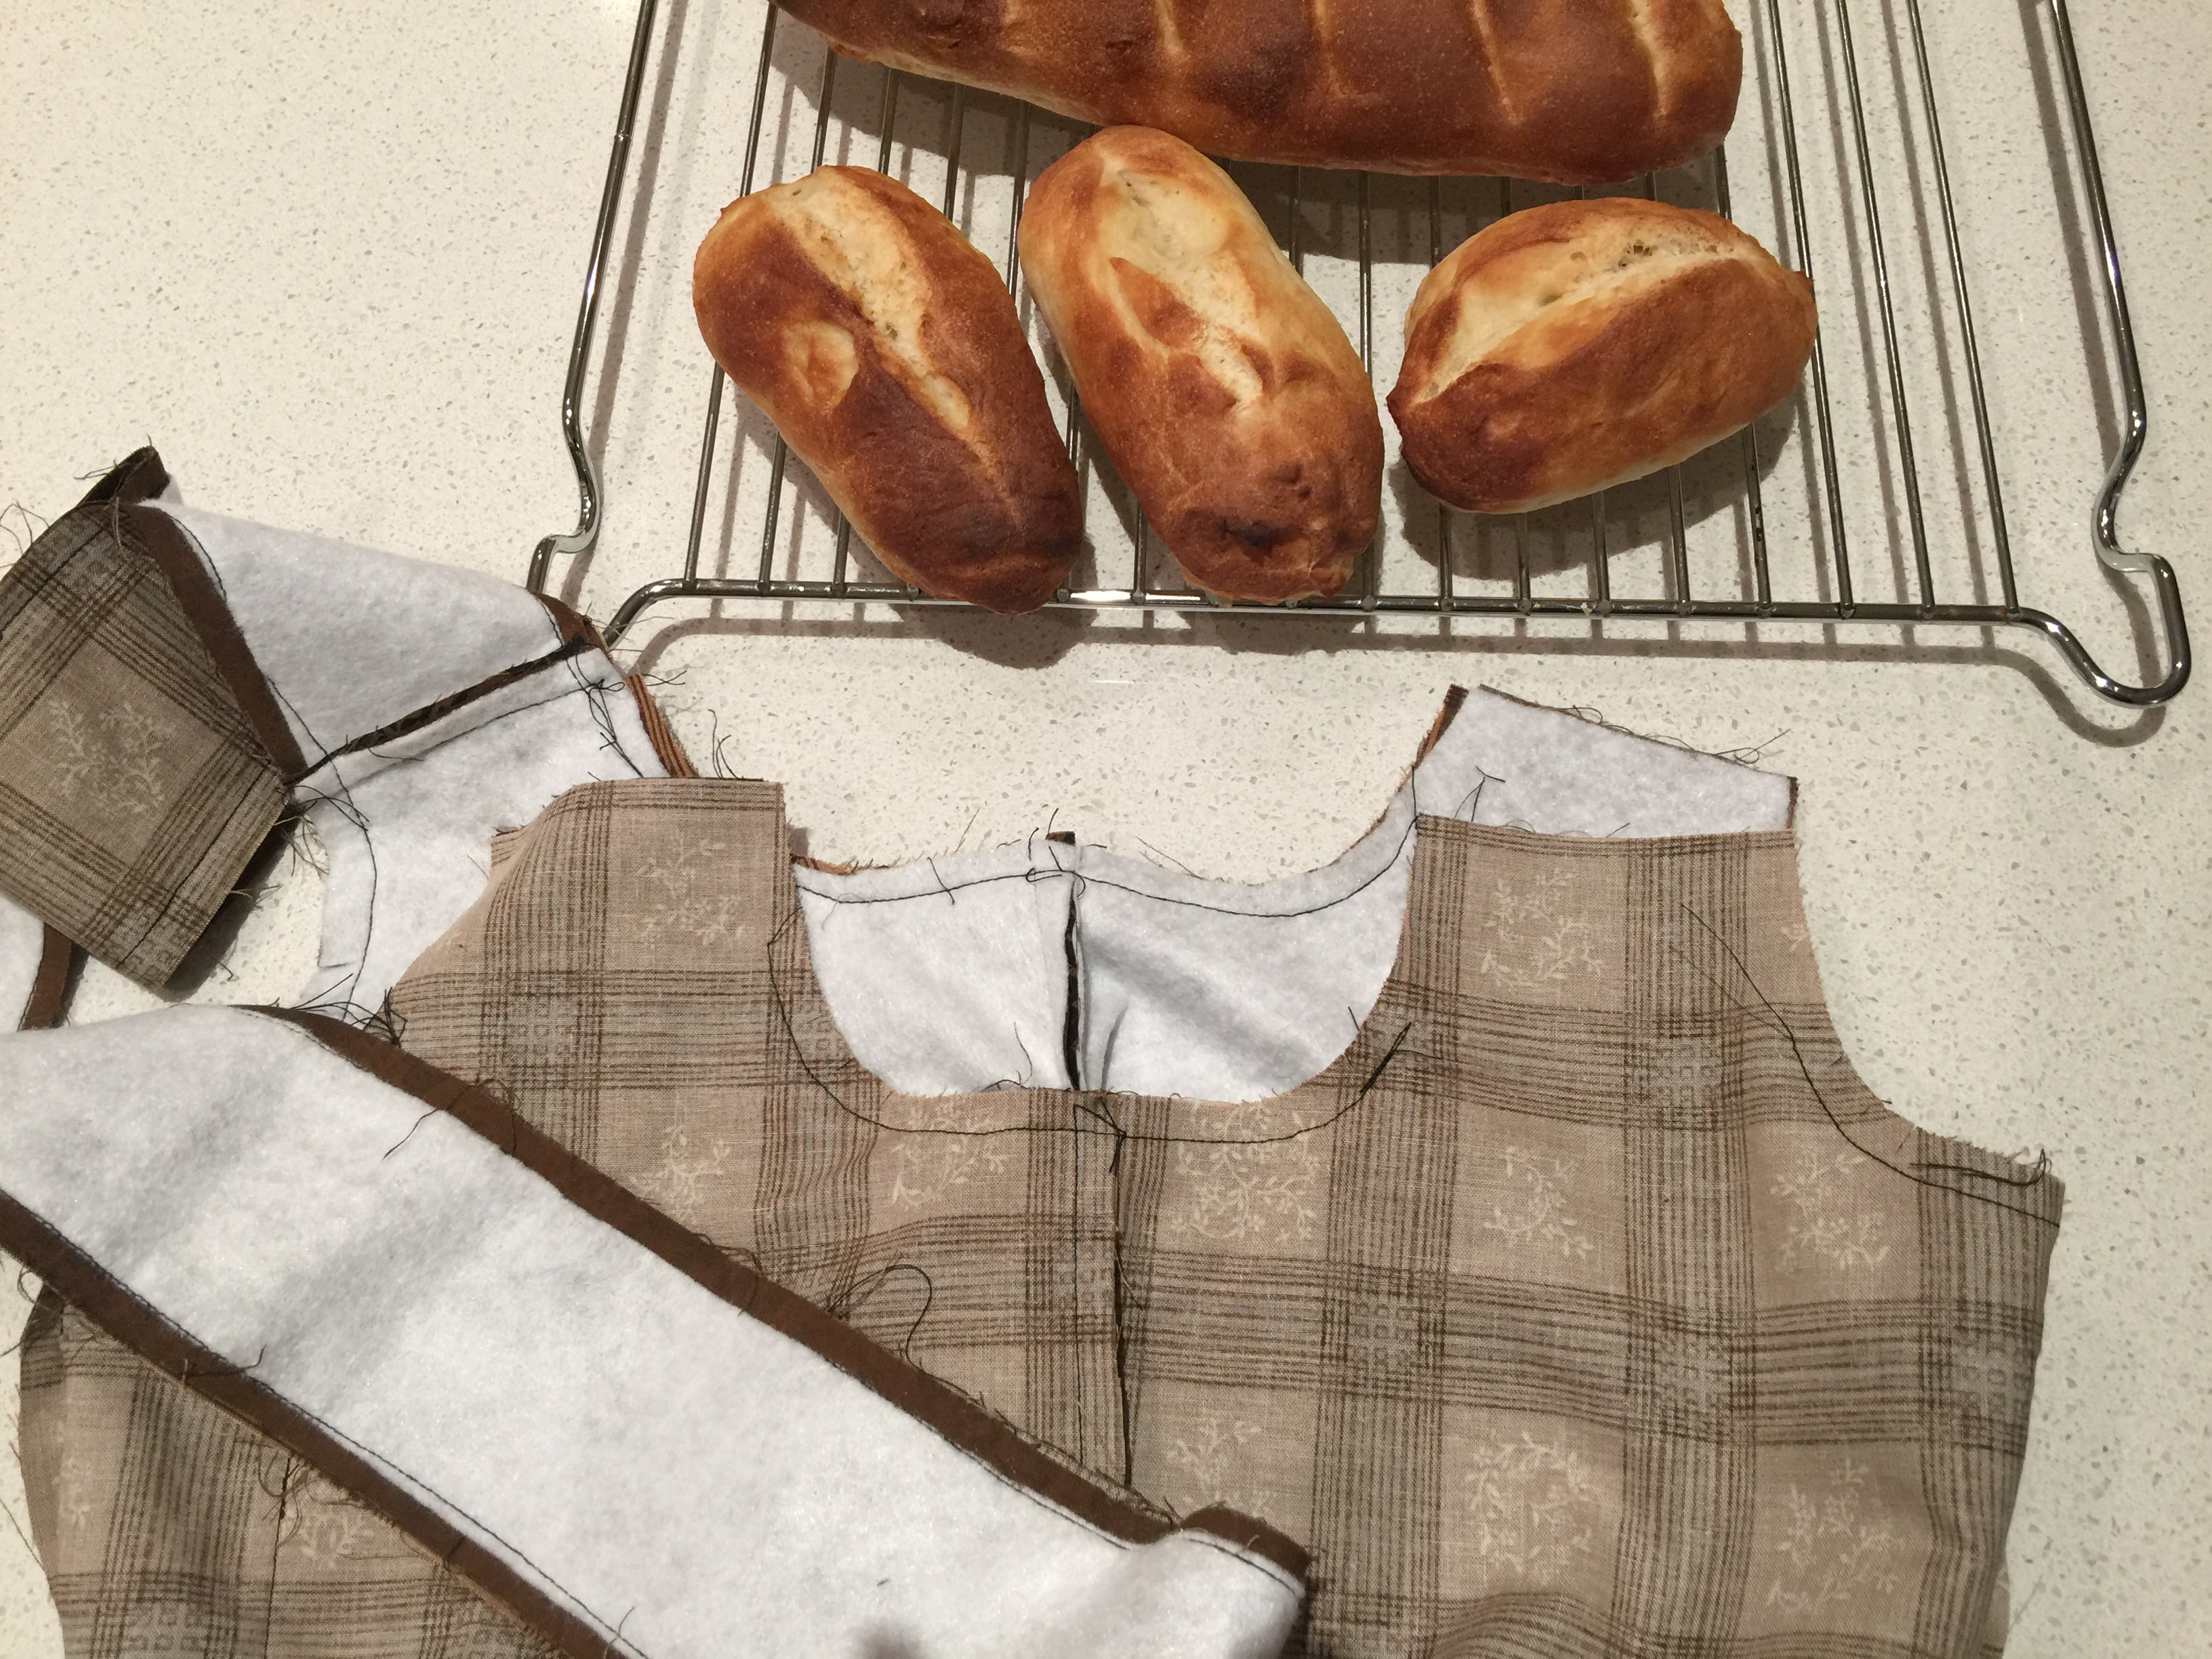
I’ve been making bread rolls. Yummy!
Turn the whole bag to the right side through one of the short sides.

Press the strap.
Attach the end of the long strap of the outer bag right sides together to an adjacent straight edge. ( Ensure the strap is not twisted). Do the same with the end of the lining strap. Sew across each one.

Now join the two remaining straight edges to make the loop. Join the fronts together and the linings together.
Turn under the raw edges and top stitch all of the bag edges.

That’s it! Use your new bag!
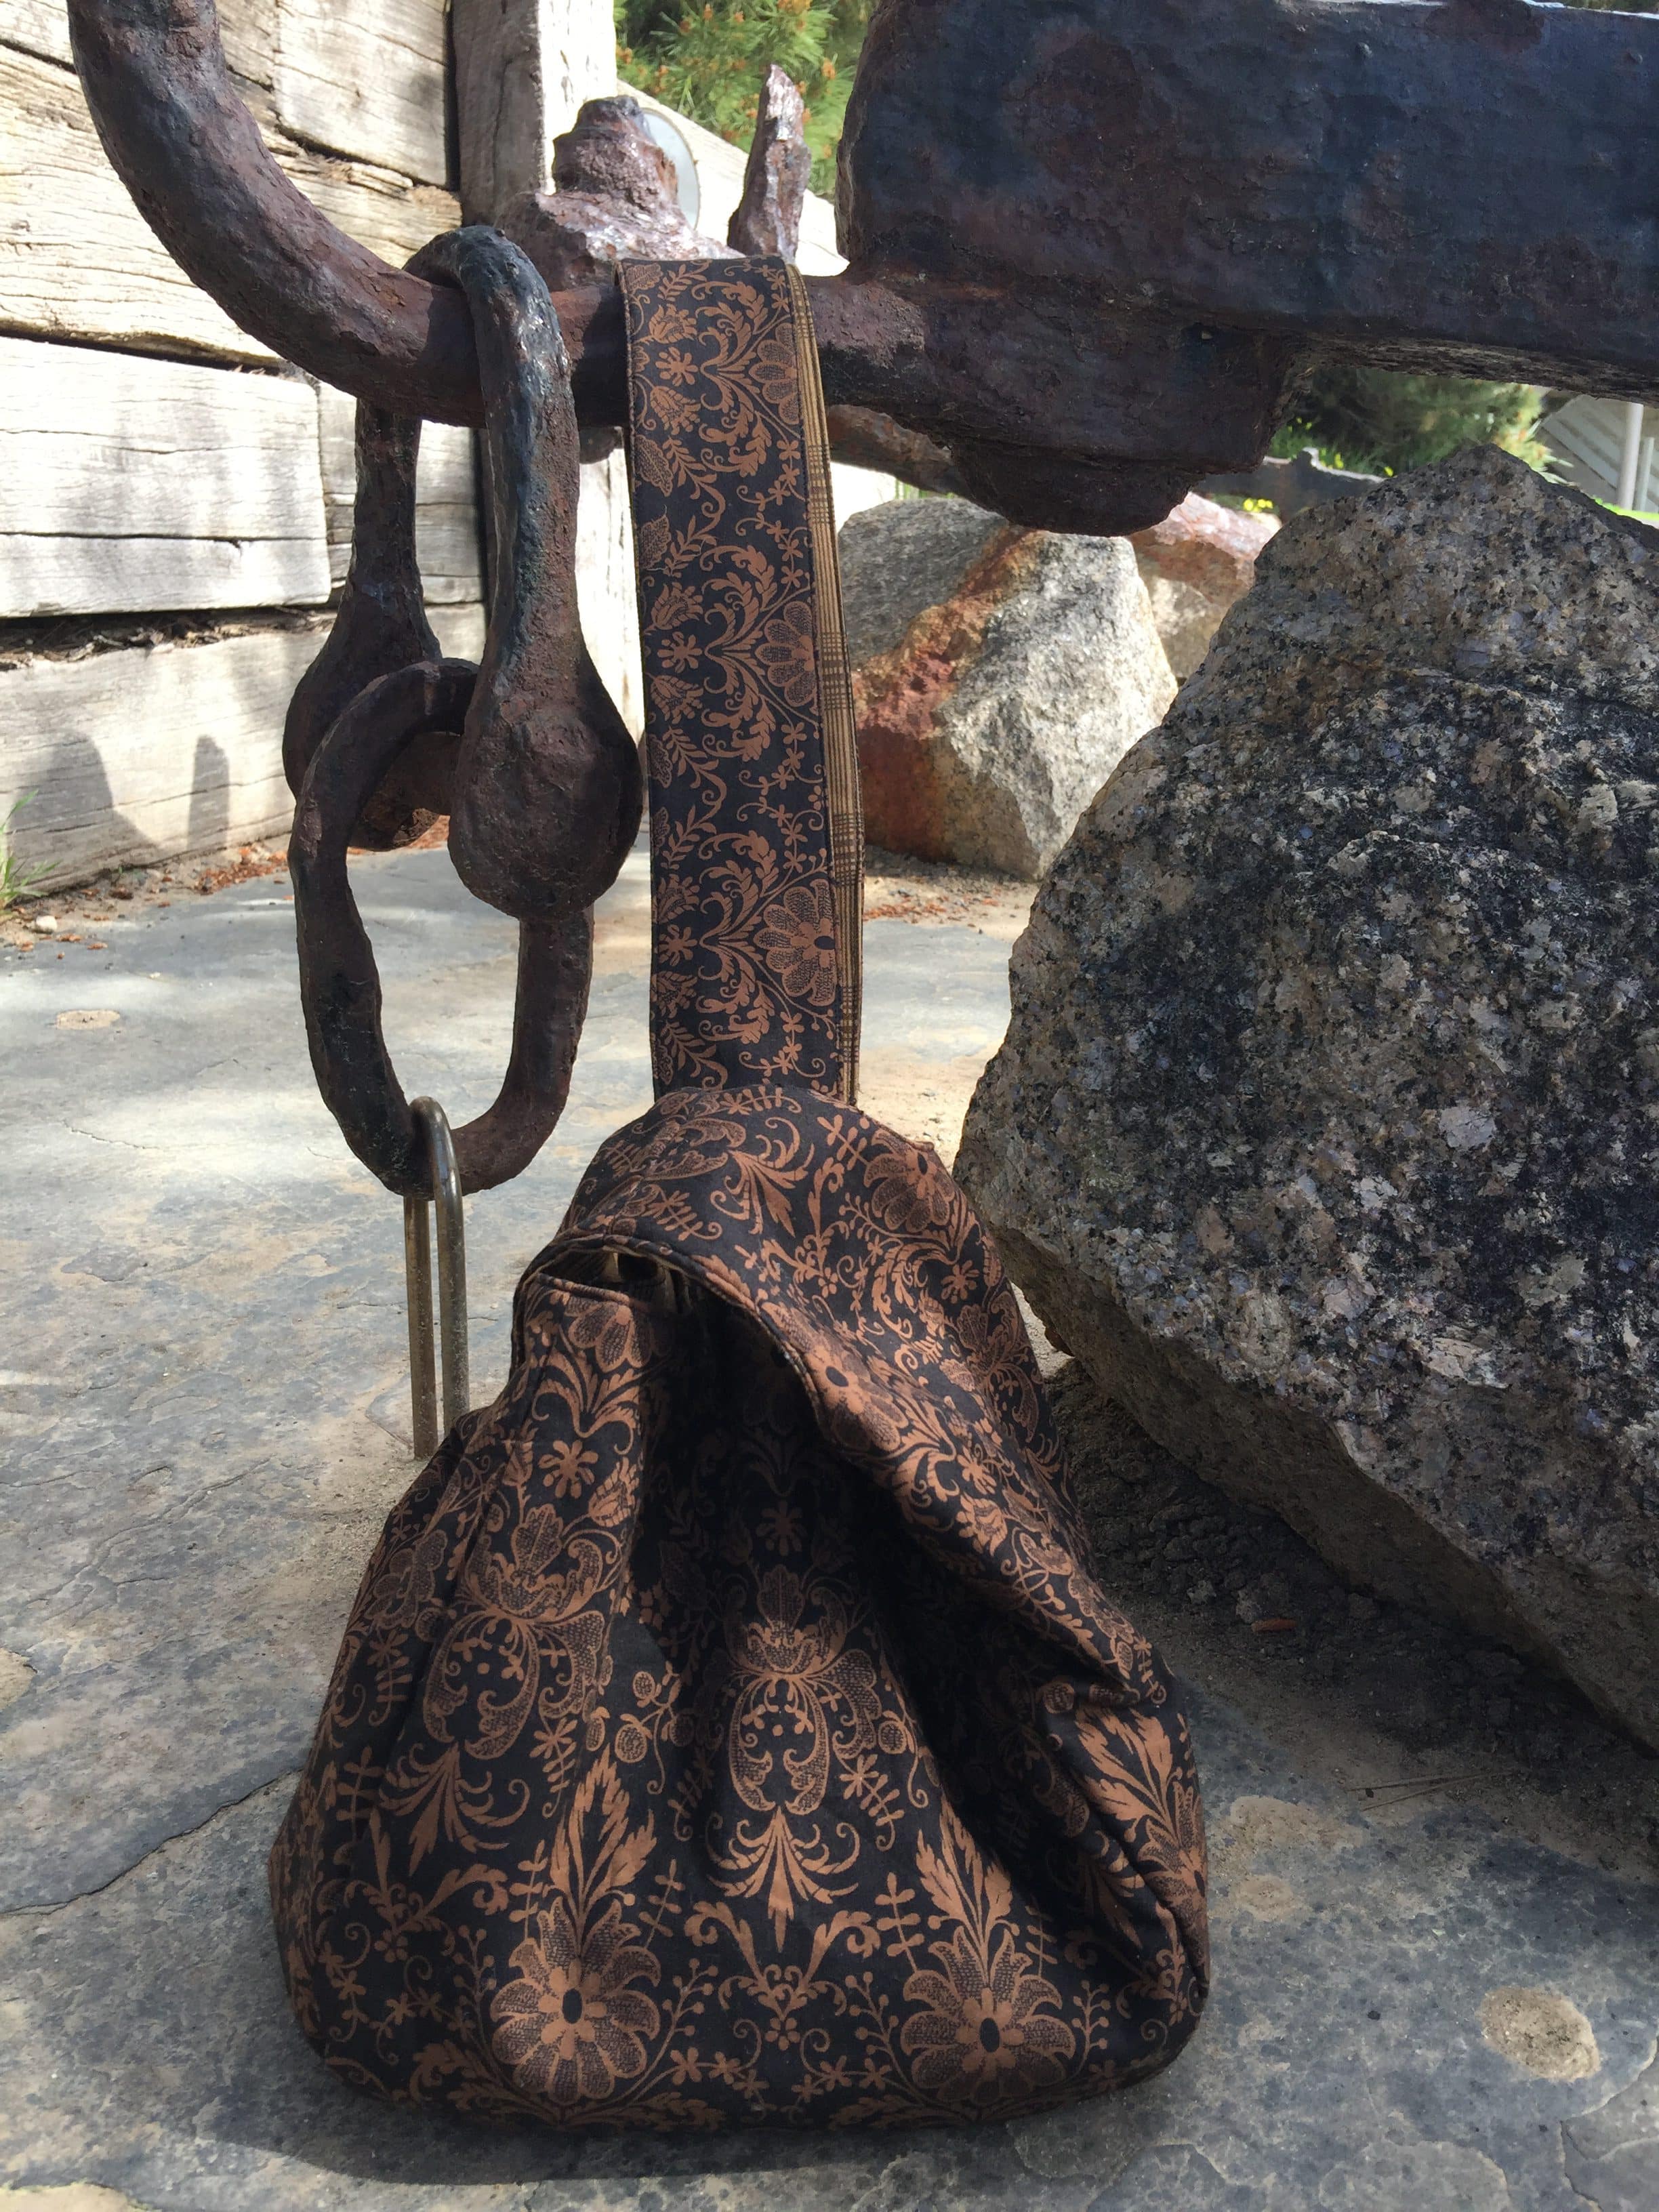
Enjoy!
Honestly……..as a post script to this bag, I have loved it so much and used it so much, I need to make another! I have almost worn it out!
If you enjoyed this post, i think you may also like these!
Patchwork Celebration Bags Antique Japanese Style & Tutorial
And
Patchwork Celebration Bags Antique Japanese Style Tutorial
Patchwork Backpack Sashiko Style
Little Origami Patchwork Bag Tutorial
Have a wonderful day!
Susie