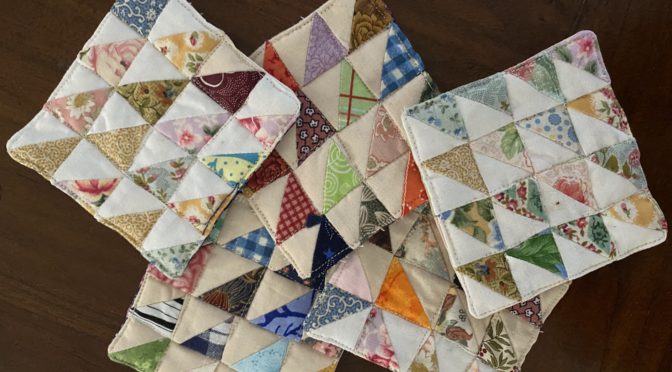
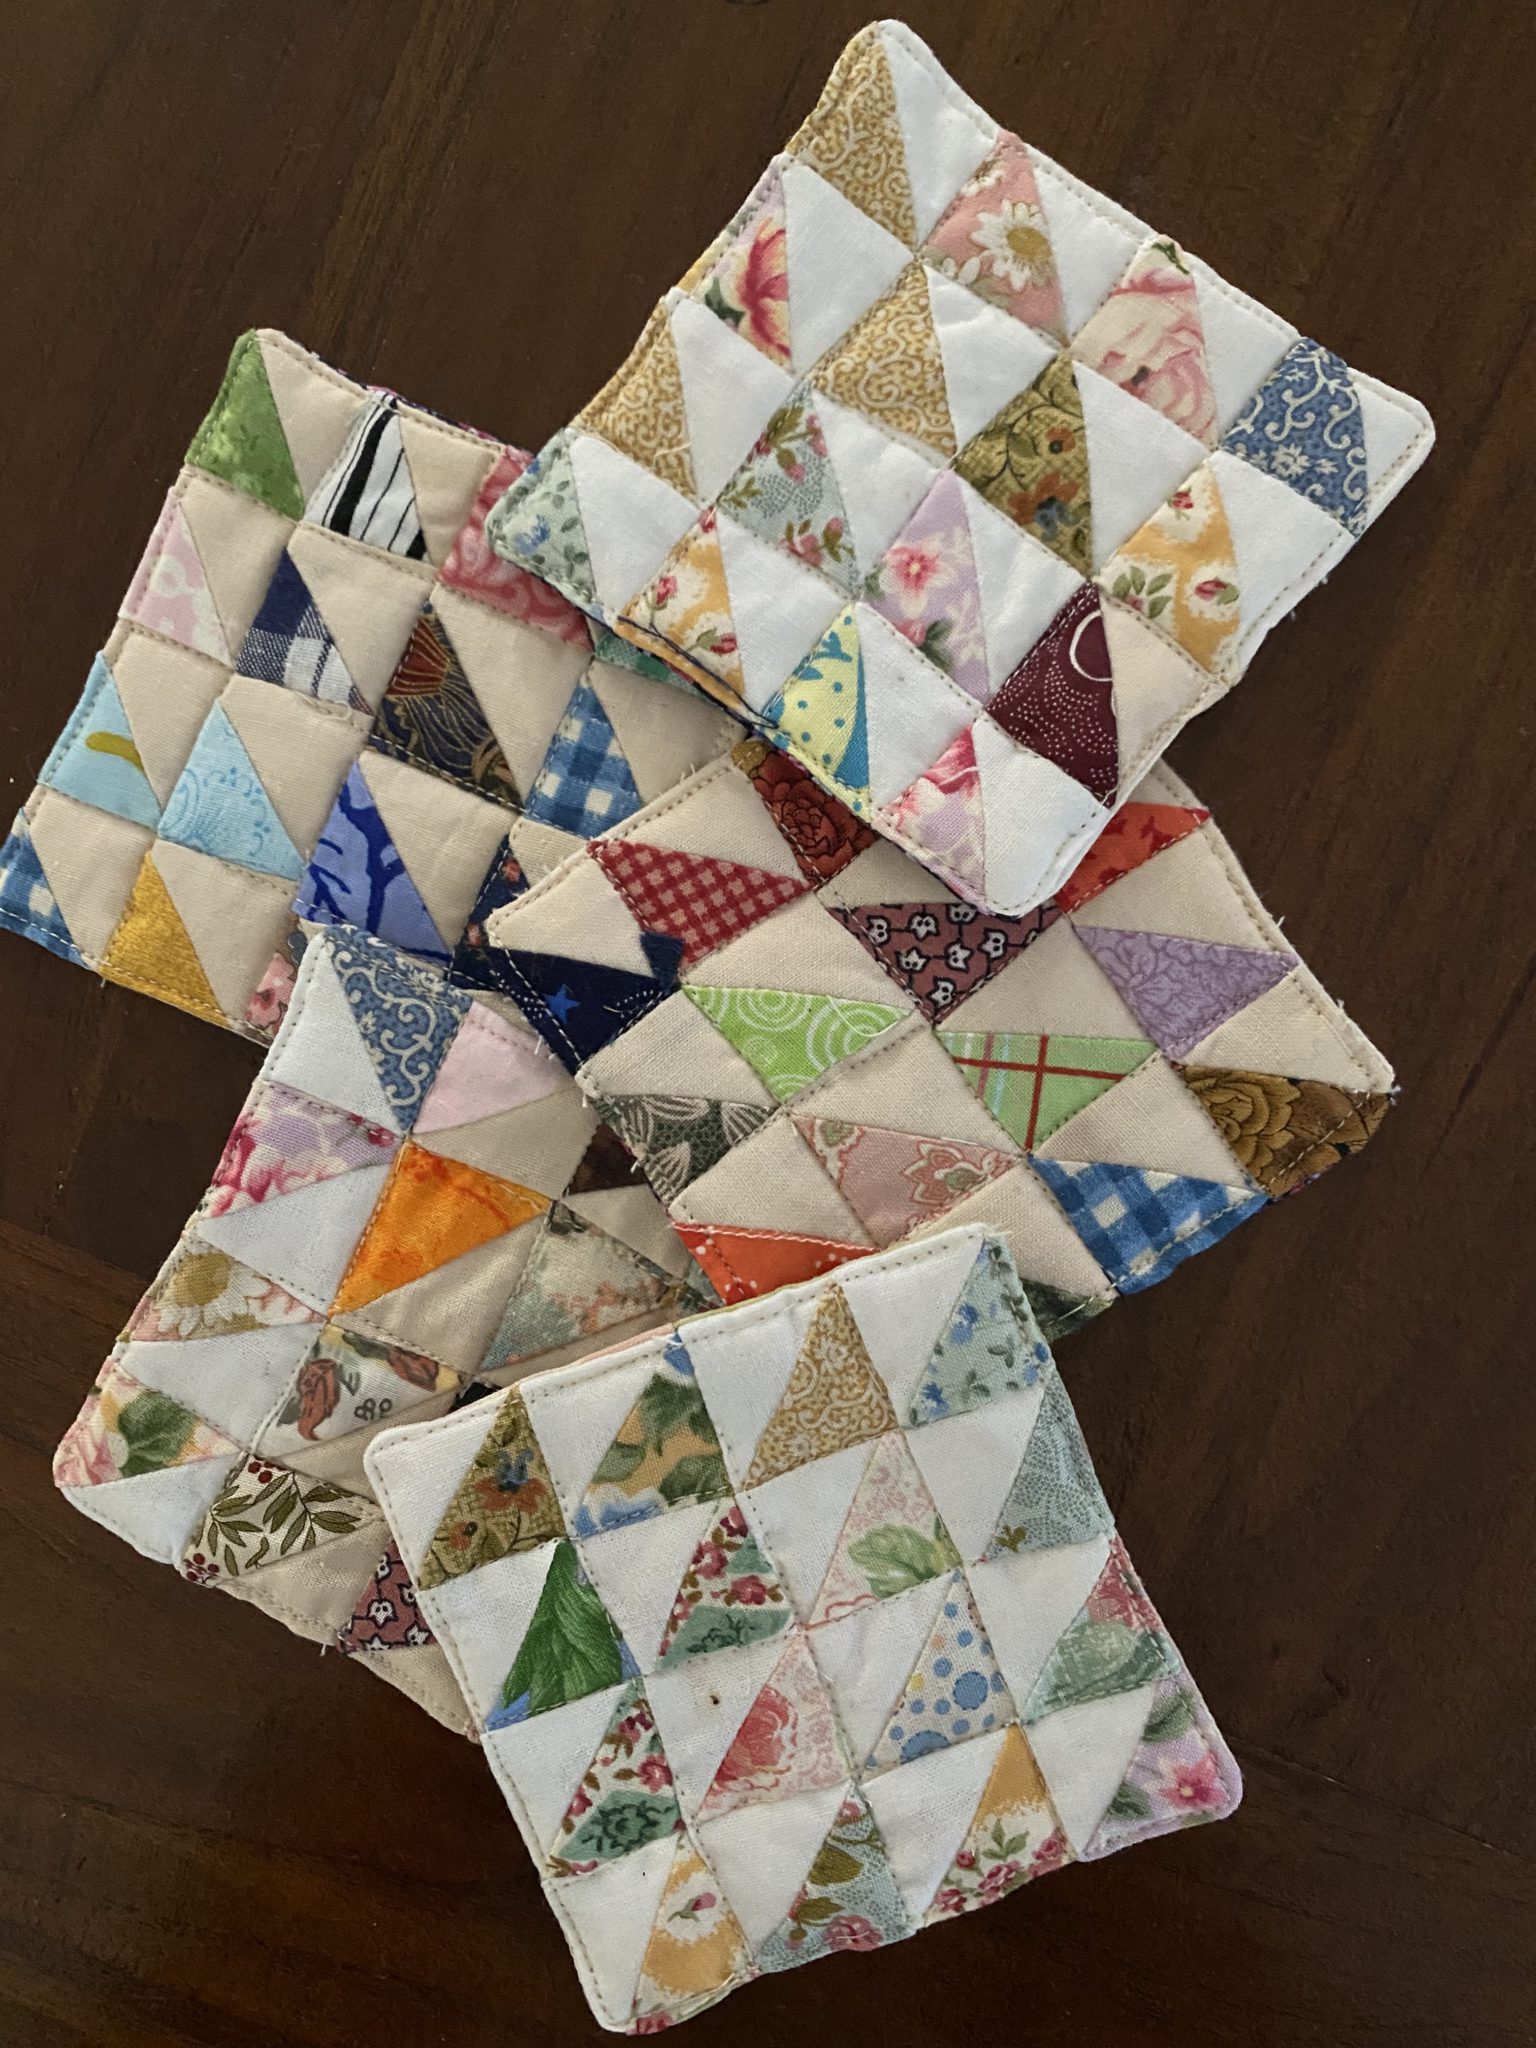
Scrappy Quilted Coastal Coasters
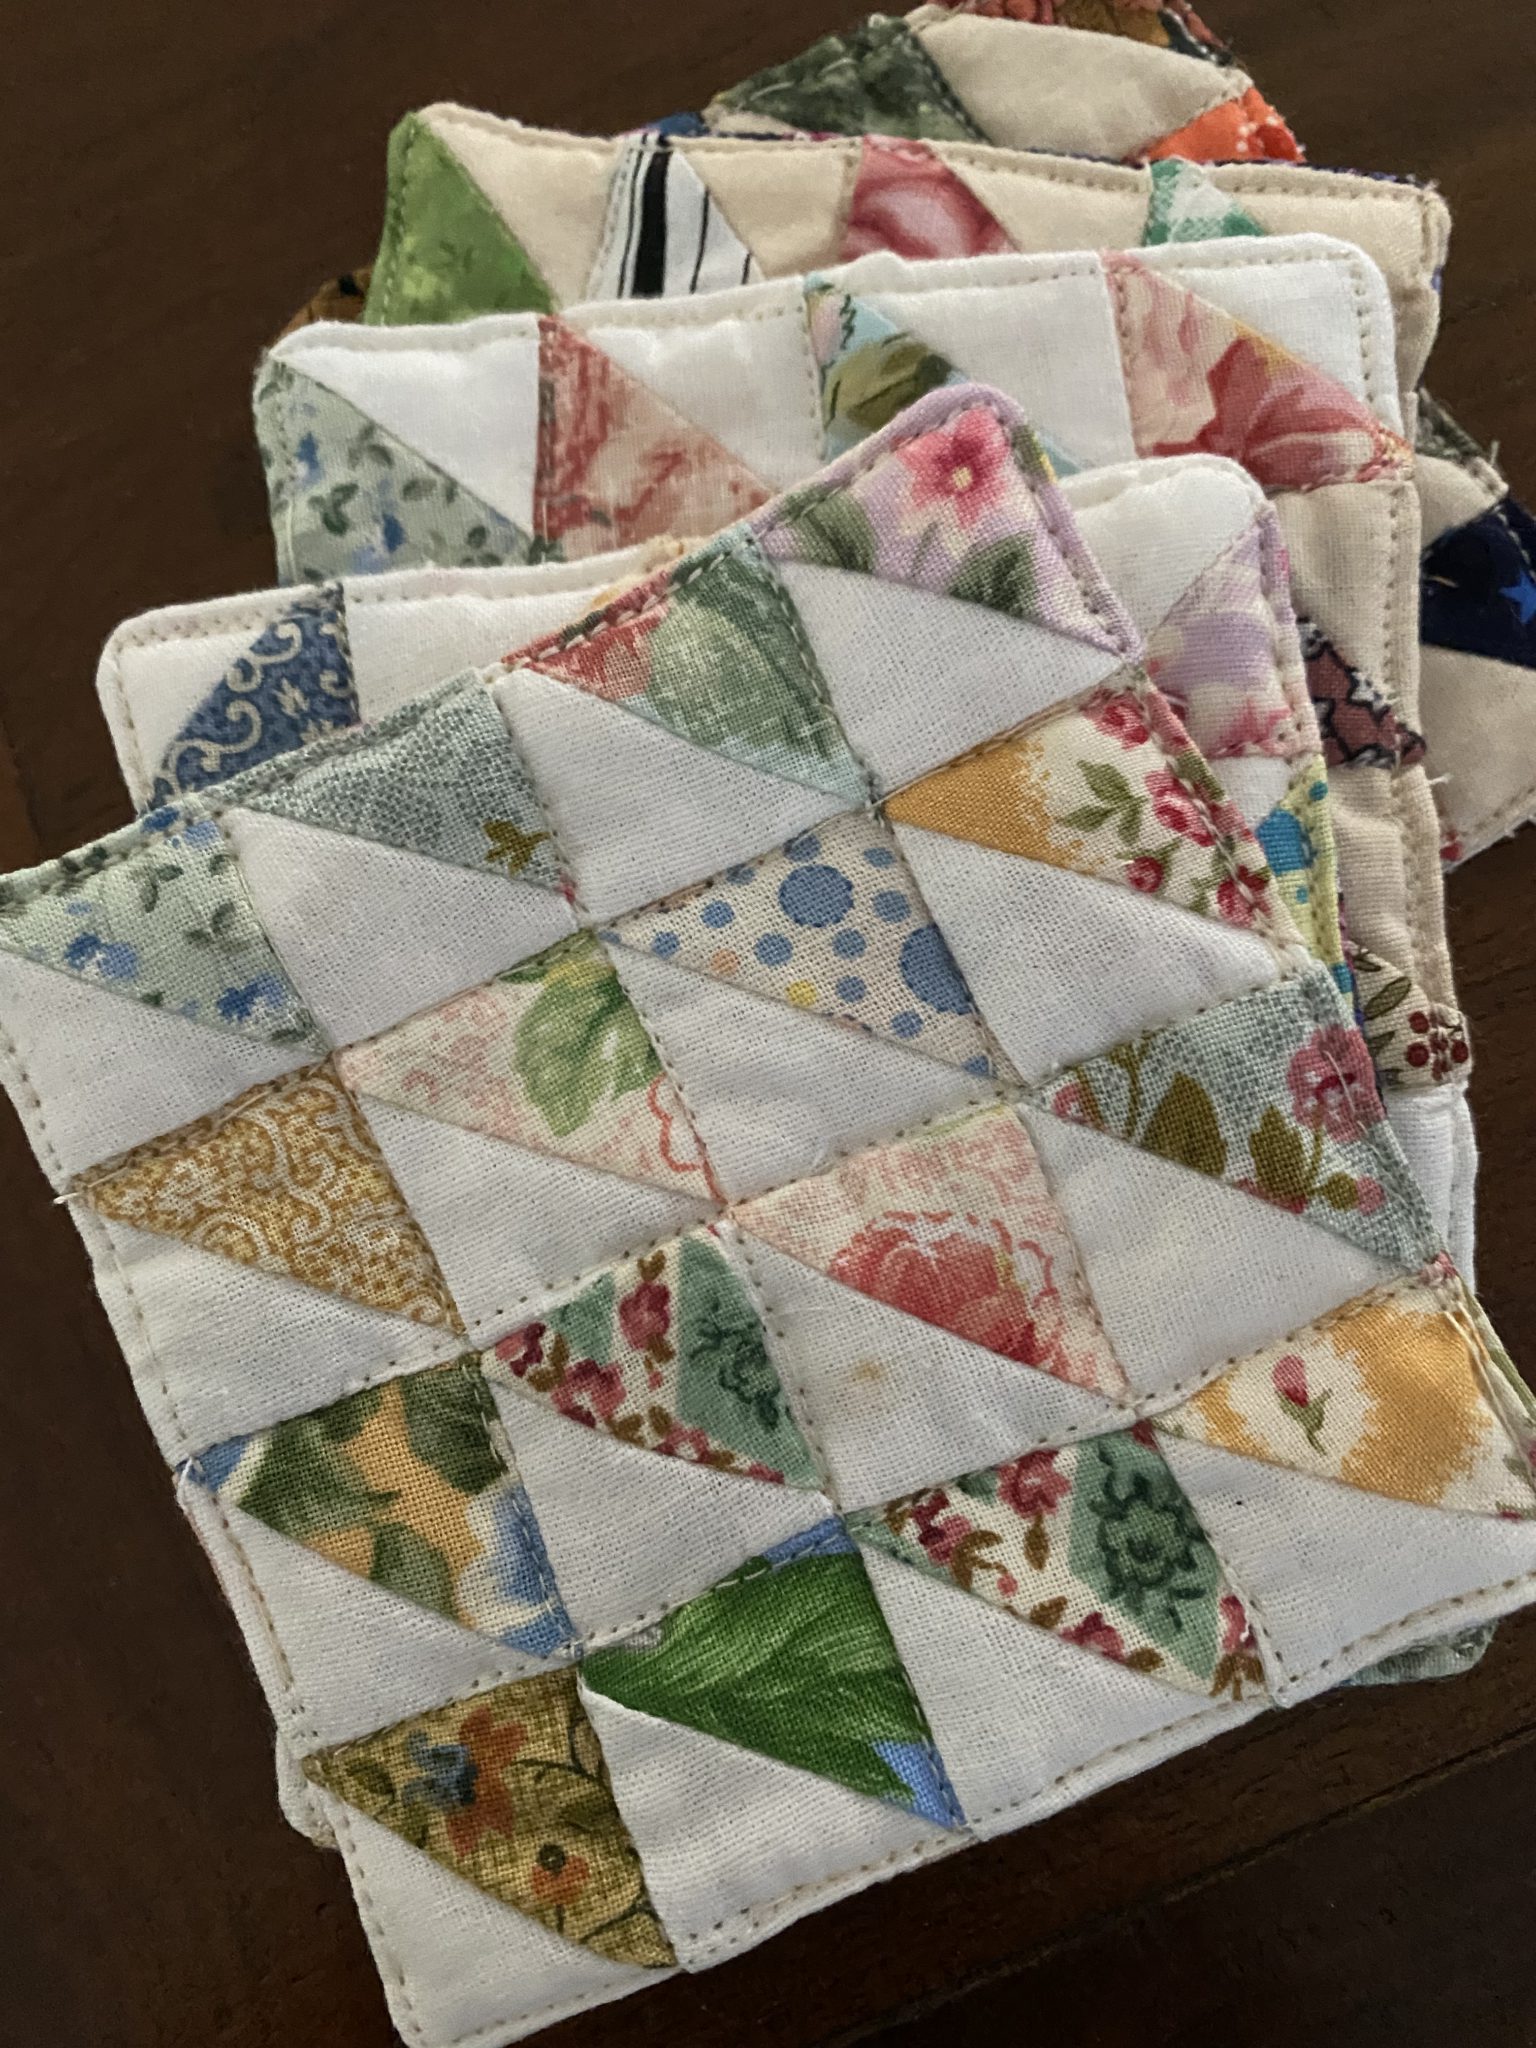
Hello dear Friends and Readers, a little project today which uses small scraps. If you are not into little scraps, then please you do not need to read any further. I’m posting these because I made these little coasters and have really enjoyed using them.
They seem to have the right amount of absorption and because of the small nature of the pieces, glasses and cups sit nicely on them without being uneven. I think that counts. Apart from that, they are super cute.
These are made from leftover triangles which occur when making the sew and flip method and cutting away the underside remainder triangles. This could be for a snowball block, frienship star blocks, flying geese (unless you use this no waste method Susie’s NEW Flying Geese Quilt Blocks Scrappy Style and anywhere else that triangles are cut away.
Why did I call them Coastal? Well because at the time I was having a little holiday near the beach and they do remind me of the sails on boats.
These were small triangles the equivalent of a 1 1/2” square cut once on the diagional. I know, others probably would have thrown them out, but, you know, the fabrics were quite pretty and I had half a bucket of triangles, so this is what happened.
There is no binding required.
Finished side 4” x 4”.
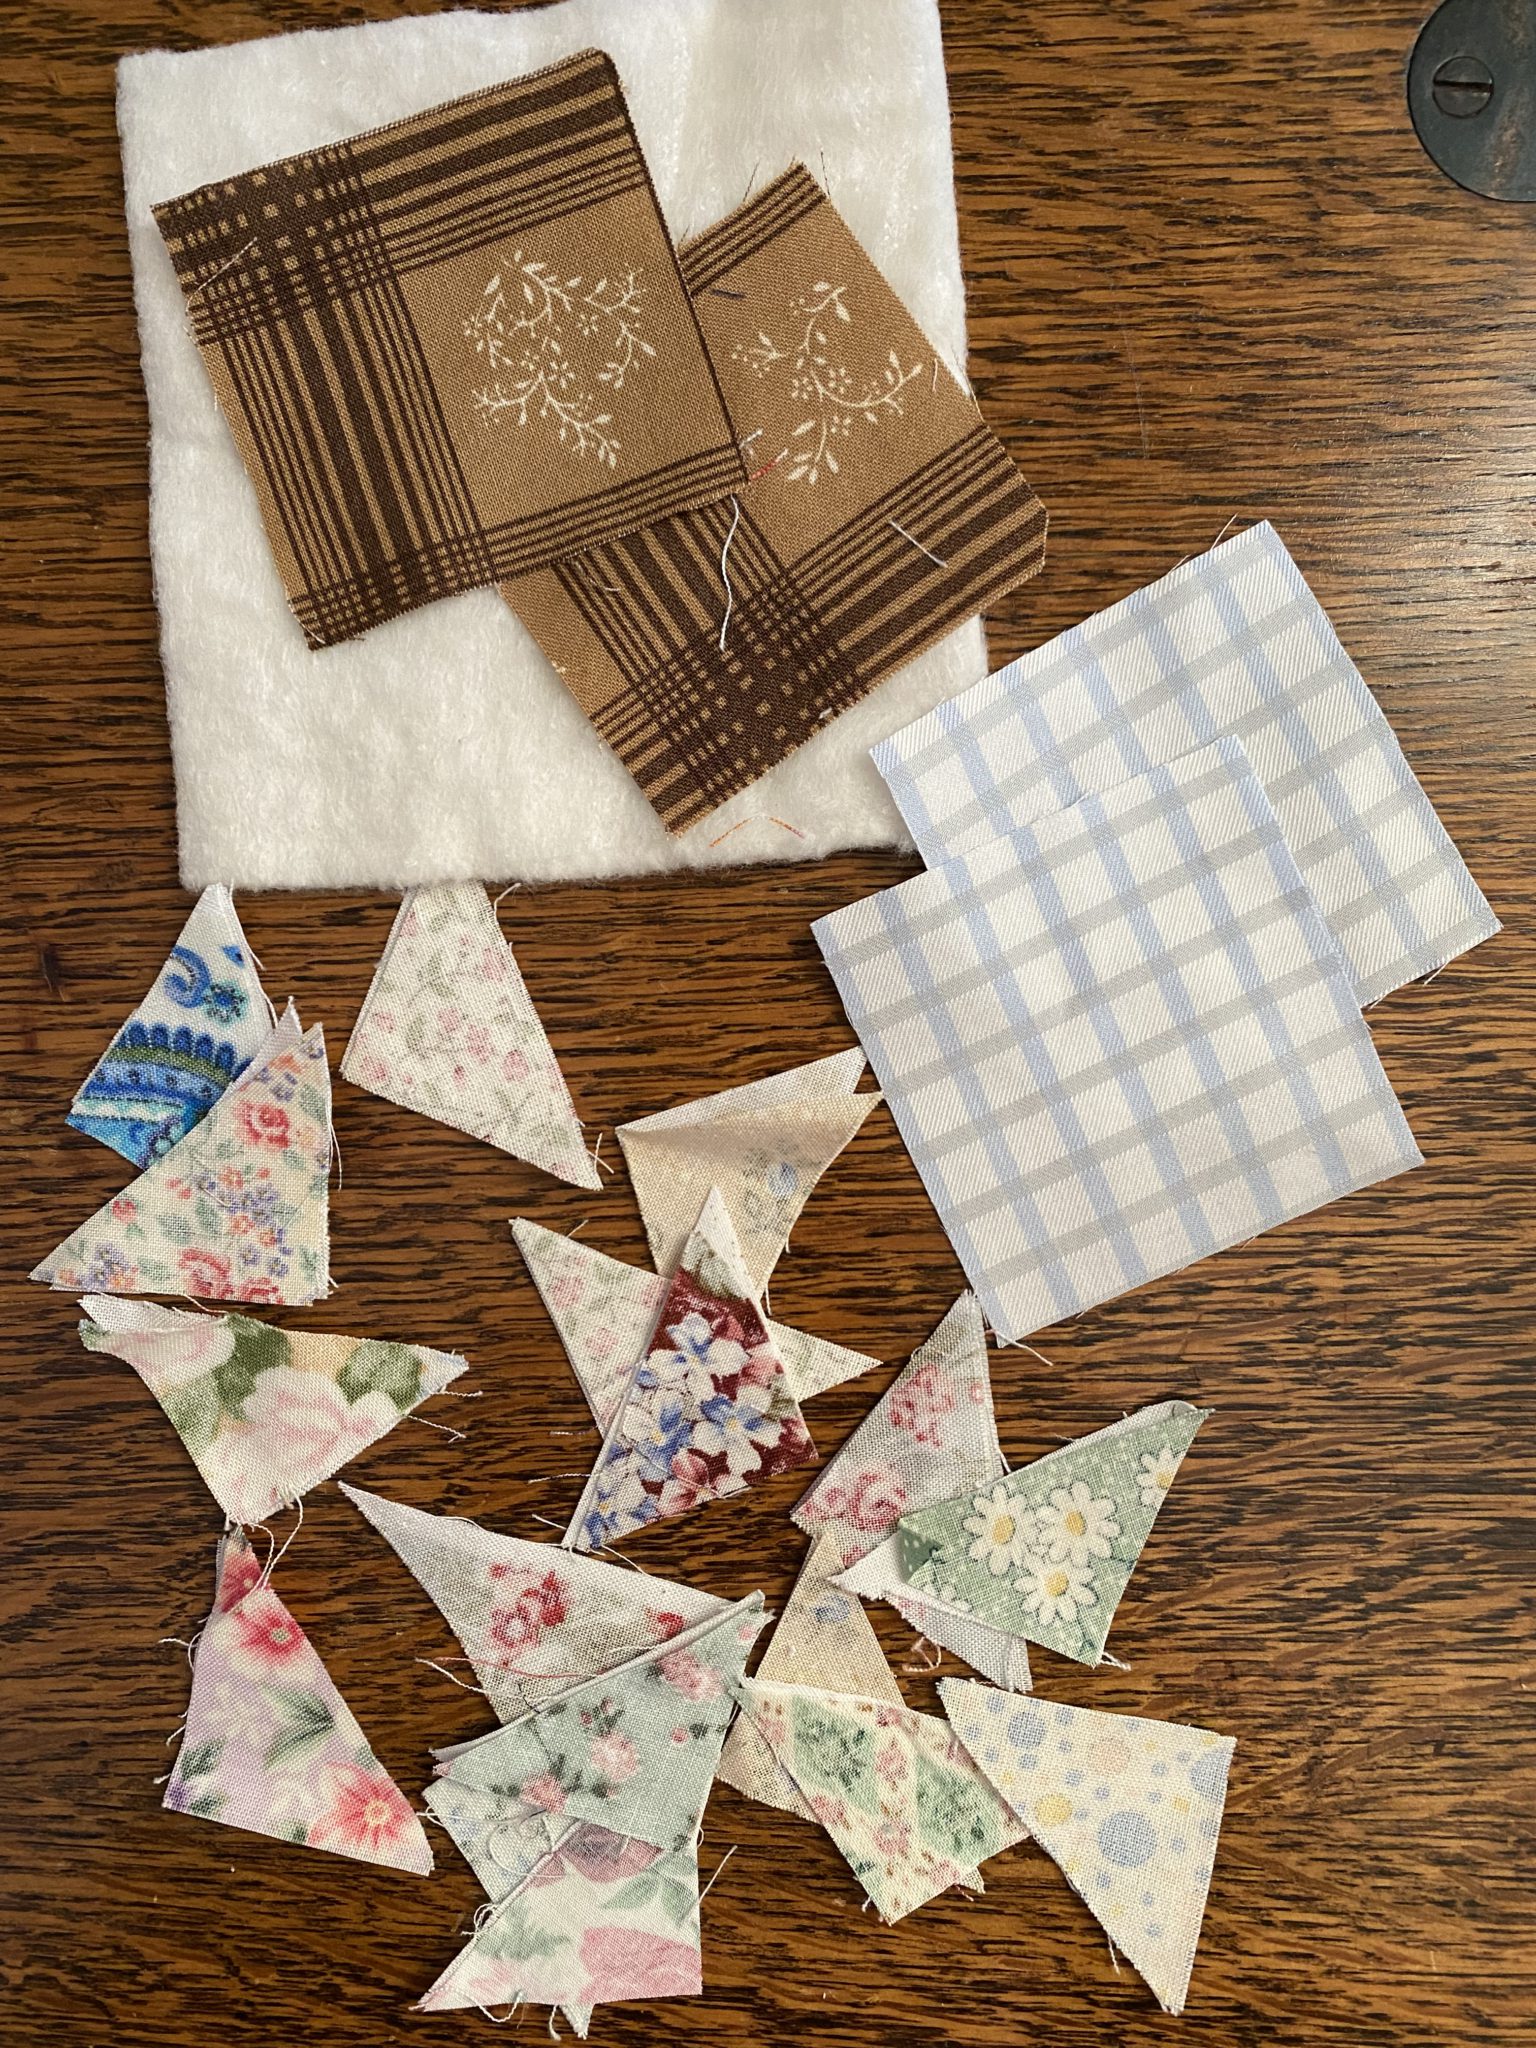
In order to make these little coasters, here is what you will need.
Requirements for each Scrappy Quilted Coastal Coaster
16 pairs of small triangles, 16 light 16 medium to dark. The equivalent size of a 1 1/2” square cut once on the diagonal. ie the short sides of the triangles measure 1 1/2”
1 of a 4 1/2” x 4 1/2” square of scrap batting
4 of 2 1/2” x 2 1/2” squares made into a four patch.
Method
Before we begin, I absolutely recommend chain piecing these little coasters. Because the pieces are so small they will be dragged down into your feed dogs if they are pieced individually. With chain piecing, you will have a happy time. So do keep something under your needle at all times. Make more than one at a time or make them between other piecing.
Use a very scant 1/8” seam to join your light and dark triangles together.
This does reduce the amount of seam bulk on the back.
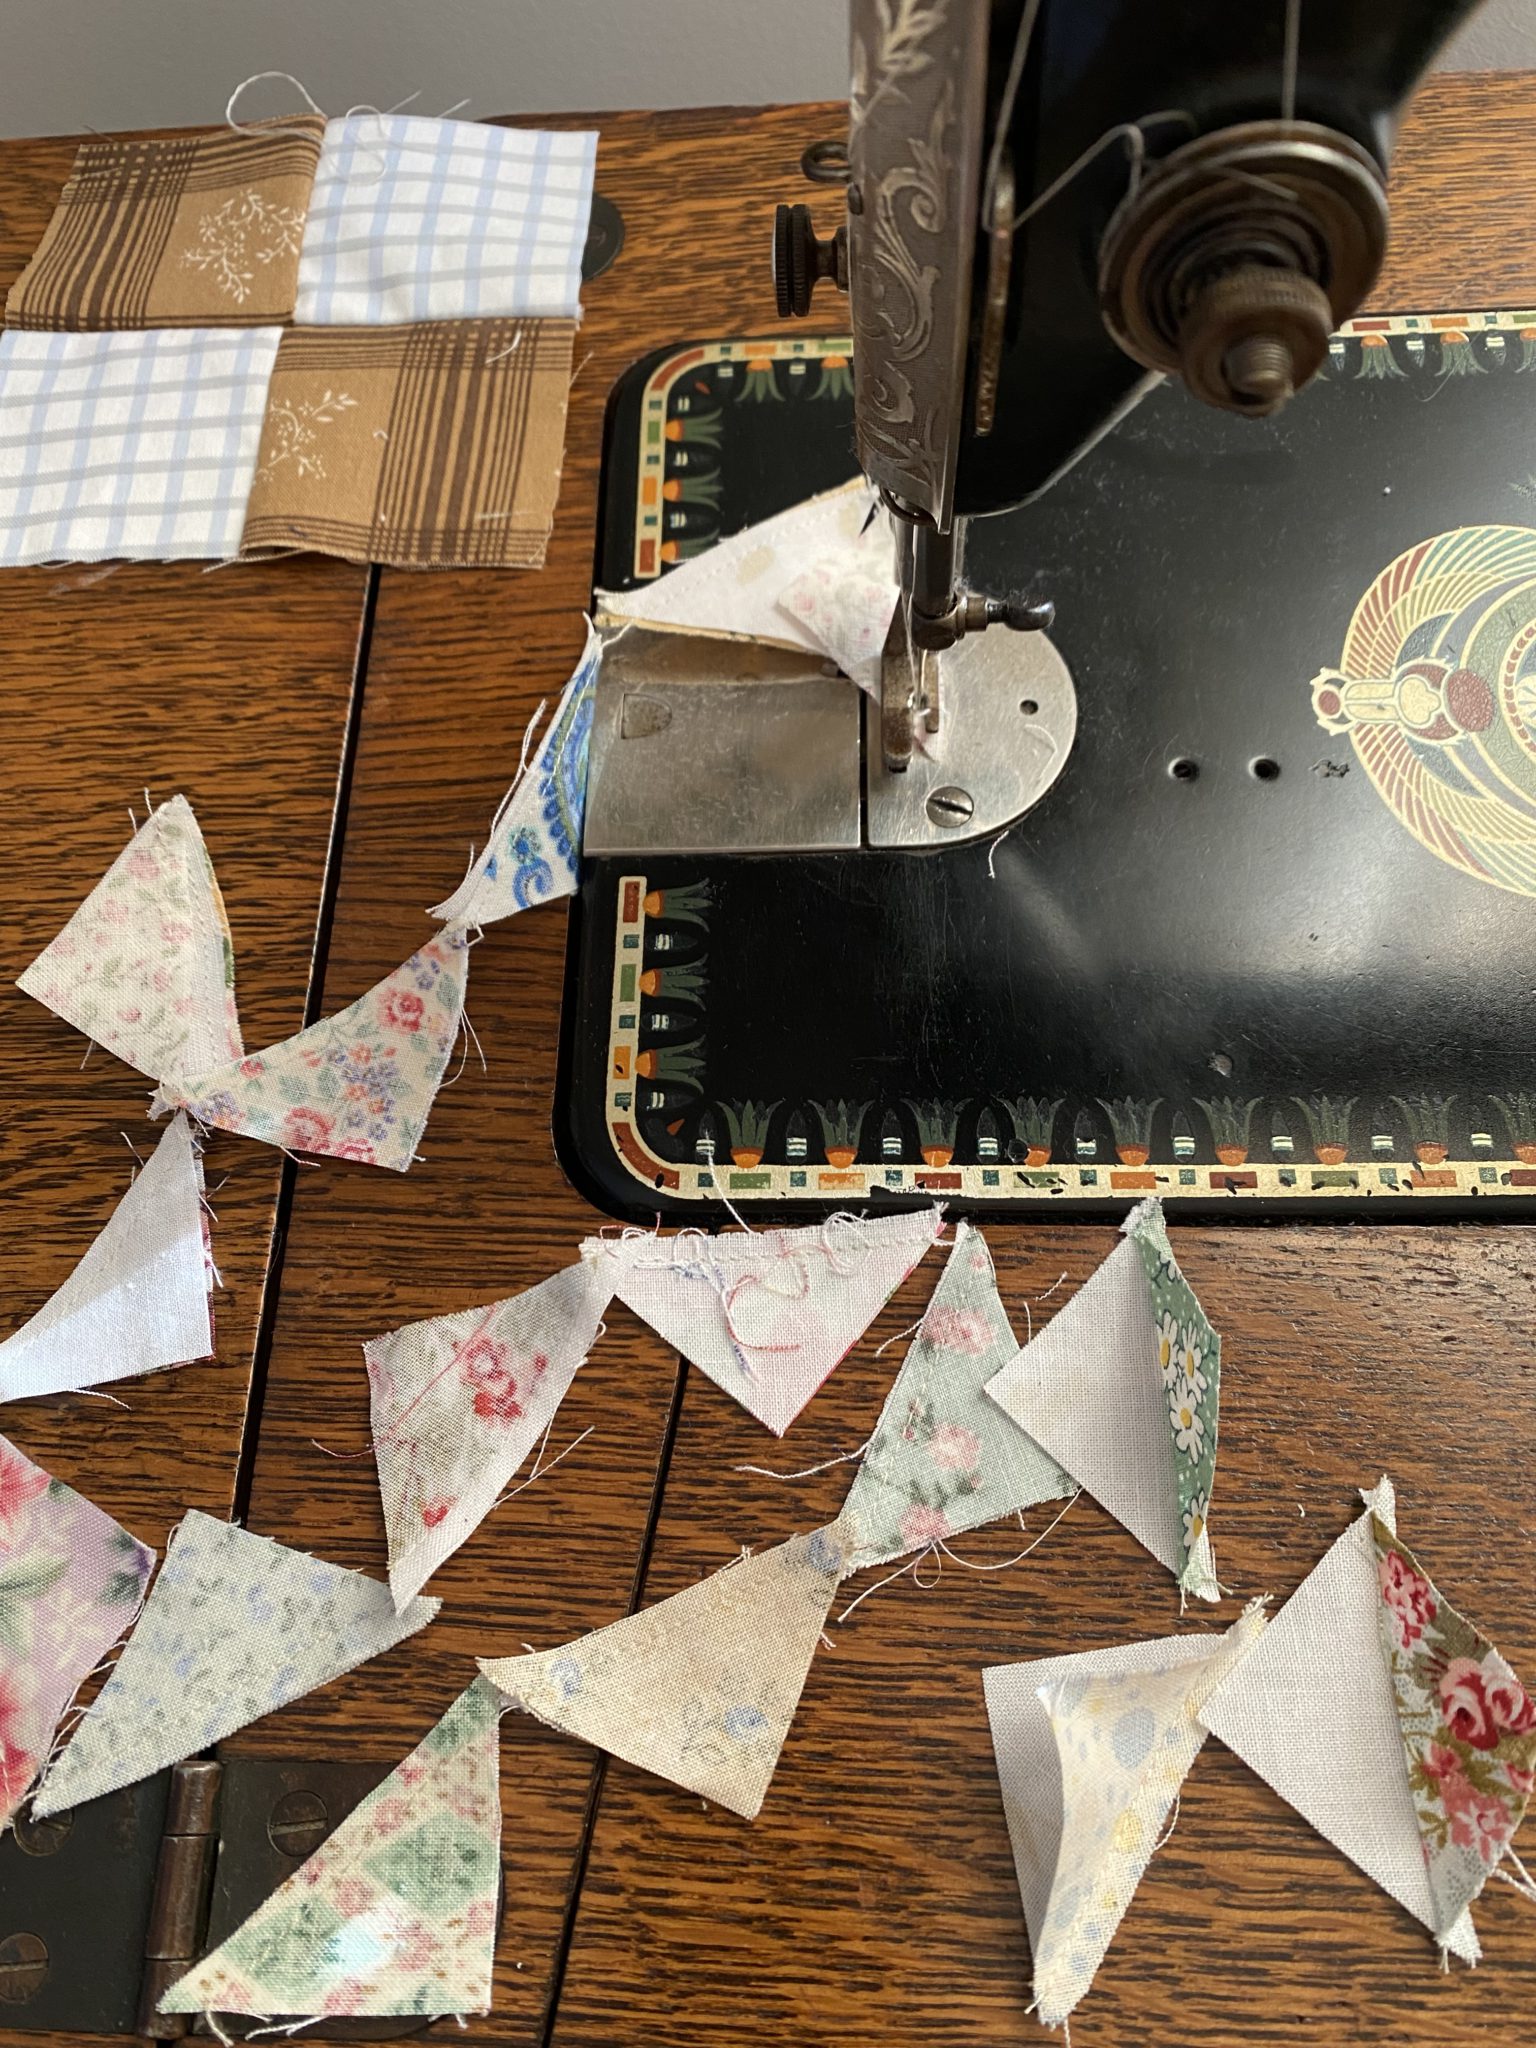
Finger press them open and trim off the little doggy ears.
Make the 4 Patch using a 1/4” seam. Press all the units.
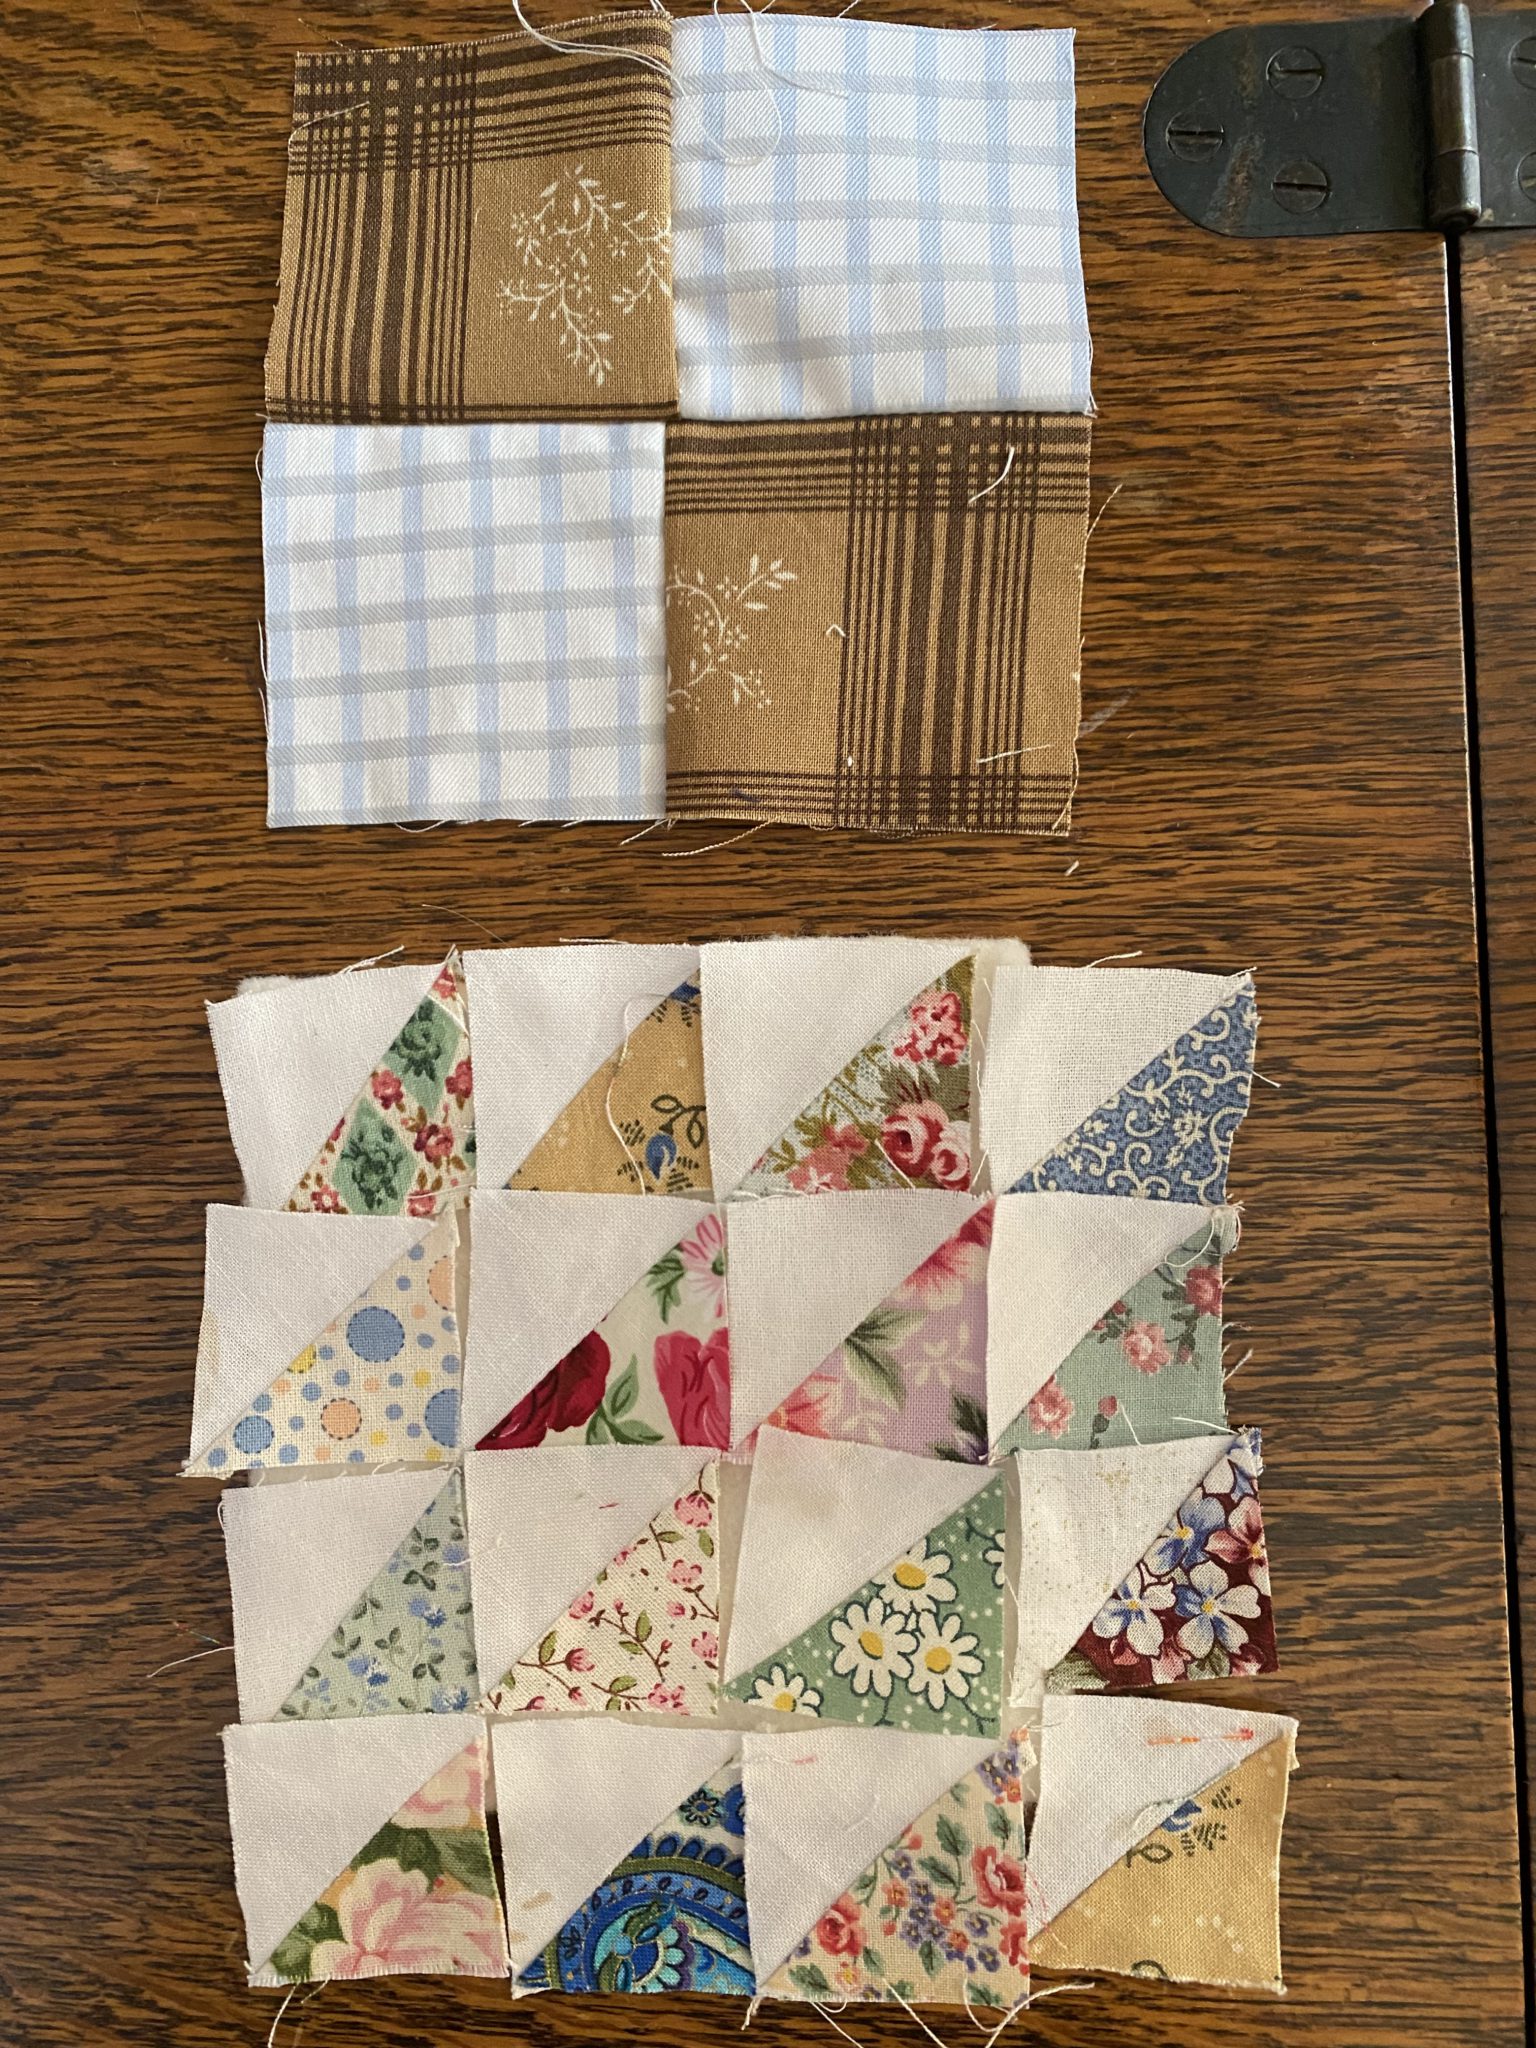
Lay out the 16 squares so that all the darker triangles are in the same direction.
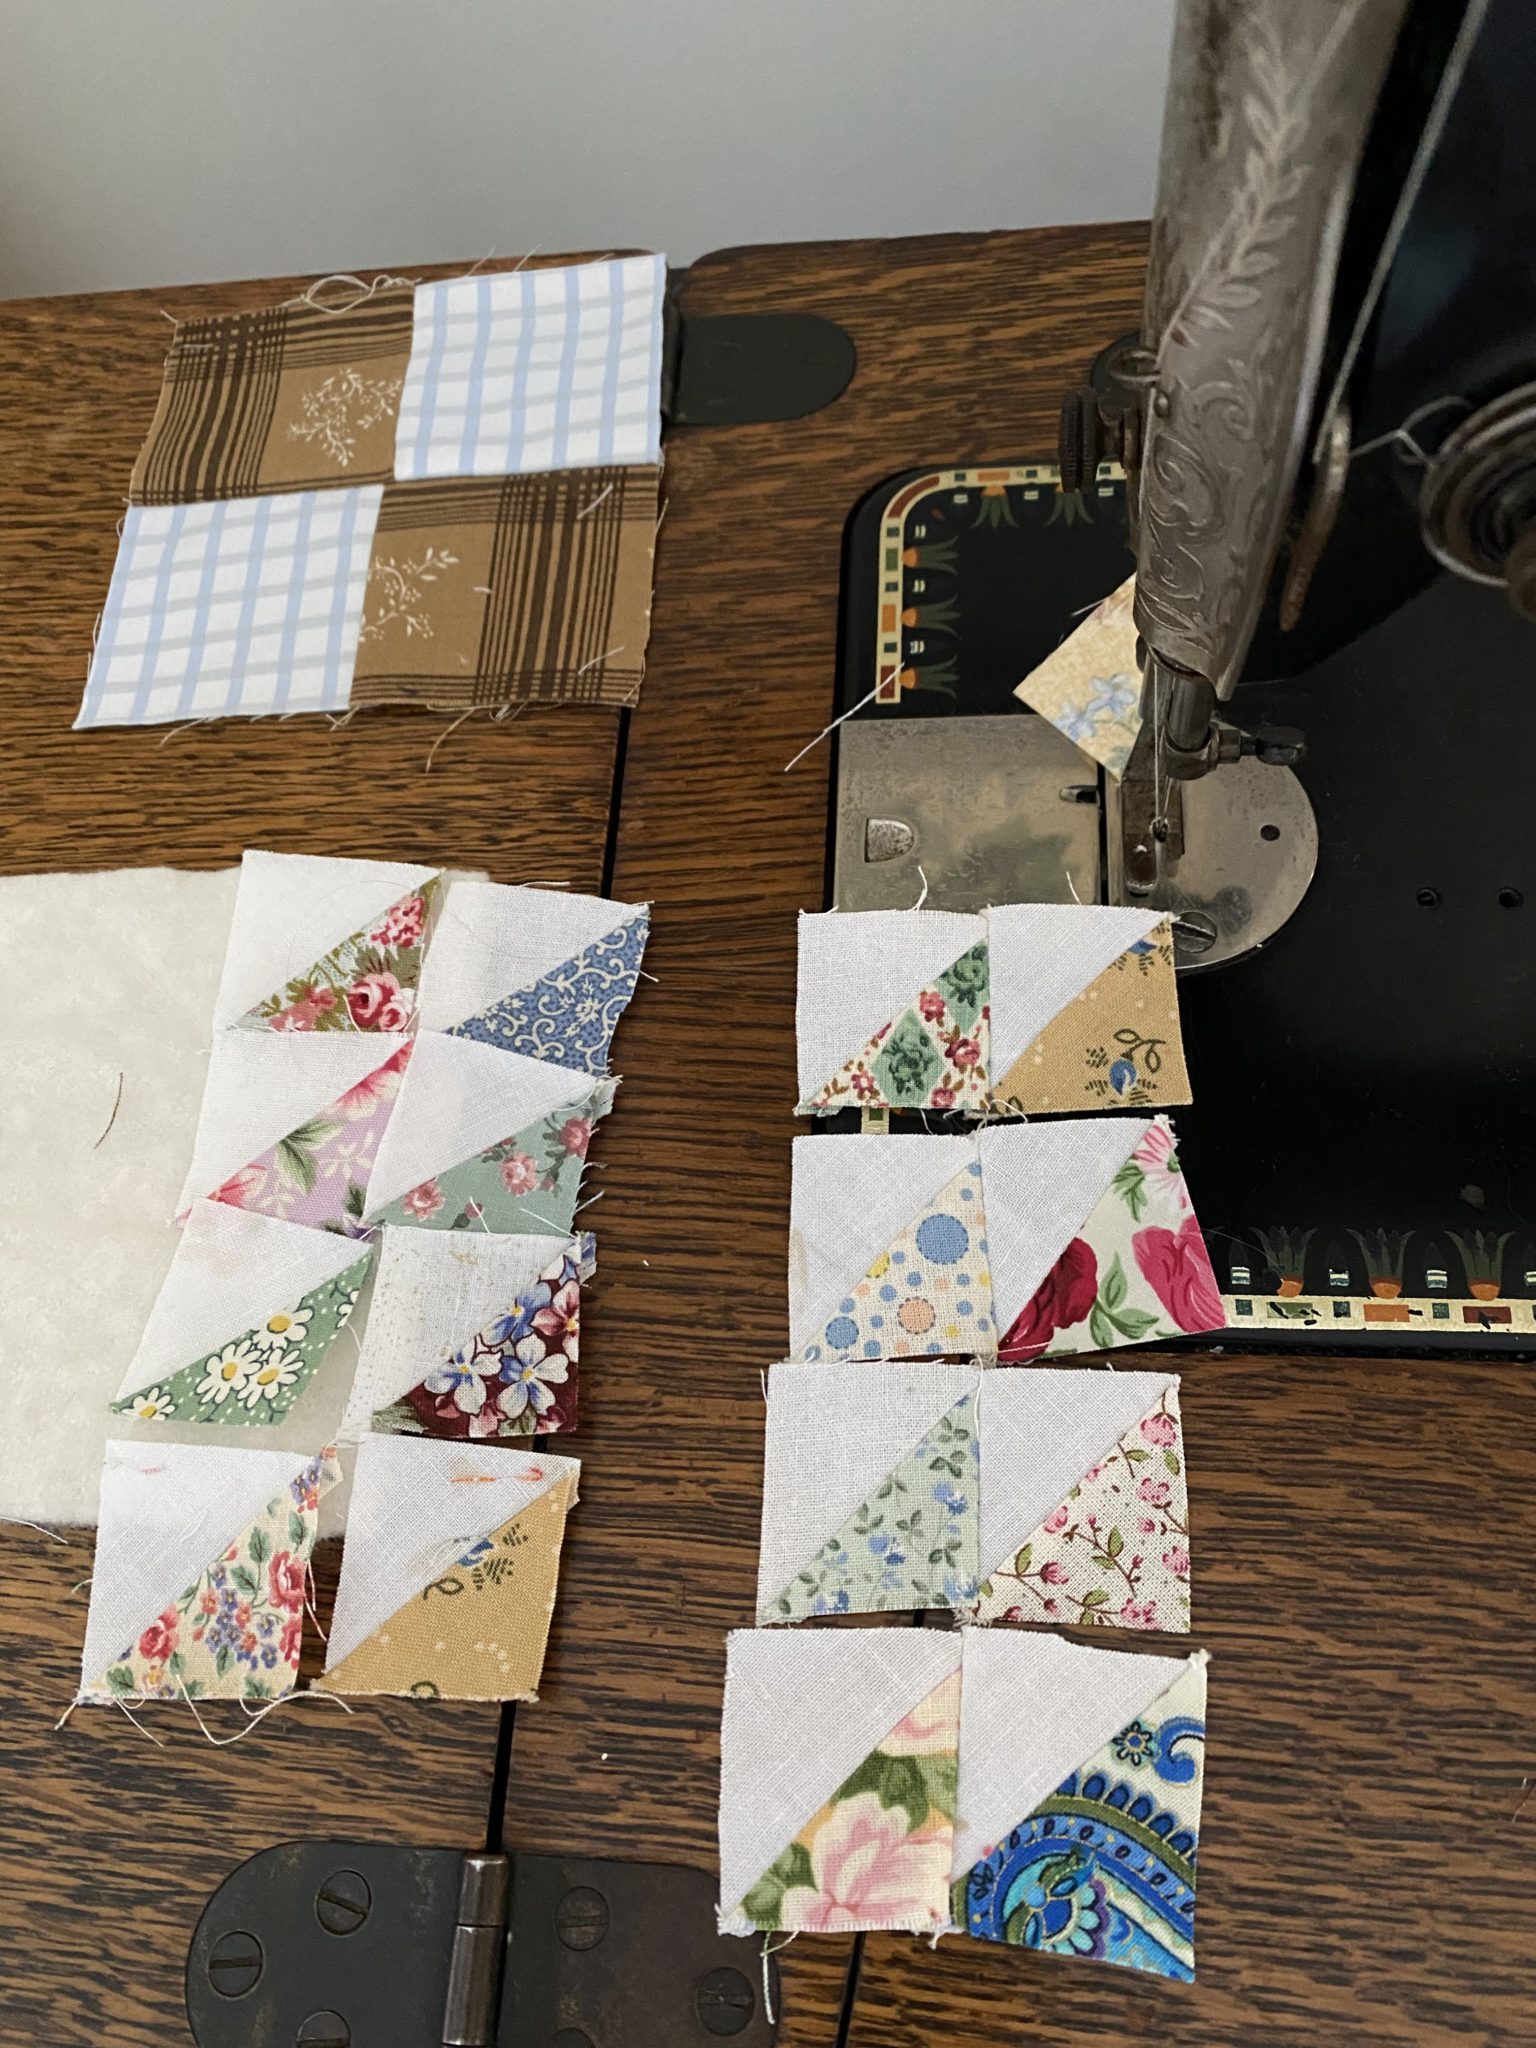
Sew the block together, by sewing the first 4 pairs together, continuing to use a small 1/8th” seam allowance. Then add the two subsequent coloums of the units. By sewing it together like this it is easier to match the seam allowances as best as possible.
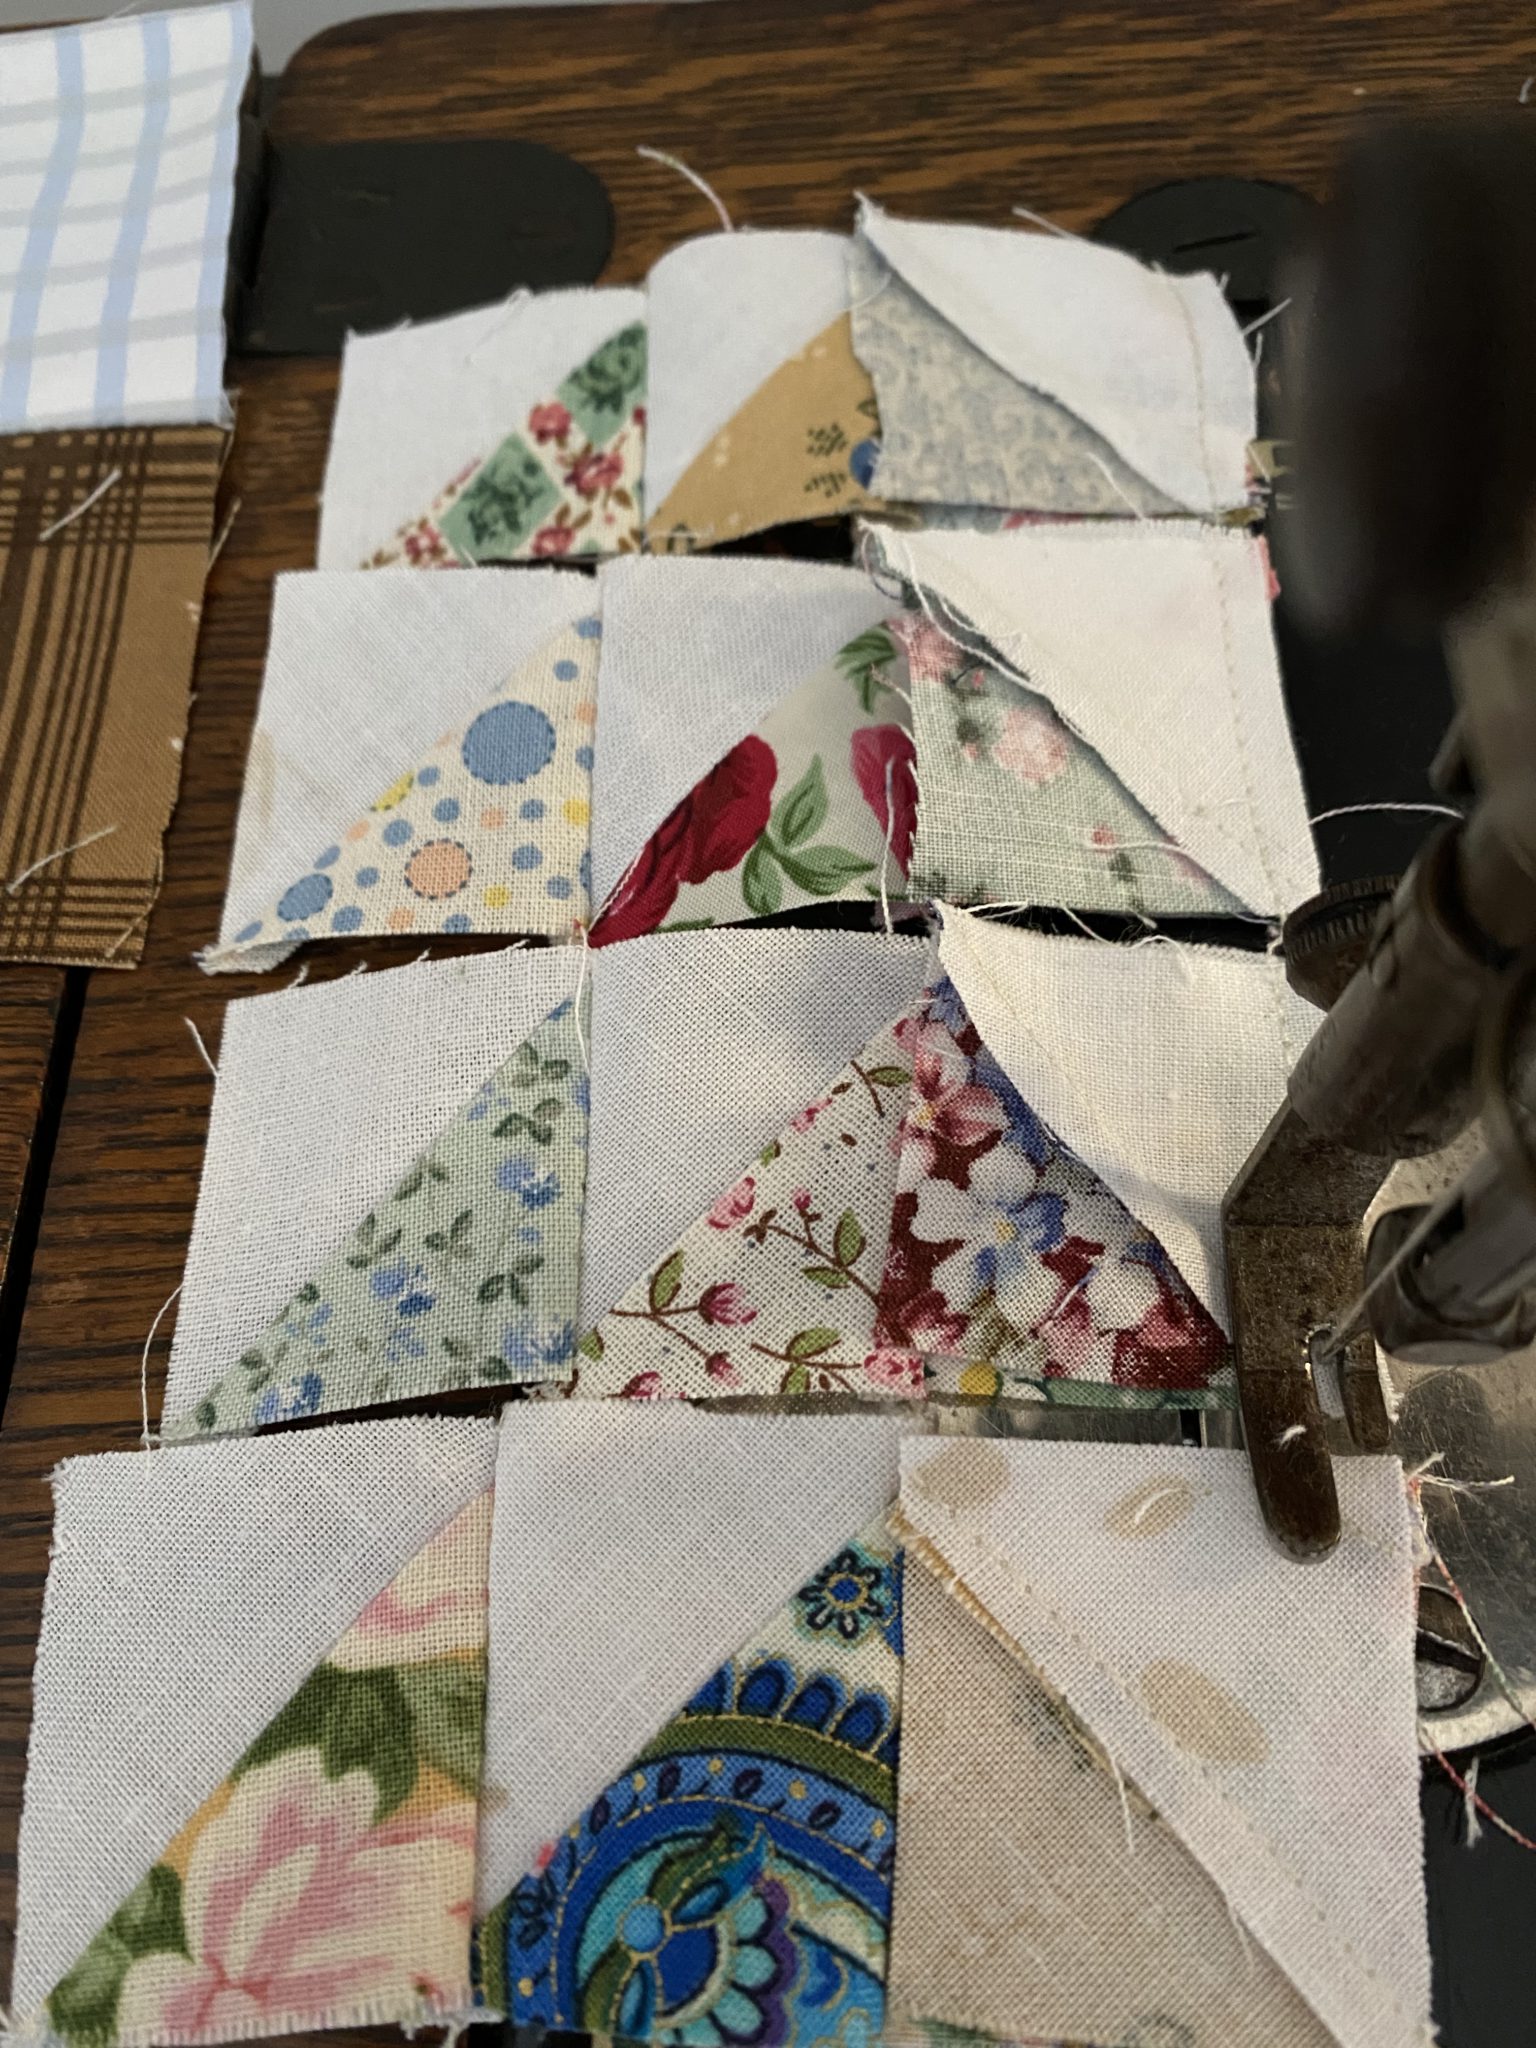
Now sew the horizontal seams, ensuring that the seams nest as best as possible.
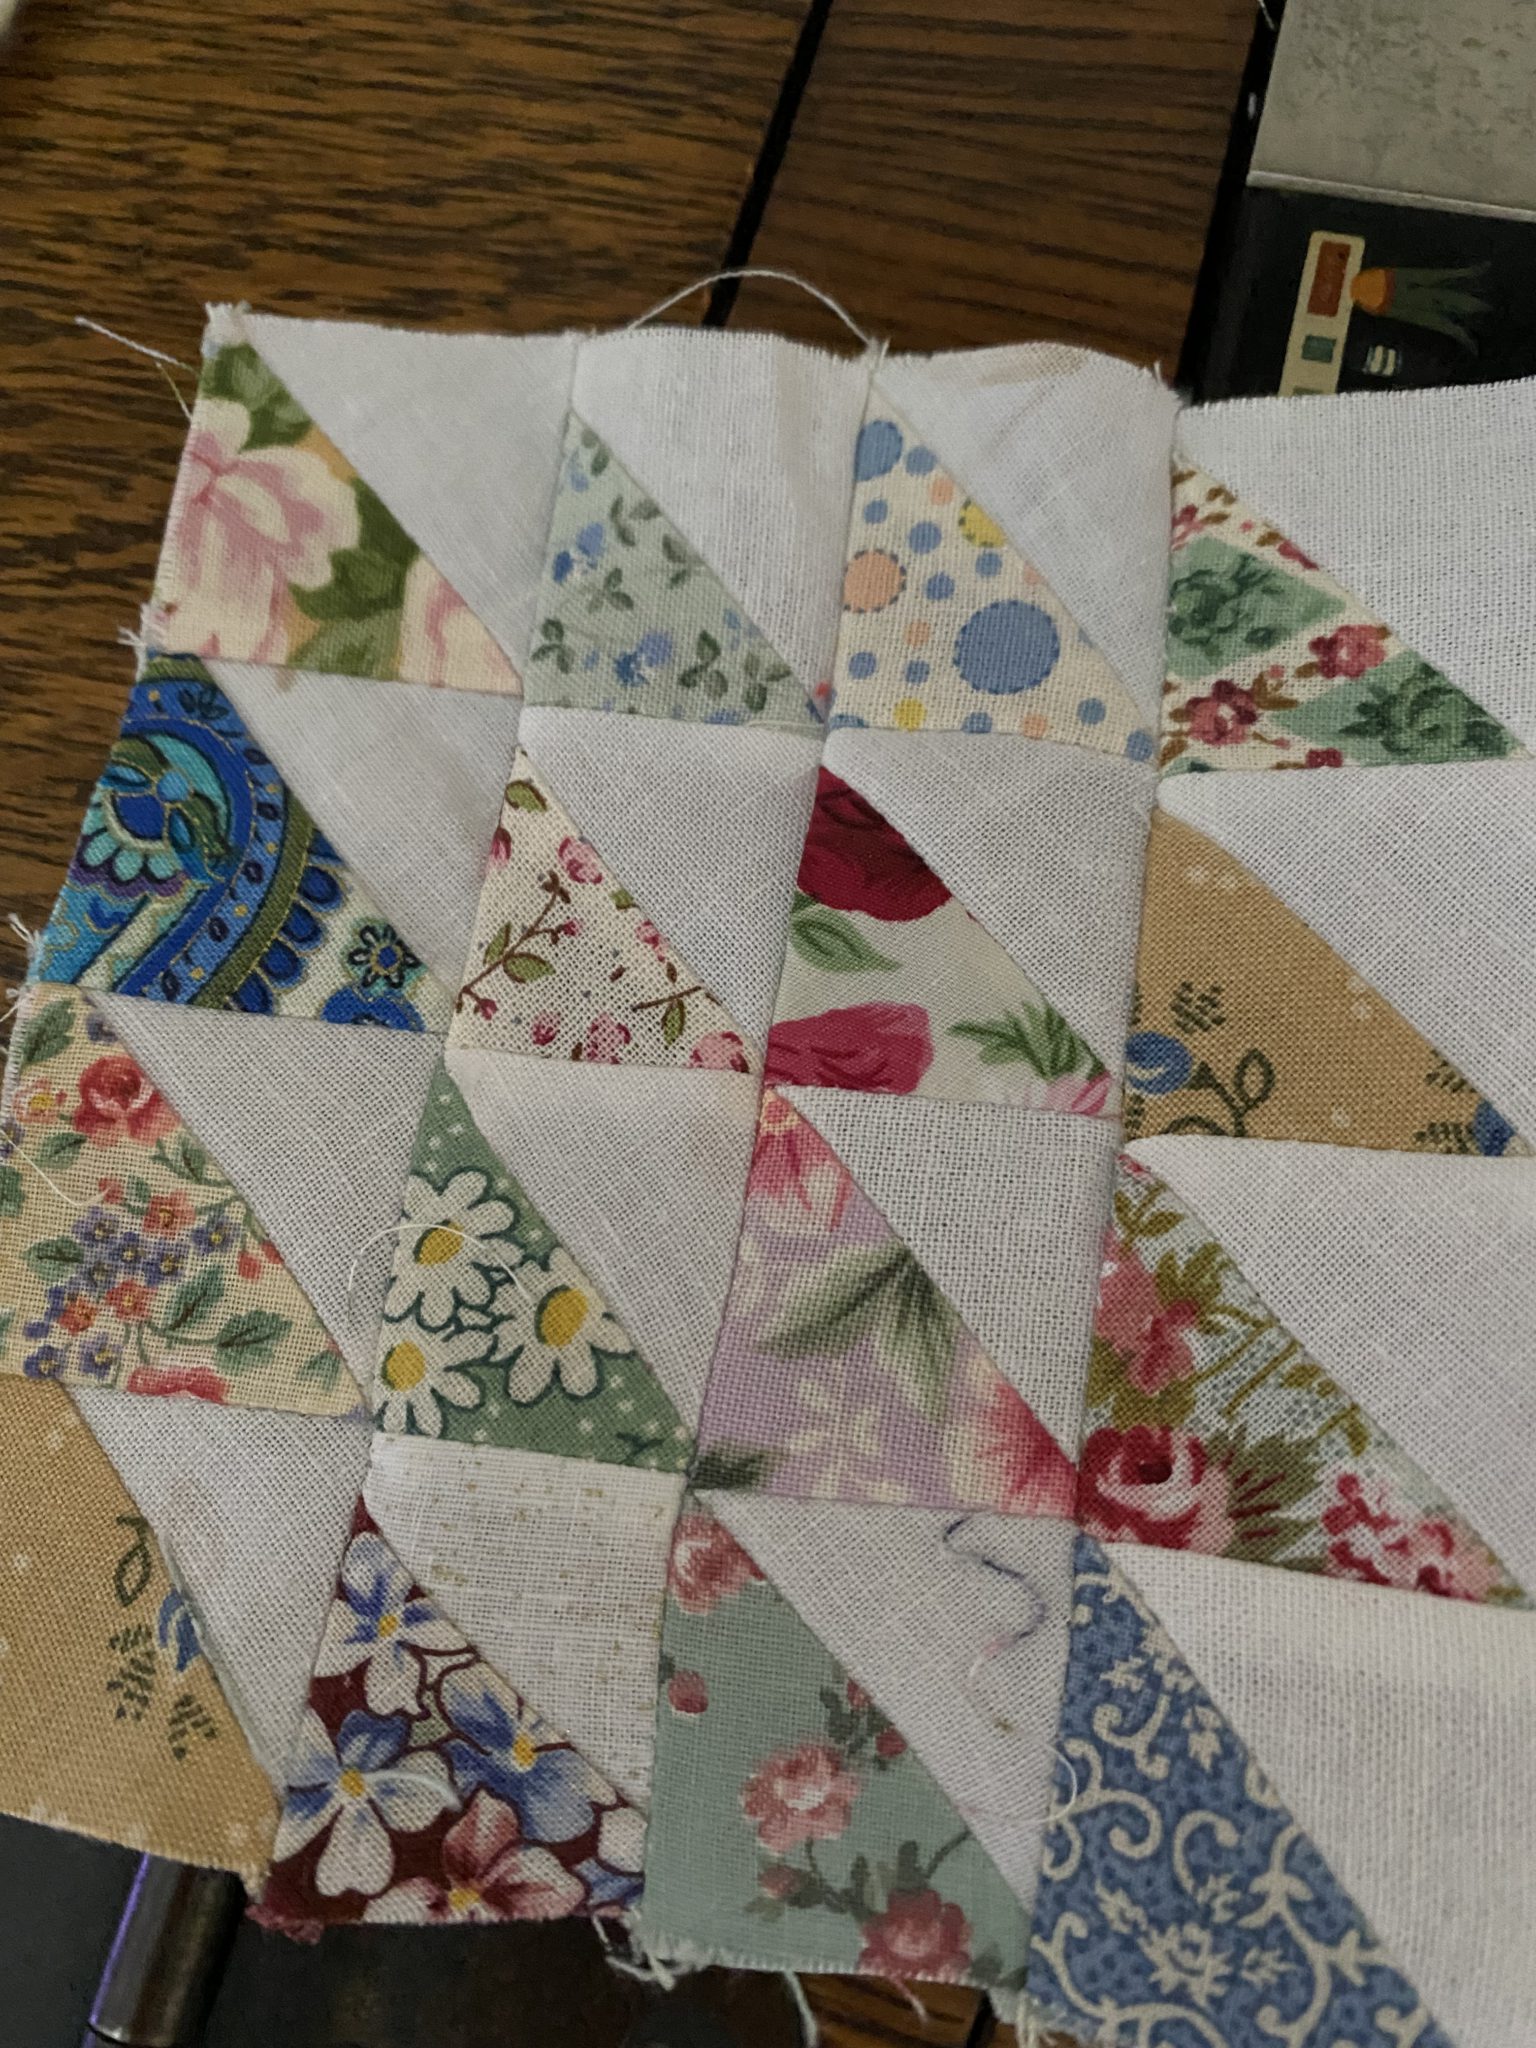
Press.
Put the four patch right side up on top of the square of batting. Put the triangles 16 patch on top right side down and stitch around the perimeter, leaving a 2 – 3” opening for turning on one side. Clip the corners.
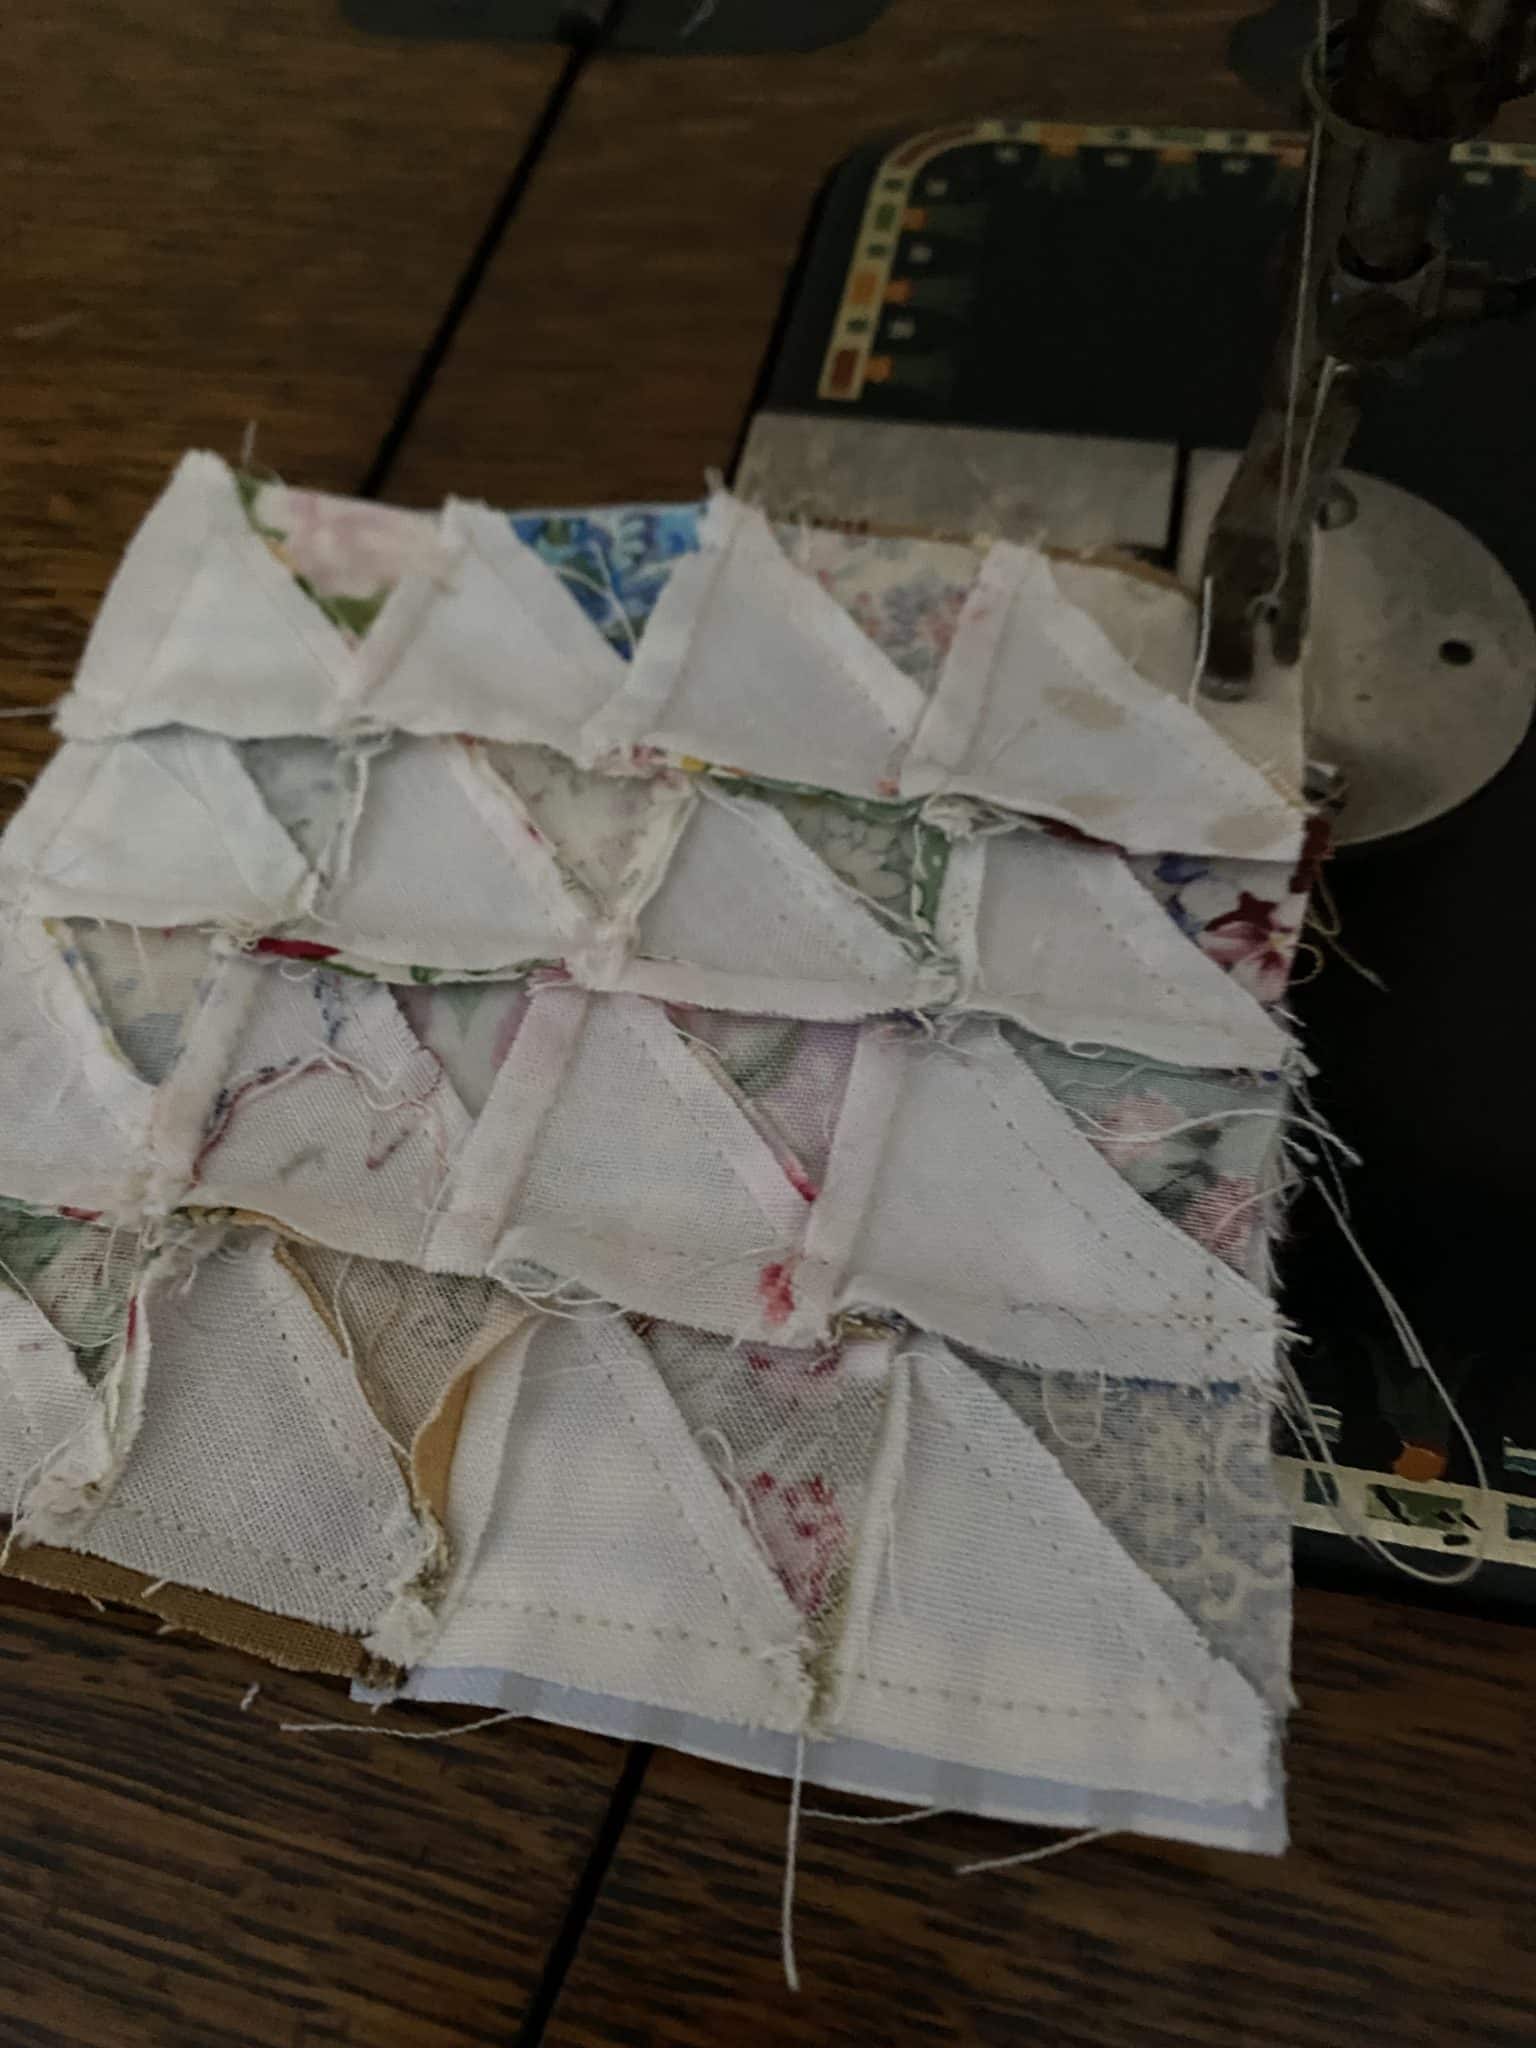
Turn the unit it the right side. Use a chop stick or similar to push out the corners and side seams.
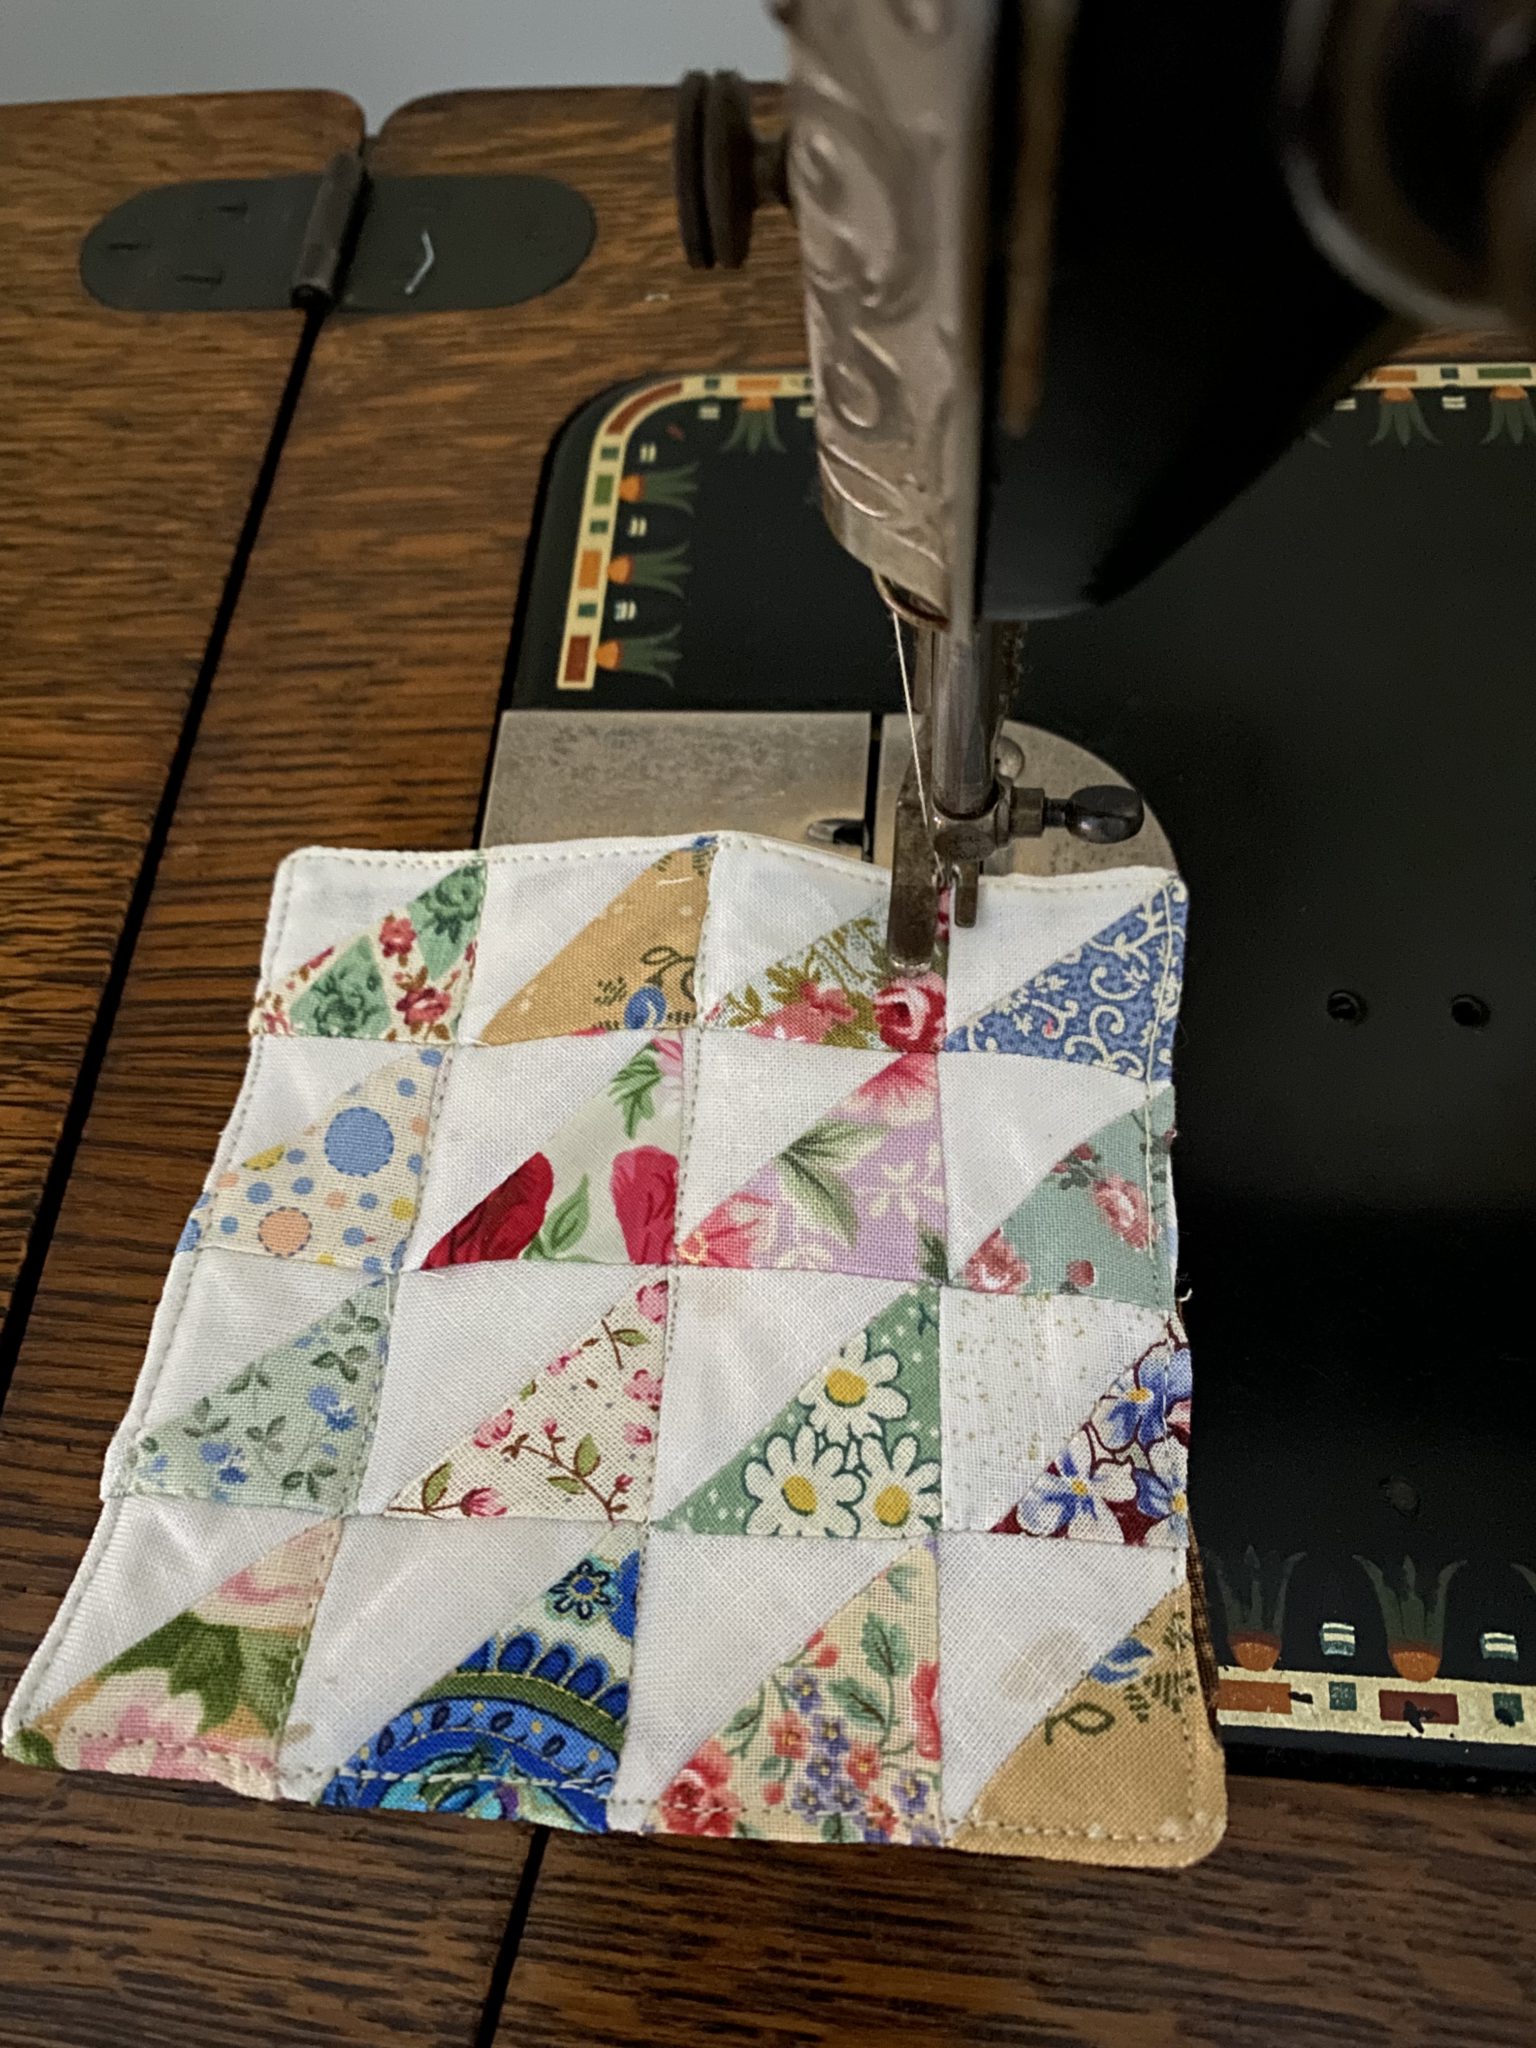
Turn under the seam allowance to close the hole. Top stitch all the way around as close to the edge as possible.
Quilt in the ditch across and down between the squares. If you have a walking foot, you should use it here for a much better result.
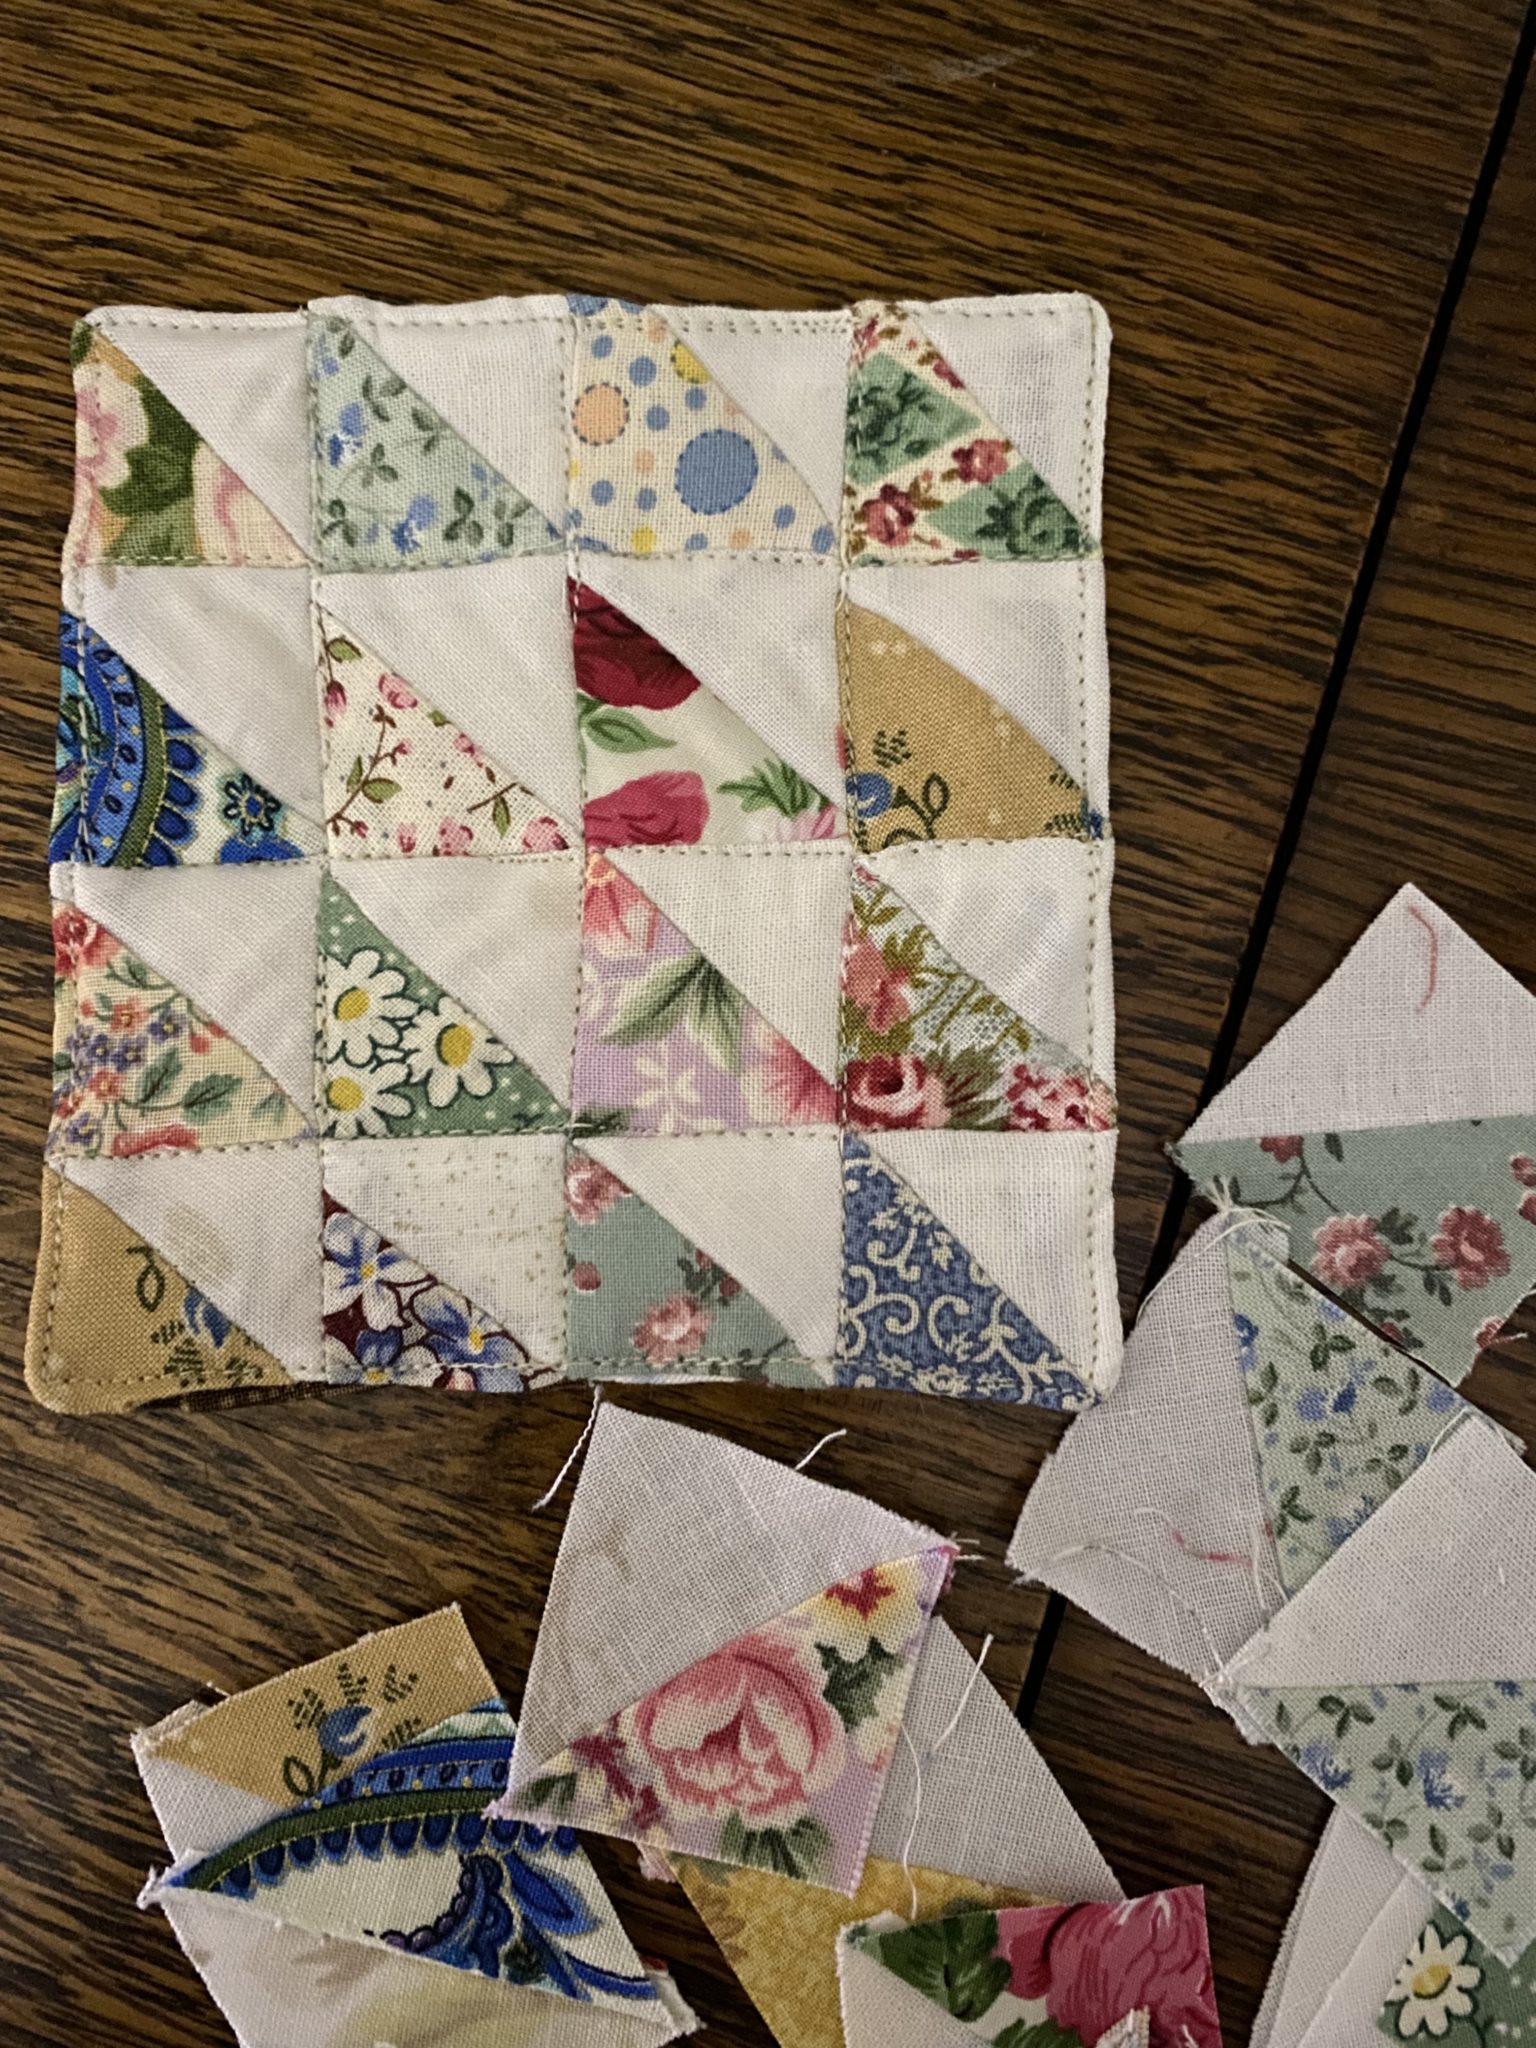
Enjoy your coasters!
As a postscript, a lady from Scrap Quilt Enthusiasts, commented that adding one to a Christmas Card would be nice. I think thats a lovely idea.
If you enjoyed this post, you may also like these other small scrappy projects,
Quilted Scrap Fabric Baskets – Tutorial
And this post where you can see how I utilised the leftover half square triangle blocks which I think really set this quilt top off.
Lessons in Lozenges Quilt Blocks
Have a lovey day. hope you can get a little bit of sewing in.
Susie
2021

