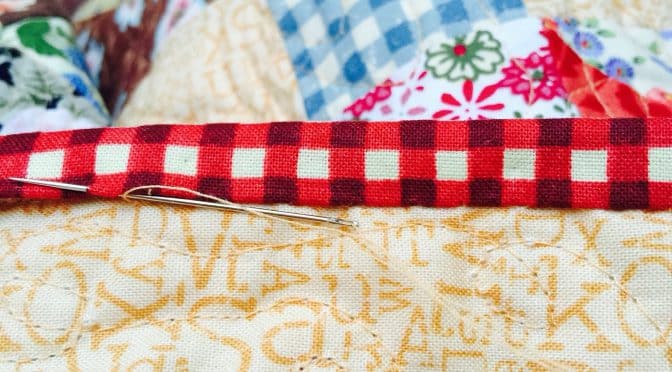
Hand Sewing the Binding on a Quilt Tutorial
Hello Dear Friends and Readers. Hand sewing the binding on a quilt. I love this part of quilt making and yet it can be a bit sad in a way because I know that quilt journey will soon be over. It’s so relaxing to get comfortable and have the quilt on my lap (except if it’s 40 degrees) it does get hot here.
Please see previous tutorials on how to make the binding
Prepare binding strips for quilts Tutorial
and how to attach the binding to a quilt.
Attaching Binding to a Quilt Tutorial
I personally would never machine sew the back of the binding on. I’m not saying it’s impossible but even an experienced seamstress, will find it challenging. In my opinion the result is never as good. I have tried it on smaller projects and truly, its a disappointing excercise. After all the work which is put into a quilt, its a shame to go sloppy at the end. It’s much like an operation. It’s not finished until the last dressing is correctly applied.
It’s not difficult to do the hand sewing once you know how.
To begin, there are differing schools of thought, some people say you should match your thread to the binding. Others may say it should be matched to the background. I think it’s s netter of looking at the project to decide what would look best. For instance. On this project I will match the thread to the background and use the same thread I did the quilting with. The binding is two-tone red and cream so I think in this case it’s a sensible choice.
From an early age I was taught by my grandmother, who was an accomplished milliner, how to make a quick knot in the end of the thread. I love this method, although it probably takes a little practice not to get a lumpy knot… On the index finger of your left hand wrap the cotton thread in a clockwise direction until it overlaps by about 3/8 th of an inch. Roll the thread by pushing down with your thumb toward tips of finger and thumb. Pull the threads down. There is the knot. Practice a little. Once you can achieve this technique, it will speed up loading your needles and the knot can be positioned right at the end of the thread.
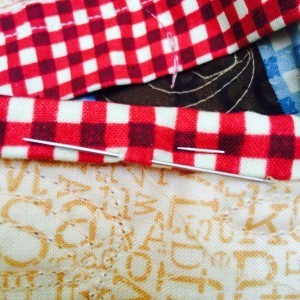
Cut a length of about 2 feet of single strand 50wt cotton thread. Take your first stitch. Again I start about midway on one side. I don’t start in the corners. Use the stitching line that attached the binding at the front as the guide to get the binding nice and even and the stitch as invisible as possible. Put it through at an angle so that the needle emerges about 1/4 inch away and runs through the folded edge of the binding. That way most of the thread is not exposed. Pull through.
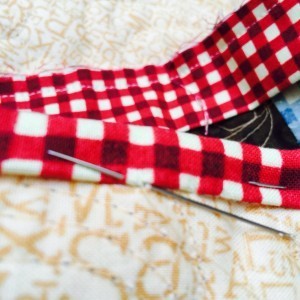
For the next stitch, insert your needle into the quilt, just below where it emerged from the binding. Run the stitch through the inside of the folded edge of the binding (between the folds) Then come out again 1/4 inch from the start through the fold of the binding. Continue to the first corner. Every now and then I secure the stitch twice to prevent unravelling in the future.
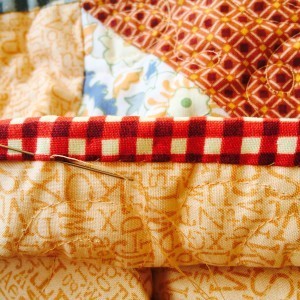
See how nice it looks. The stitches are barely visible. As you approach the corner be sure to pull the binding back to square it up to the edge , then fold it back so tha a mitre corner is created.
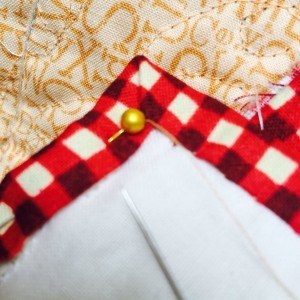
I like to make sure I anchor the stitch well at the base of the corner. Keep going in the same manner all the way around. As you approach the join of the binding, where the binding begins and ends, be sure to slip stitch closed. Thank you for coming by.
If you enjoyed this post, you may also like
All In Hand & Lessons In Hand Quilting
Stitching by the Pool Six Pointed Stars Antique Inspired
Susie

