
Scrappy Broken Dishes Quilt – Antique Inspired
Hello Dear Friends and Readers,
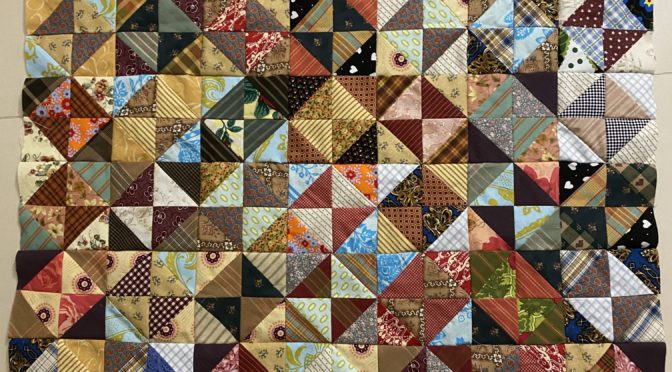
Reflecting on antique Dutch quilts, I will immediately think of stars, hourglass, tumbling blocks and broken dishes in the quilt designs. Of course there are others too, but this is what comes to mind for me. The appeal is timeless and the beauty of the play of light and dark is marvellous. I think just about any fabrics could be used for these designs to work as long as there is some contrast. I know I have mentioned it before but I prefer to make quilts for babies that will stand the test of time and still have appeal no matter what the age. That is my inspiration for this quilt.
Here is another antique Dutch inspired quilt so that you can see what I mean…
I had some squares of plaids and stripes which I wanted to put into this quilt for a baby boy. I added some other more modern fabrics which honestly at the time I wondered if I was doing the right thing, but now that I have put it together, they seem to really work!
Its also amazing how the overall colour almost looks brownish even though there is a big range of blues, browns, greens, red, pinks and even some black. I think it will be perfect for a boy and I can just imagine him dragging it around the house as a toddlerand then still being a nice lap quilt or even fabulous wall hanging for him later on when he is grown up.
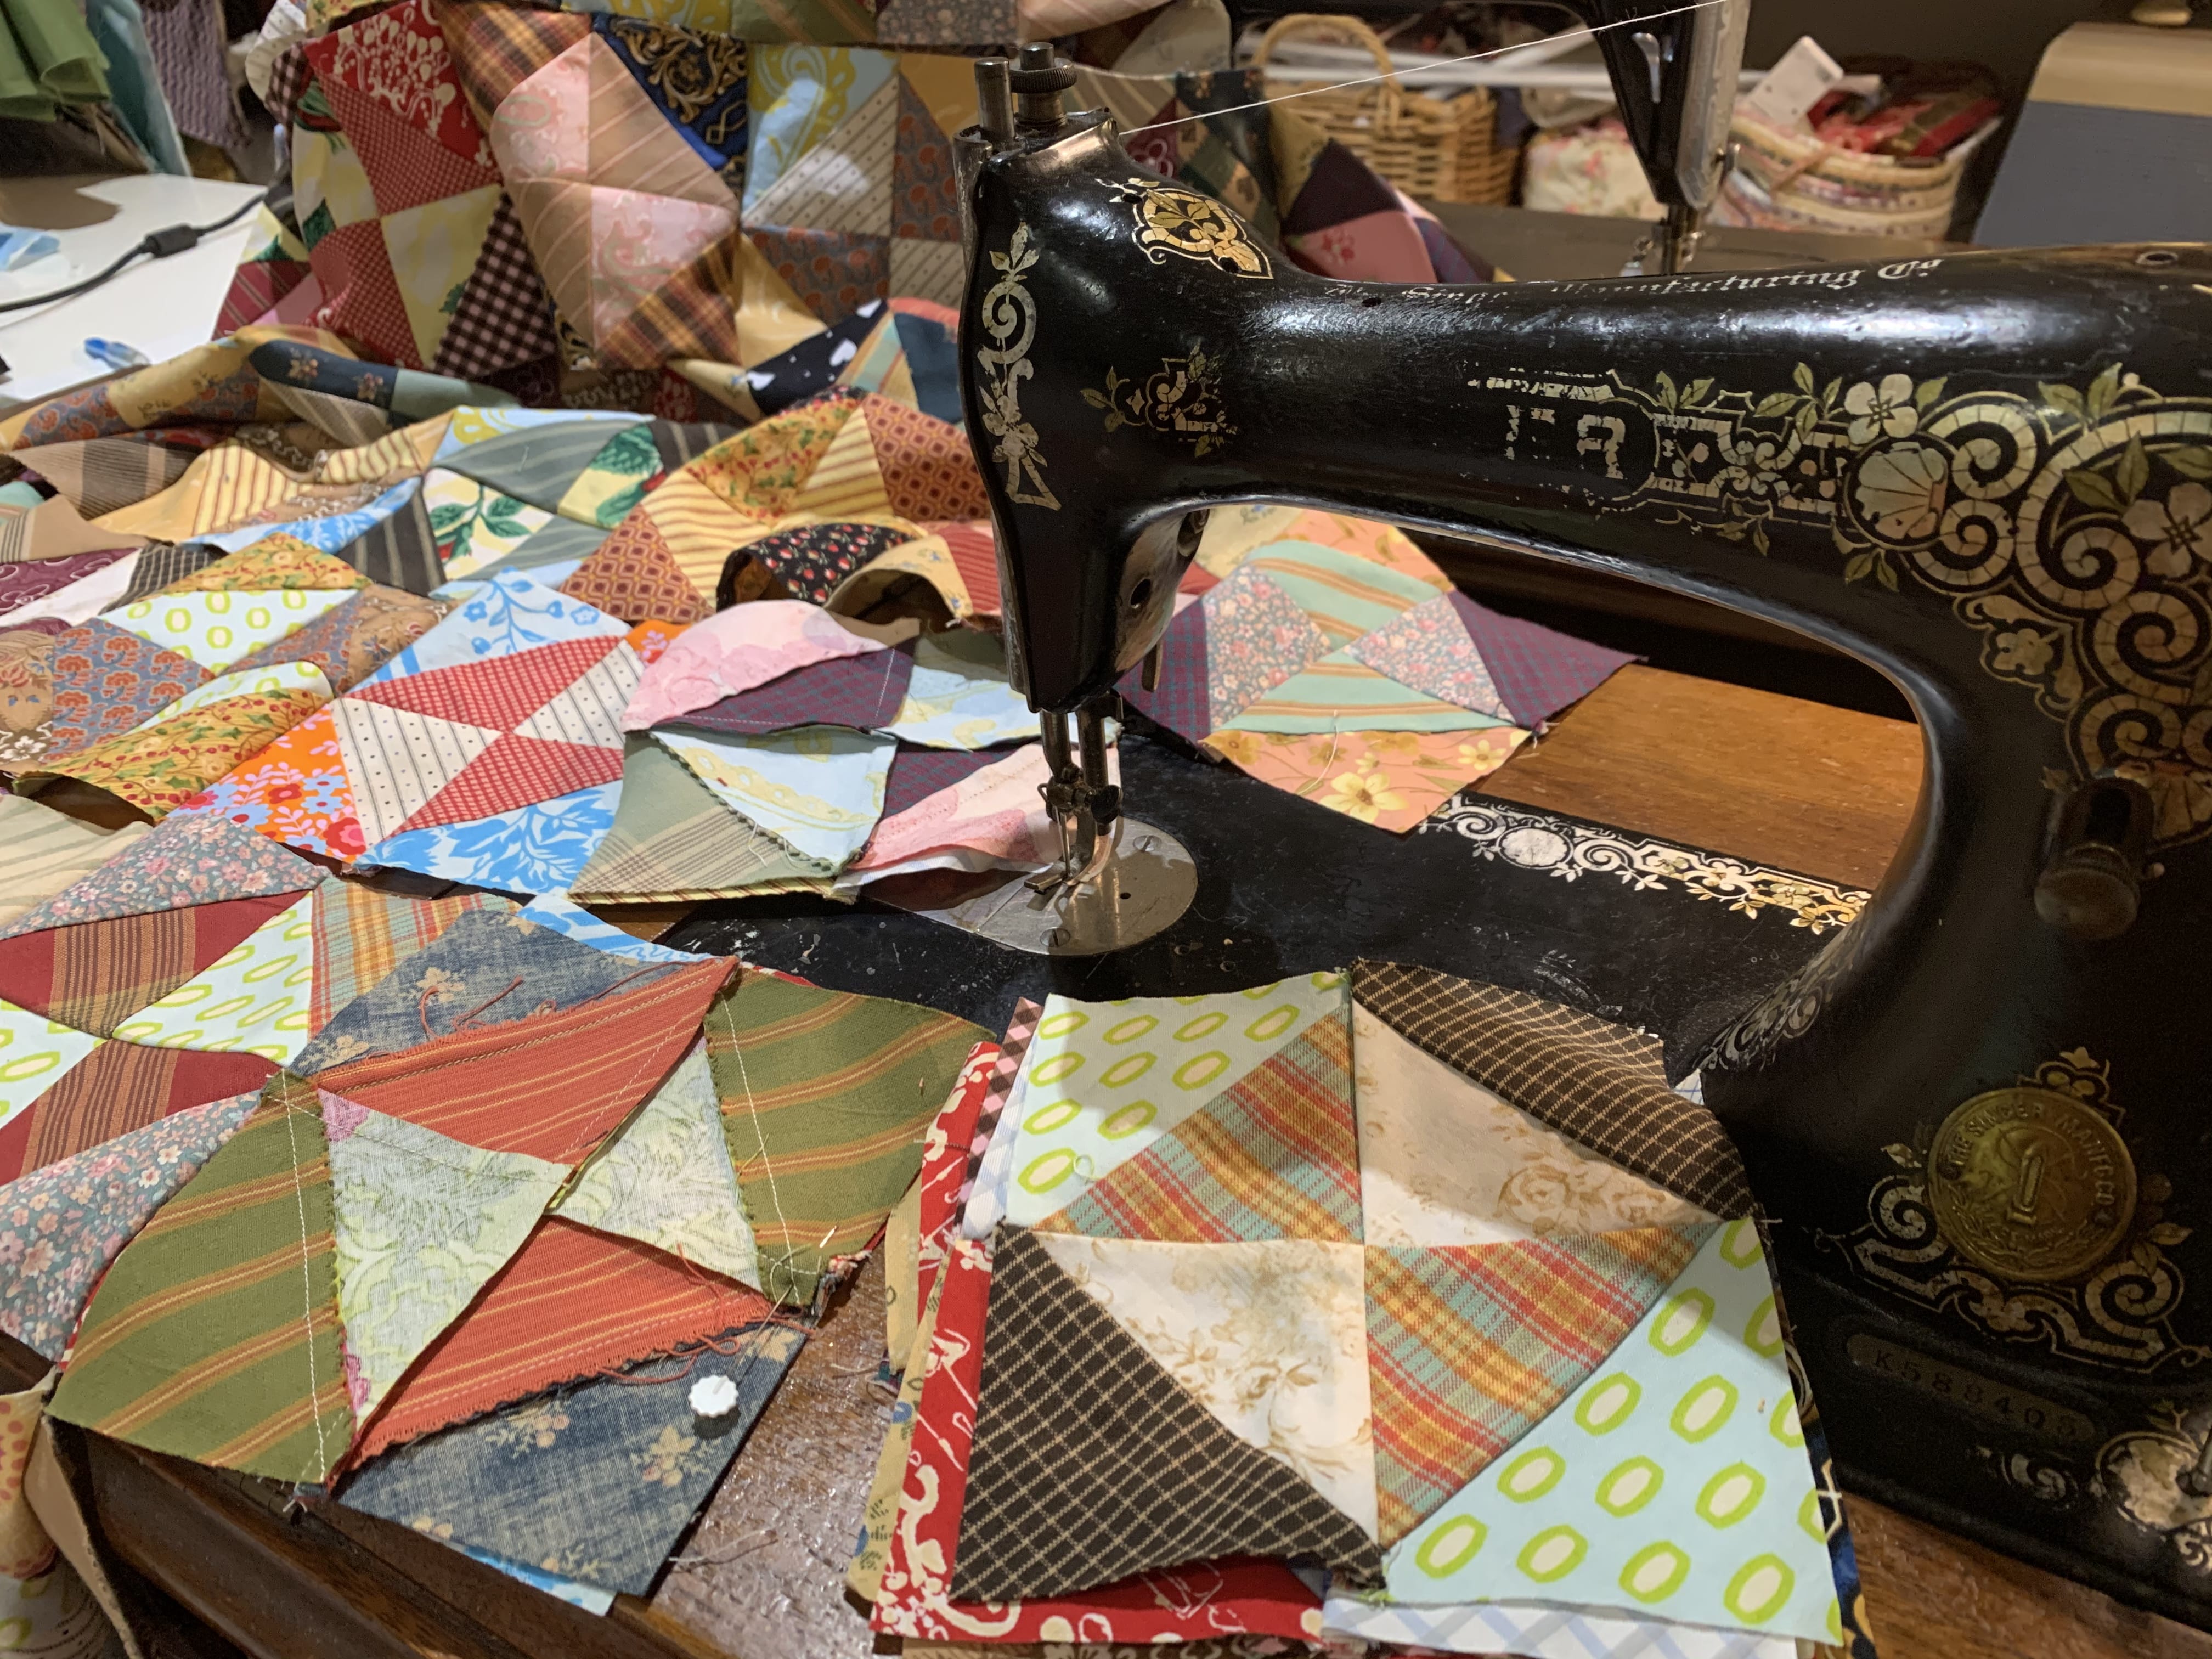
I have “broken” (ha ha) the“rules“ when making these quilt blocks so am taking care not to stretch the edges until its quilted, but I’m really happy with the look of it.
Approximate quilt size is 35 ½” x 48 ½”
Here is how I did it.
Requirements for Scrappy Broken Dishes Quilt Antique Inspired
56 of the Totally Scrappy Broken Dishes Blocks – here is the link
Broken Dishes Block Totally Scrappy Made Easy
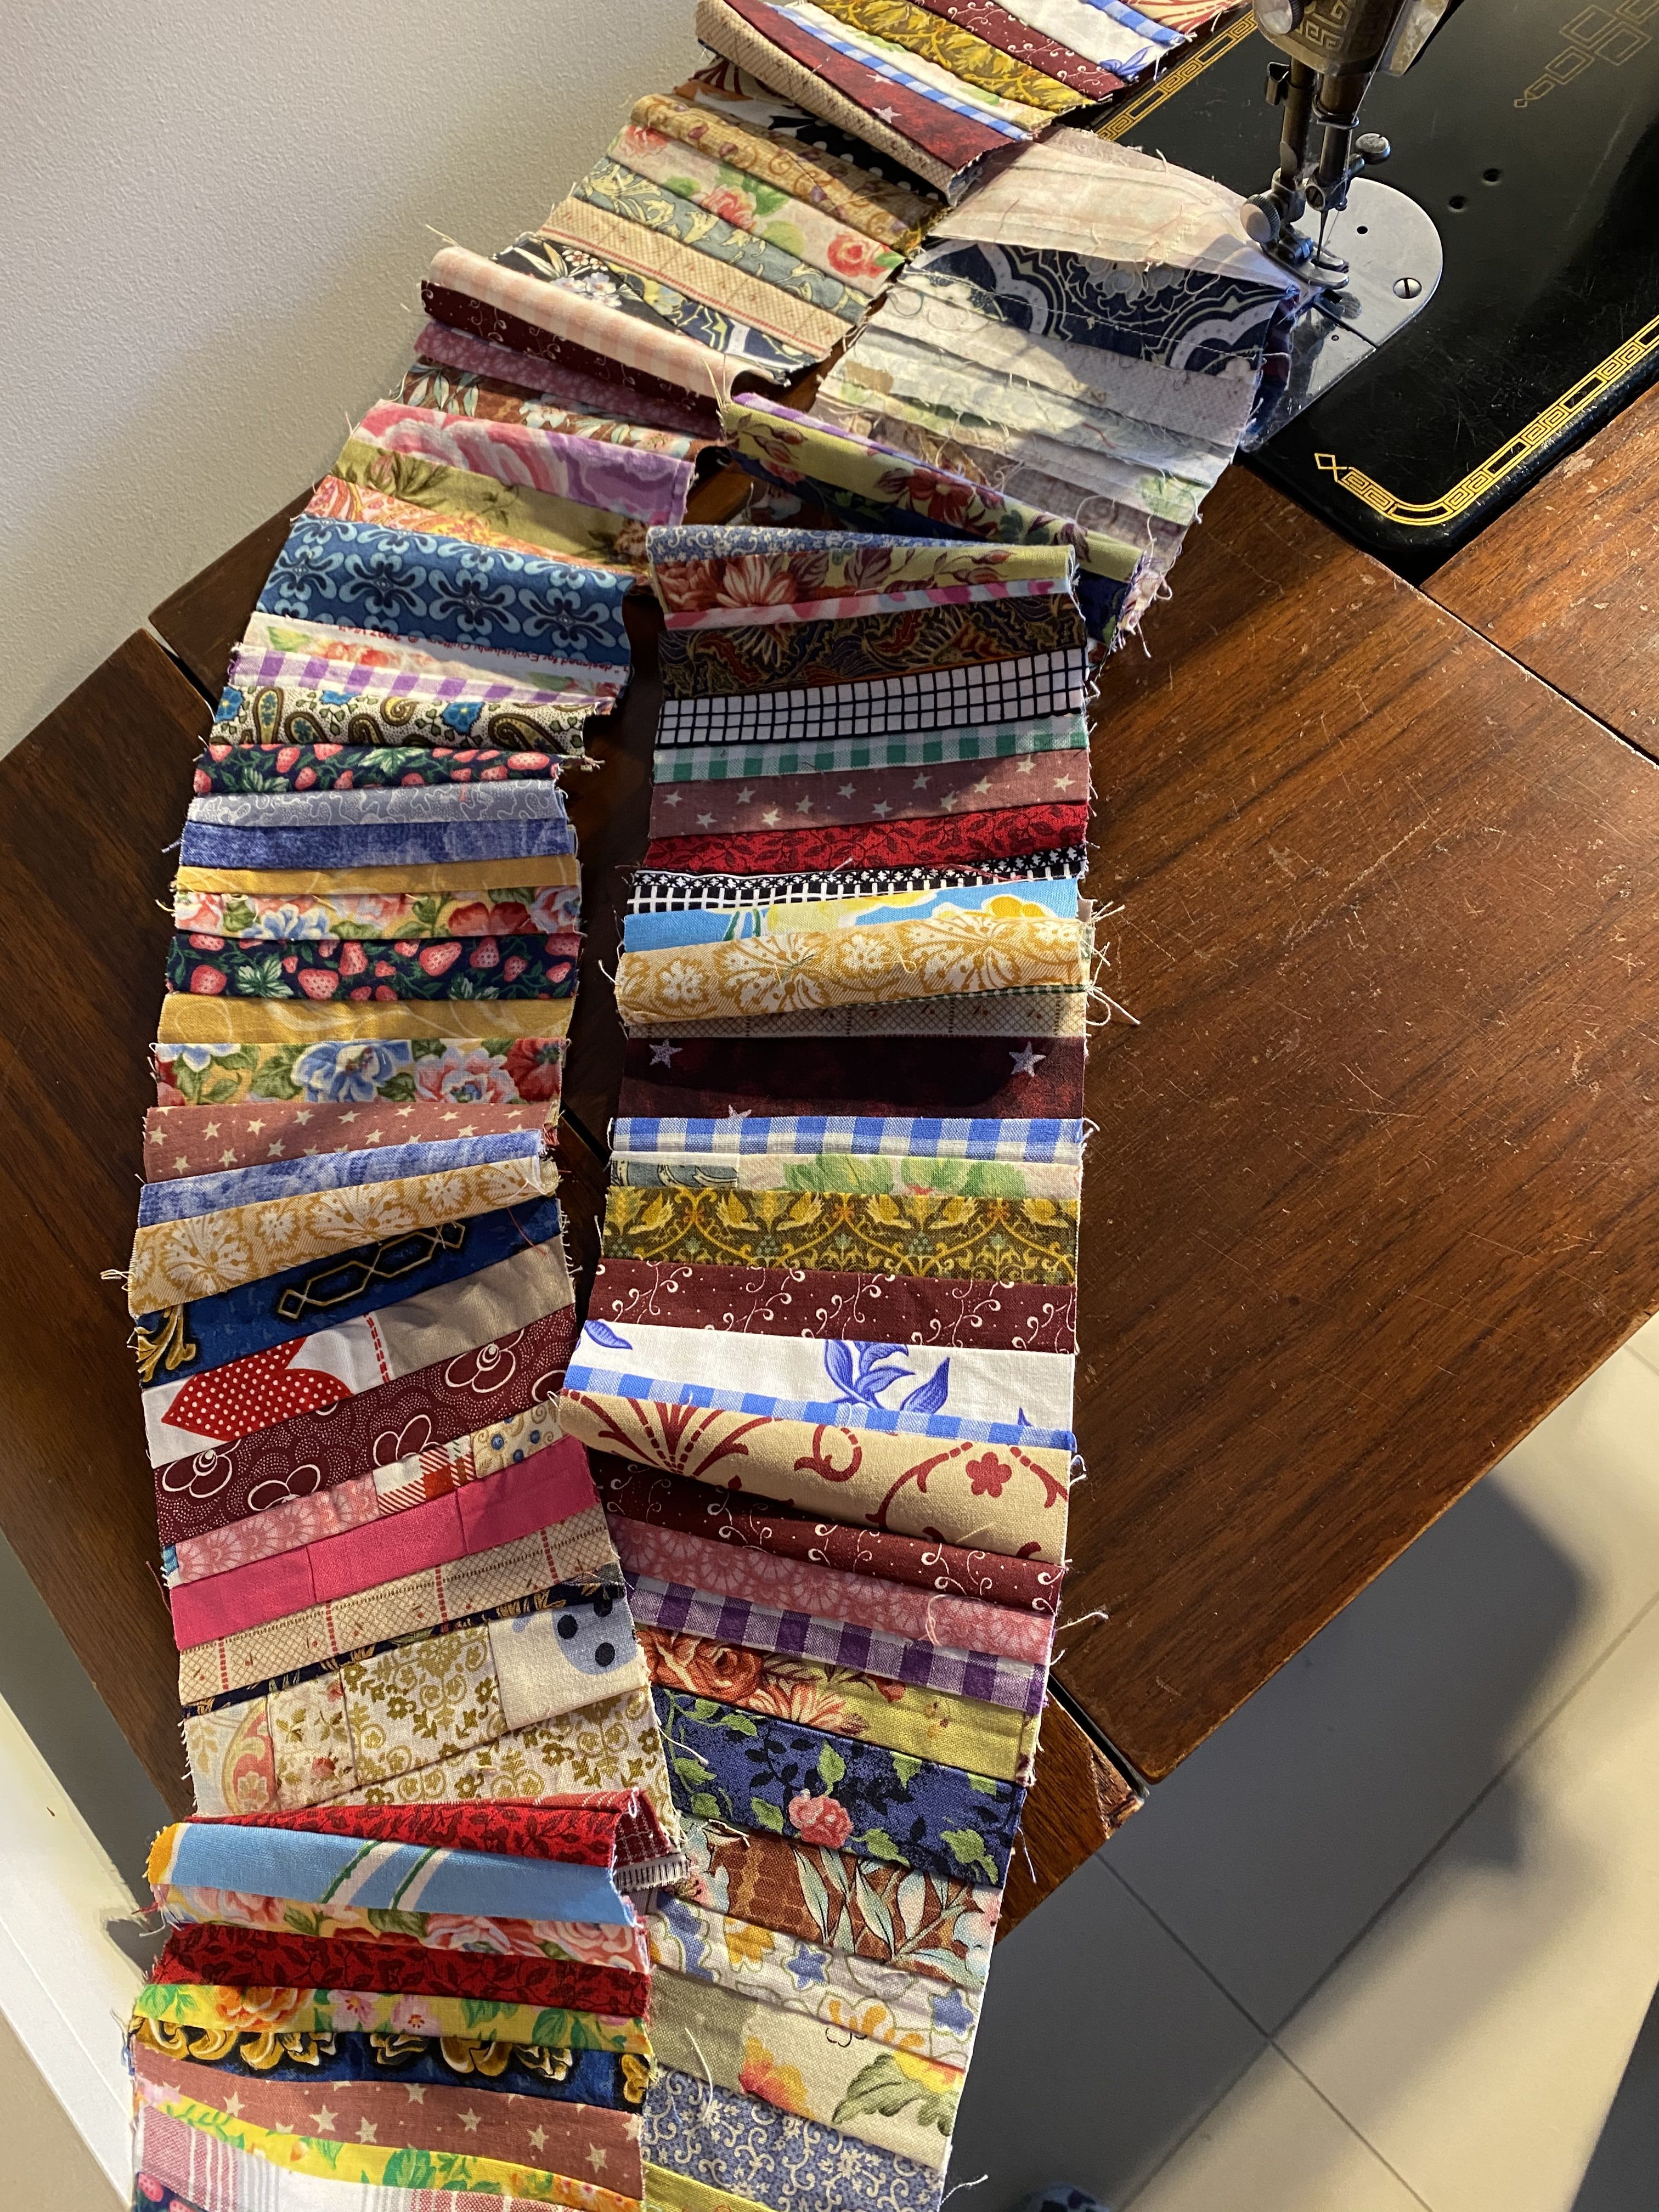
and 14 of the Strings and Things blocks
Method of Construction
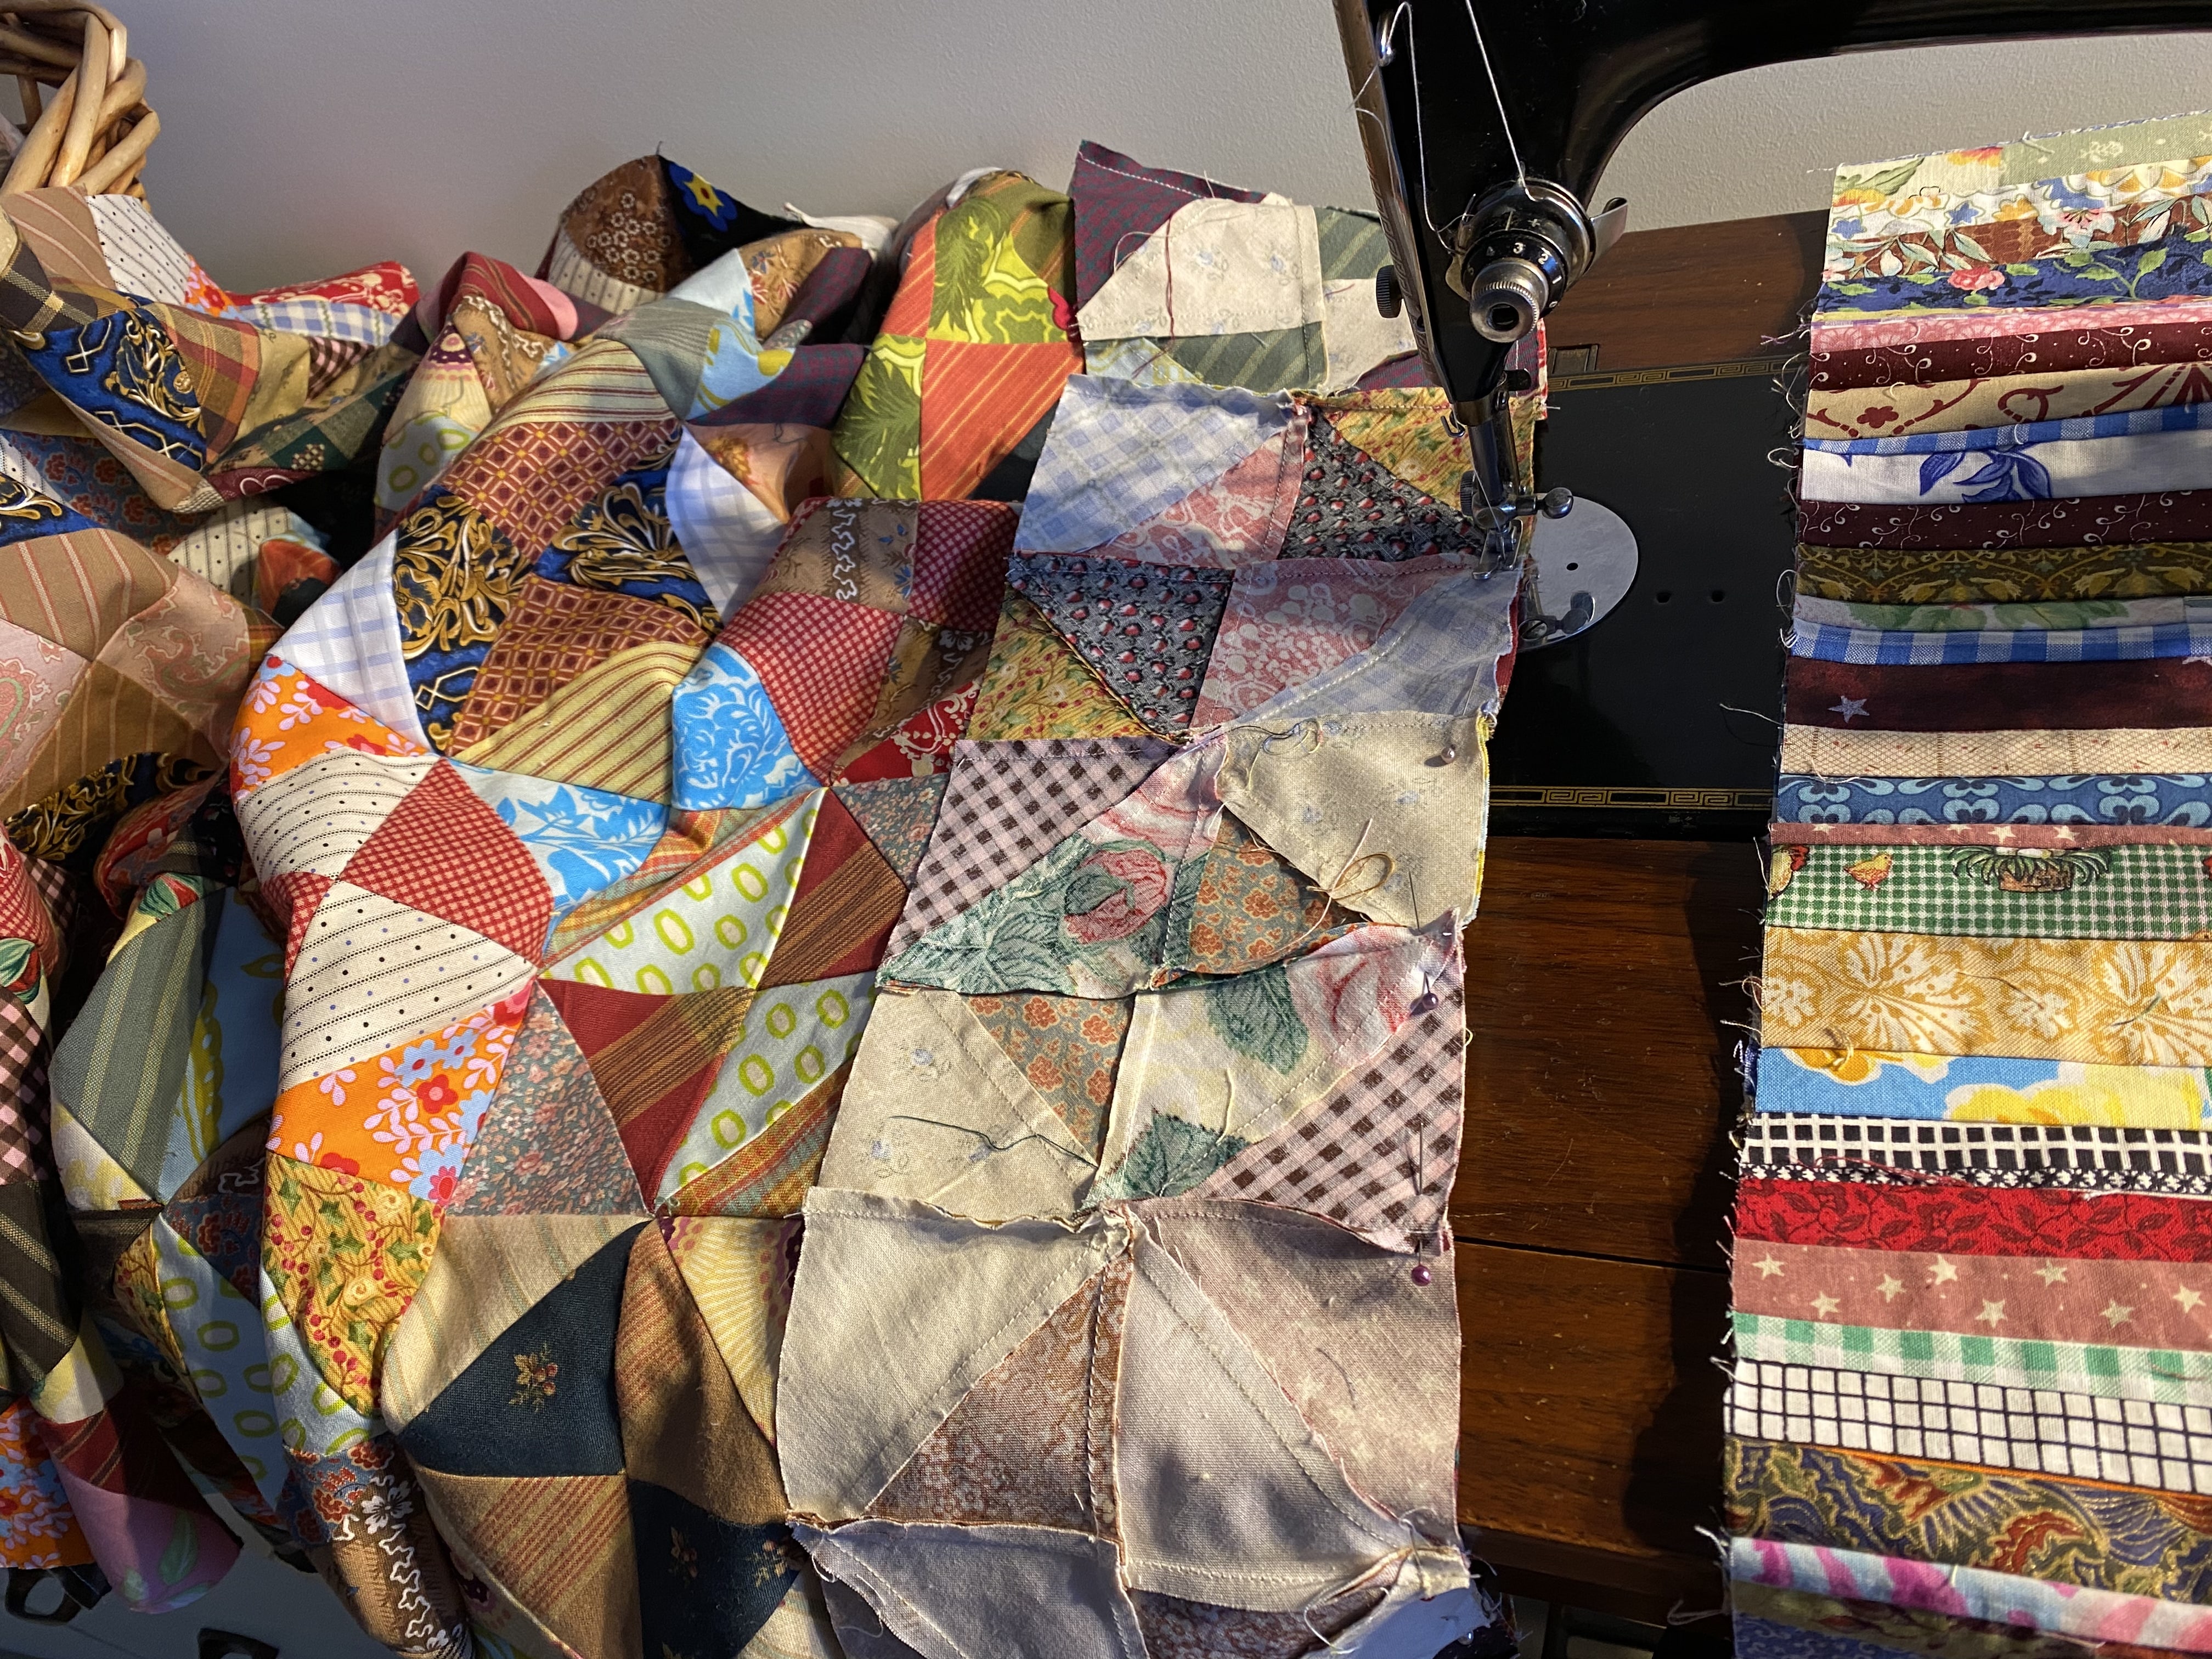
Using the links above, make 56 broken dishes blocks. Press the blocks. Be careful when handling the bias edges.
Make 12 of the Strings and Things blocks. Press.
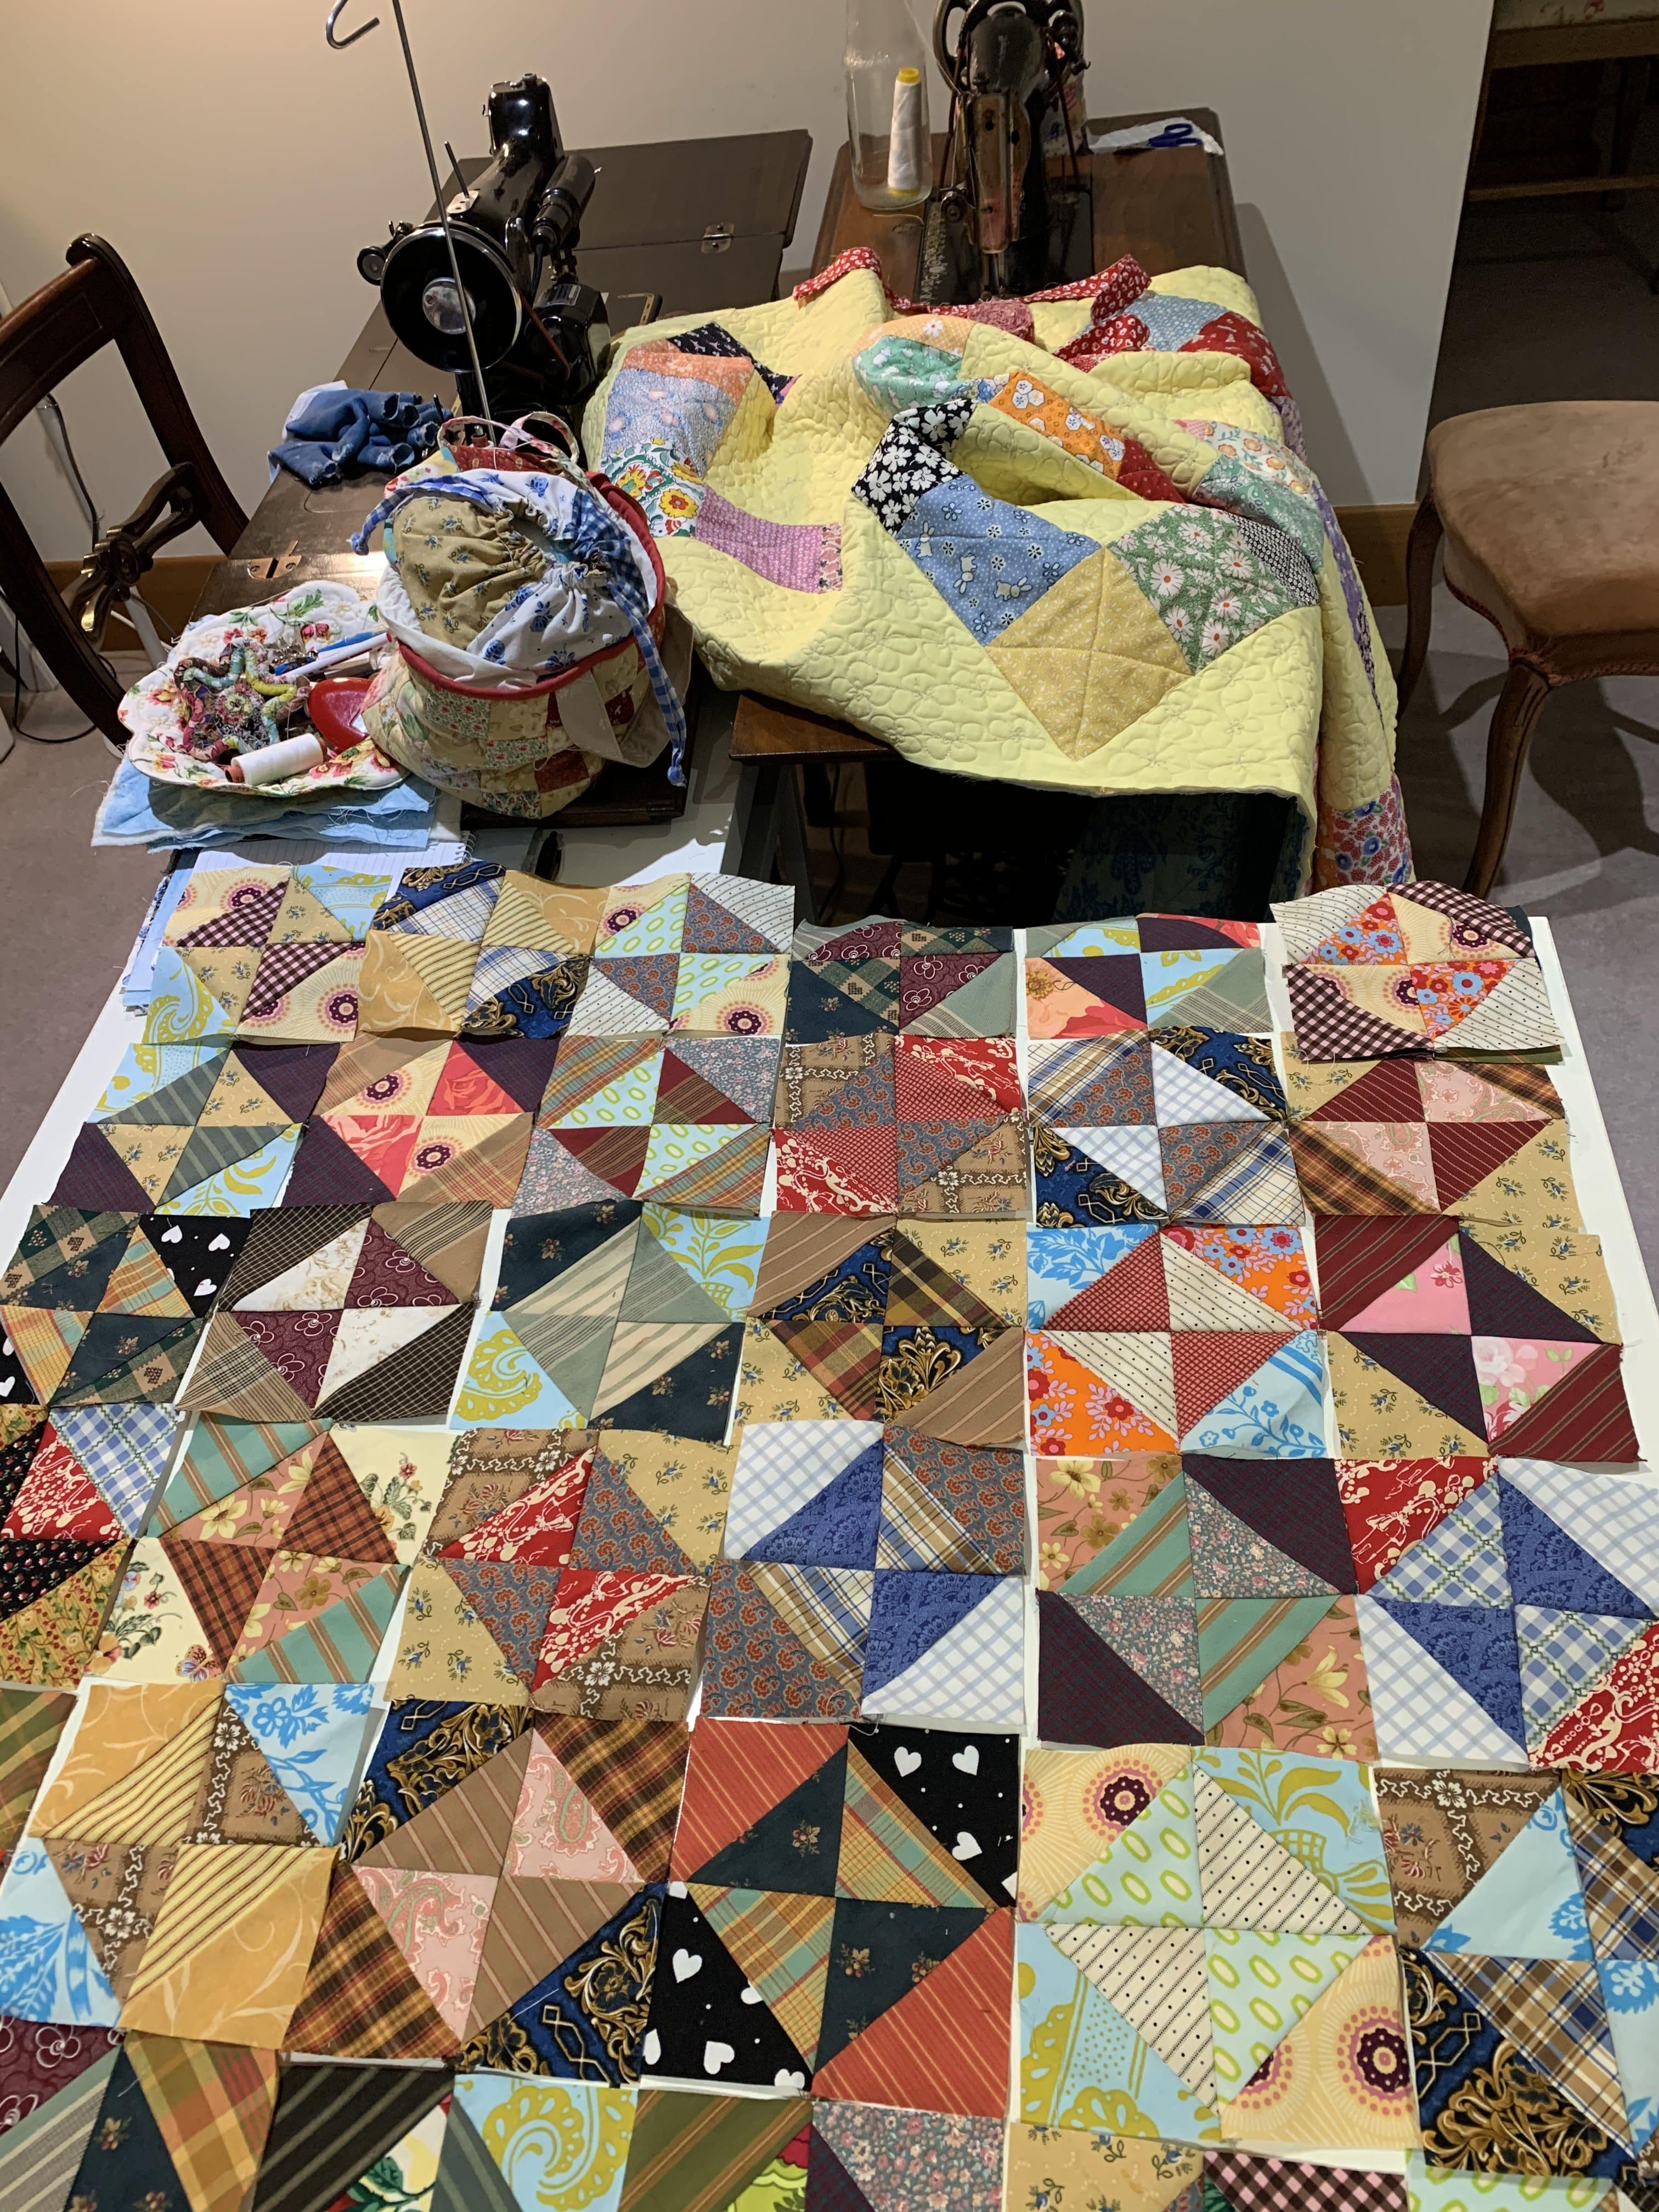
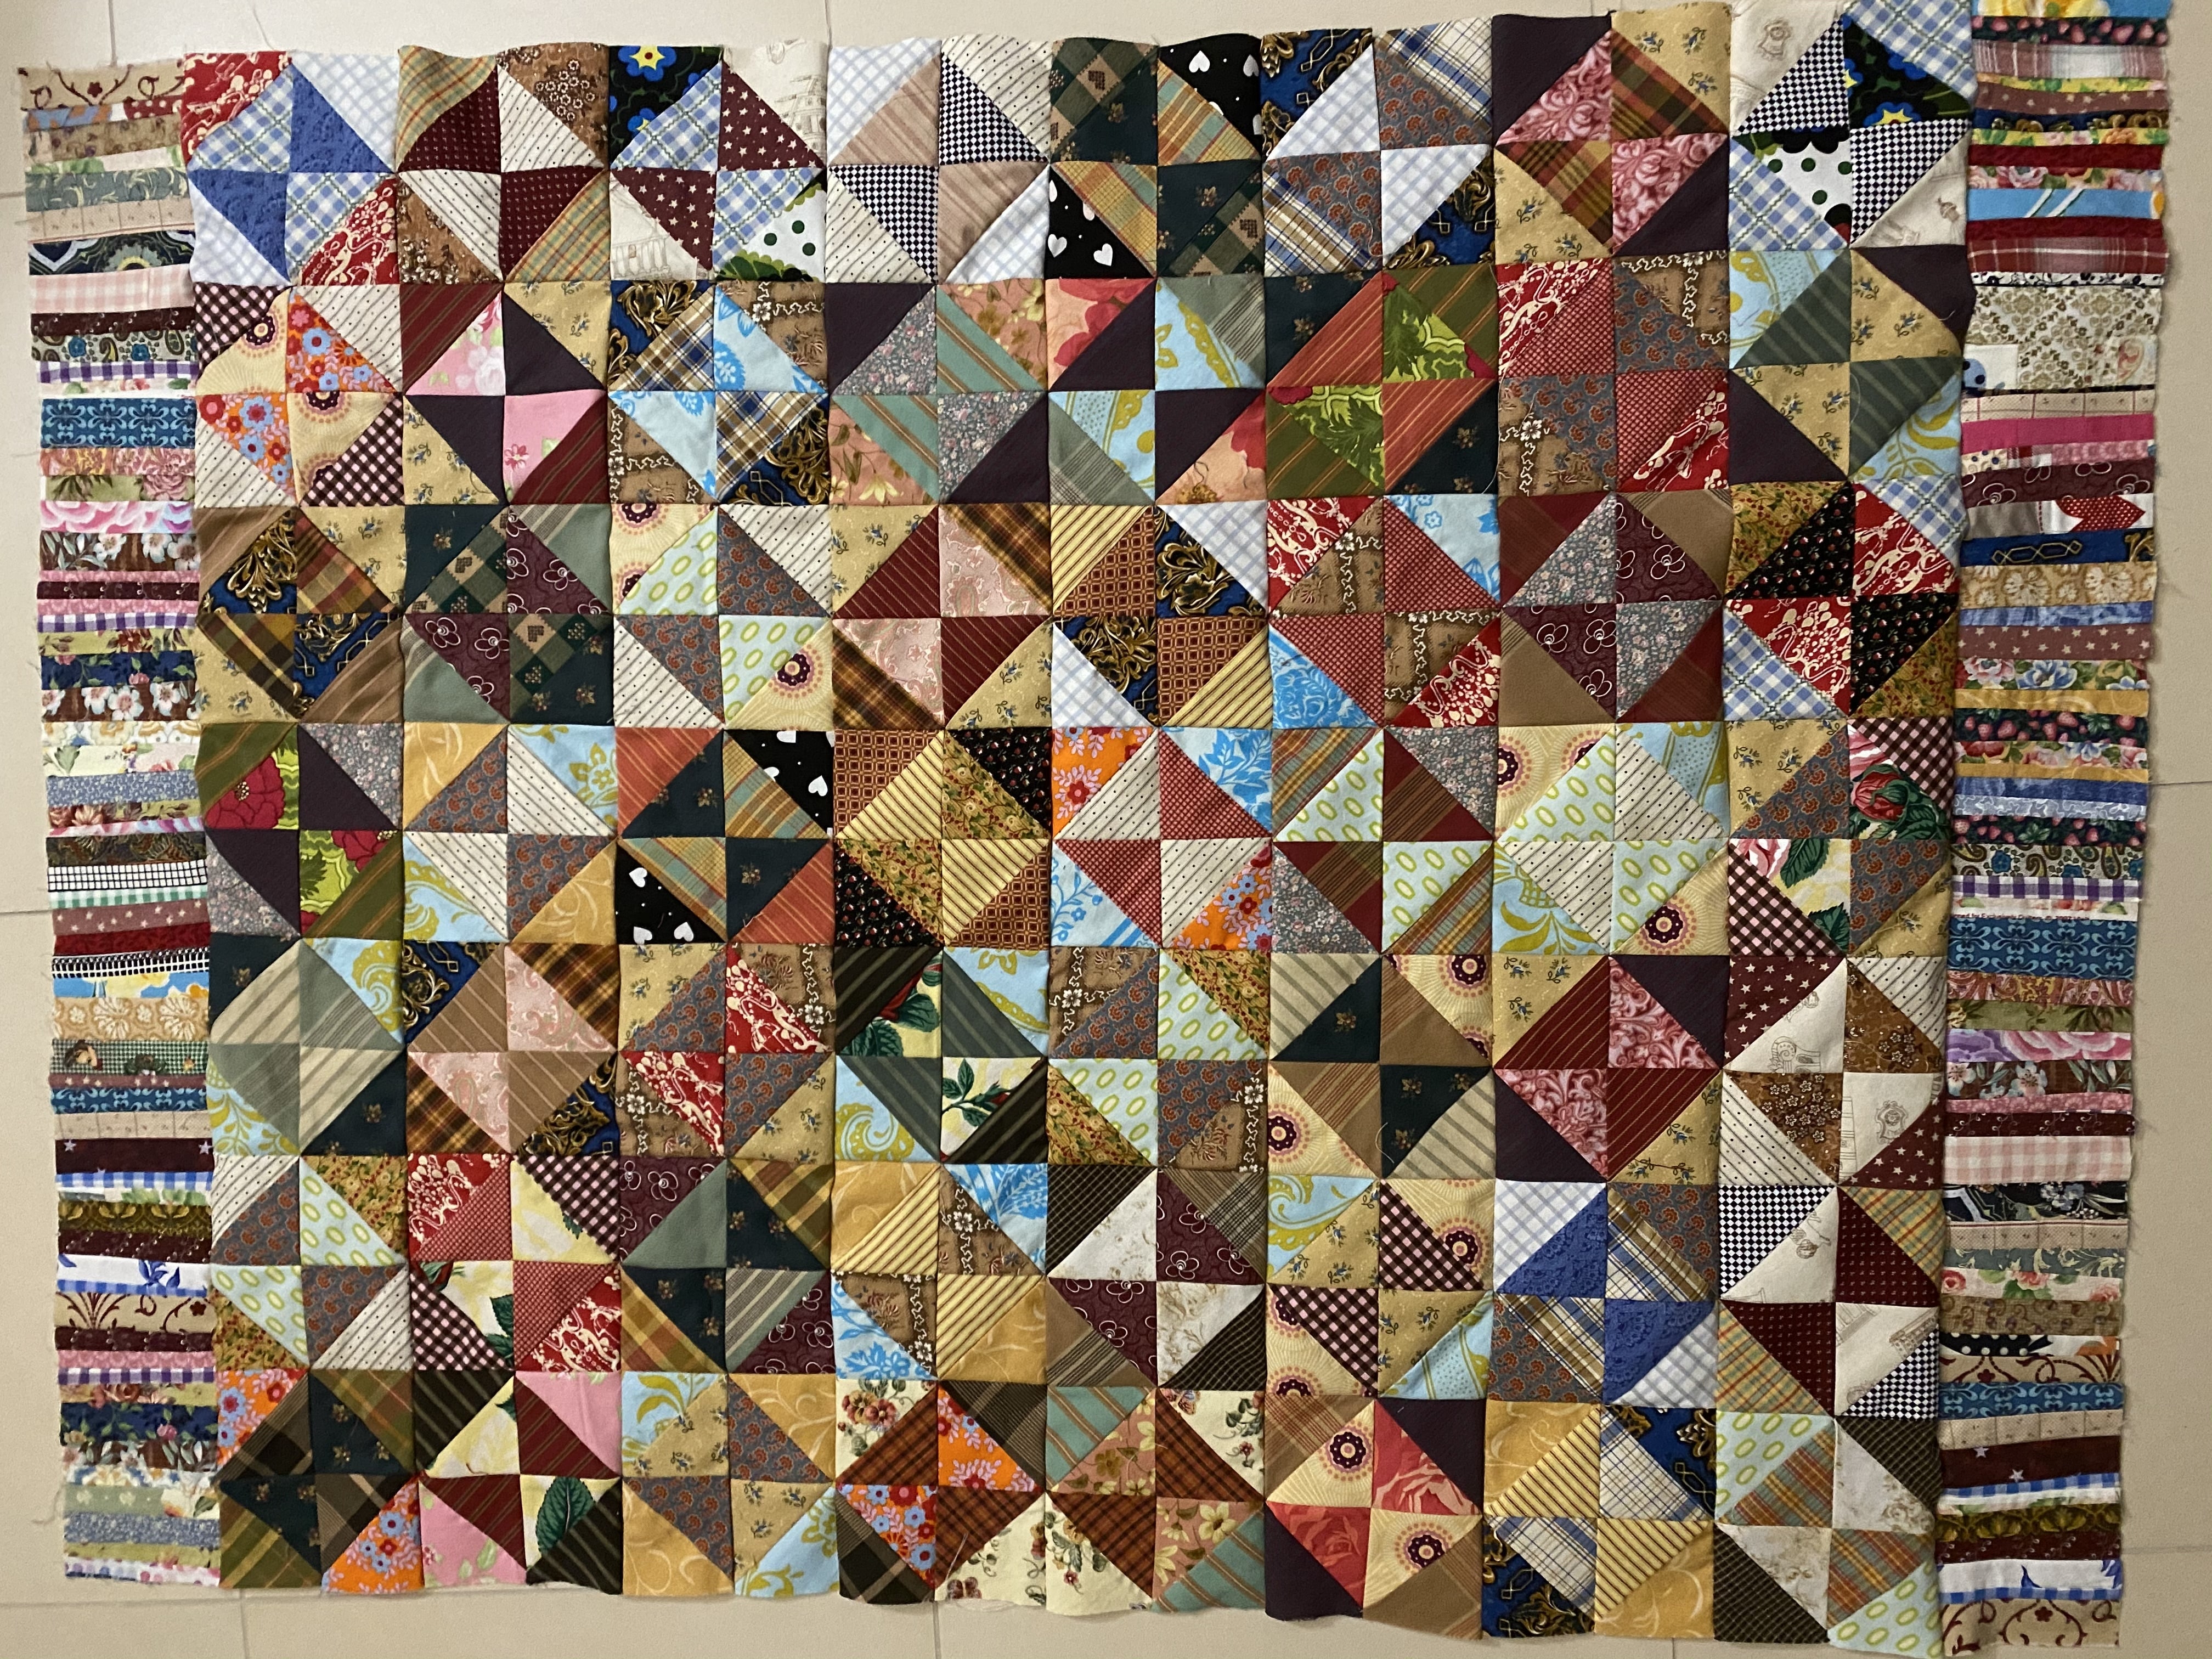
Assemble the 56 Broken Dishes blocks in a 7 x 8 configuration. Play around with the placement until you are happy.
Sew them together ensuring that the seams are well aligned and nested as best as possible.
Here is the 7 x 8 configuration,
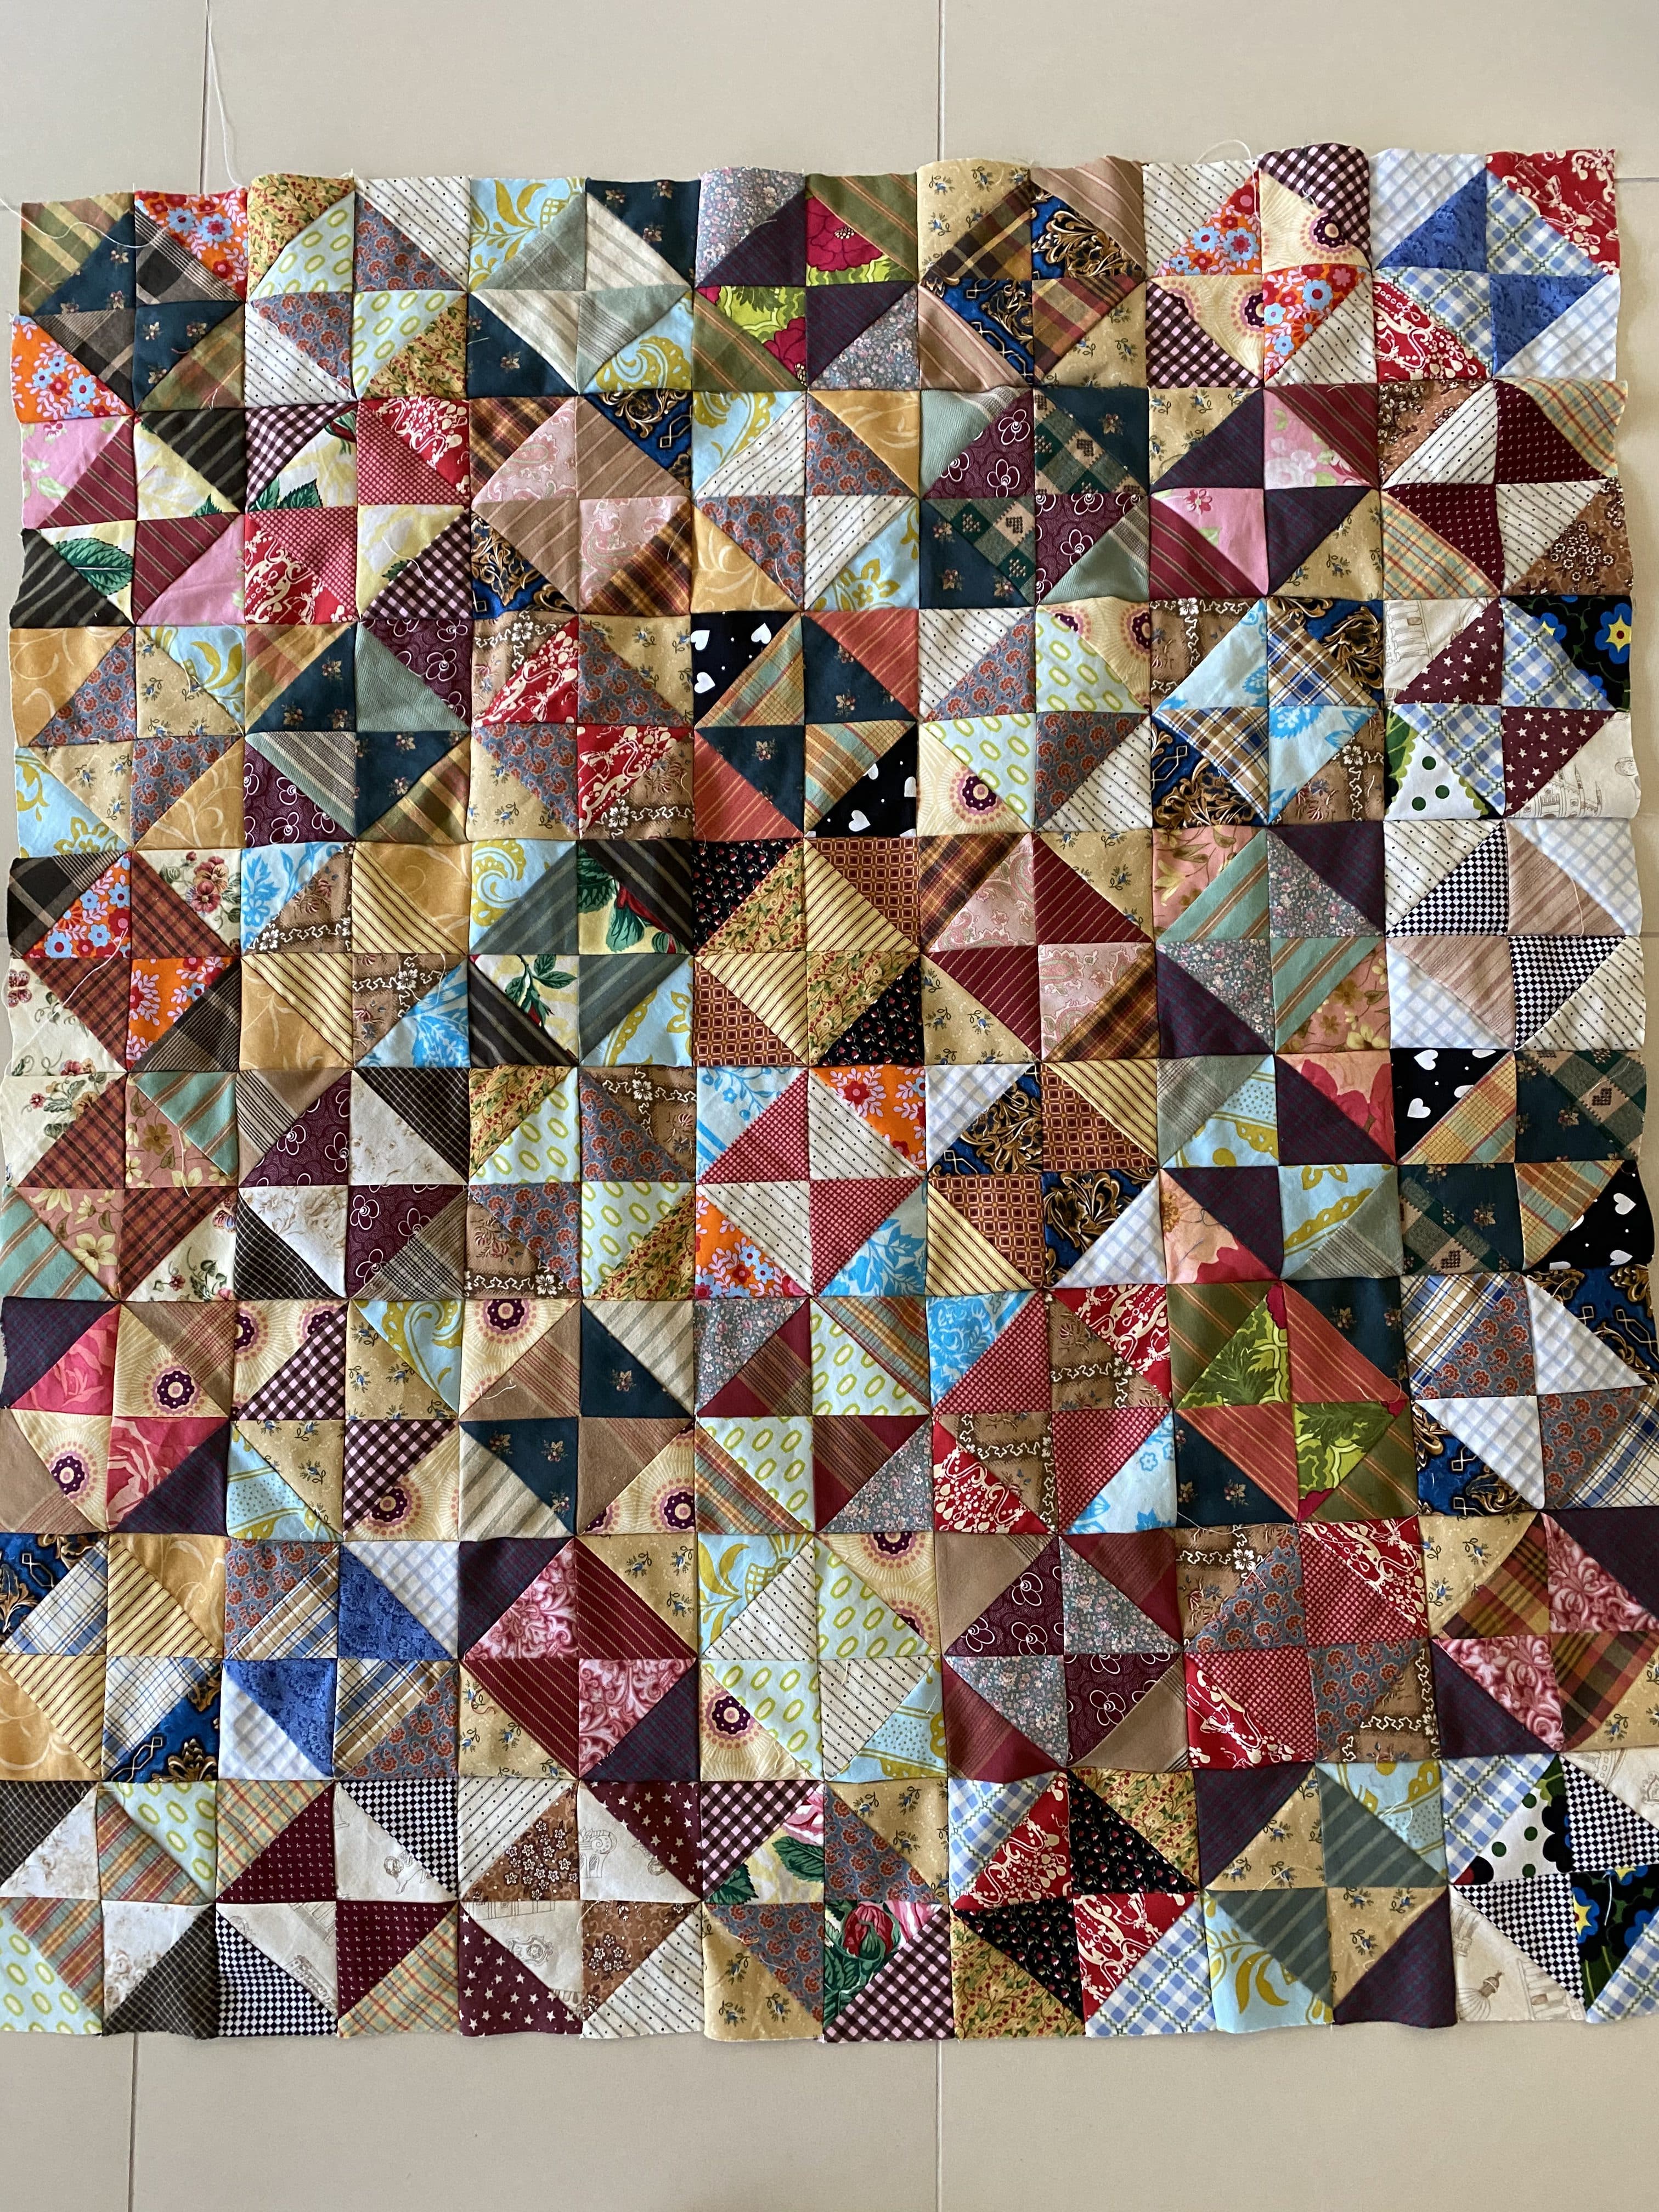
Sew the Strings and Things blocks end to end into two longer strips of 7 blocks each to make the top and bottom borders on the shorter ends of the quilt top. Trim the ends if necessary to square up.
Sew the two string strips to the top and bottom edges (the short sides) of the quilt.
Now for the quilting!
I decided to free motion quilt a Sashiko design on this quilt and you can see how i did that here.
Sashiko Free Motion Quilting For Antique Inspired Scrappy Broken Dishes Lap or Cot Quilt
Oh and speaking of dishes
If you enjoyed this post, you may also like
Antique Four Patch Economy Block Tutorial
Antique White USA Treadle Base
Hope you feel inspired and get to do some sewing today!
Susie
© Susan Stuklis 2020