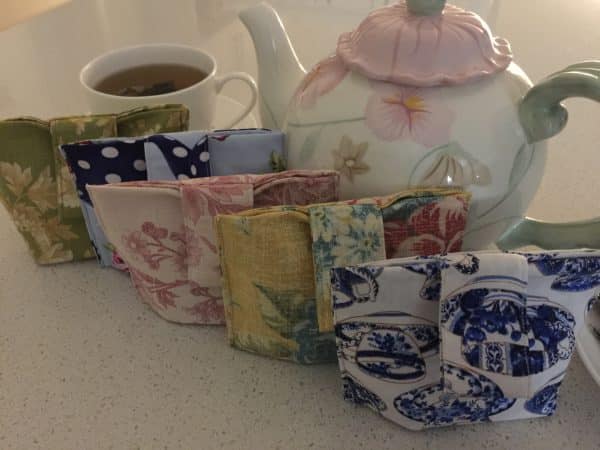
Tea Bag Traveller
As time progresses, I am less inclined to use plastic. If I can use fabric for storage, then I most certainly will. It’s so much nicer! In so many places, it can be almost impossible to get a decent cup of tea! Now that can be a bit sad. At the very least, if there is this boiling water and you have your own tea bags, well, viola, it can be almost as good as being at home.
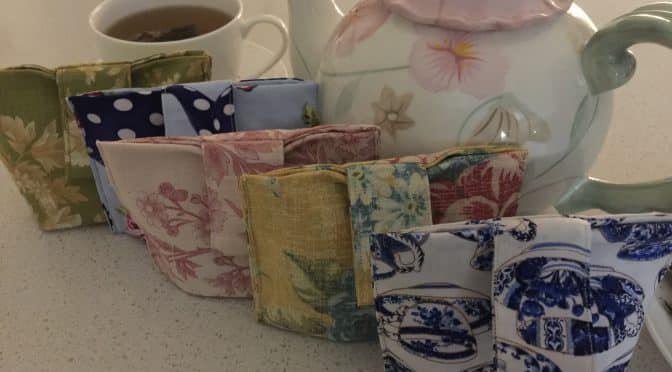
It is with all this in mind, and with many disappointments behind me, that I got into a routine of always making sure that I take my own tea bags when I go away or go to work. Of an evening, even if you are not at home, it’s still a pleasure to sit and have a cup of peppermint tea. That is what prompted me to make this Tea Bag Traveller. It keeps the tea bags fresh, because the bag is lined. It is a surprisingly quick and simple pattern. Only a minimum of ingredients required.
As you will know from my previous posts, I always pre wash my fabrics and when it comes to storing food items it’s a good idea.
Finished bag size 4 3/4″ x 3 1/4″.
Requirements for one Tea Bag Traveller
Sewing the Tea Bag Traveller
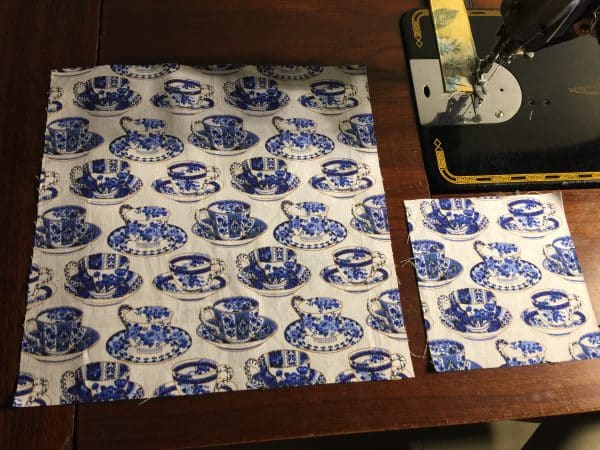
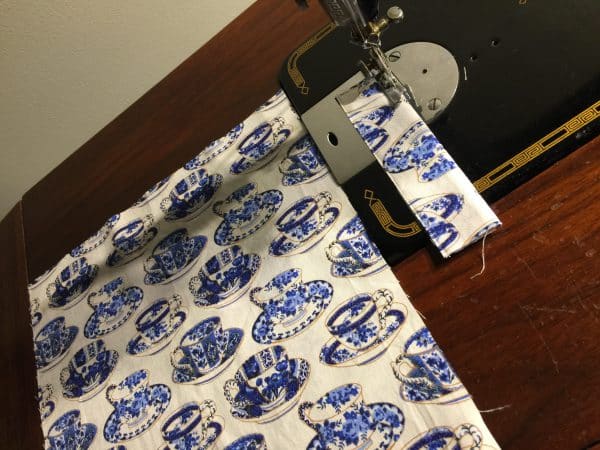
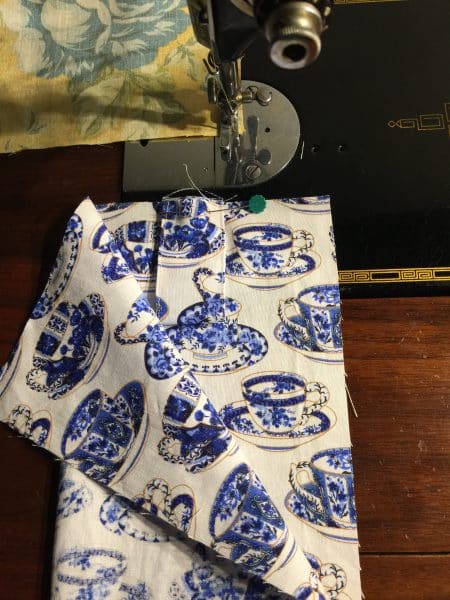
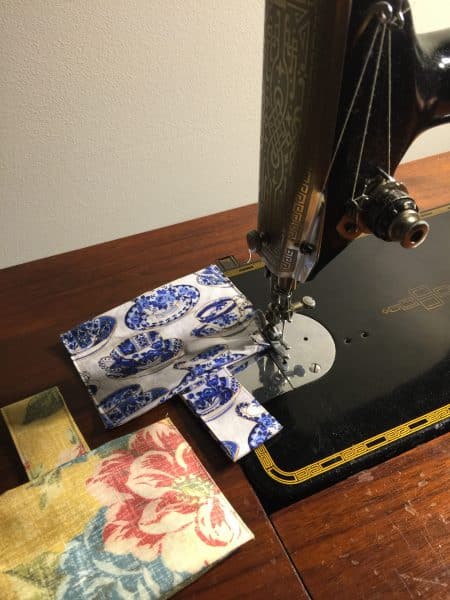
Starting with the 5″ x 5″ square. Fold two sides evenly in toward the centre, wrong sides together. Then fold in half lengthwise. Sew a seam along each side. This will be the handle.
Fold the 10″ x 10″ pice of fabric in half, right sides together. Fold the handle in half and position it at the mid point of one of the short sides, between the two layers of fabric with raw edges matching.
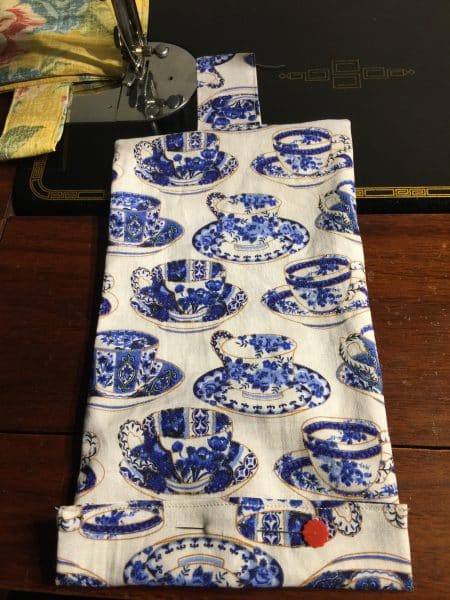
Starting from that side, sew a quarter inch seam around two of the raw edged sides. Leave the bottom open for turning. Clip the corners and turn to the right side. Press. Fold in a 1/4″ seam on the open side. Pin in place. Top stitch.
Now for the origami part.
Fold the short edge without the handle down, approximately 1″.
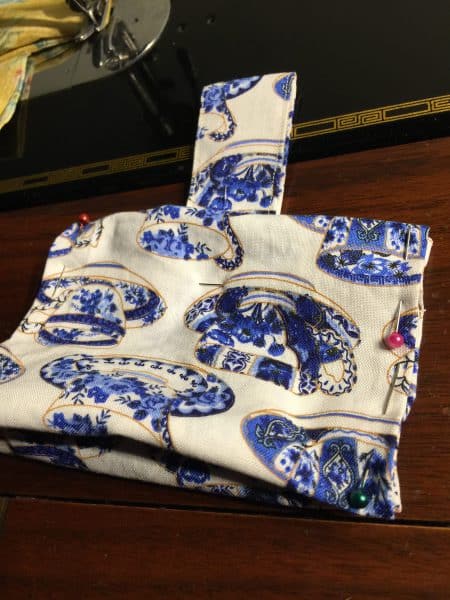
Now fold the whole in half so the two short ends meet with the folded 1″ on the inside. Pin to hold in place.
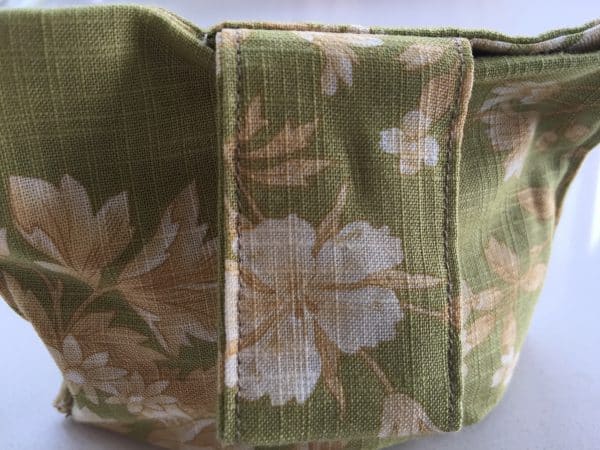
Now invert the bottom fold approximately 1/2″ for each side. This will create the base. Pin in place. Topstitch down each side of the bag.
Fill with your favorite tea bags.
Now enjoy a cup of tea!
if you enjoyed this post, you may also like

