Susie’s Garden Lap Quilt and Free Pattern
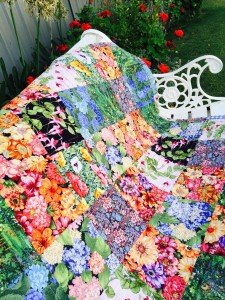
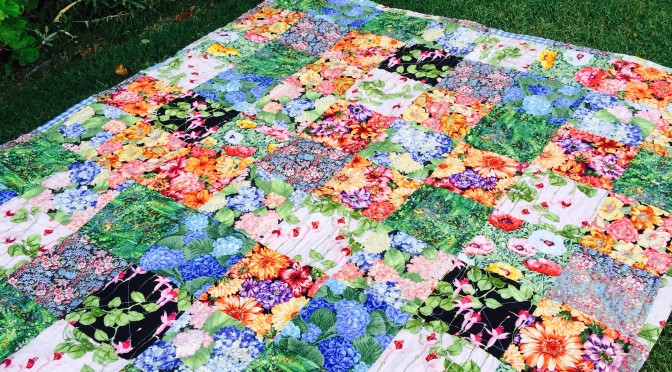
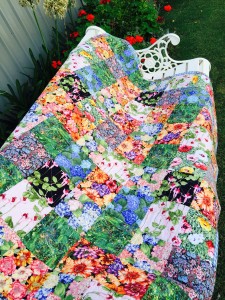
Most of the quits I have made are just for love and I have given them away but, this is one quilt which I made for myself. It is not fancy or difficult but I love it.
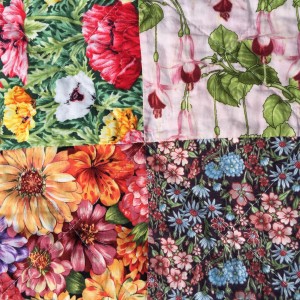
I just adore florals and so for a long time I collected ones that I liked. I sewed squares of them together to represent a floral garden.
This quilt has travelled with me, it’s on my lap when I’m watching TV (or catching a few zzzz) I feel happy under it.
I just love utilitarian quilts which can be used and loved.
This quilt is a simple construction and it is lap sized. Would also make a great gift or charity quilt or one you really neeeeed for yourself.
Finished quilt size 44″ x 55″.
Instructions to make Susies Garden Lap Quilt
All seams based on 1/4″.
All fabrics have been washed and lightly pressed before use.
You will need 80 of 6″ x 6″squares of floral fabrics, (finishing at 5 1/2″ x 5 1/2″, assuming all seams are based on 1/4″). The squares will be laid out in a 8 x 10 configuration.
Use at least 10 different floral fabrics to create variation.
 Sew four patches of four squares to make a total of 20 blocks. Press your blocks. Ensure no two same squares are next to each other.
Lay out your blocks 4 x 5 ensuring no two same fabrics abut.
Sew the blocks together. Press. There is your quilt top. Quilt and bind as desired. Have fun using it.
If you would like to see another easy quilt here is a link.
if you enjoyed this post, you may also like these posts,
Susie’s Roses Romance Quilt and Free Pattern
or
Floral Coins Quilt Antique Style
Happy days,
All the best,
Susie


