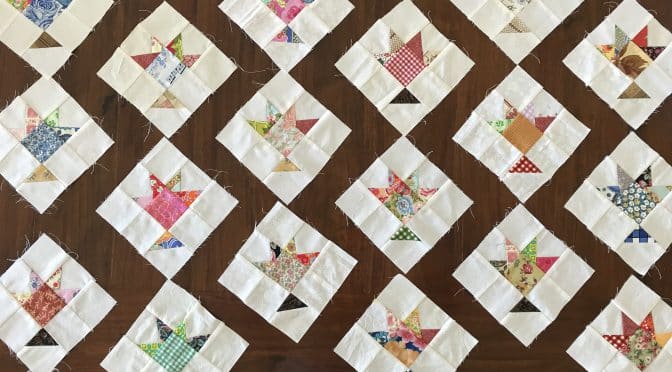
Little Beauty Scrappy Baskets in a Nine Patch
These may well be the easiest and fastest (and cutest) basket blocks EVER! I’m so very excited about sharing these Little Beauty Scrappy Basket Blocks with you all! Are you ready? You can use your little scraps!
Dear friends and Readers,
These little blocks are a bit like applique on speed, because there is no hand piecing, it’s all machine piecing but achieves a similar effect in a way, because they are made using foundation piecing!
Did you ever consider making Basket Blocks? And then….maybe not…. because there are a number of different size pieces. It does require some preparation and forethought because of the cutting. Some have added applique and mostly are made from half square triangle units with extra triangles and strips. Mmmmm…
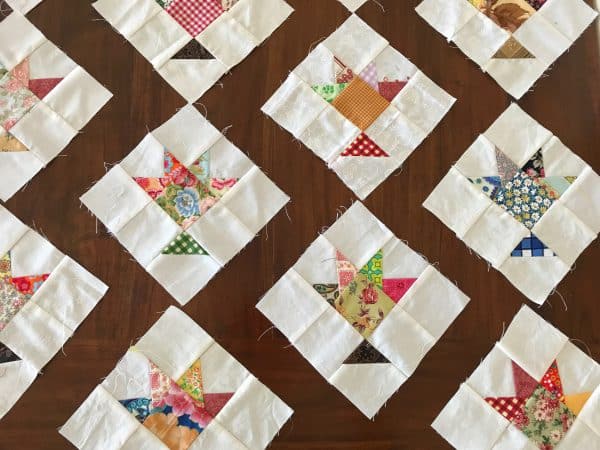
Well…this is what I have come up with. Its a Nine Patch block which makes a basket block.
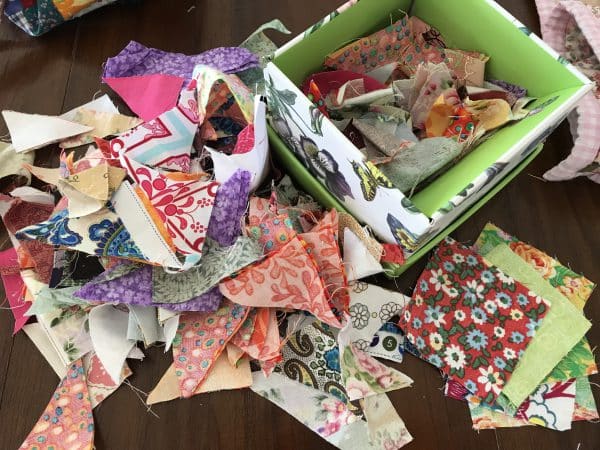
It is very easy to achieve from your scrap triangles. For years now, I have been saving all my triangle off cuts in anticipation of this project. I keep the little triangles from binding strips, the off cuts of star blocks , snowball blocks and half square triangles just as a few examples. I have been keeping them in a jar. You can see some of them here.
Incidentally, I must explain, here in Australia, the term “You Little Beauty” is a saying which is usually said in great excitement, with regard to something which has gone very well. That’s how I feel about these gorgeous little baskets!
The blocks I am making are 6 1/2” x 6 1/2”.
I hope you like them as much as I do.
As always all my fabrics have been prewashed.
I have created a YouTube video at the end of this post for more detail.
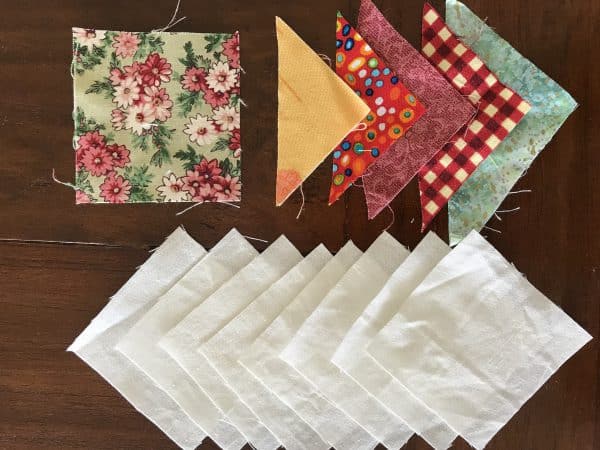
Requirements for one Little Beauty Scrappy Basket in a Nine Patch
8 of 2 1/2” x 2 1/2” background squares, 1 of a 2 1/2” x 2 1/2” printed square and 5 of small triangle scraps
Method
These blocks are constructed by foundation piecing.
Here is another post on Foundation Piecing which may be helpful.
Irregular Triangle Foundation & Tutorial
For the basket base. Take one triangle scrap. Lay it across one background square, on the 45 degree angle, right sides together, so that when it is flipped over it will cover one corner. The triangle need only be big enough to have a 1/4 “ seam and enough fabric remaining, so that after stitching, when you turn it back, it overlays the corner of the background square.
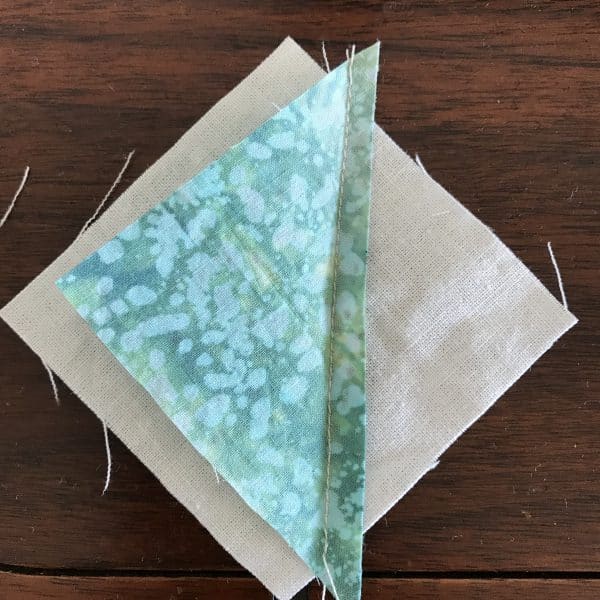
Finger press, then trim the excess fabric so that it is equal to the size of the background square.
Repeat this process, for two more background squares, but add two triangles to each square.
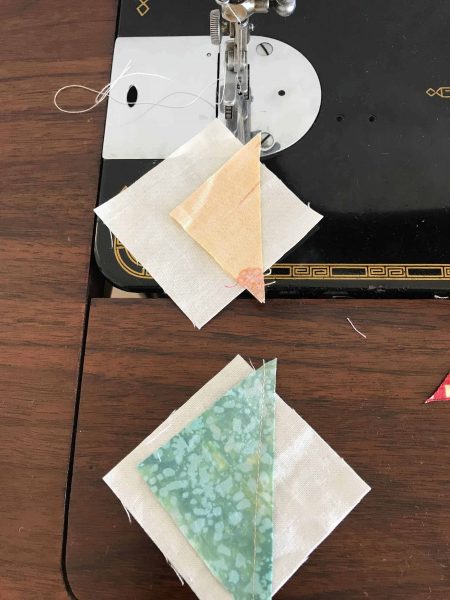
The triangles should be on one side of the squares and will overlay each other.
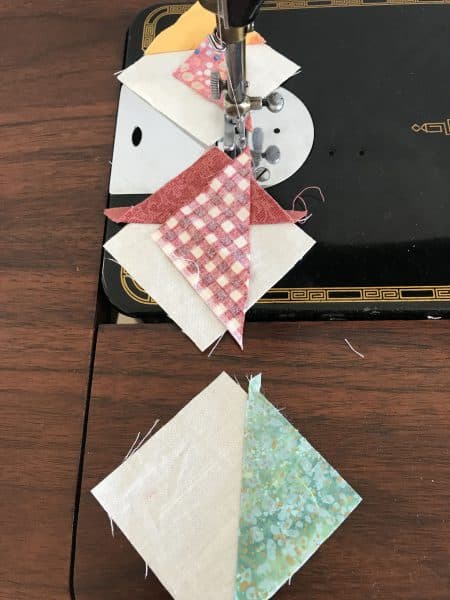
Make sure to finger press well and trim to the same size as the background square. You can see in the next image that my triangles for the right square are just a little shy of the edges. Nevermind, they will still fall within the seam allowance. 😀
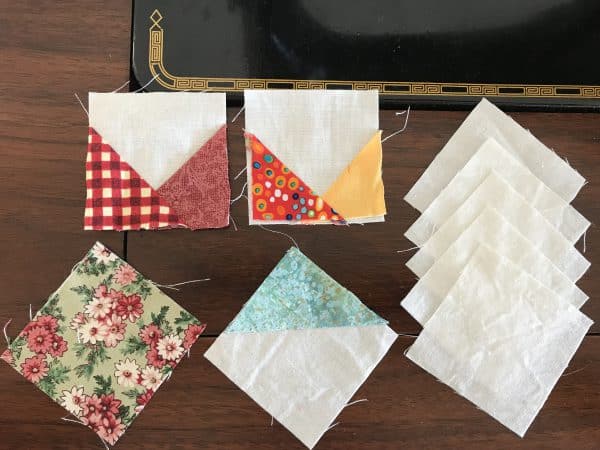
Now lay out the pieces into a nine patch.
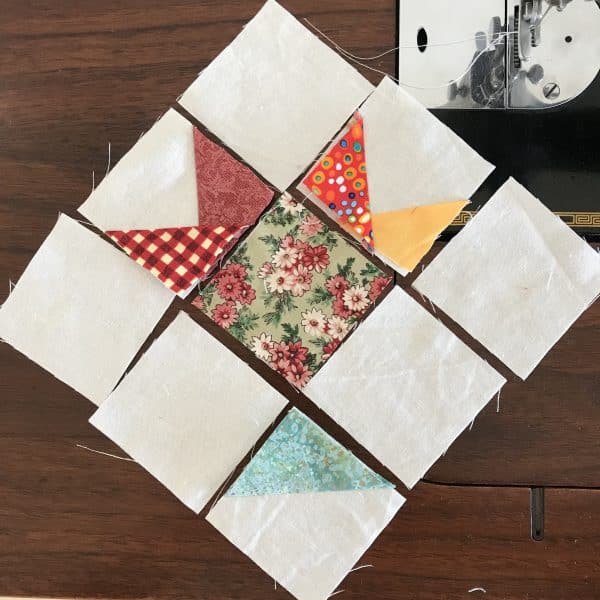
The printed square will be in the centre. The single triangle block will form the base and the other two foundation squares will be the sides of the basket. See below image for the layout.
Now stitch together to make a nine patch, ensuring that your seams are perfectly nested.
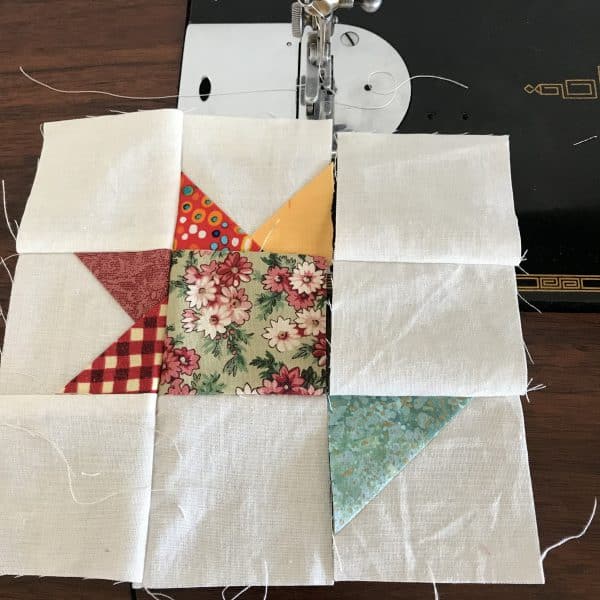
There you have a delightful little basket block! Isn’t that the fastest, easiest, cutest basket block ever!!
Carry on! Make some more. 😊
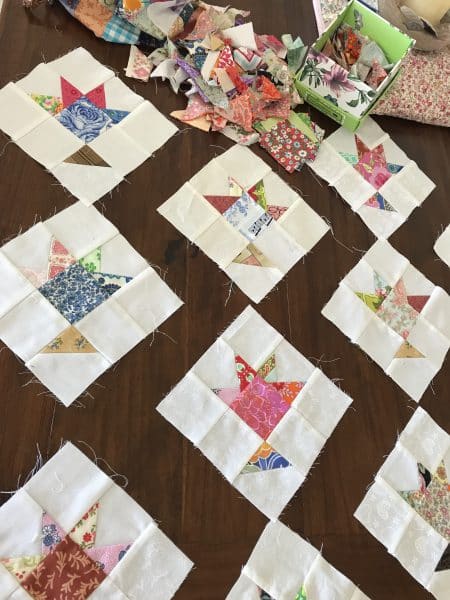
And more!
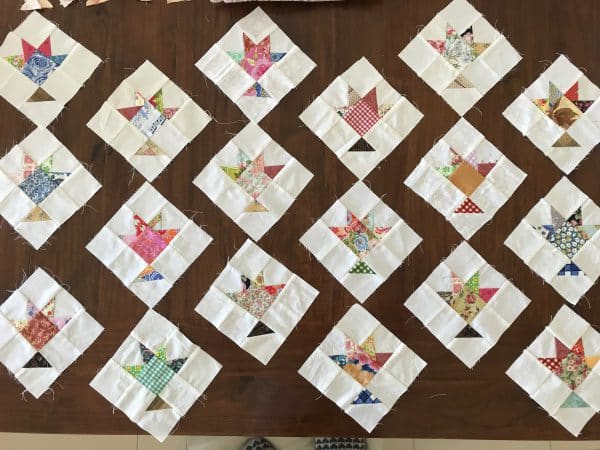
Incidentally, if you are wondering which machine I am using today, it is this one. If you ever get a chance to lay your hands on one of these I would highly recommend it.
Watch the YouTube video here.
Here is how I am starting to set these little baskets.
Pink Strippy baskets quilt antique inspired
ReIf you enjoyed this post you may also like
Reabsorption Foundation Triangle Stars Tutorial
Or this one
Friendship Stars Block Tutorial Fast & Fresh
Or even this one!
Charm Square Stars – Anika’s Quilt & Free Pattern
Have a good one!
Susie

