
Attaching Binding to a Quilt Tutorial
Attaching the binding to a quilt. This is exciting, because the quilt is now near completion.
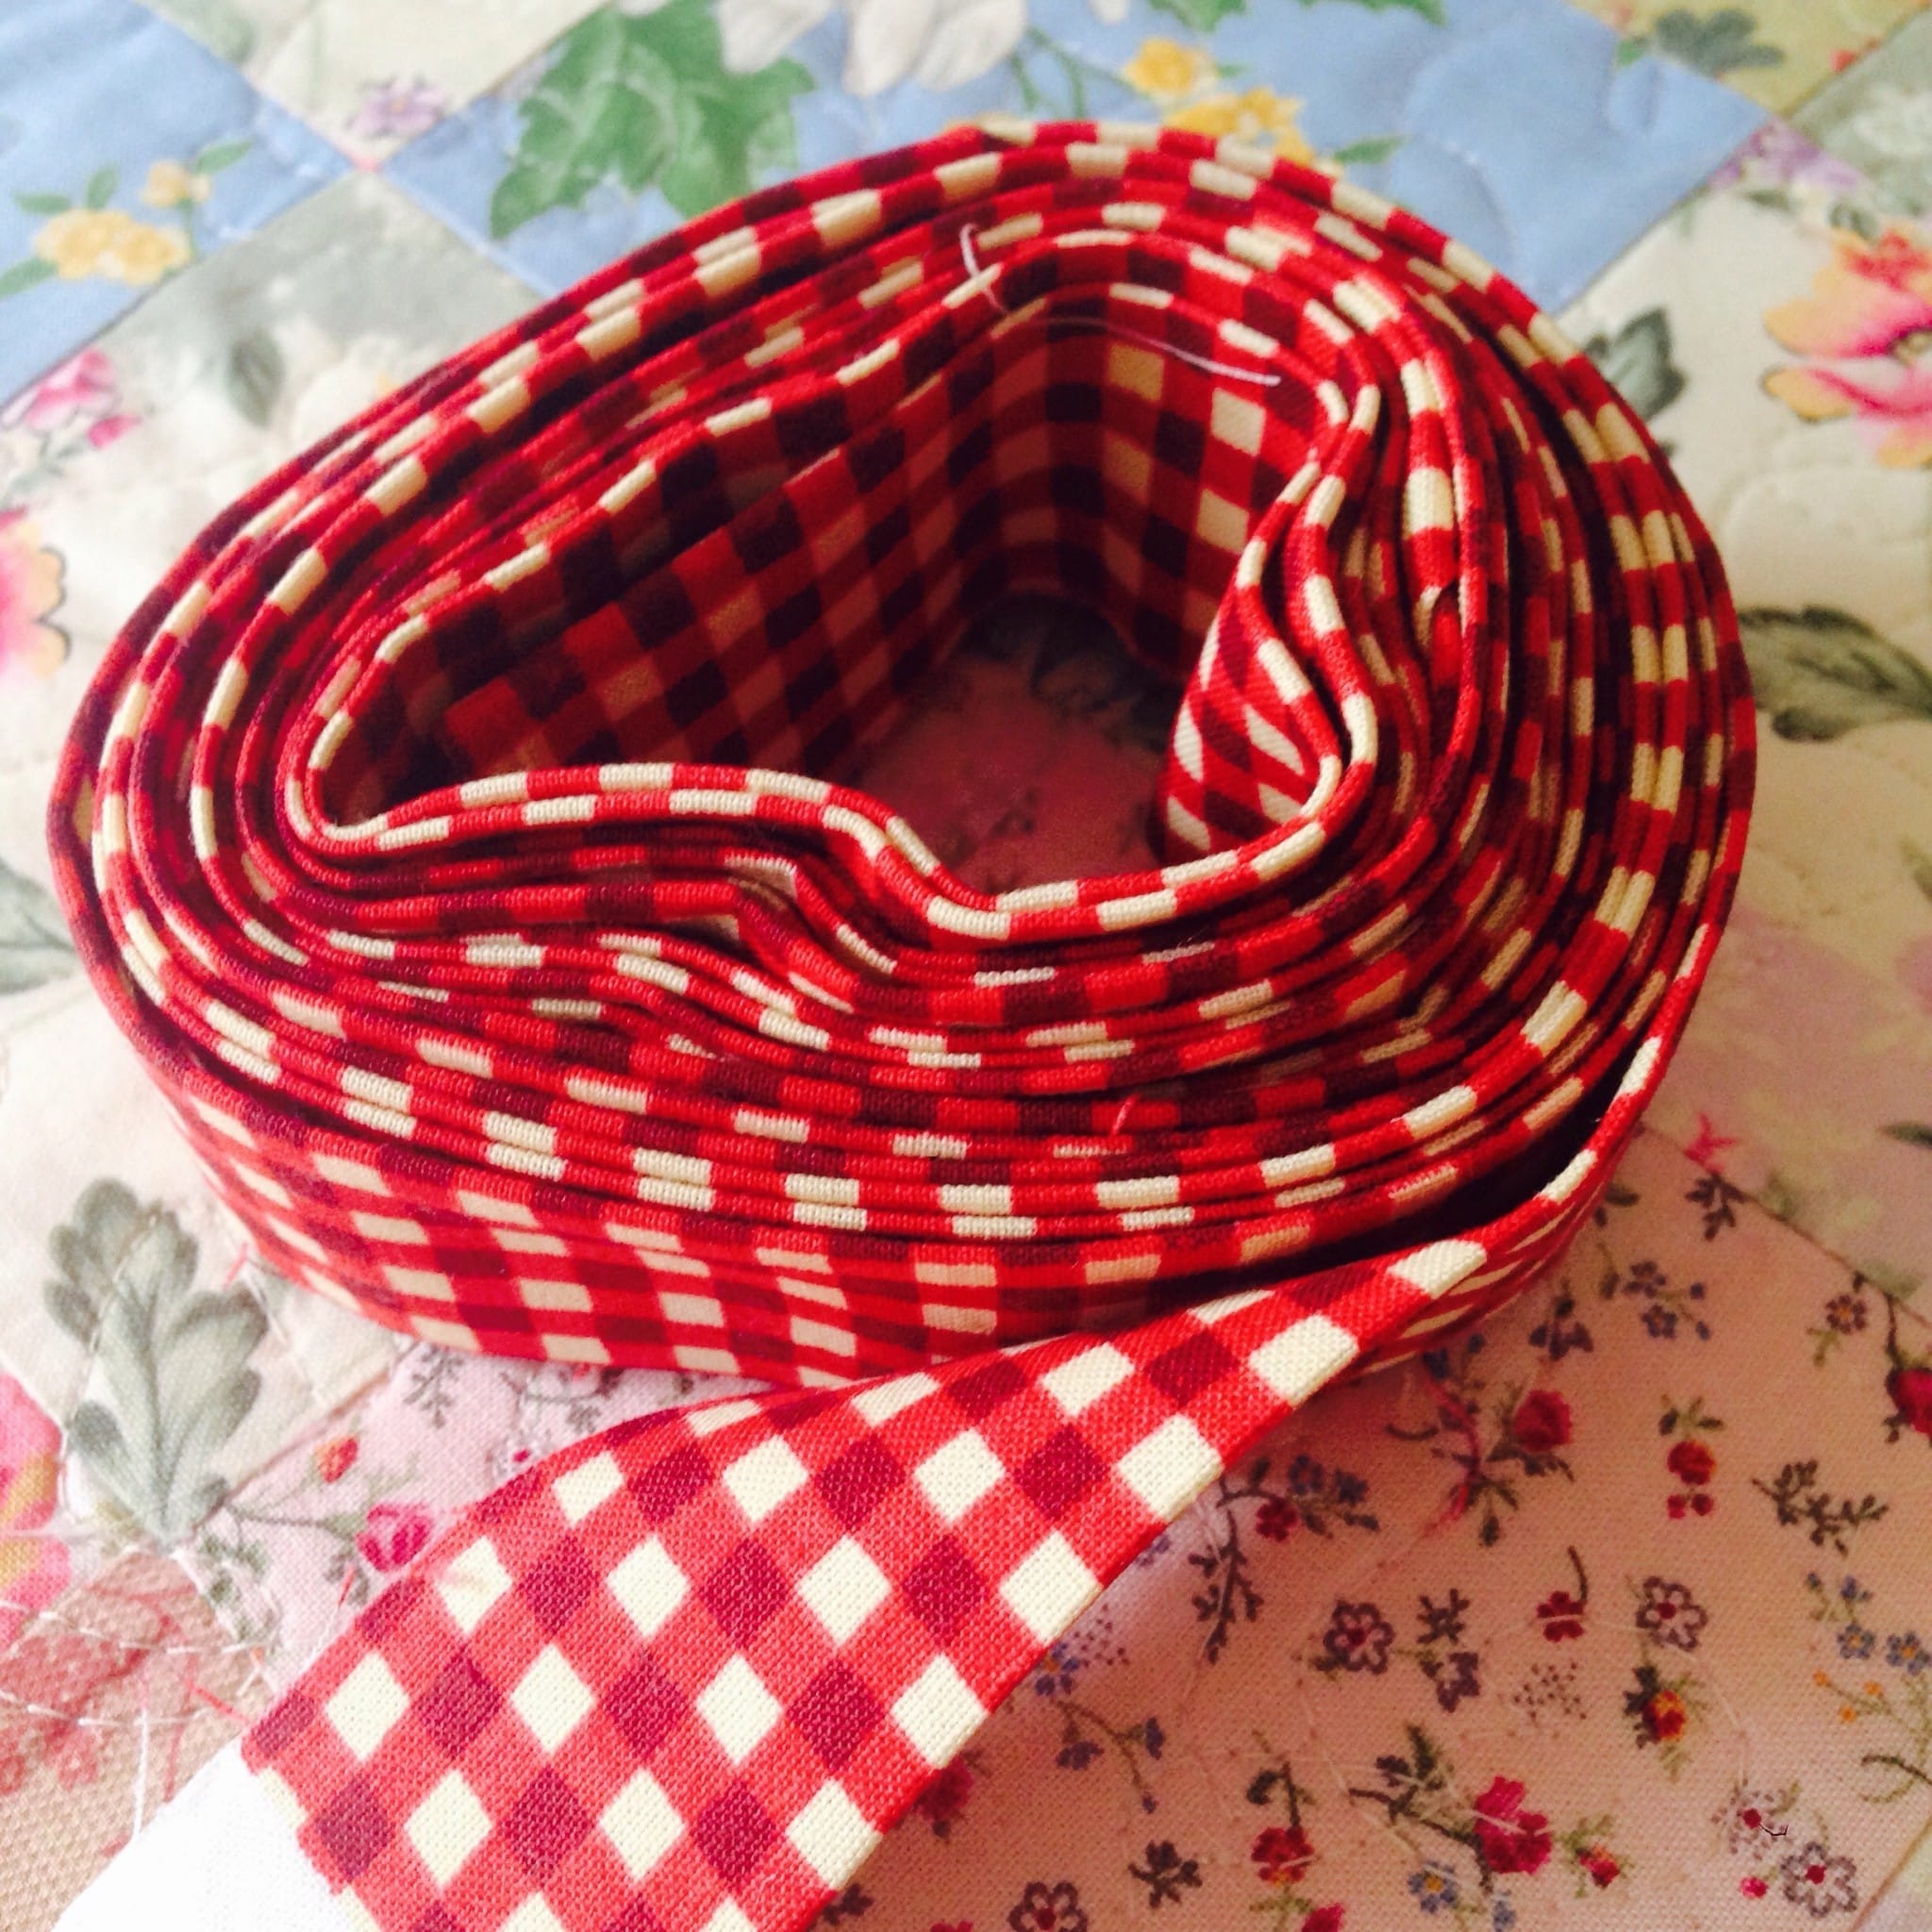
Please see previous post on how to create the binding strip.
Prepare Binding Strip for Quilts – Tutorial
Prepare binding strips for quilts Tutorial
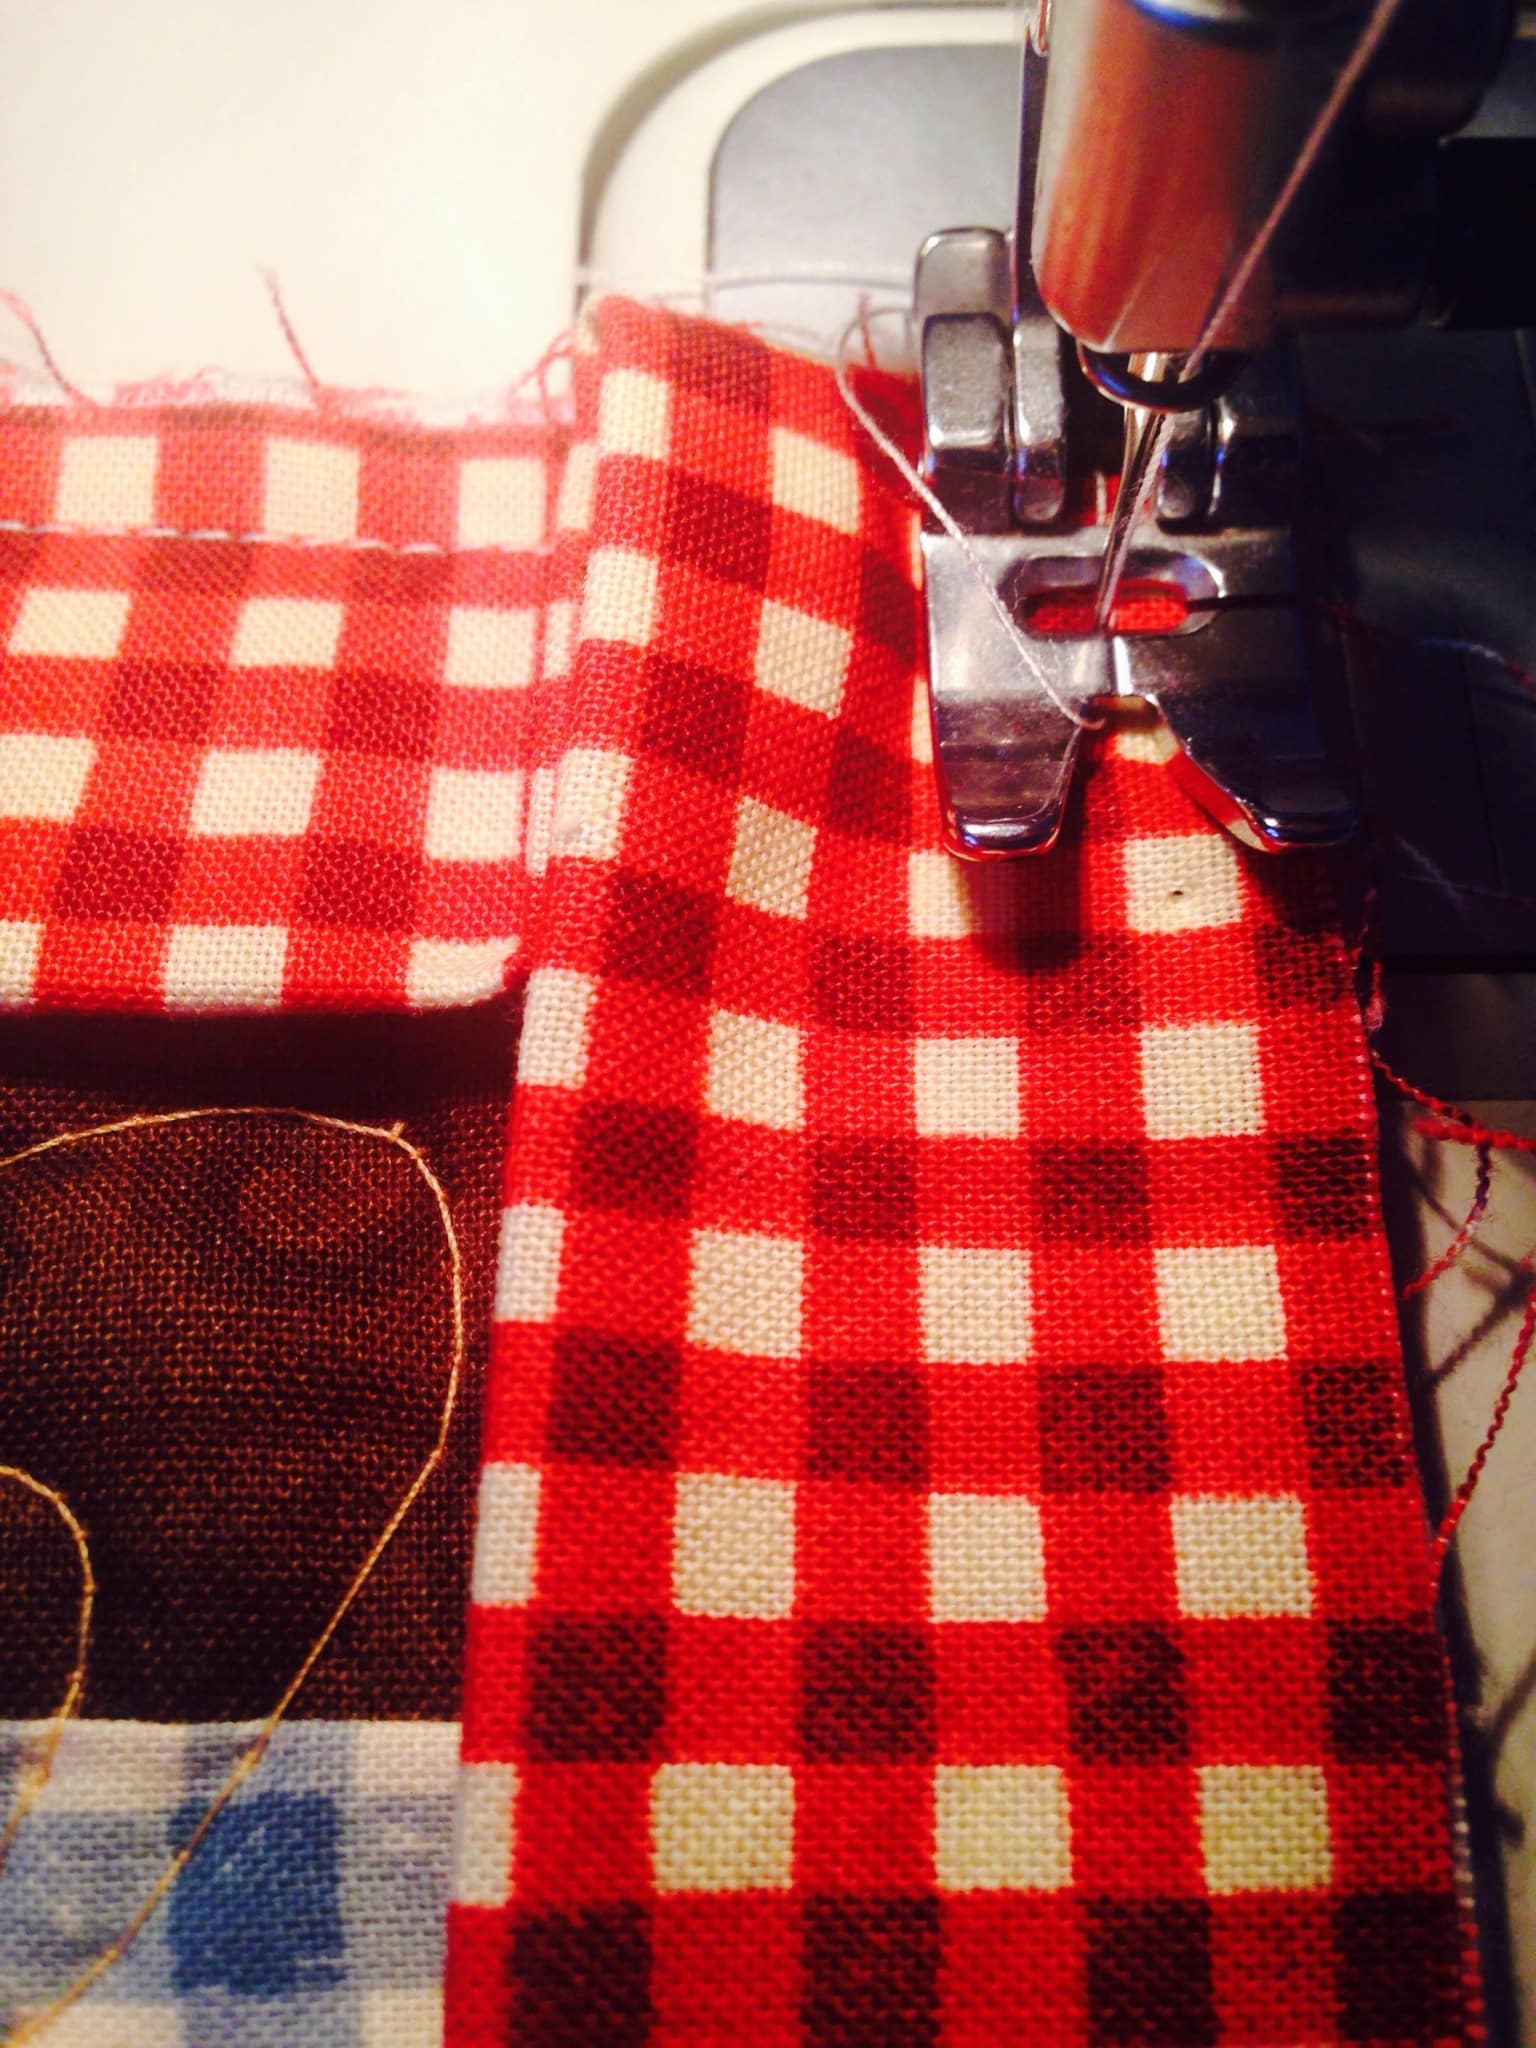
Prepare your machine. Make sure your needle is new for easy sewing. A heavier needle like 90 can be used. If you have a walking foot this can be used for attaching the binding. If you have dual feed, make sure it’s engaged.
Sometimes by the time the quilt is completed and quilted there can be a bit of unevenness or waving of fabric at the edges. If you are dealing with this it may pay to attach your binding as a two step process. Attach with a big basting stitch with your machine. It’s easier then to remove any puckering. Then go back and do a second stitching when you are sure it’s all sitting correctly. This is also helpful if the machine doesn’t feed evenly top and bottom.
The quilt I am finishing here today is this one
Charmed By Monkeys Quilt Pattern
This is how I do it.
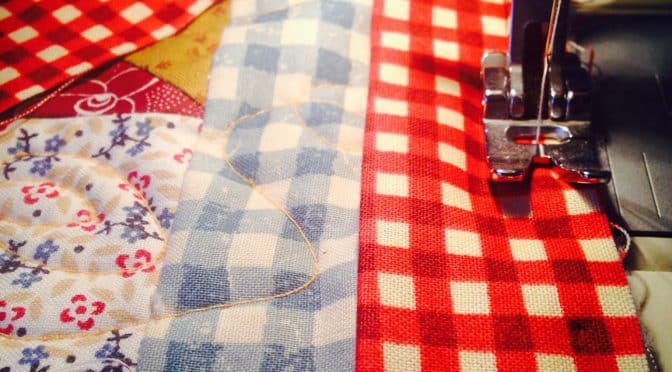
I like to start attaching the binding about halfway along one side. This means it’s not finishing near a corner and hopefully not too many of the joins in the binding will end up near the corners as you are turning. Leave a tail of about eight to ten inches at the start. This makes it easy to finish.
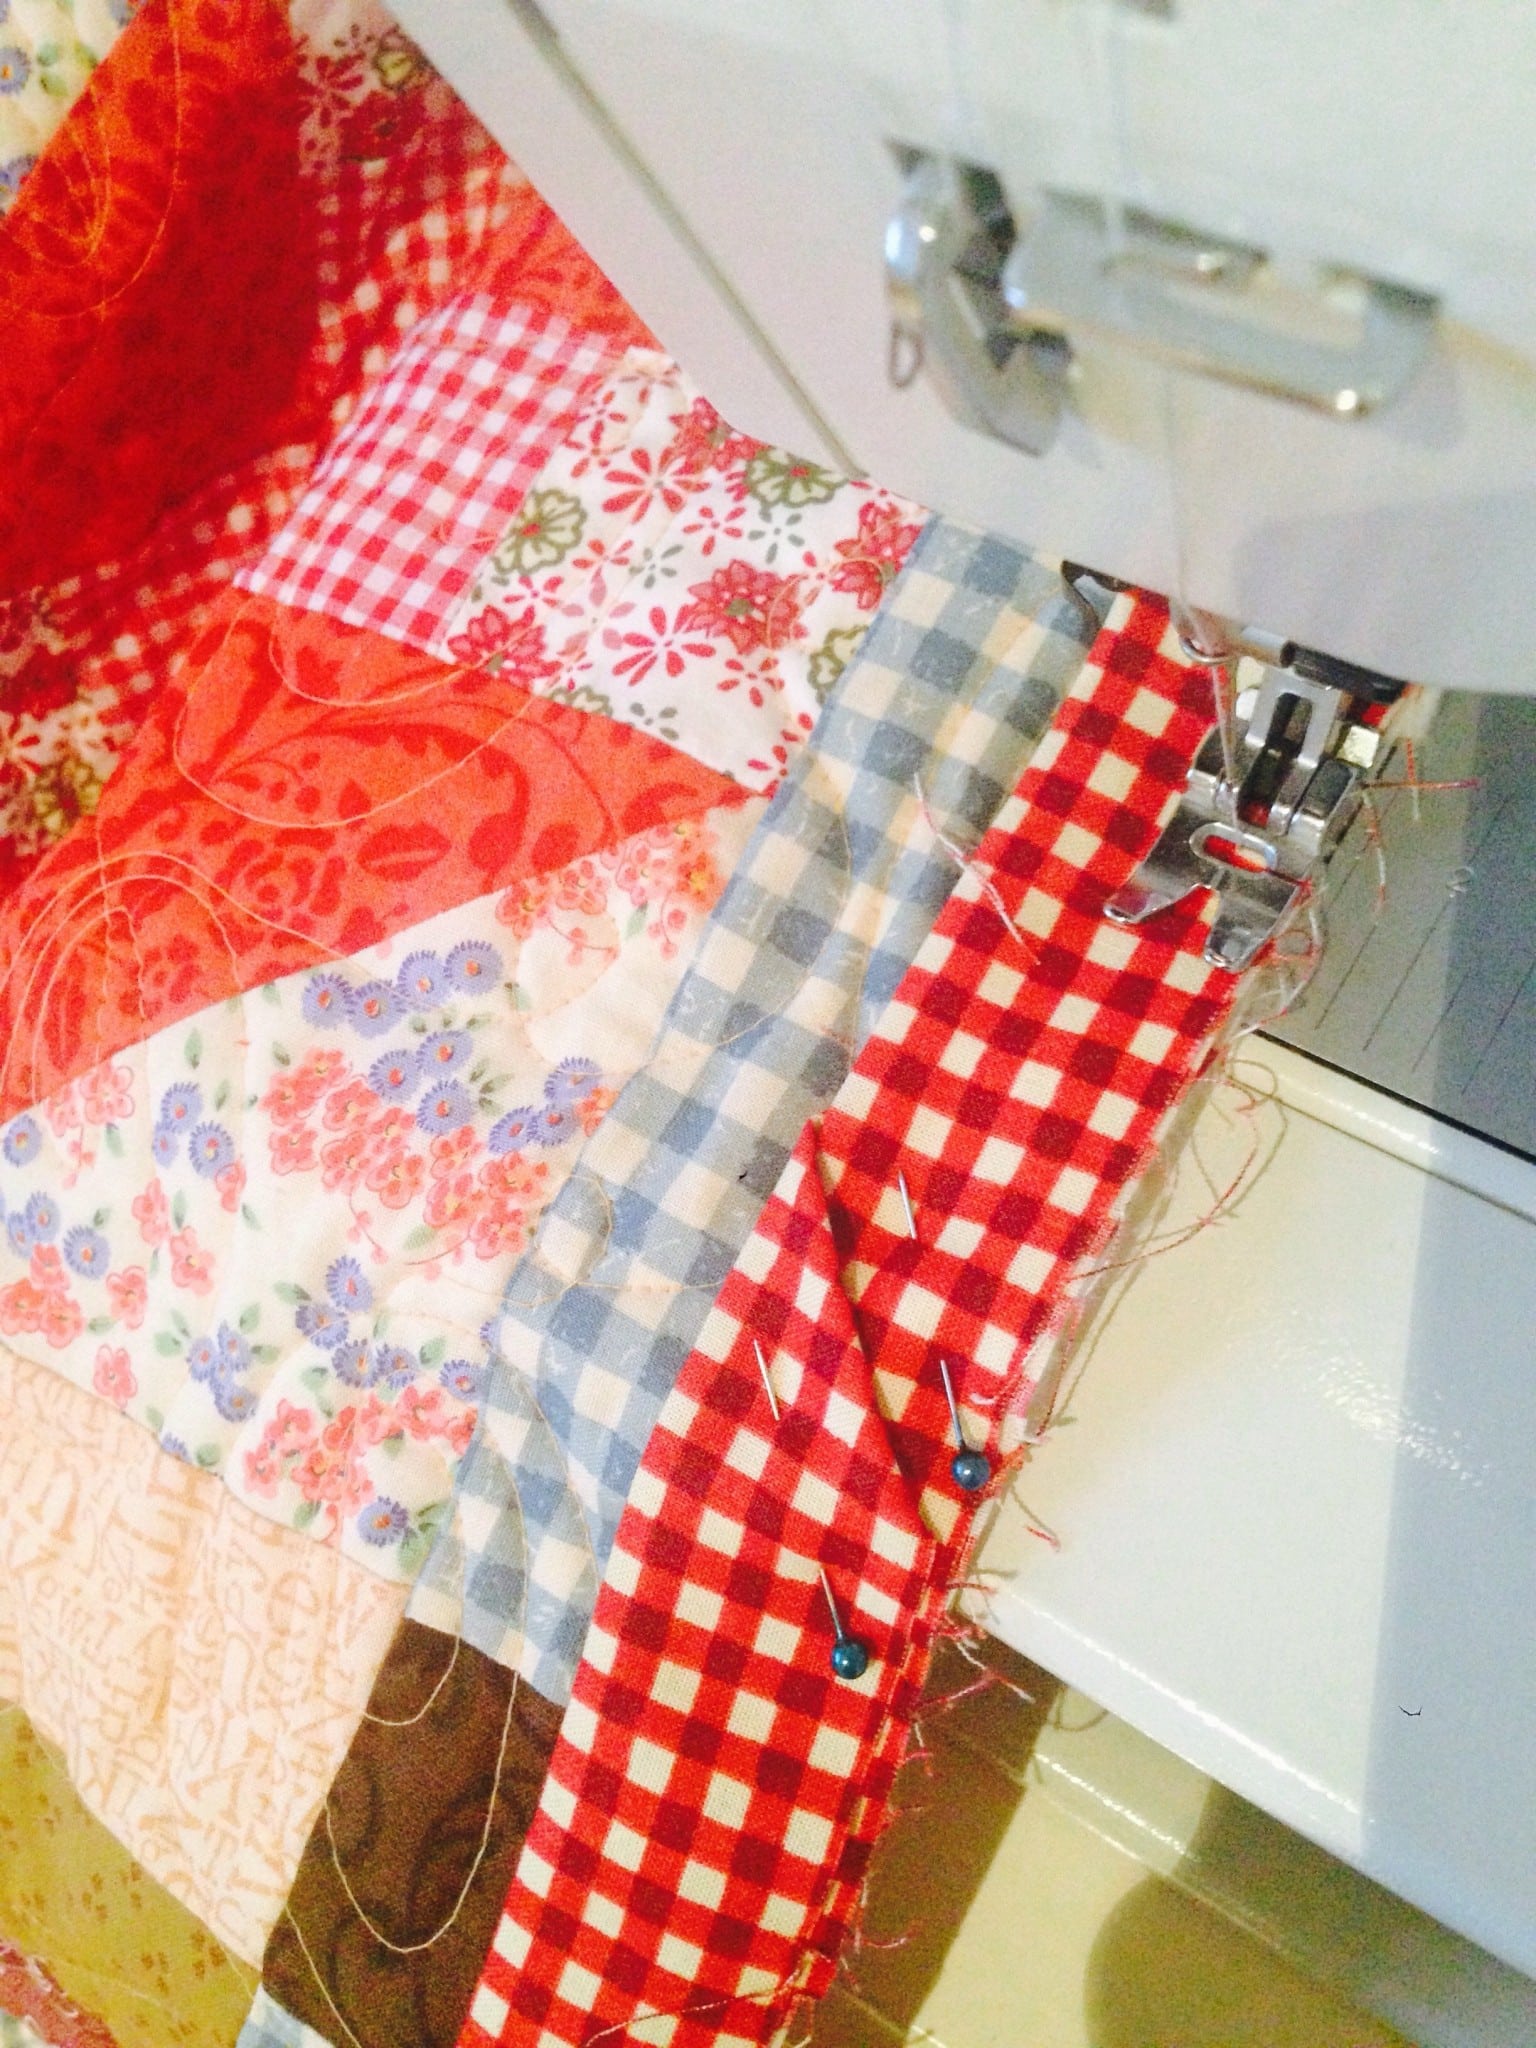
Line the binding up on the edge of the straight edge of the quilt. Pin securely in place. Sew almost to the corner leave about 1/4 to 1/8th inch. Stop. Backstitch.
Remove from the machine. To turn. Turn the binding back from the corner edge and fold it at exactly right angle to the quilt. This will make a mitre corner.
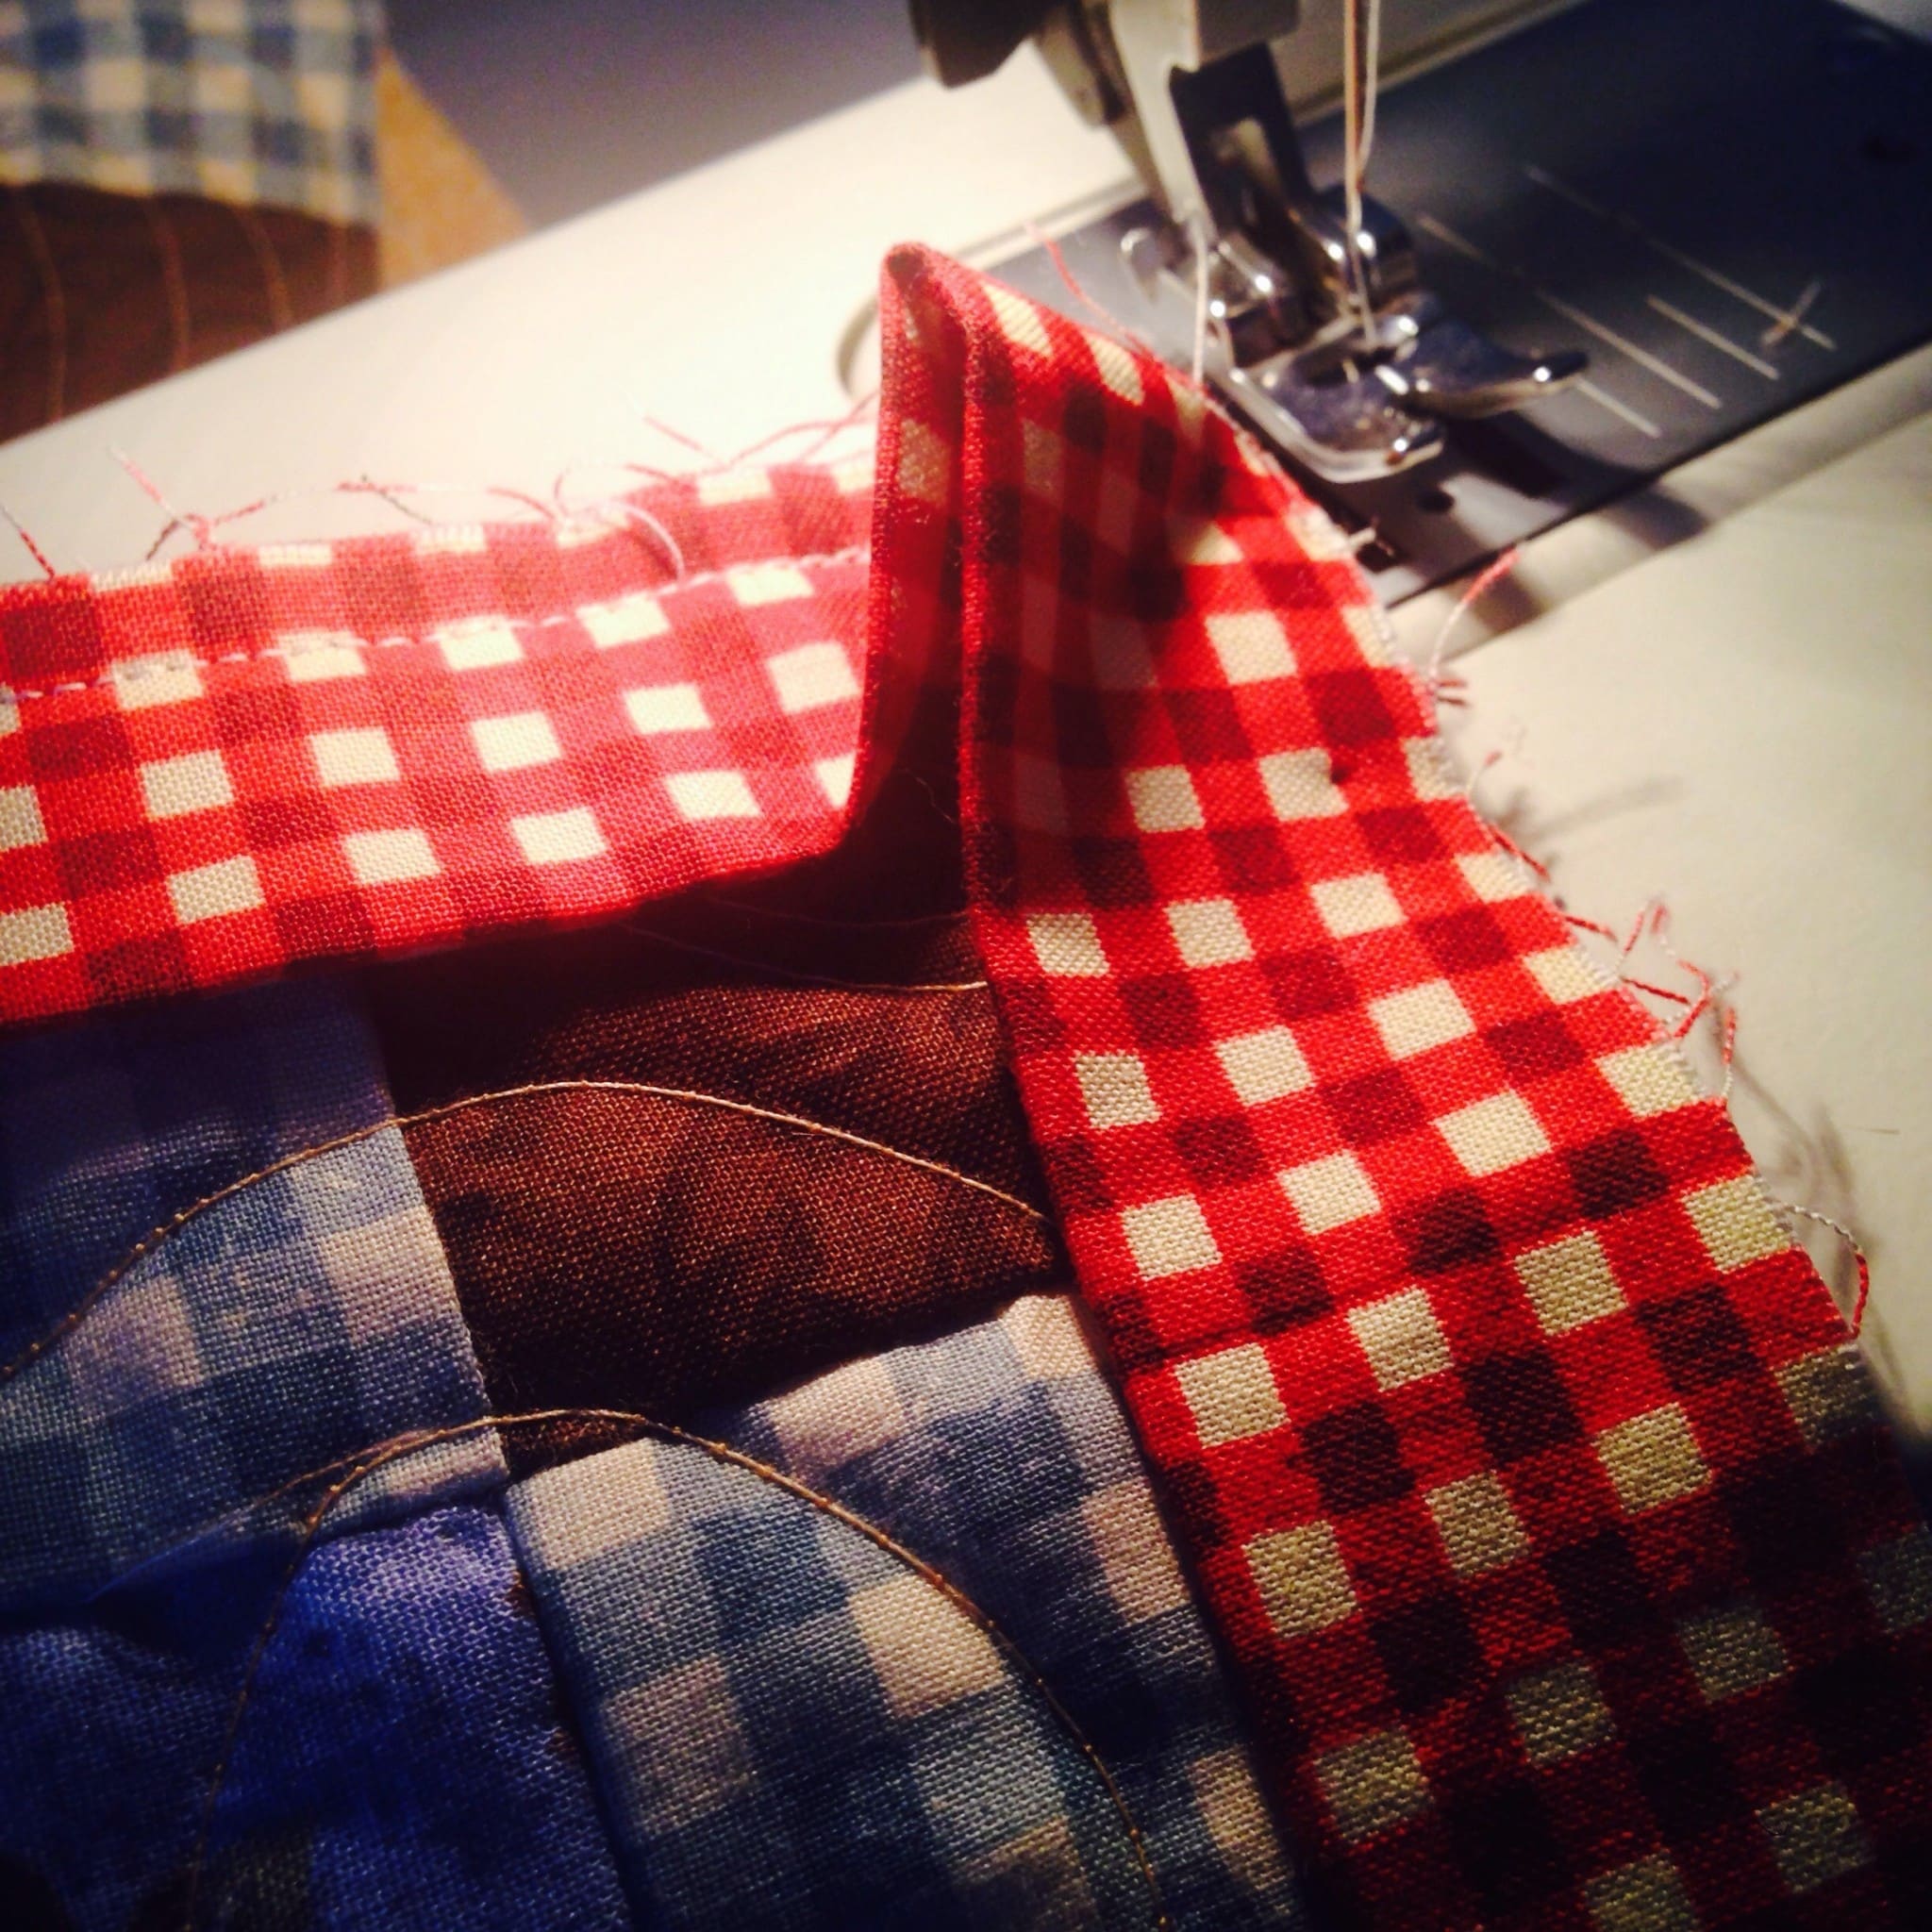 The raw edge of the binding should line up with the raw edge of the next side of the quilt to be bound.
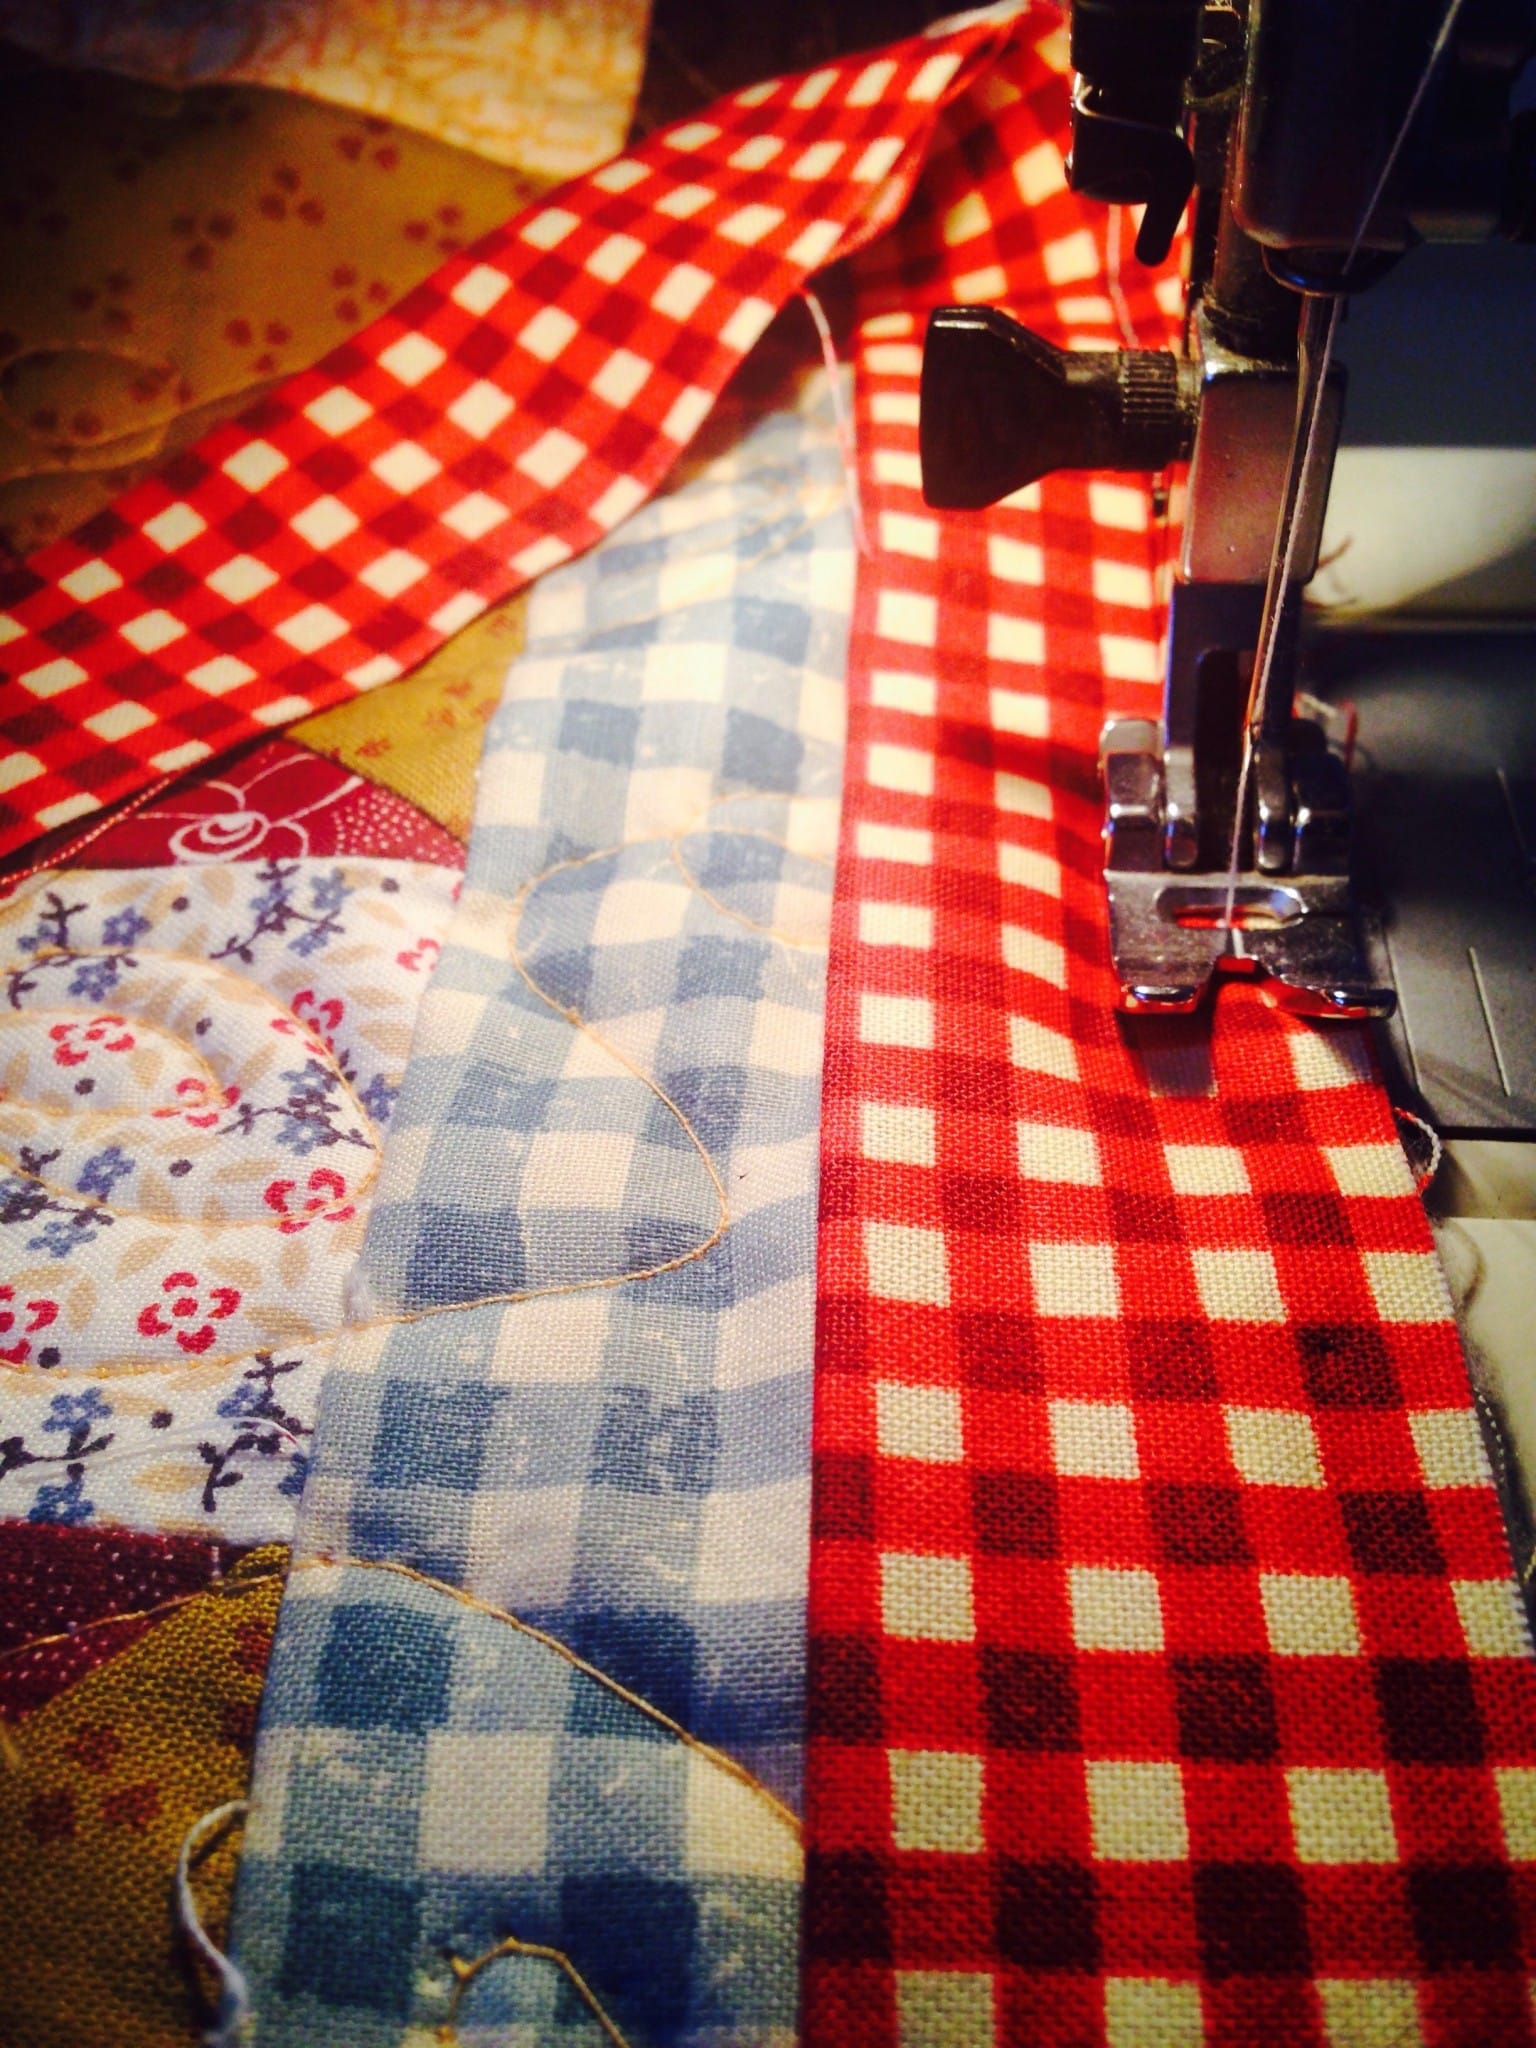
Pin securely in place and down the length of that quilt side.
Carefully position the machine needle a generous 1/4 inch from the corner top and side.
If you are not sure. After its pinned turn the binding toward the back and you should see mitre corner and how it going to sit.
 Stitch carefully down the side to the end. Stop, remove, turn and repeat until all sides are completed, but stopping about five inches away from starting point.
To finish. Using the tail piece from the beginning to audition your finishing place by opening the tail and making a right angle fold. Just test it to see how it fits before cutting.

Your continuous binding should then sit inside this fold. Turn it back on itself. It should sit nicely in the binding starter.
Make sure it’s the right way by turning it towards the back to ensure its all encased. Once you are happy with how how it’s going to sit then trim carefully to fit. Pin well. Sew over the remaining unsewn binding to finish and enclose.
The diagonal opening will be hand stitched closed with the rest of the hand stitching of the binding.
See next Tutorial “Finish your Binding – Handstitching”
Hand Sewing the Binding on a Quilt Tutorial
If you enjoyed this post you may also like,
Everywhere I Go Quilted Travel Roll & Tutorial
Or this one…
Grandmother’s Flower Garden Quilt in Progress
Happy sewing!
Susie