
Little Flower Bag and Tutorial
Hello Dear Friends and Readers and a warm welcome to today’s post. If you are seeking a small bag project which is quick, easy and super pretty and useful, you have come to the right place!
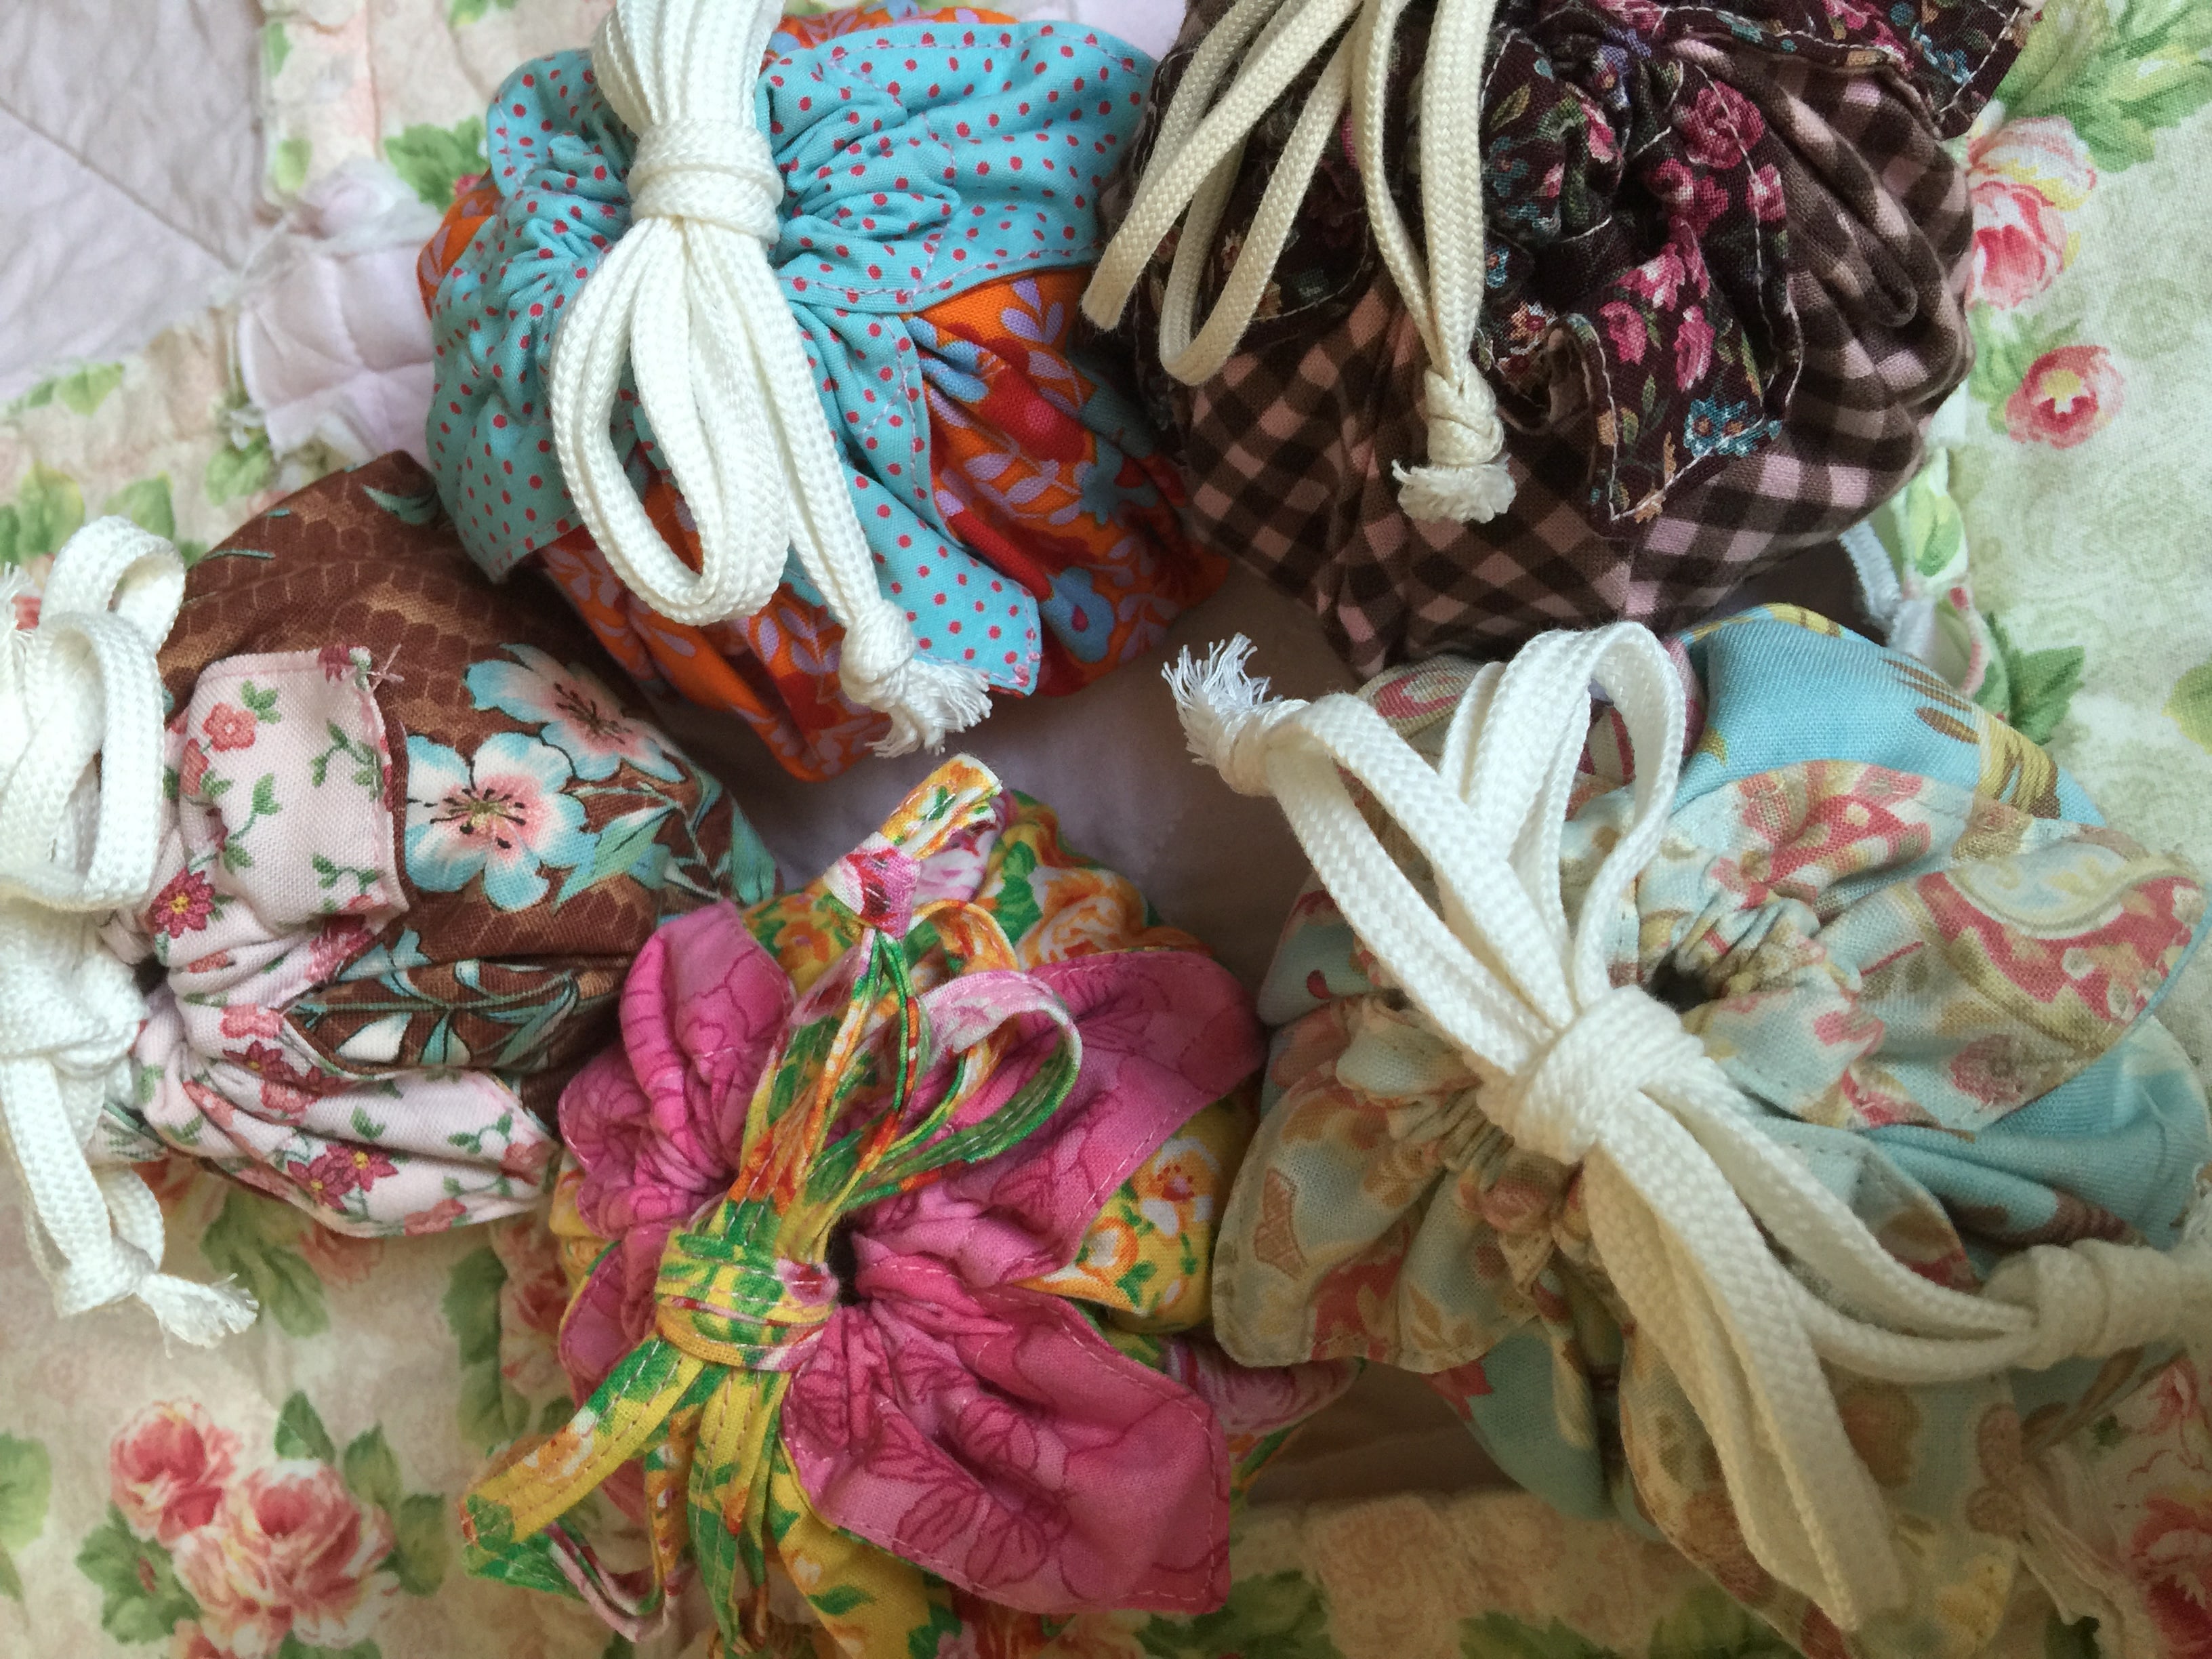
Who knows where this little bag design first began? I can only imagine it was originally an origami style bag and is of Japanese origin. But that is really just speculation on my part. I have experimented for some time with this style of bag. I have to say that in my opinion it does not translate well to a larger style bag as the excess fabric reduces the elegance and function of the bag and it will not close nicely as there is too much redundant fabric.
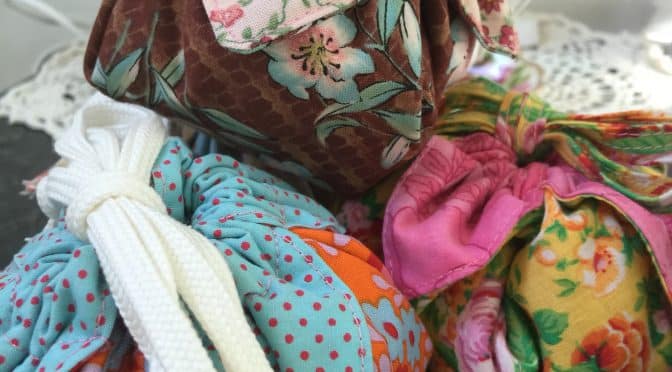
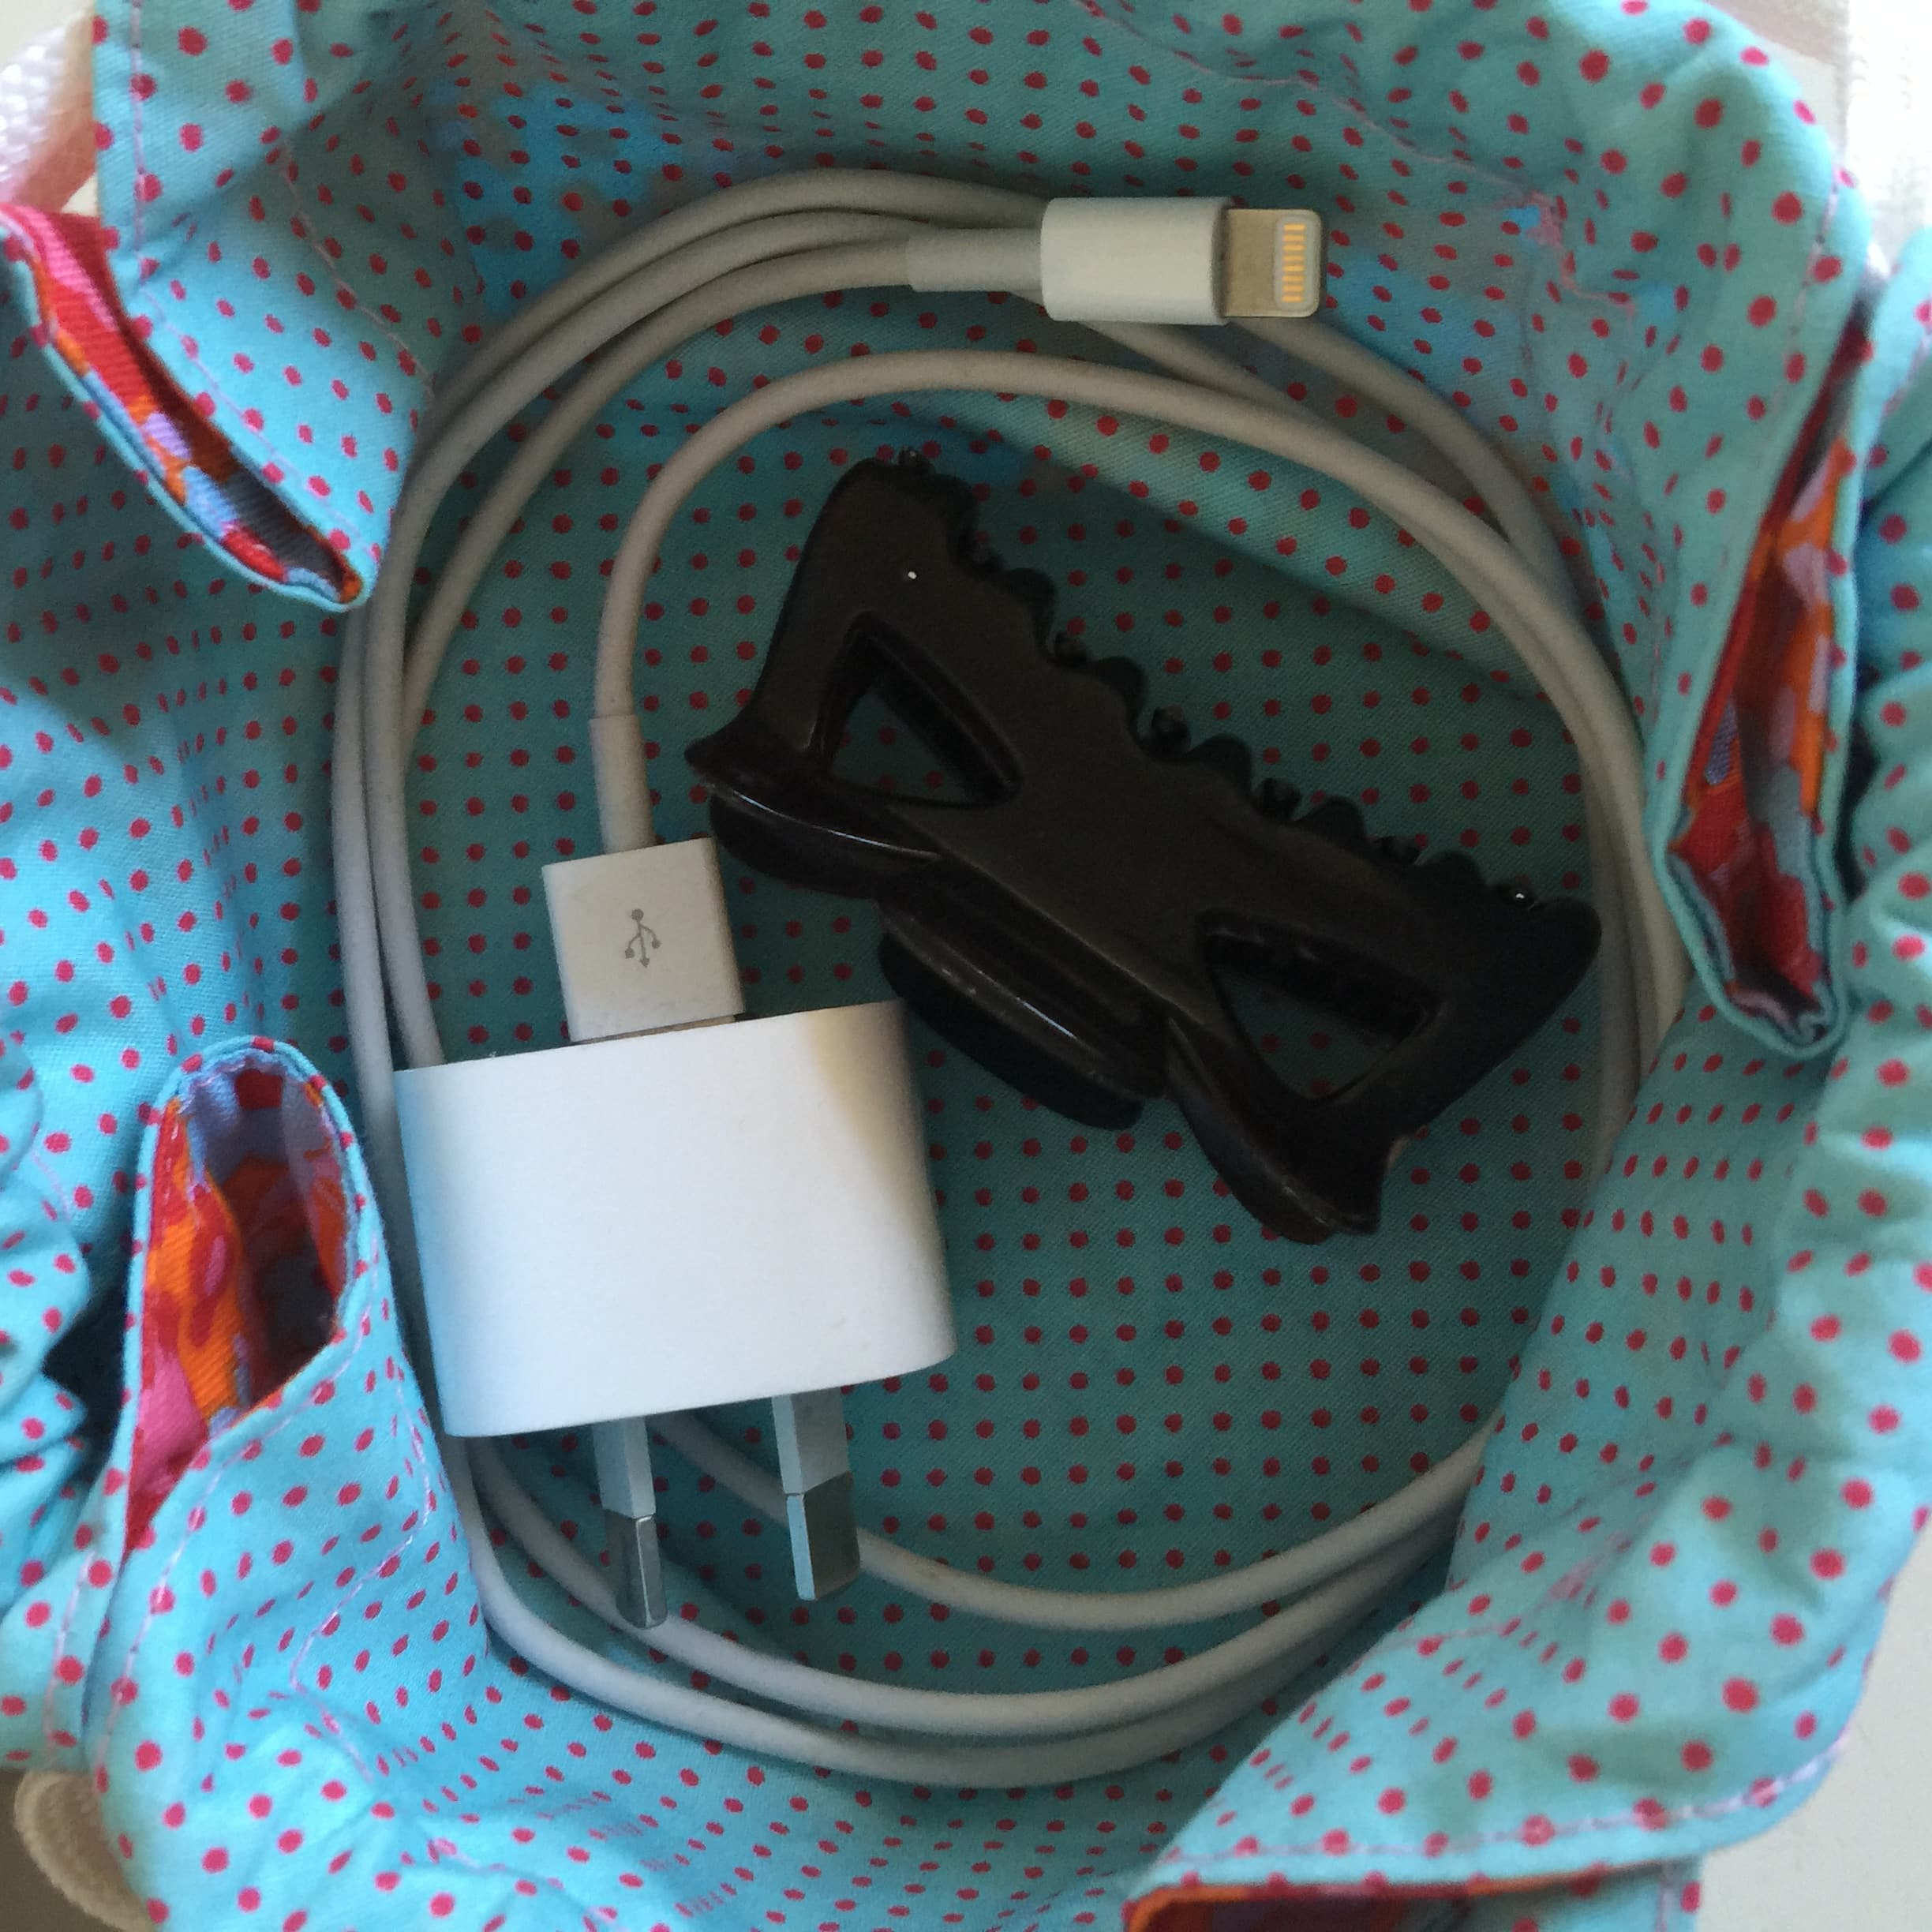
However, as a very small bag it is a delight and a handy little soft container which can be adapted to storage of all sorts of little items, think keys, medicines, small cables like phone chargers or ear buds, USB sticks, contact lenses, hearing aids, tampons, lip balm makeup, hair accessories or money. This is really is only limited by imagination and adaptable to your needs.
By the way I always pre wash my fabrics to avoid disappointment. This bag can be made with left over layer cake squares.
This is how I do it.
Little Flower Bag
To make this adorable little bag, you will need:
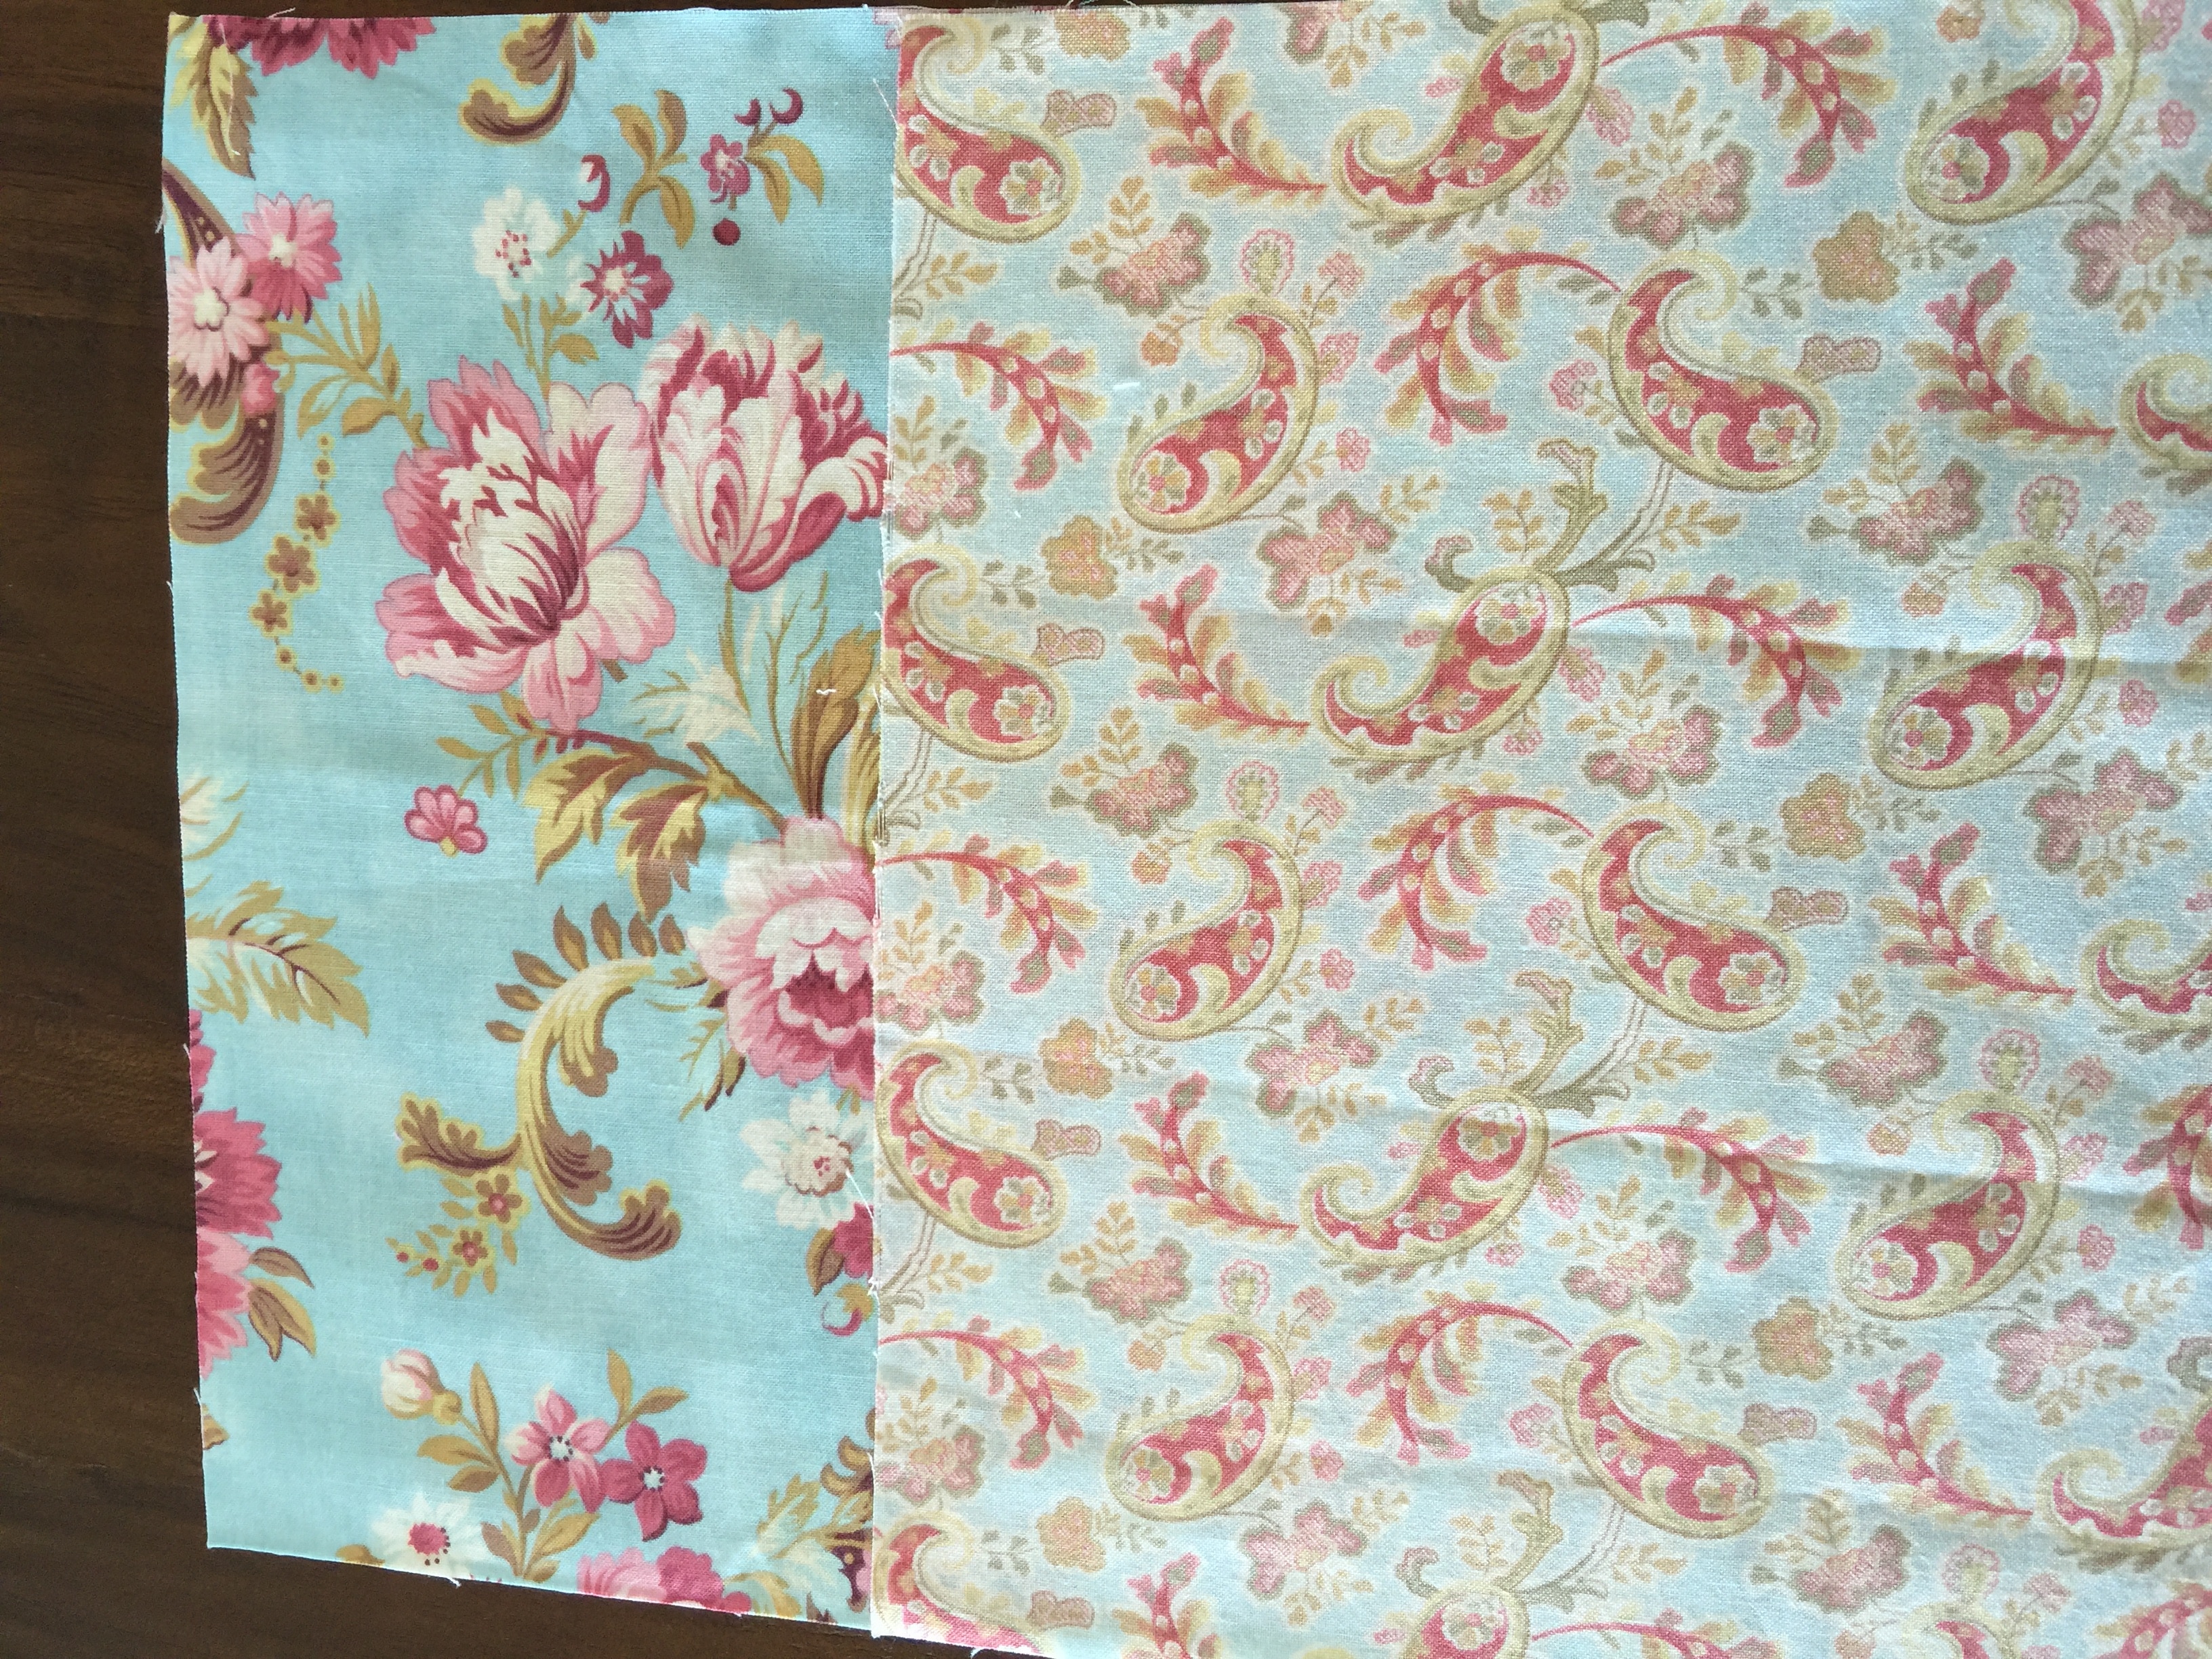
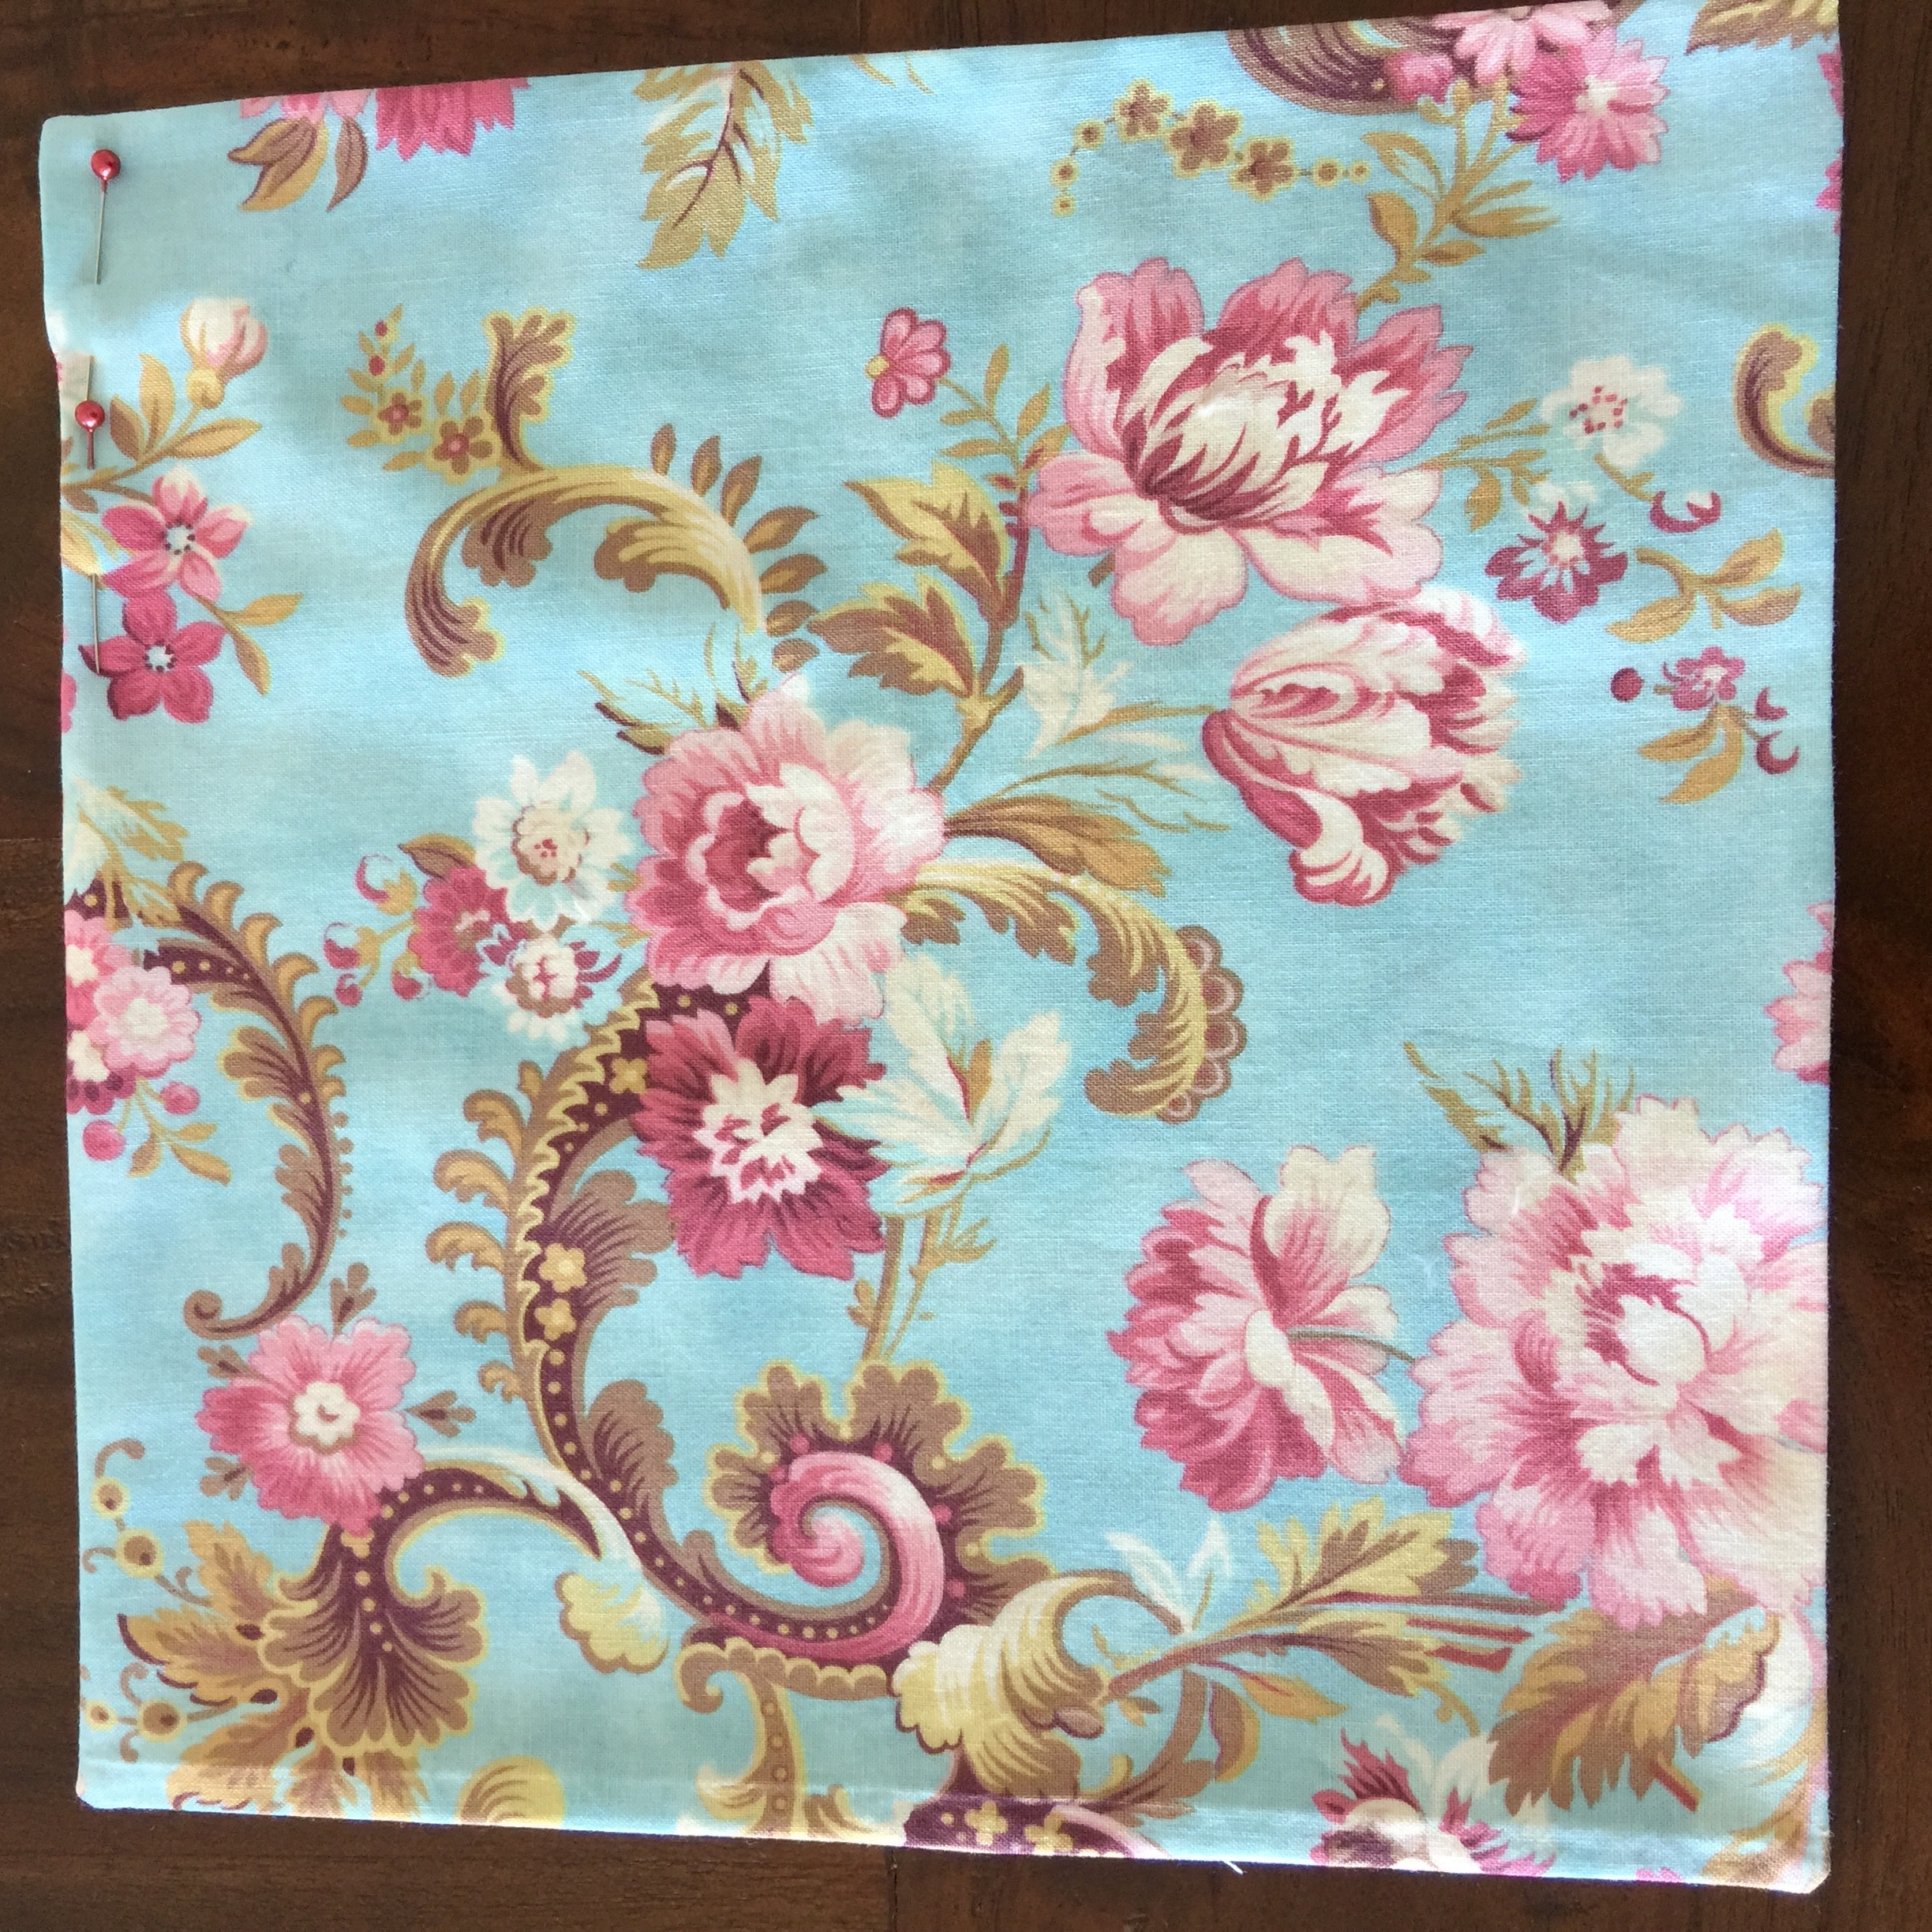
2 X 10″ squares of fabric of 2 differing but complementary designs.
1 x 46″ Length of thin cord or ribbon.
chopstick for turning
Method
Take the two squares and place right sides together. Using a small stitch length, stitch 1/4″ all the way around leaving about a 4″ length open and un-stitched for turning.

Carefully clip a small amount of fabric from each corner. Turn to the right side using the chopstick to gently push out the corners. Fold under evenly both sides of the opening. Press carefully, then stitch all the way around the outside. Now you have a square.
Decide which fabric is the outside. With the outside facing toward you, fold down each corner to make a triangle.
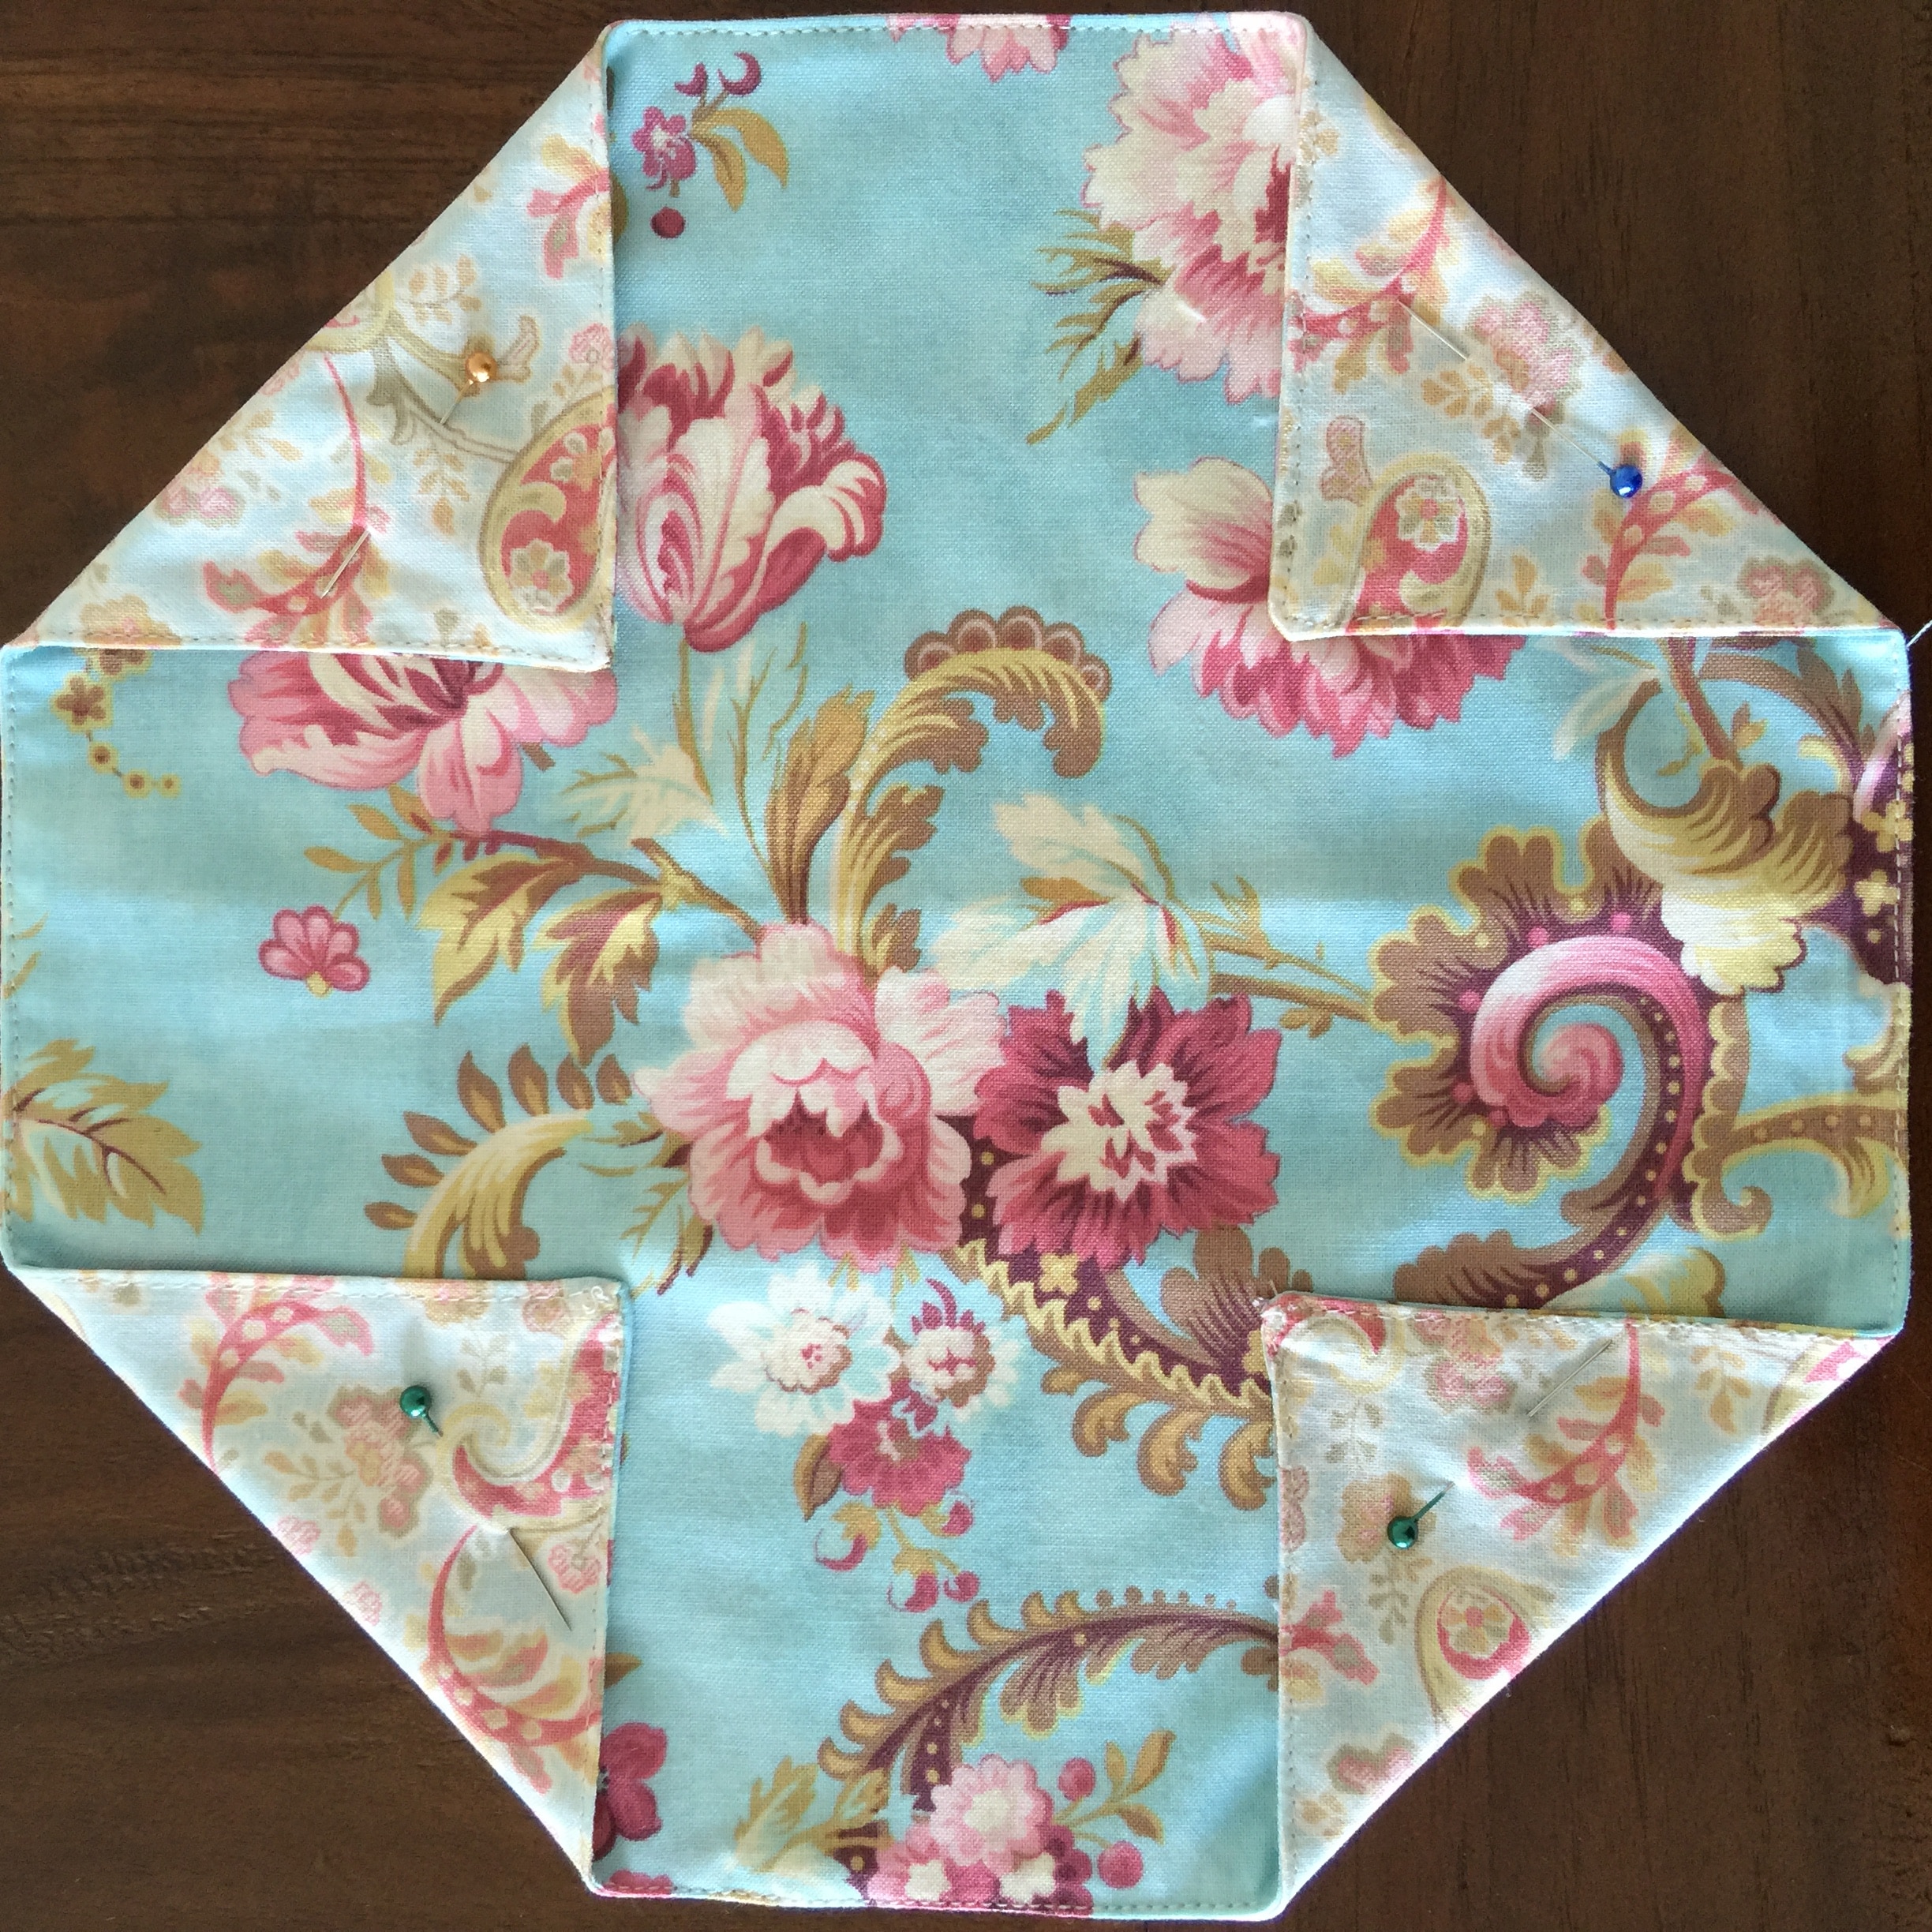
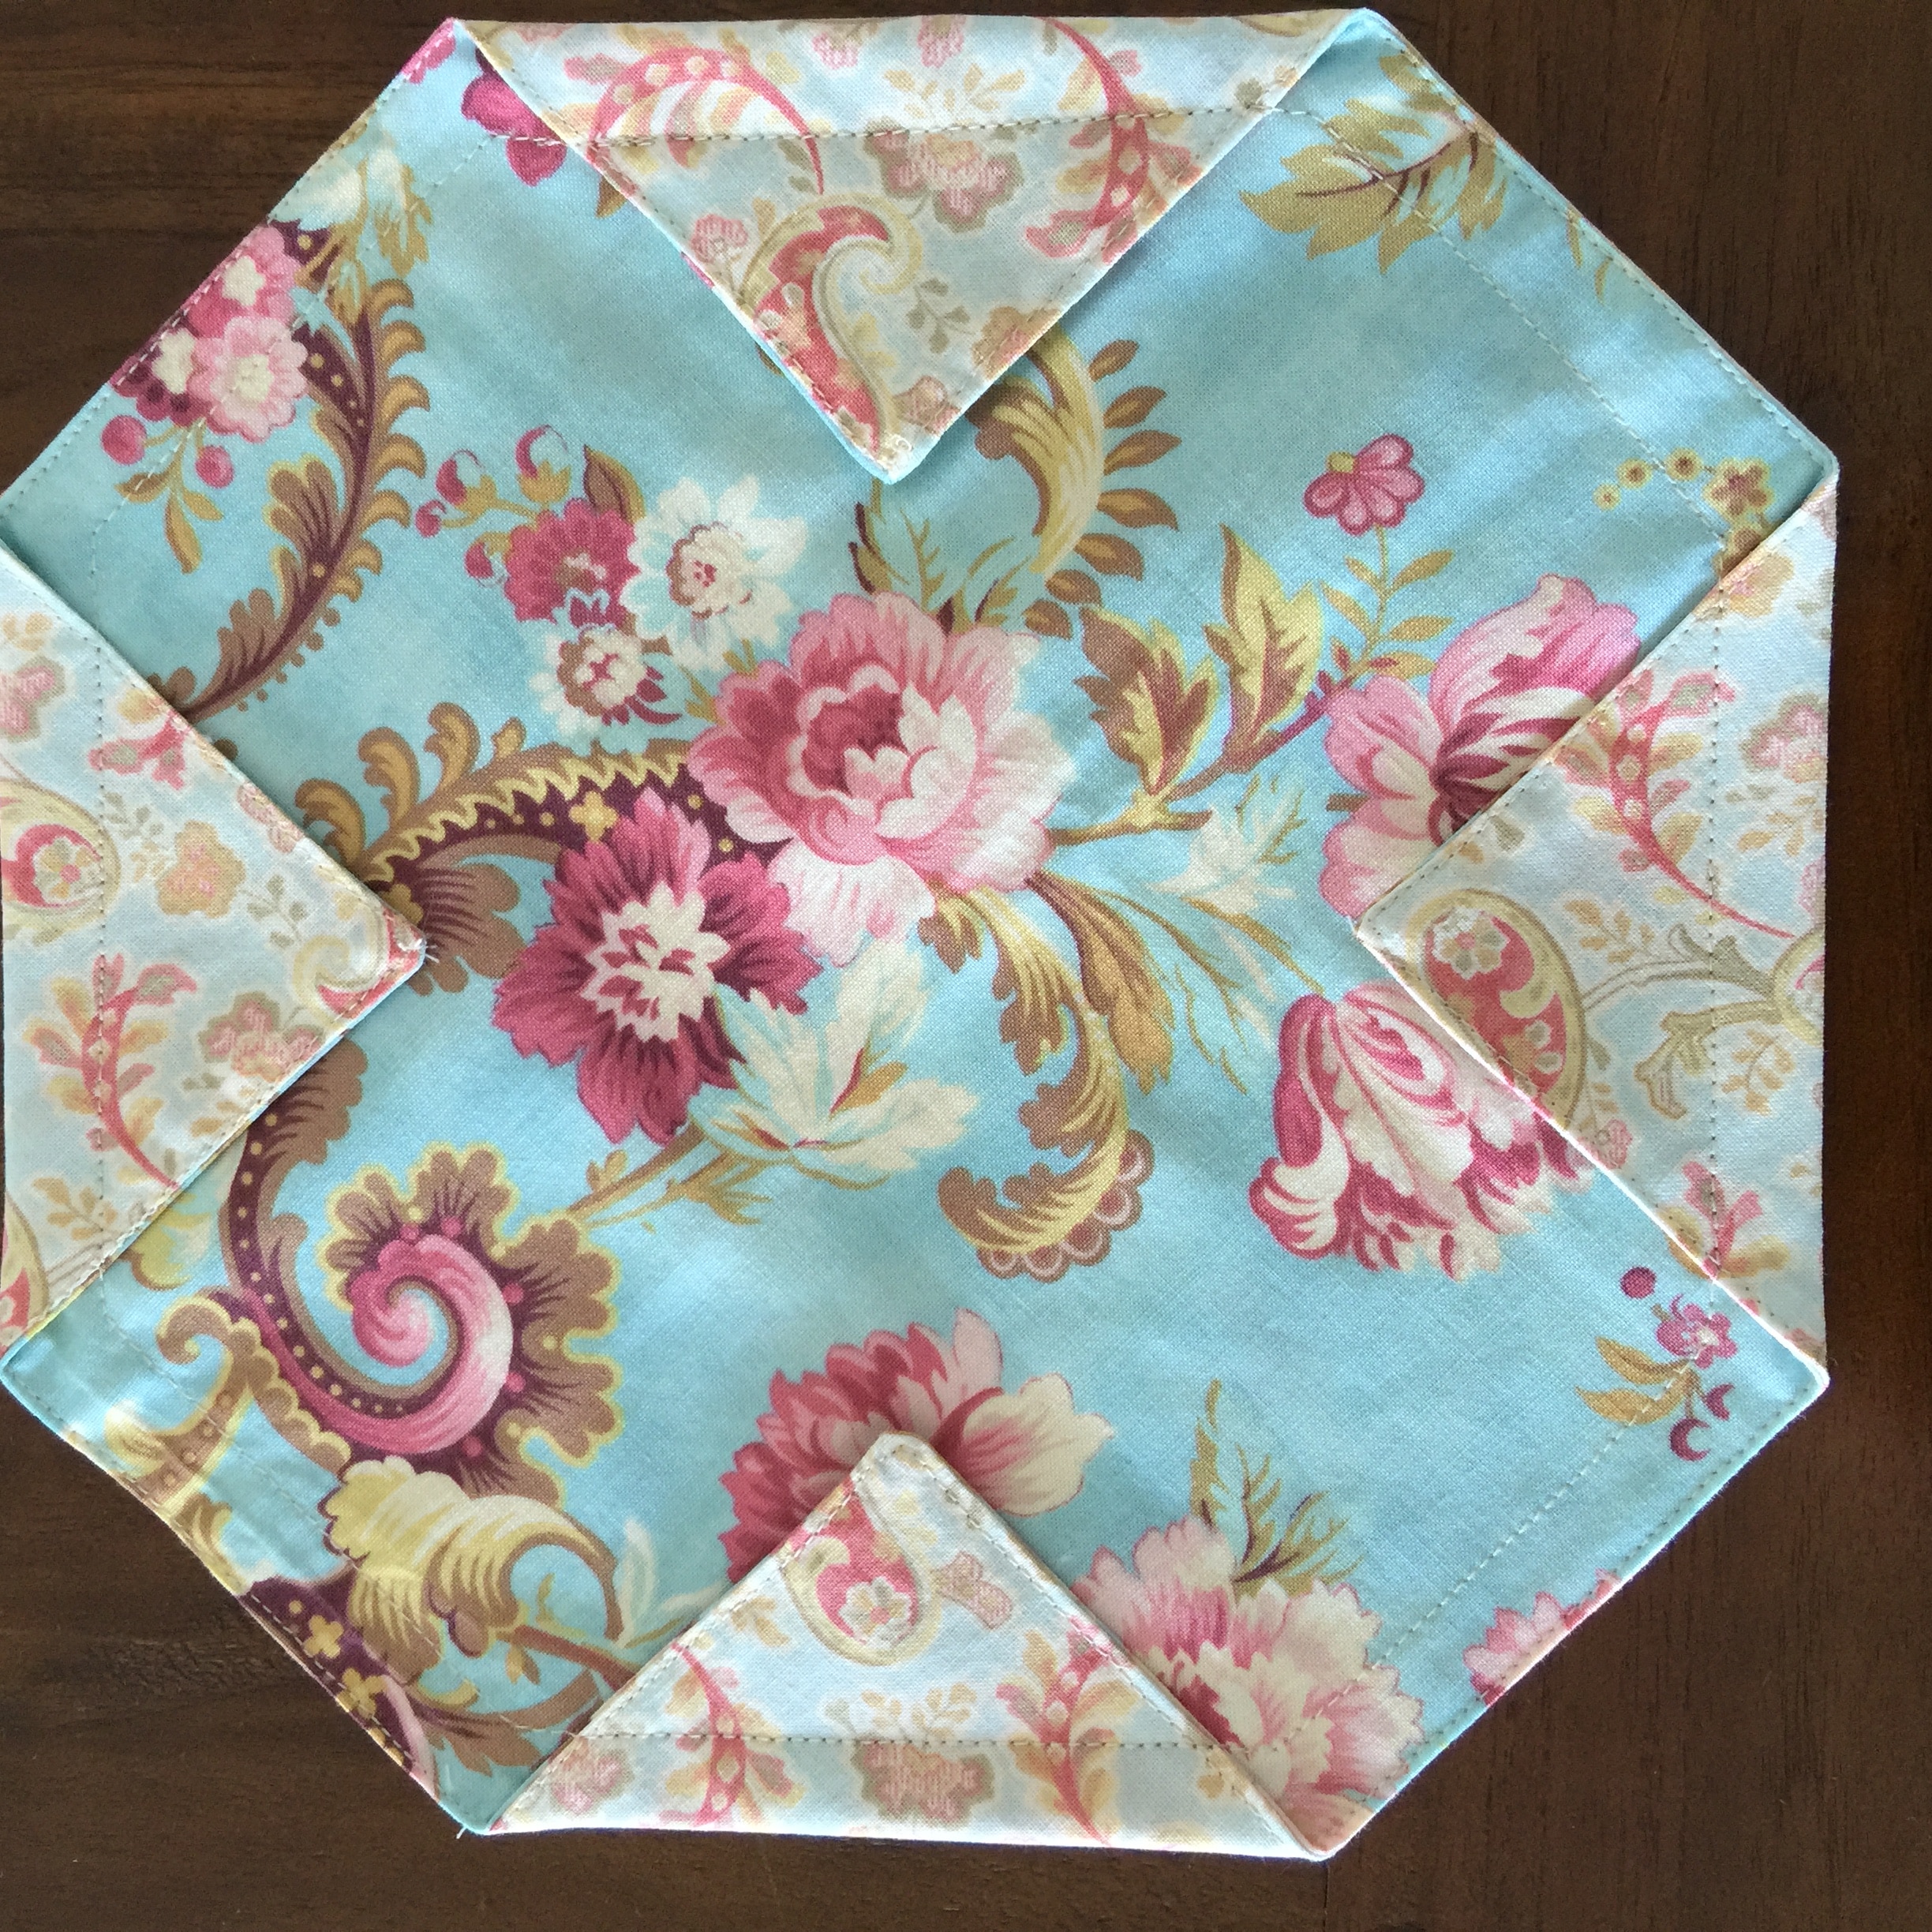
Make the corner folds as equal as possible in size and the hypotenuse of the triangular folds should be approximately 4″. . In other words, it will look like an octagon. Pin in place. Now carefully sew 5/8″from the edge all the way around, keeping needle down at each corner.
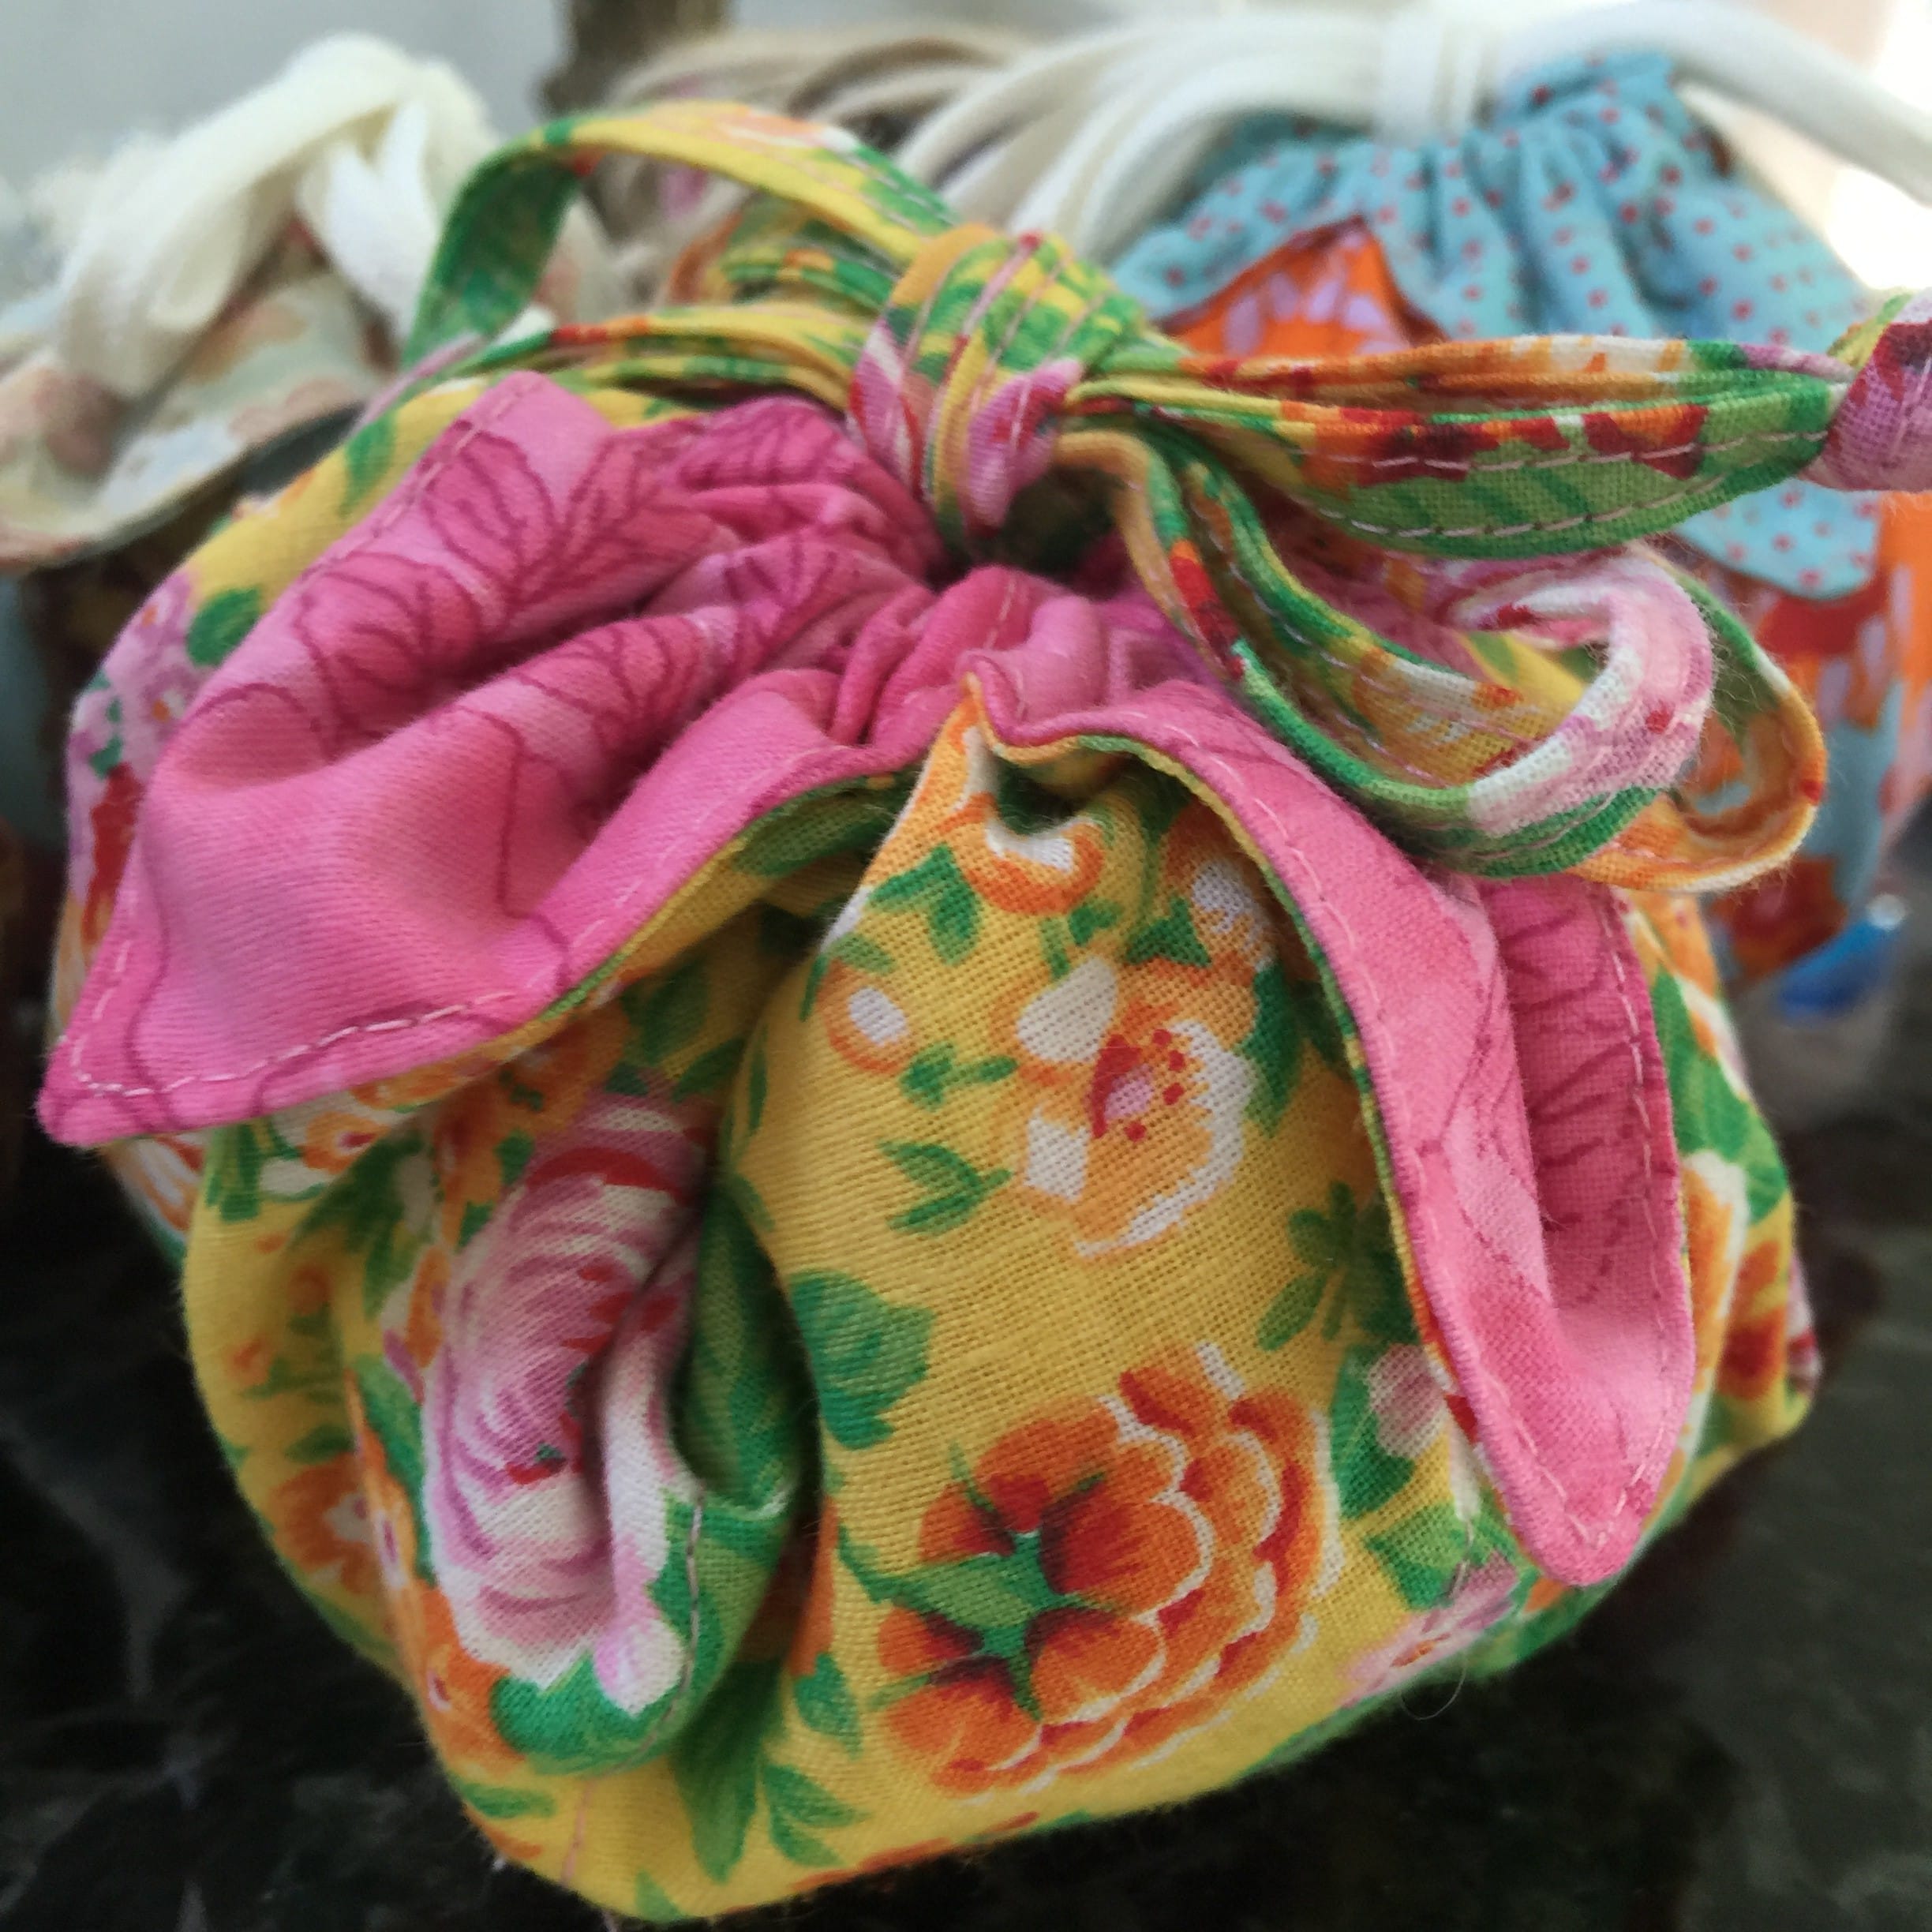
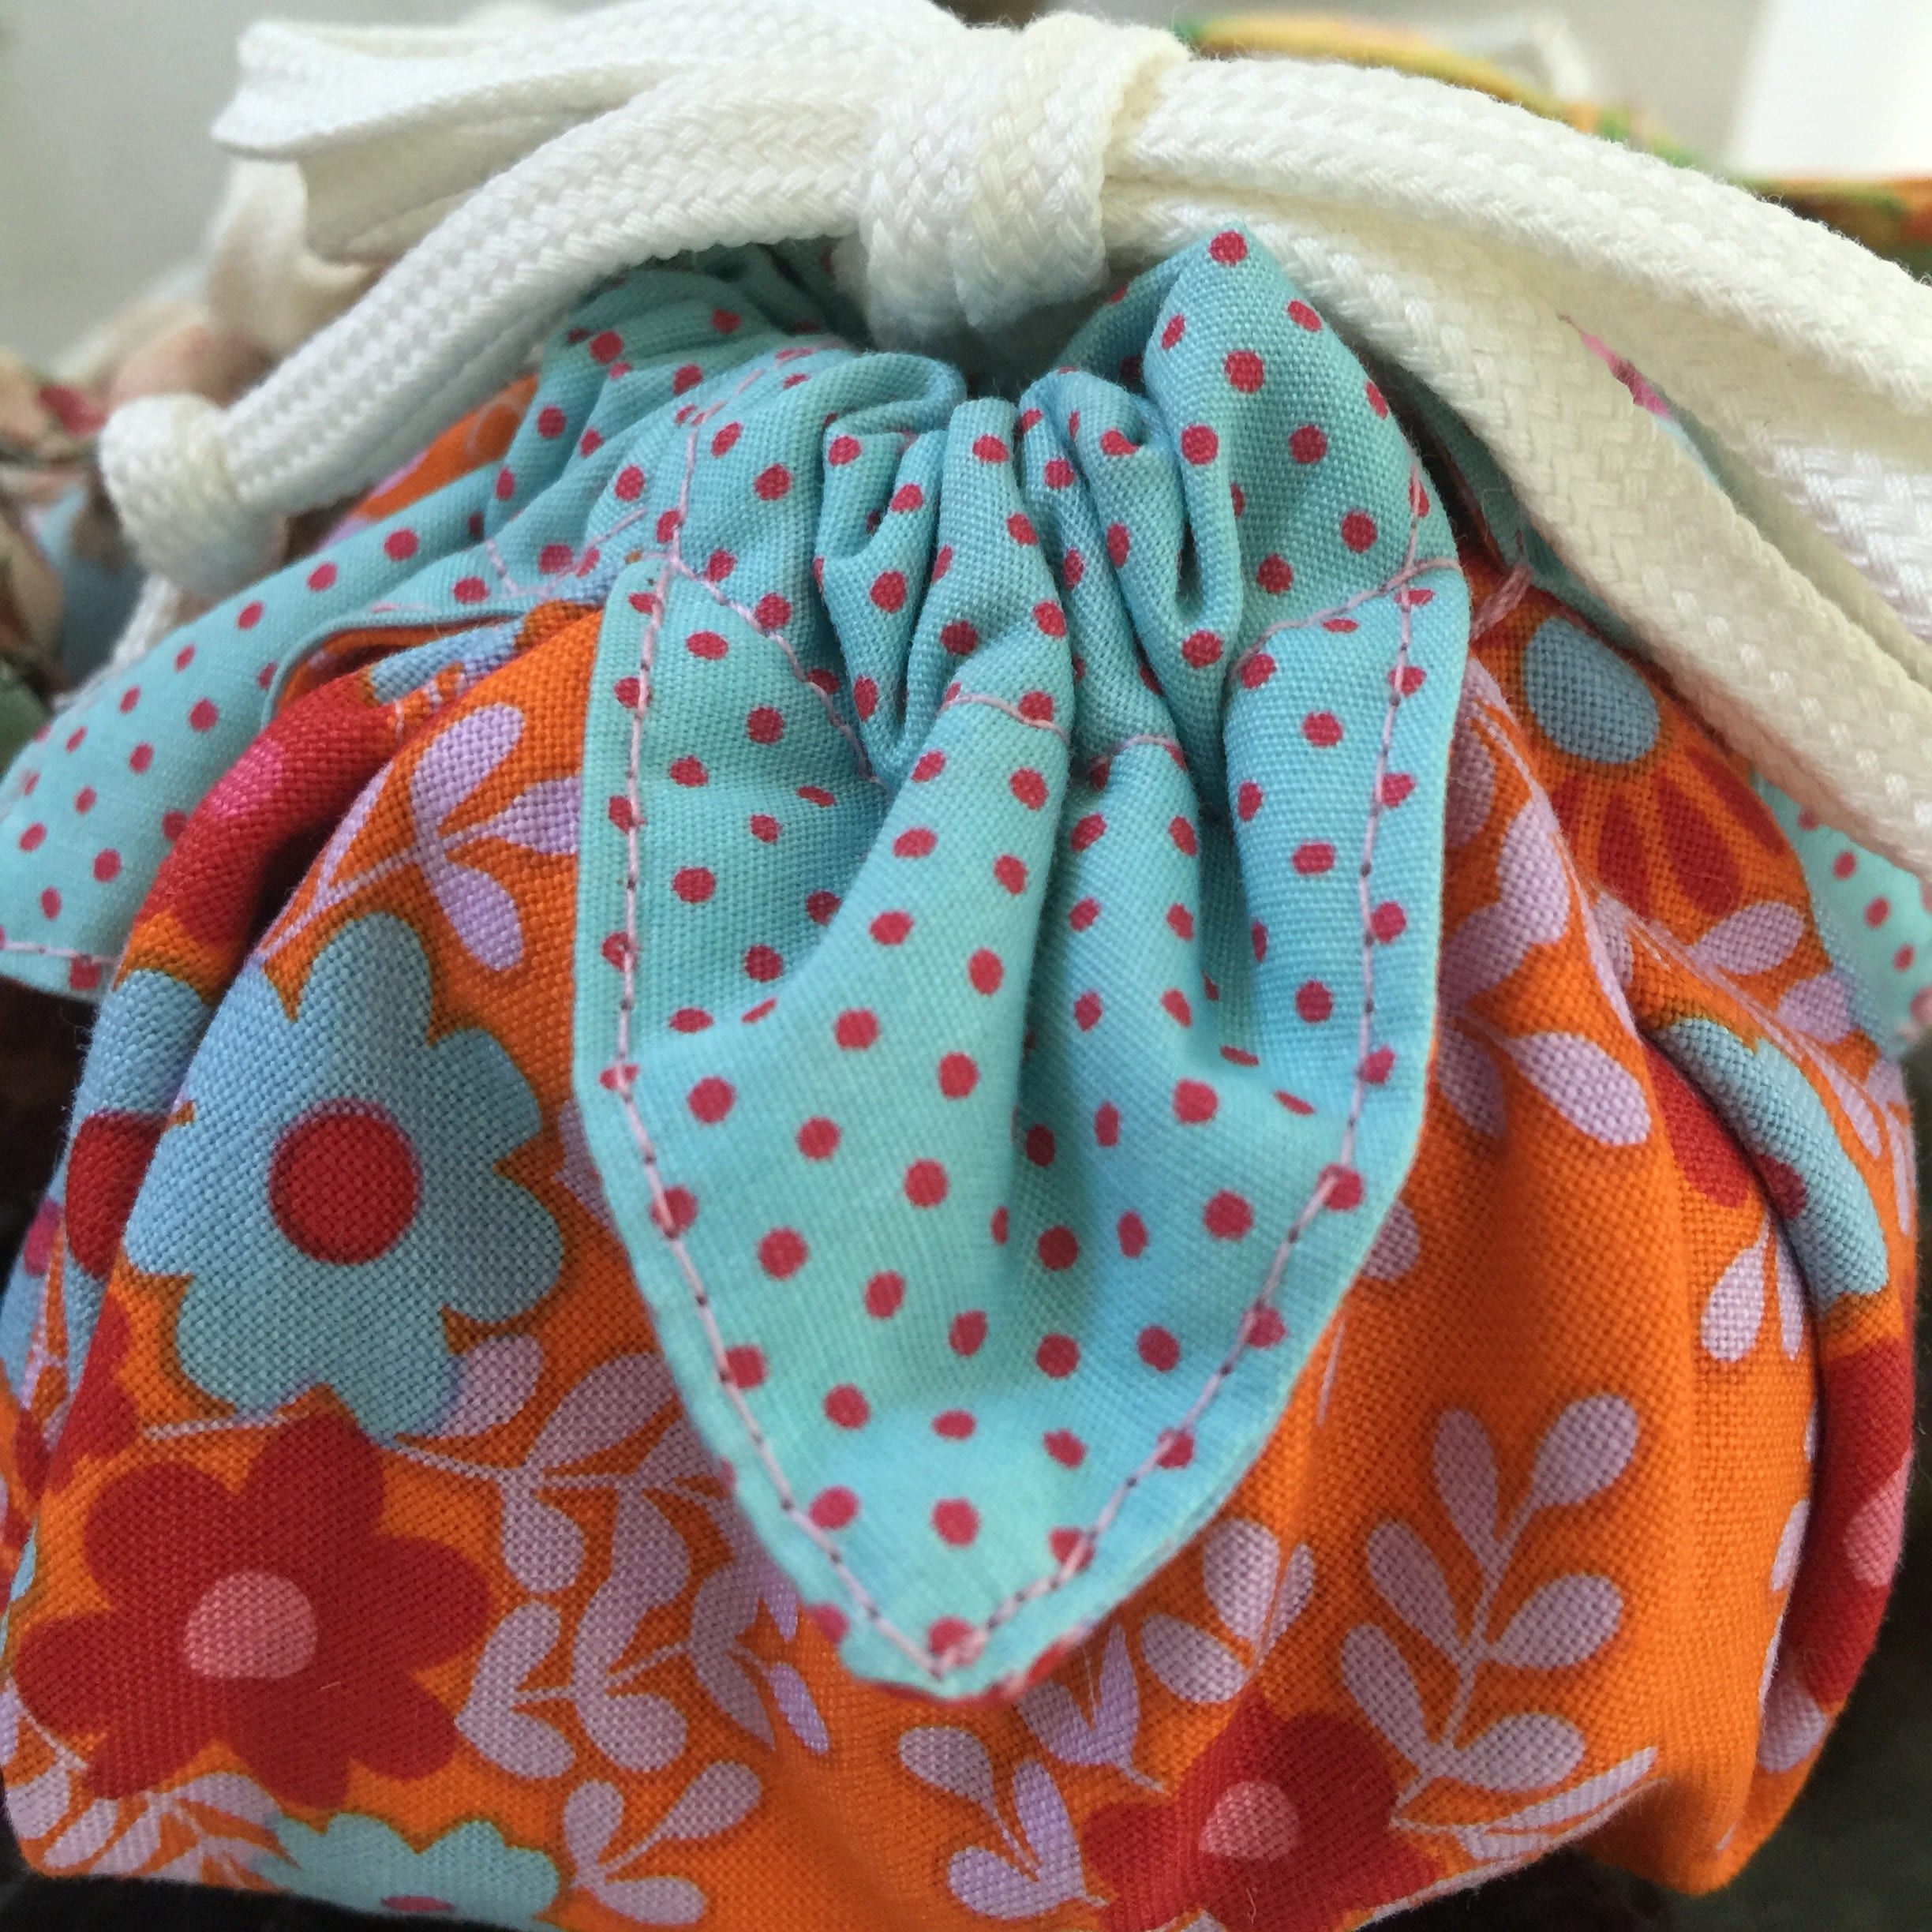
Cut the cord or ribbon in half. Using a safety pin, thread one cord all the way around, coming out at the same hole. Do the same starting at the opposite opening. Tie a knot at the end of each cord. Pull up the cords together. There is an adorable little flower bag!
Hope you have a great day!
If you enjoyed this post, you may also like these other projects
Patchwork Celebration Bags – Antique Japanese Style – Tutorial
Happy stitching,
Susie
© Susan Stuklis 2015
Just found this cute bag from today’s link (Aug 18th – my birthday) so will give it a try tomorrow. Thanks for sharing 🙂
Happy Birthday Lesley!
Thanks, this is adorable, and I need gifts for great nieces for Xmas, this will be perfect. I appreciate your knowledge. Nice of you to share. Carolyn
Thank you, this is lovely- I will make some for Christmas and put some little soaps and toiletries. PS I linked your site on my page. I hope you do not mind. You are very generous. Thanks.
Dear Anna. You are most welcome. Susie