
Strings n Things
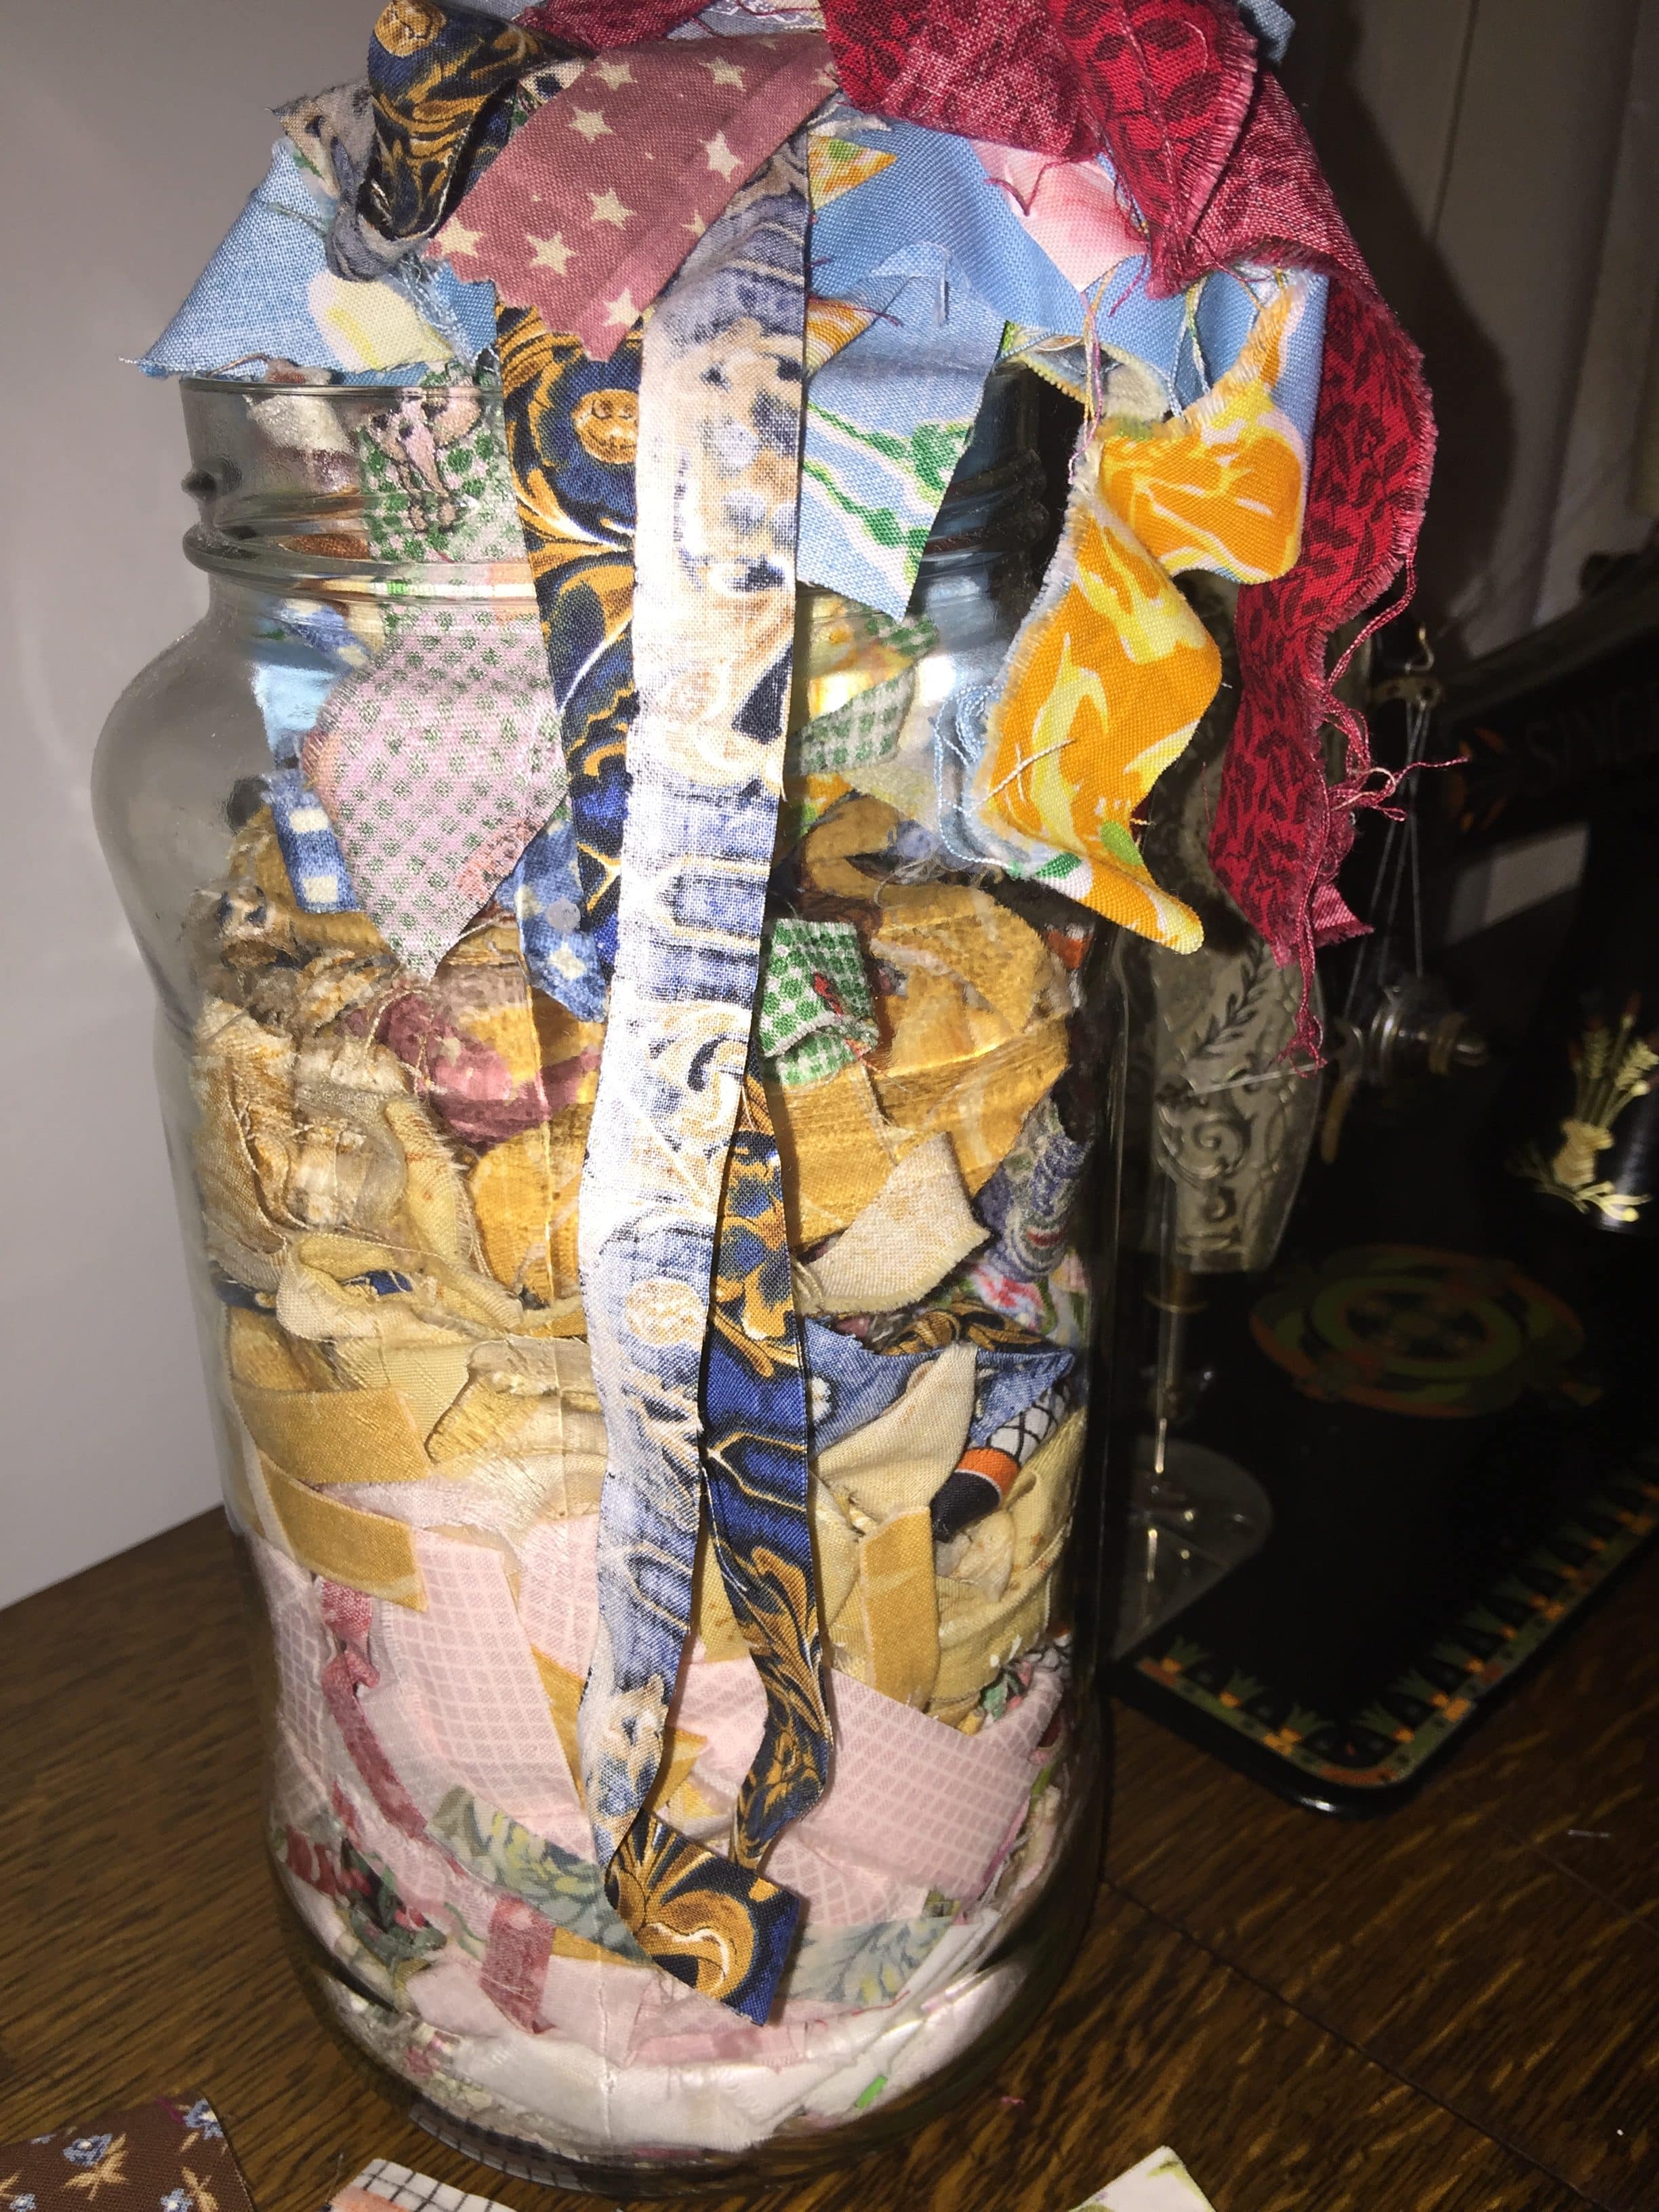
Hello Dear Friends and Readers. Perhaps we all have a bag or a jar or two of fabric strings and off cuts that are being saved for………..??????? Who knows?
Mmmm
So what to do? Well, they can just stay where they are, or, maybe we can make some string blocks together?
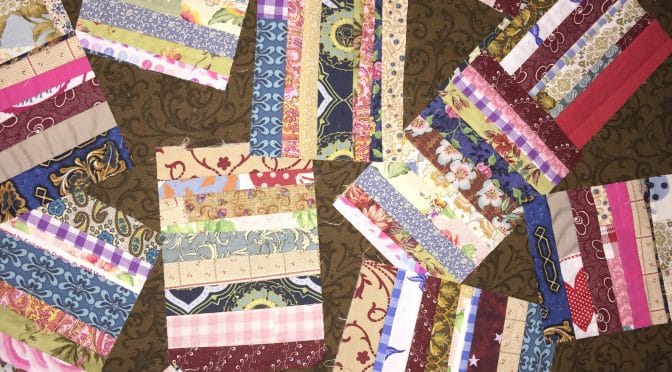
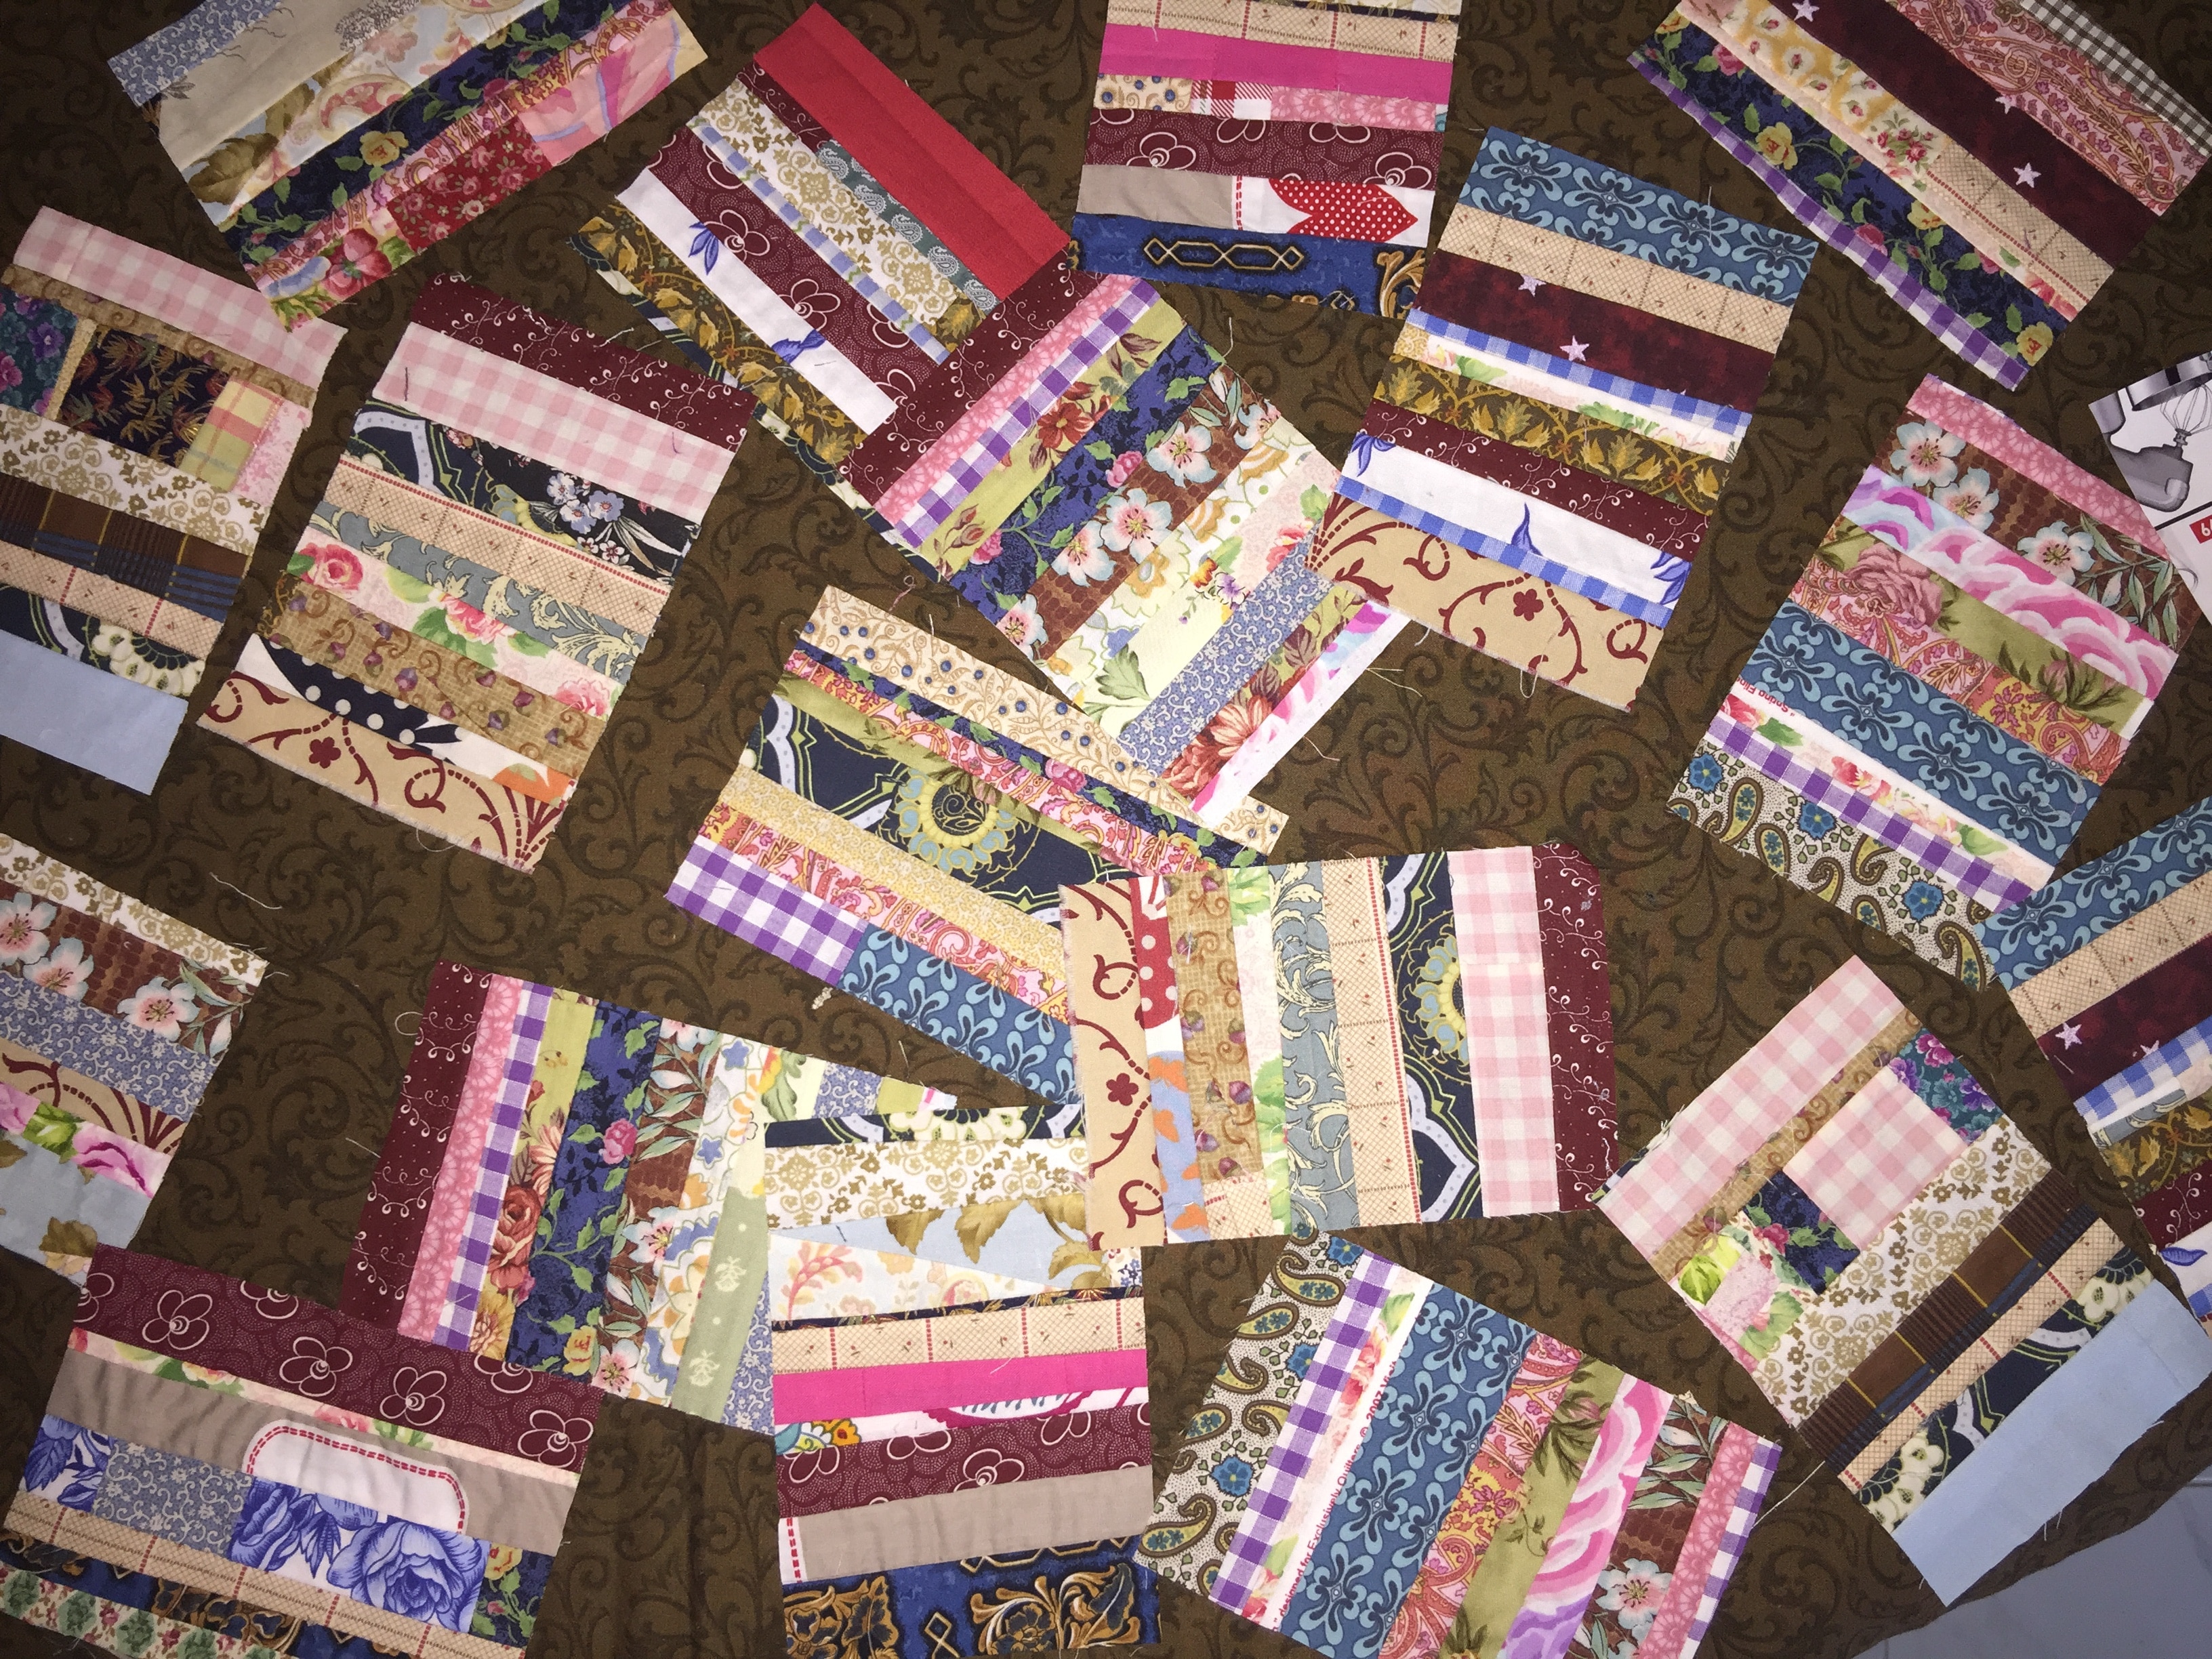
I can say for sure, that making string blocks is very enjoyable! Once the shape or size is decided, then, it’s a delight to sew the strings onto a base (paper in this case) and make some lovely blocks.
I have to admit…I did begin to make some 60 degree string diamonds, and… dont get me wrong, they are pretty, but…. let’s get a a reality check here, for me, right now, that;s just not going to happen! They would probably need to be hand sewn, and as lovely as that is, I needed a quicker solution that can be machine pieced with ease.

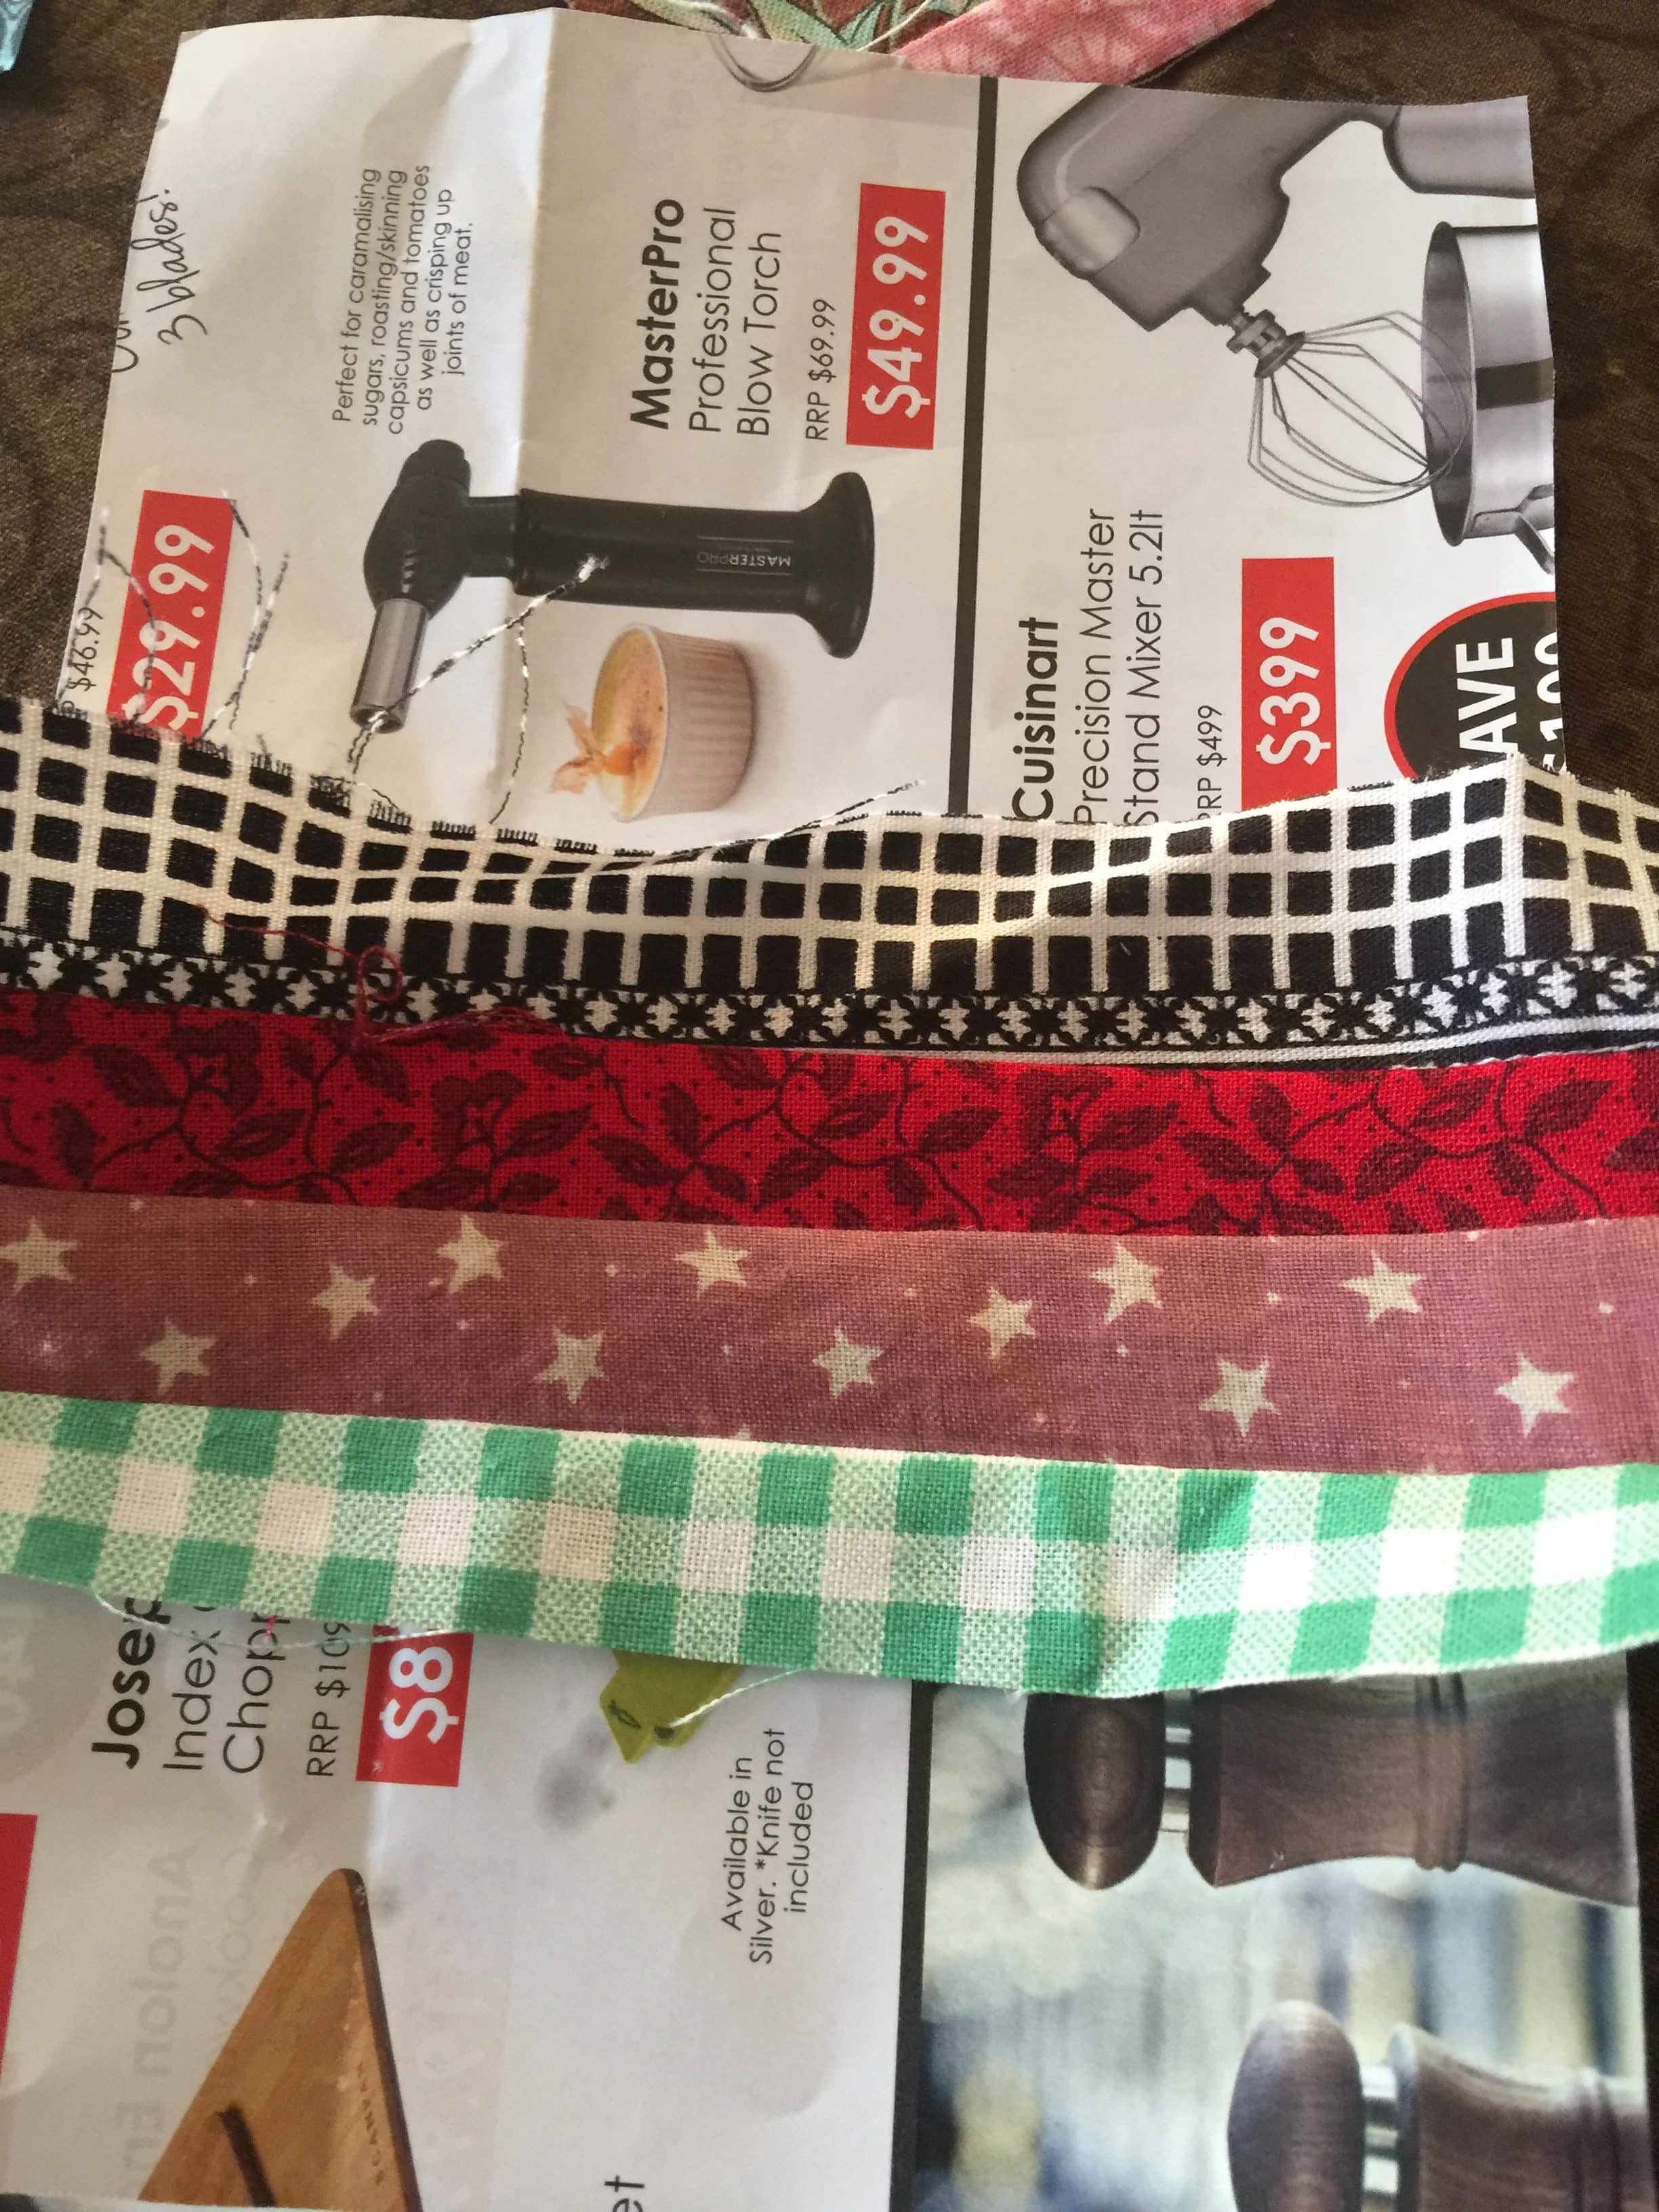
Today, I am using some junk mail pamphlets as my base. They tear quite easily, there is no cost involved, and the dye is not coming away from the paper.
I have decided to make my papers 4 1/2″ x 6 1/2″ and that will be my block size.
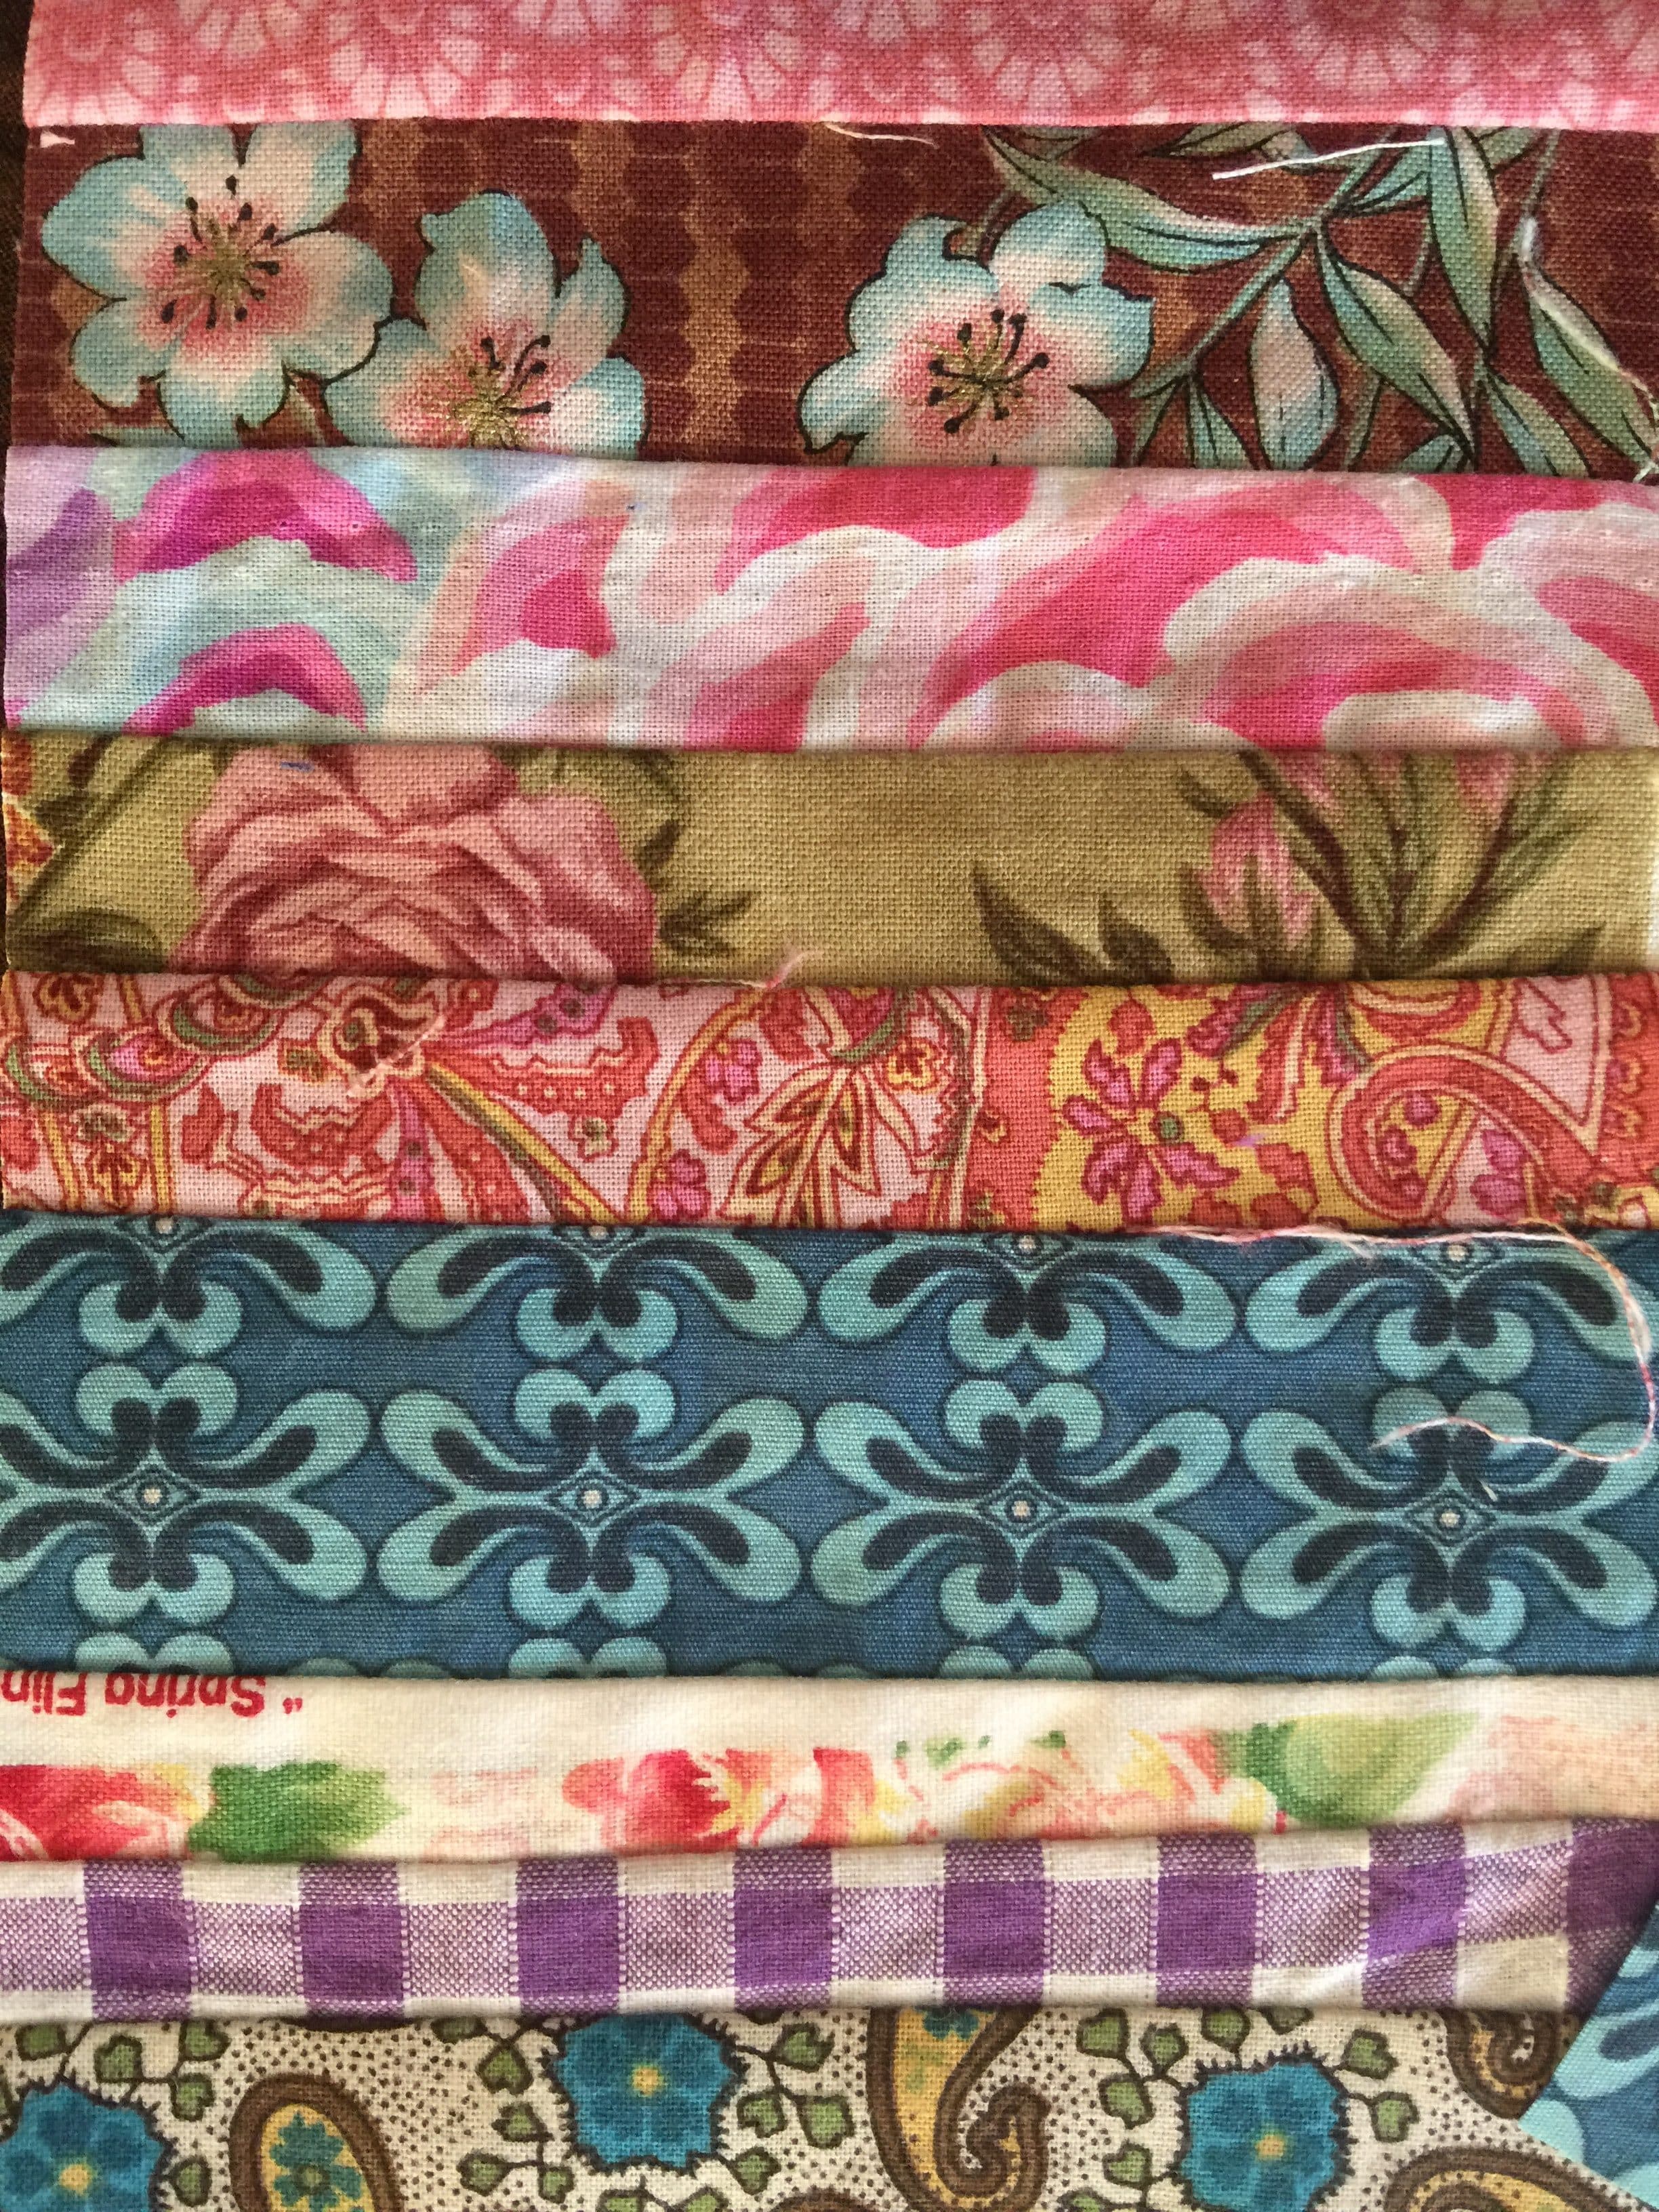
The strings can be any size as long as they can accommodate a 1/4″ seam on each side of each string and the length will reach past each edge of the paper. The strings can be applied vertically or horizontally across the block. It is useful to use a smaller stitch length, to improve the strength of the block and make the paper removal easier.
Begin in the centre, one strip facing upward. Place a second string right side down on the first one so that the raw edges line up. Sew 1/4″ seam along that edge. Fold back the top string. Finger press open. Place the next string right side down onto the previous string, so that the raw edges meet again. Sew as 1/4″ seam continue until the paper is covered. Trim to the size of the paper. Tear out the papers.
Tip. When tearing out the papers, if you are having difficulty fold along the seam line to help break the paper, then tear. I do have a plan for these blocks, stay tuned , but you can adapt them as desired or make whatever block size or shape you like. Or they could be joined together to make a lovely border, or be used as a smashing sashing! It’s up to you!
If you enjoyed this post, you may also enjoy
Crazy Little Strings Diamond Charms Quilt Block and Tutorial
And
End of Day Quilters Basket Free Tutorial
Happy Stitching!
All the Best,
Susie
Love your ideas for string blocks
Susie, I am going to give this a try, can I assume it will be a quilt or something similar that is relatively easy to put together?
Dear Jill, yes it’s going to be easy. I have we a simple achievable solution for these strings. I will try to post soon x
The cake sounds divine! I will be visiting my mother soon so, I think I will make this at her house. She will love it!
I love the idea using the paper as a stabilizer. I often have used paper like for creating patterns. I haven’t done much sewing lately since I had my back surgery. I hope to at least get some much needed mending done real soon!
Happy sewing!
Dear Jane, I really hope you do. I think you Mum will enjoy it too. Sending you best wishes for a speedy recovery x. All the best, Susie
I have been bitten by the string quilt bug, too, and wanted to let you know that I made your chicken basket (which everybody loves!). Today I’m playing with coffee filters as a base, and batiks for strings. Mmmm. Thank you for your posts!
Why do you use the paper? Sorry, I am new to quilting.
Dear Jenifer, the paper acts as a temporary stabiliser for the fabric. It prevents warping of the fabric when sewing the strings together. It also guides your block shape.
Thanks for some more inspiration Susie.
Last week I found a box of blocks I’d been making from strings but with a kite shape of all the same fabric, as a starting point in the middle of the block.
I’ve had fun revisiting this project. I like your idea of paper. I might try that next time. I’ve used non woven webbing for my backing. Fairly fine vilene which I leave in the block. The other thing I do is cut the backing a little larger and then trim everything to the same size when I’ve finished stitching. Eg, cut 7″ and trimmed back to 6 ½” square.
I look forward seeing how you use your blocks. Unlike you, I don’t have a project in mind.😉
Thank you Jan! Yes you make an excellent point. Will love to hear how you put your kites together x
These are so much fun to do!