
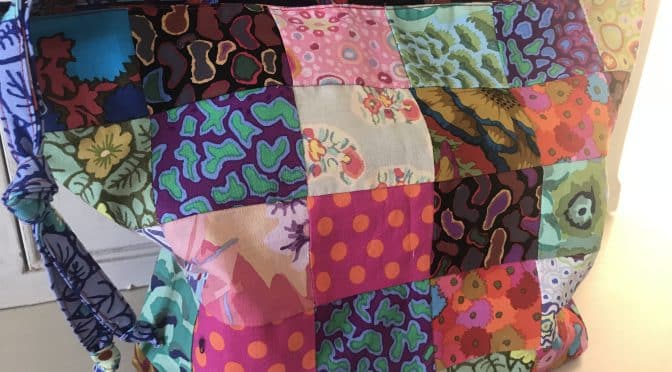
Wendy’s Bag & Tutorial
Hello Dear Friends and Readers. A while back, my FB friend Wendy, surprised me with a selection of fabric scraps. Thank you Wendy! Within that, there was a small bag of Kaffe Fassett fabric scraps which were labeled as such. I knew that this fabric was special to her.
I thought about this for a long time, of a project which could integrate and make the most of these small pieces.
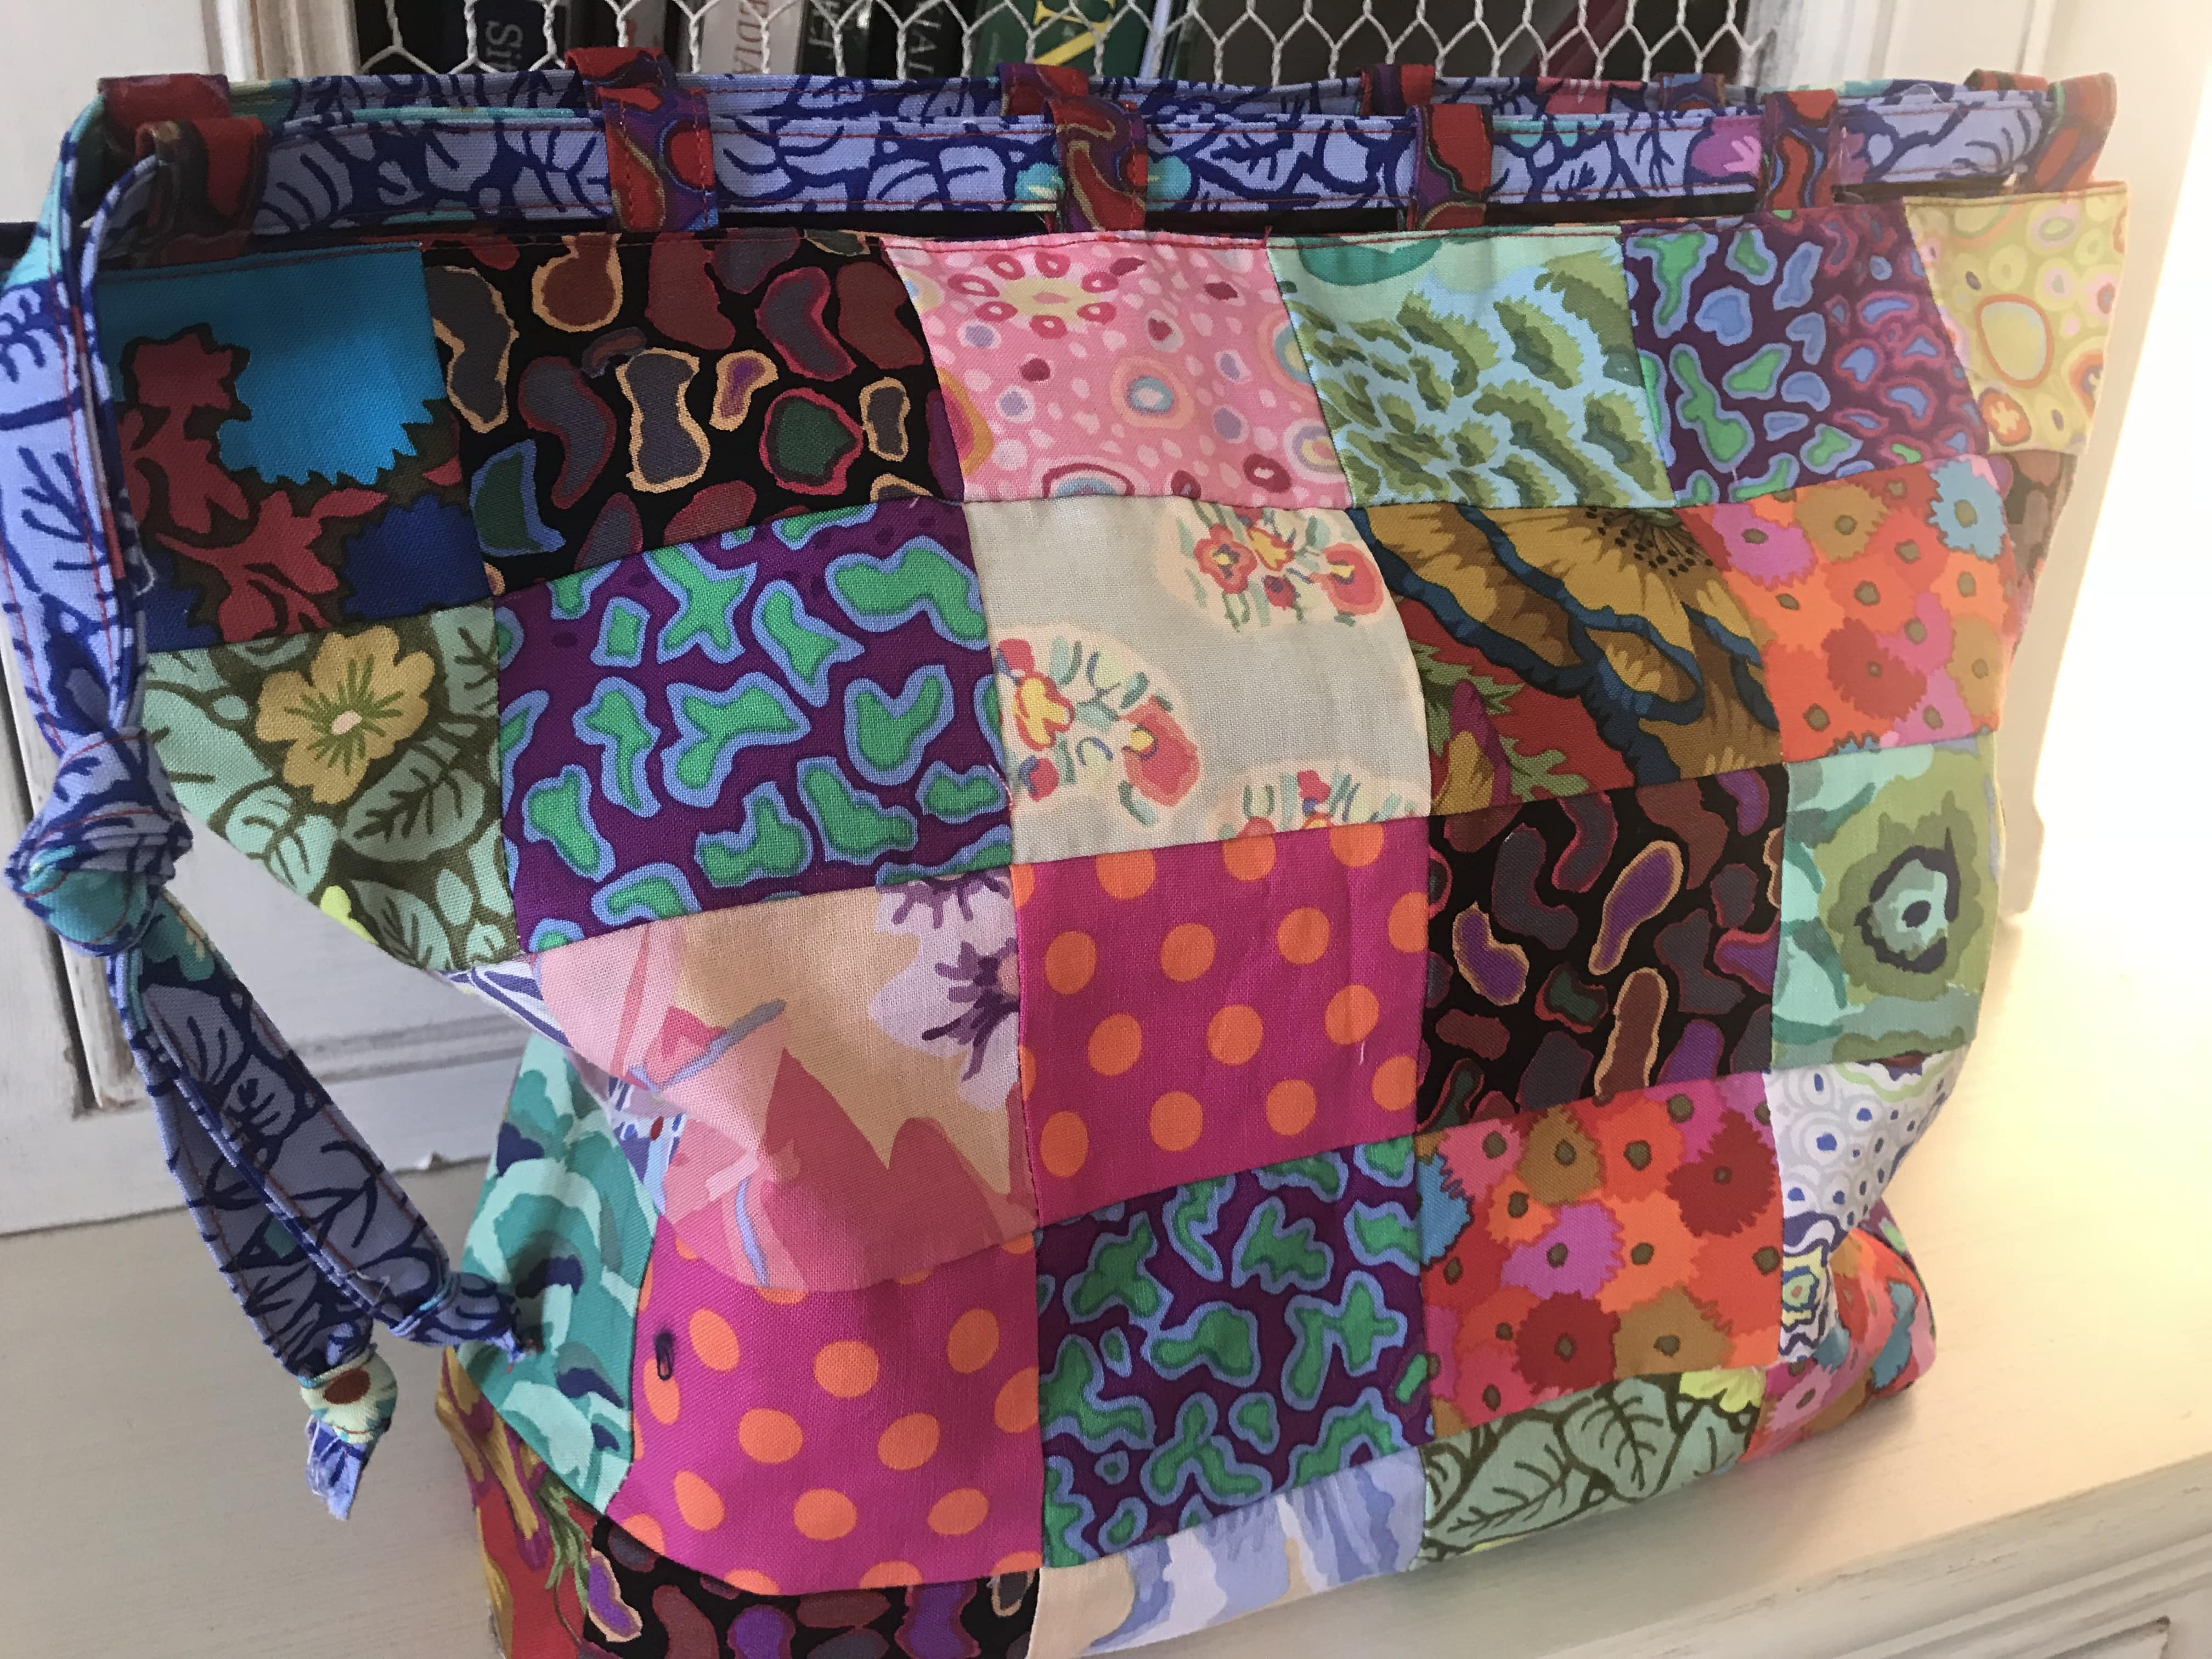
It wasn’t until I had made the Japanese inspired Celebration Bags Antique Style, that the idea struck that I may have enough fabric to make a similar bag but with a different shape.
Patchwork Celebration Bags Antique Japanese Style & Tutorial
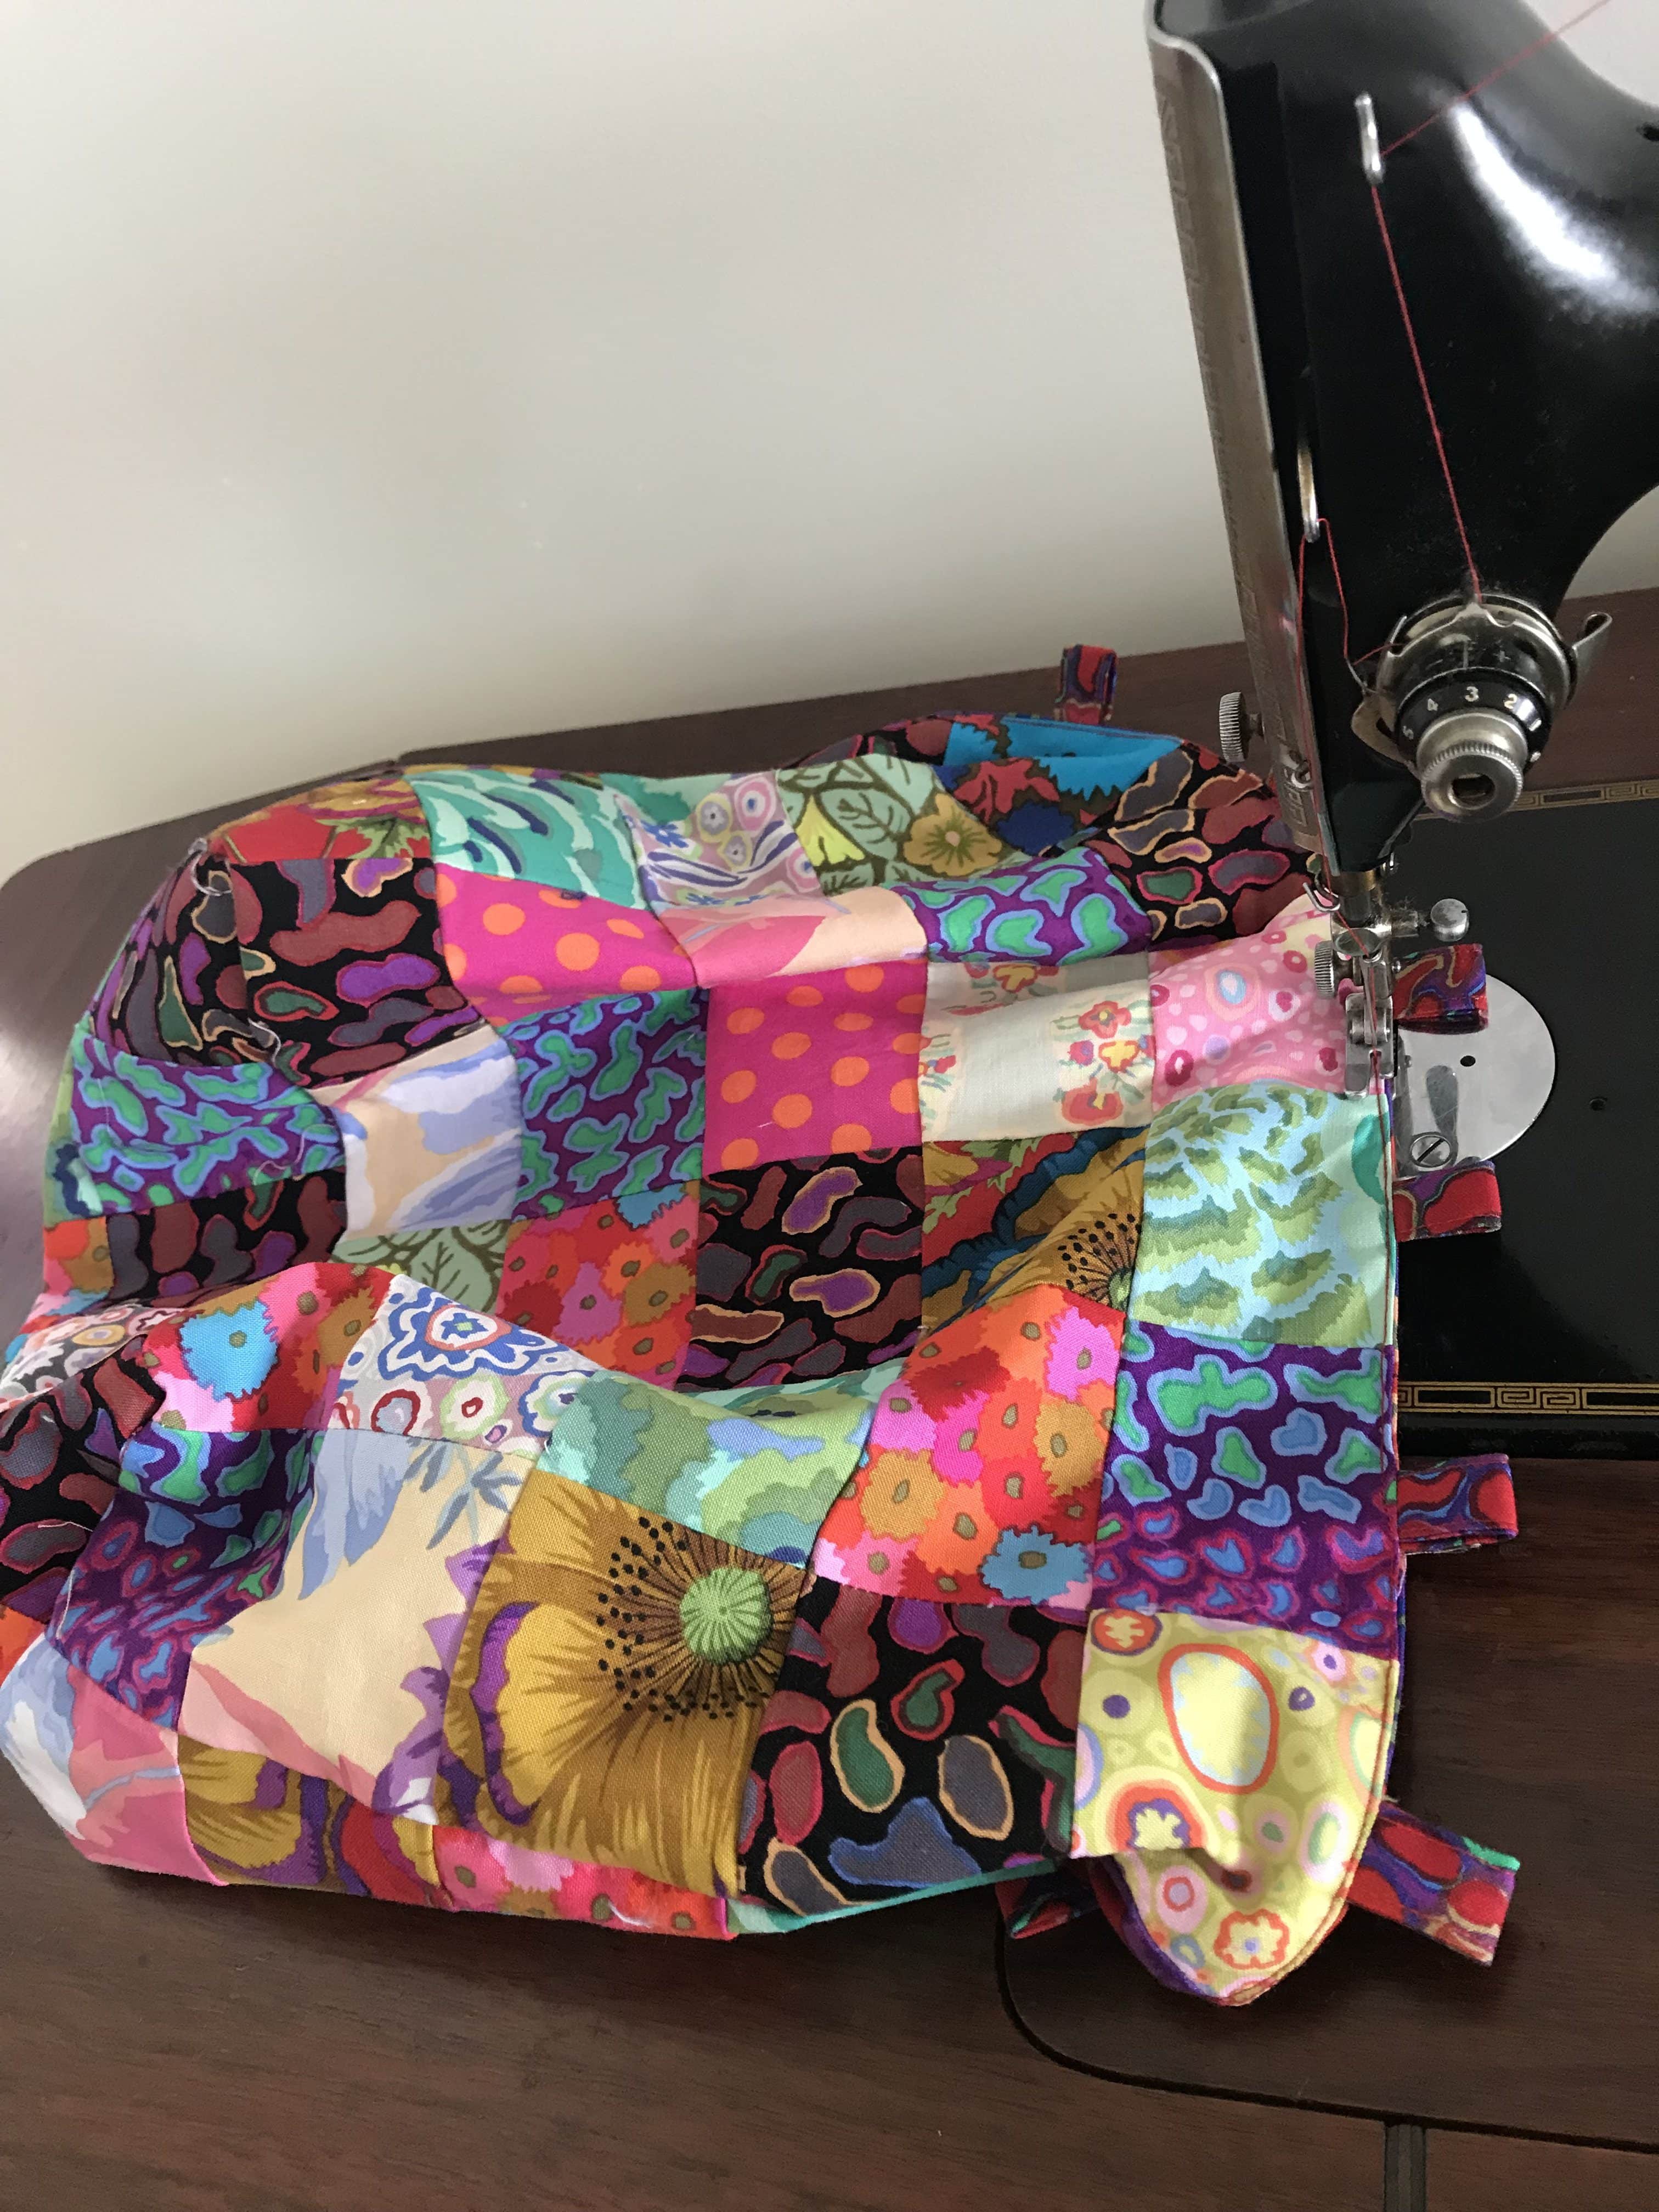
As it turned out, the maths worked perfectly for incorporating the pieces, including the base, and as though it was truly meant to be, I had a small piece of Kaffe Fasset fabric in complementary colours with teapots which became the lining!
Perhaps you too have a set of special small scraps that you can’t part with. No extra notions are required to make this bag, so there is no need to run to the shops for supplies. 😊You can easily prepare to make this bag with scraps you already have.
All fabrics have been washed before commencement. All seams are based on 1/4”. Please read all instructions before commencement.
Requirements for Wendy’s Bag
Scrap fabric piece for the lining pieces
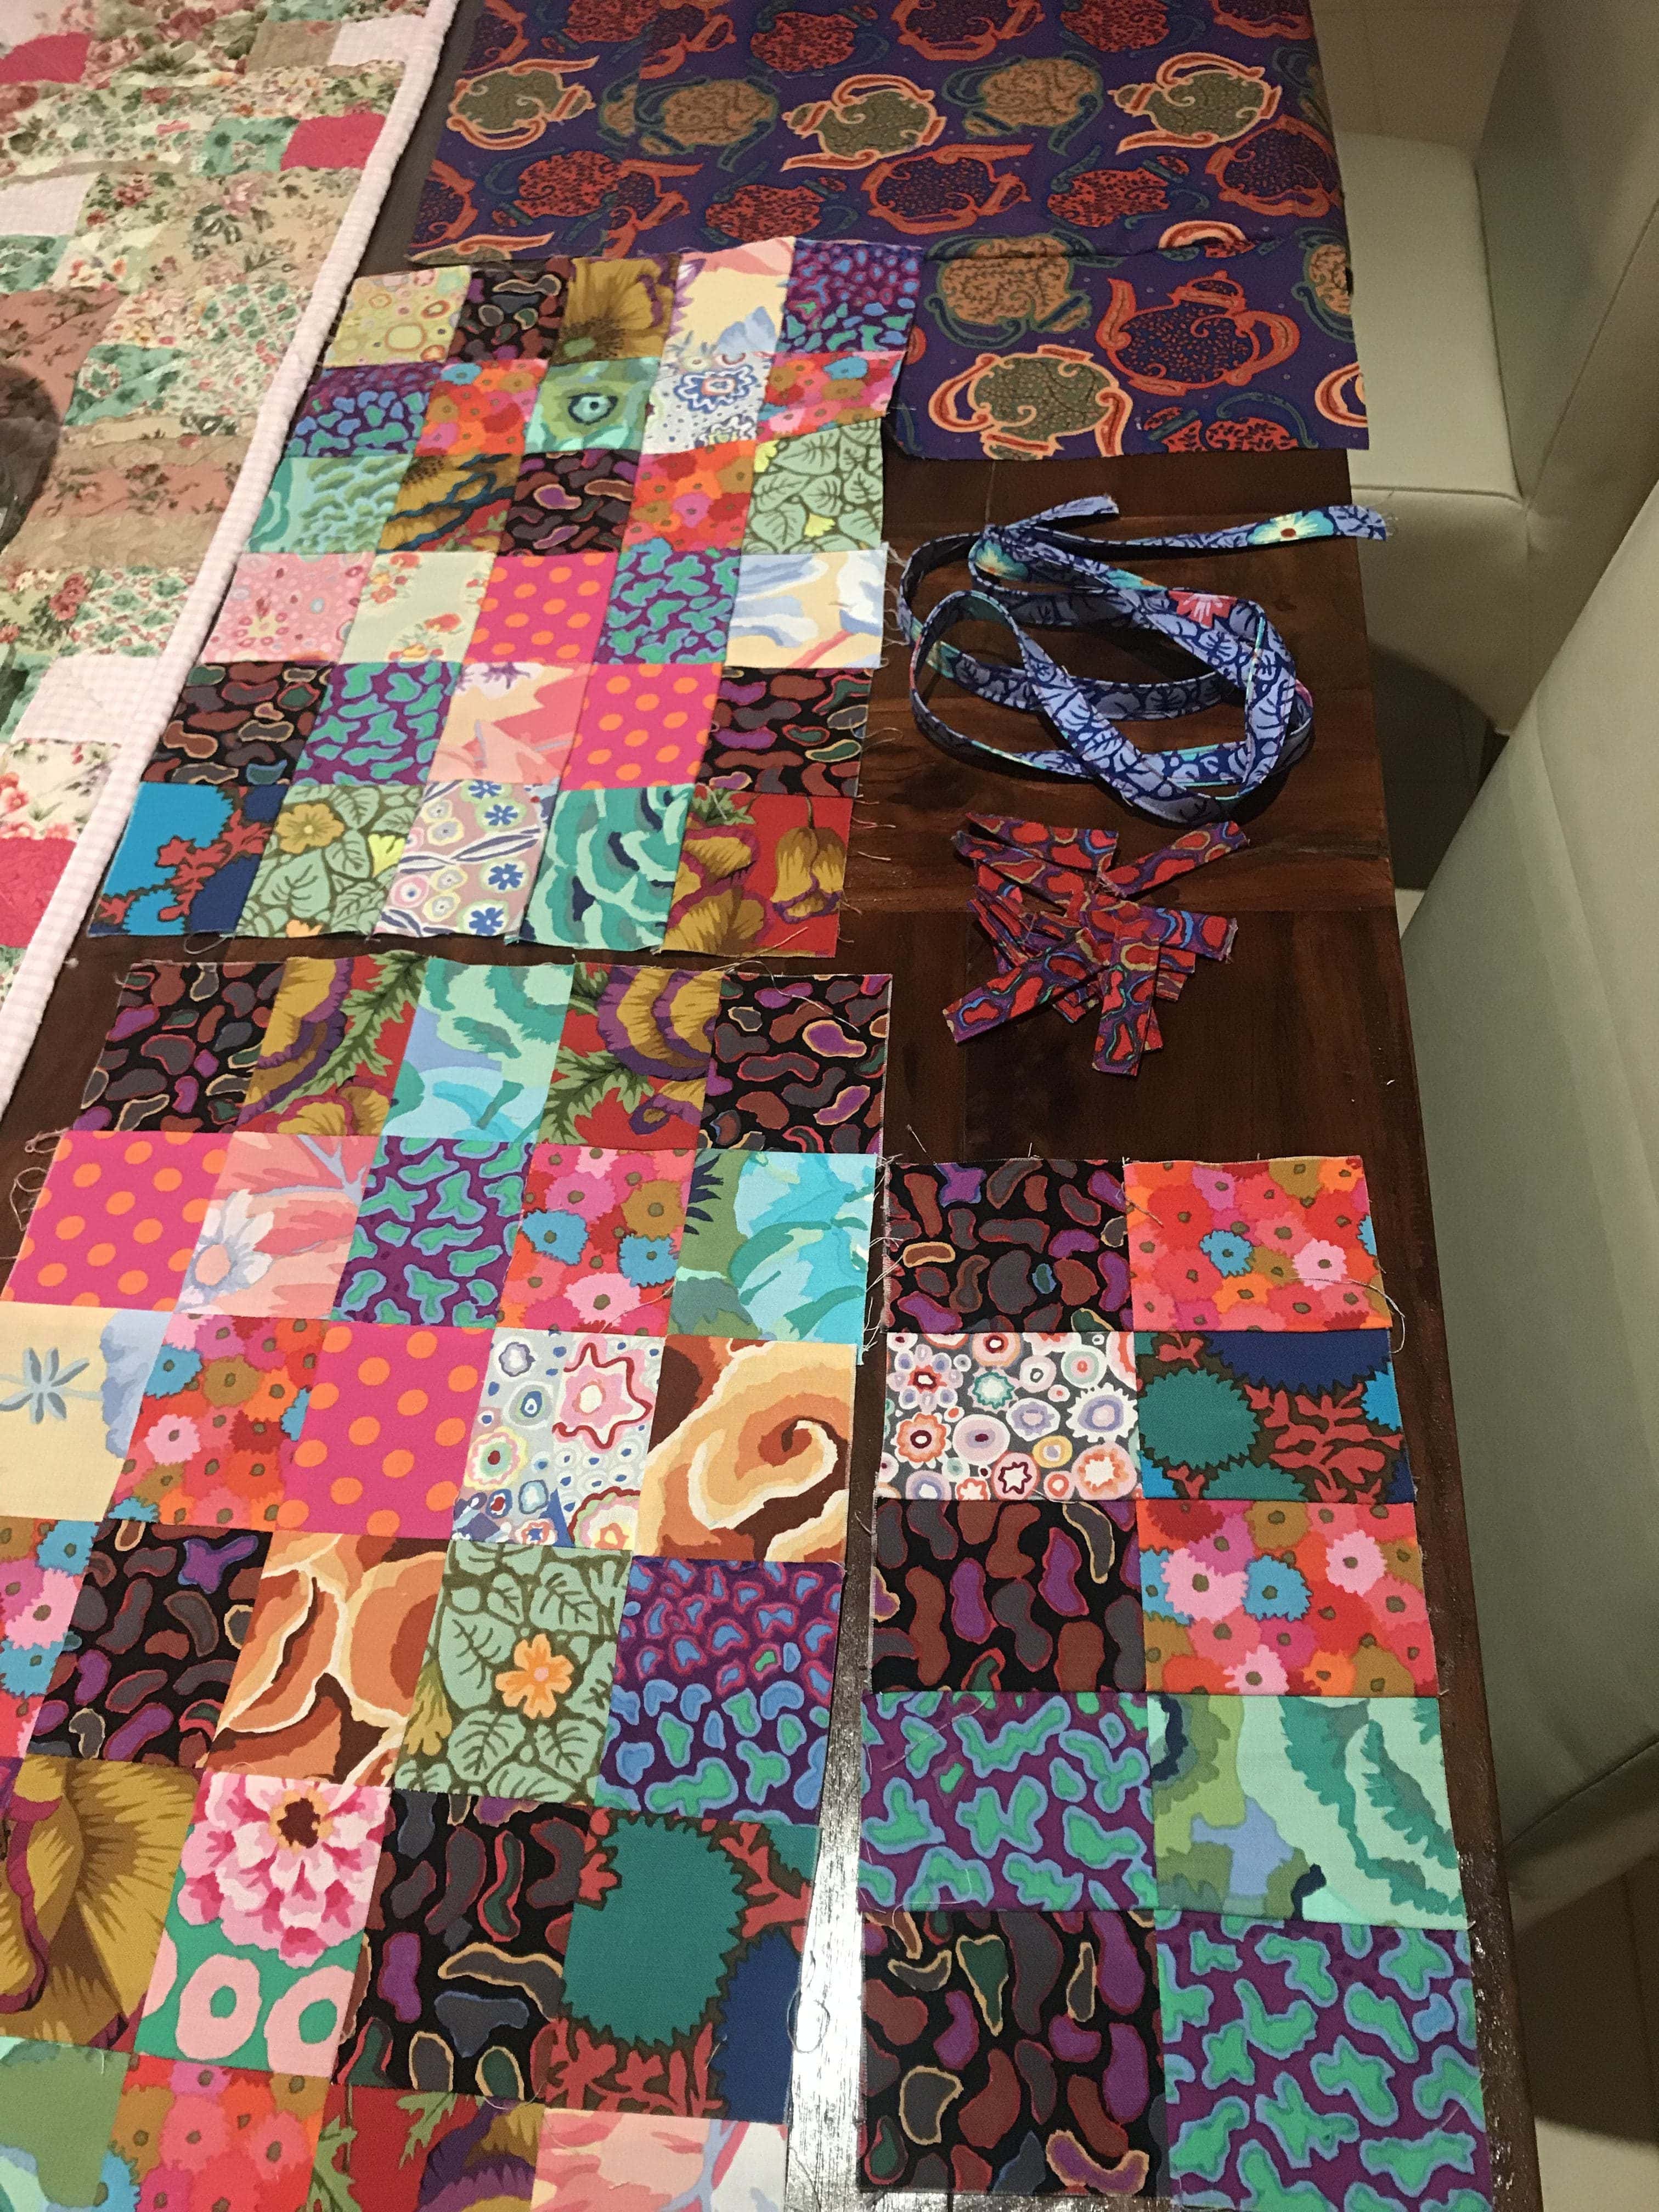
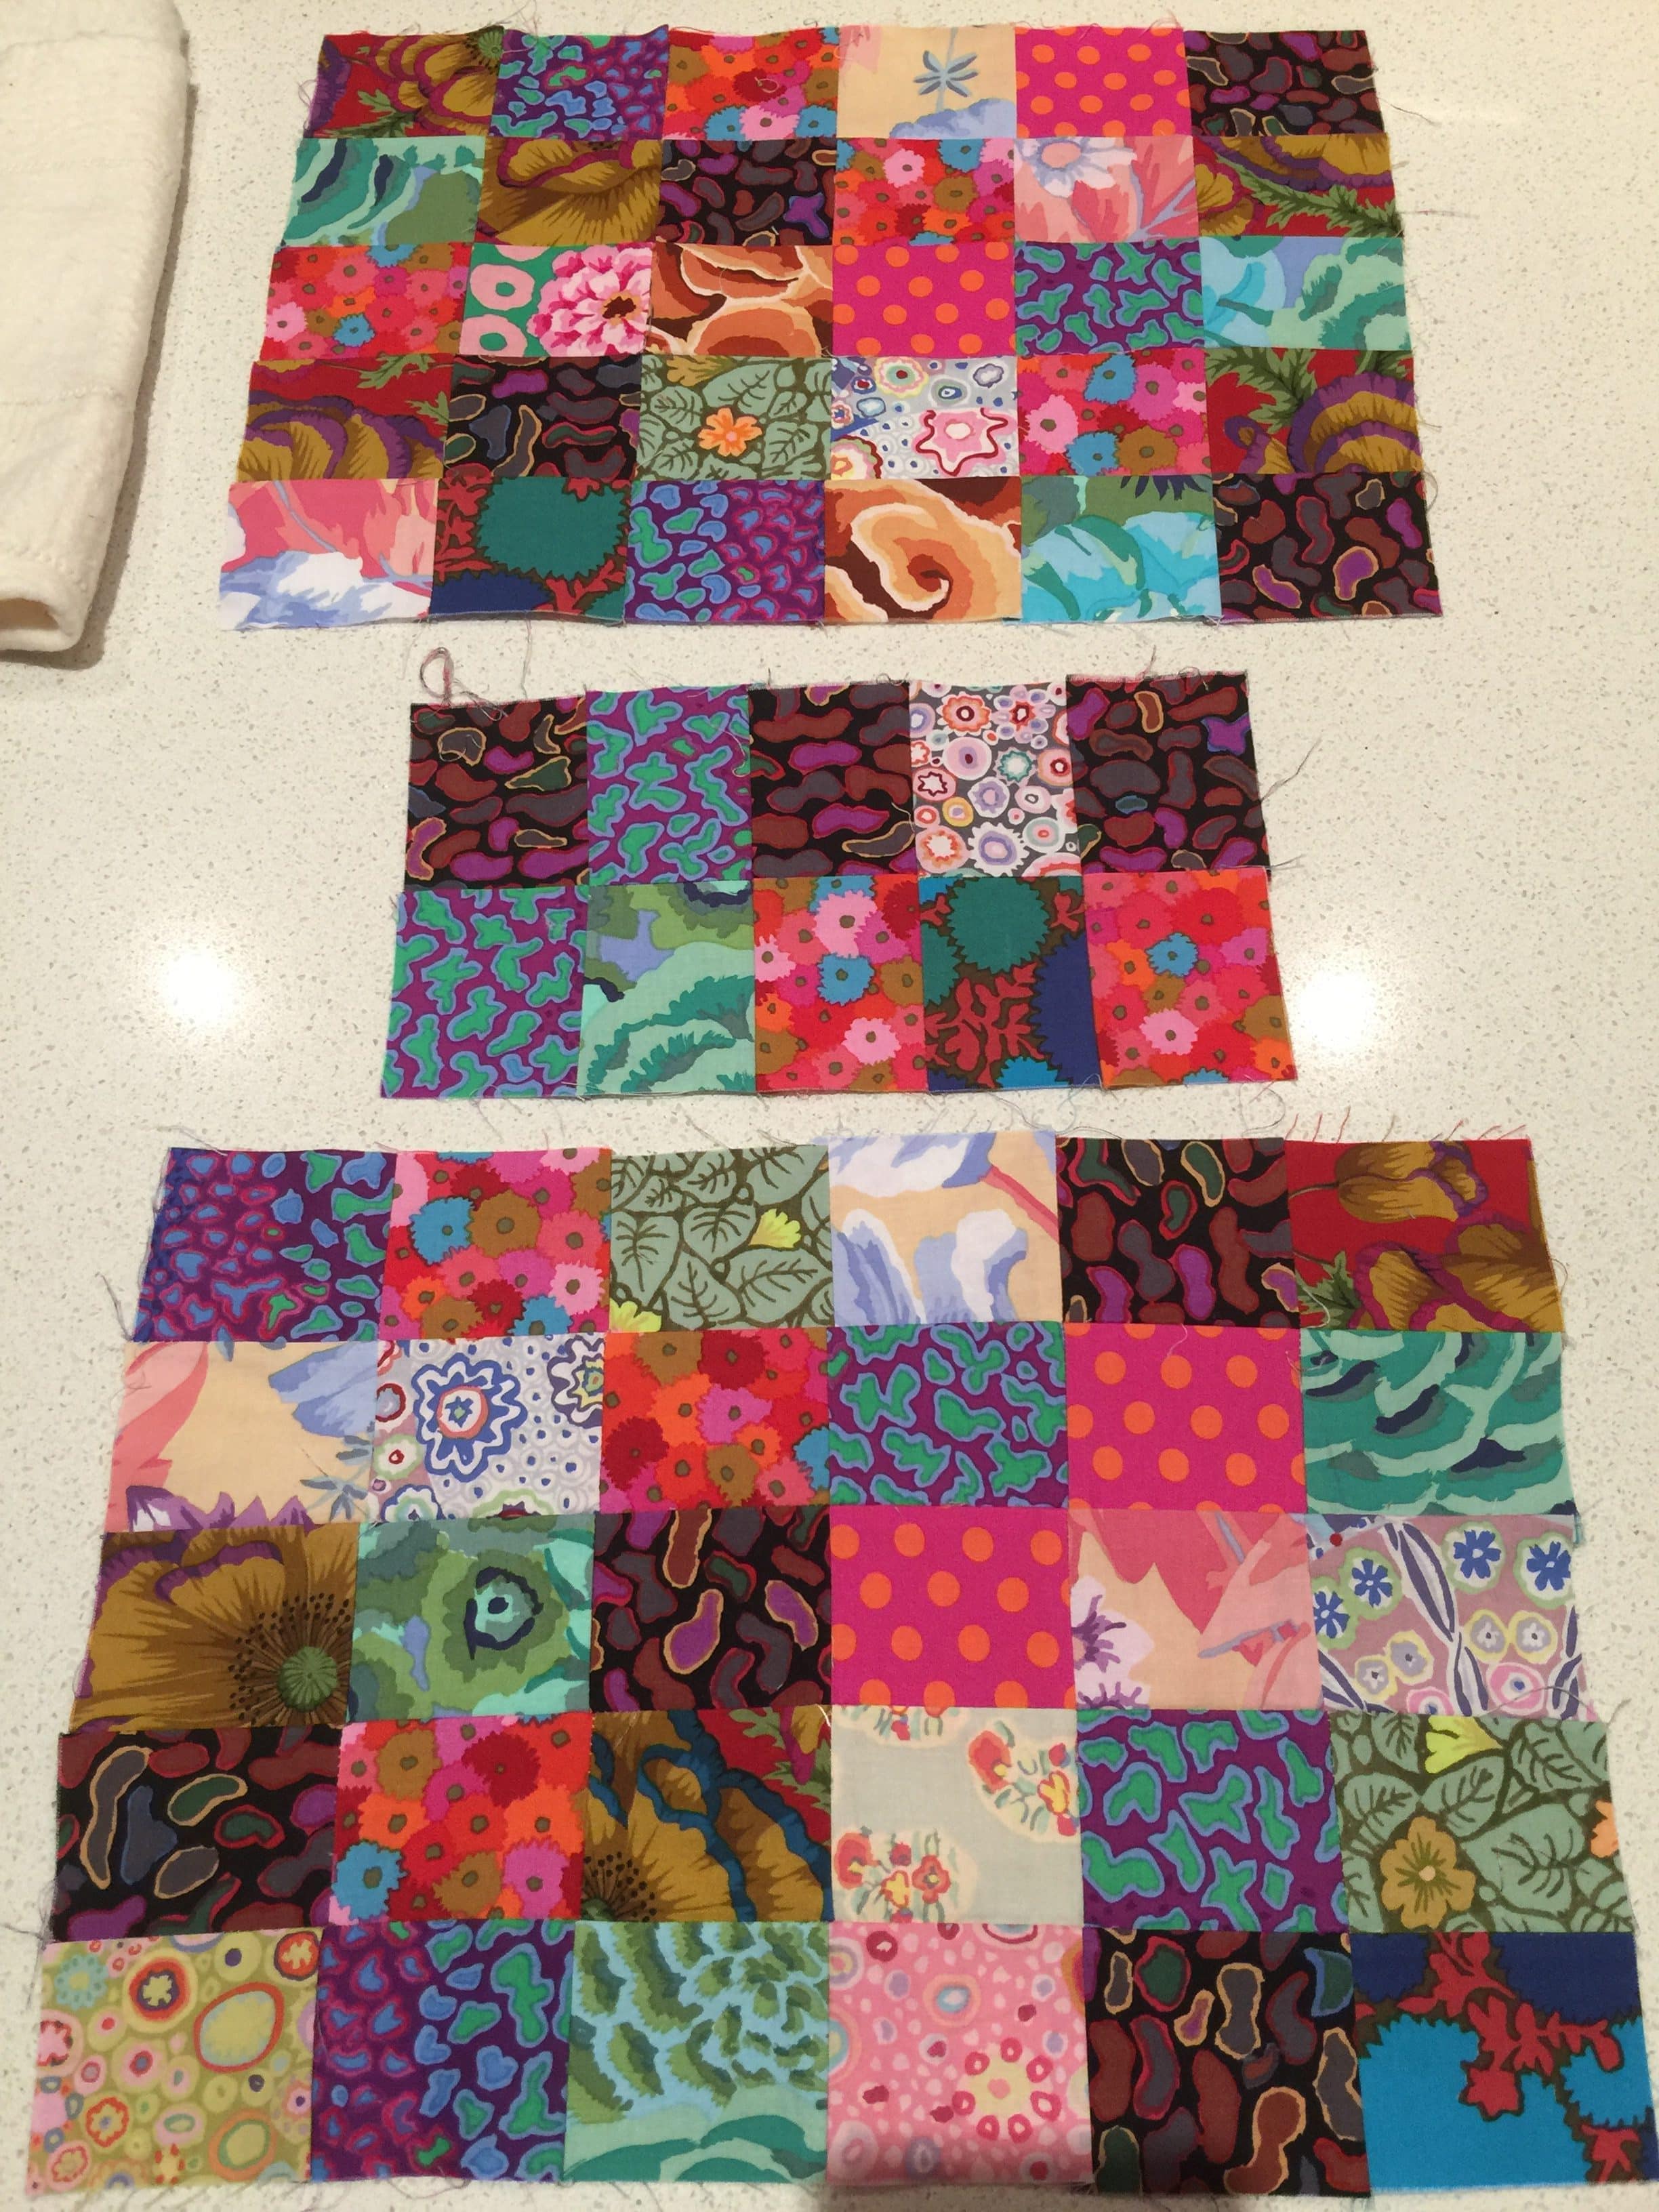
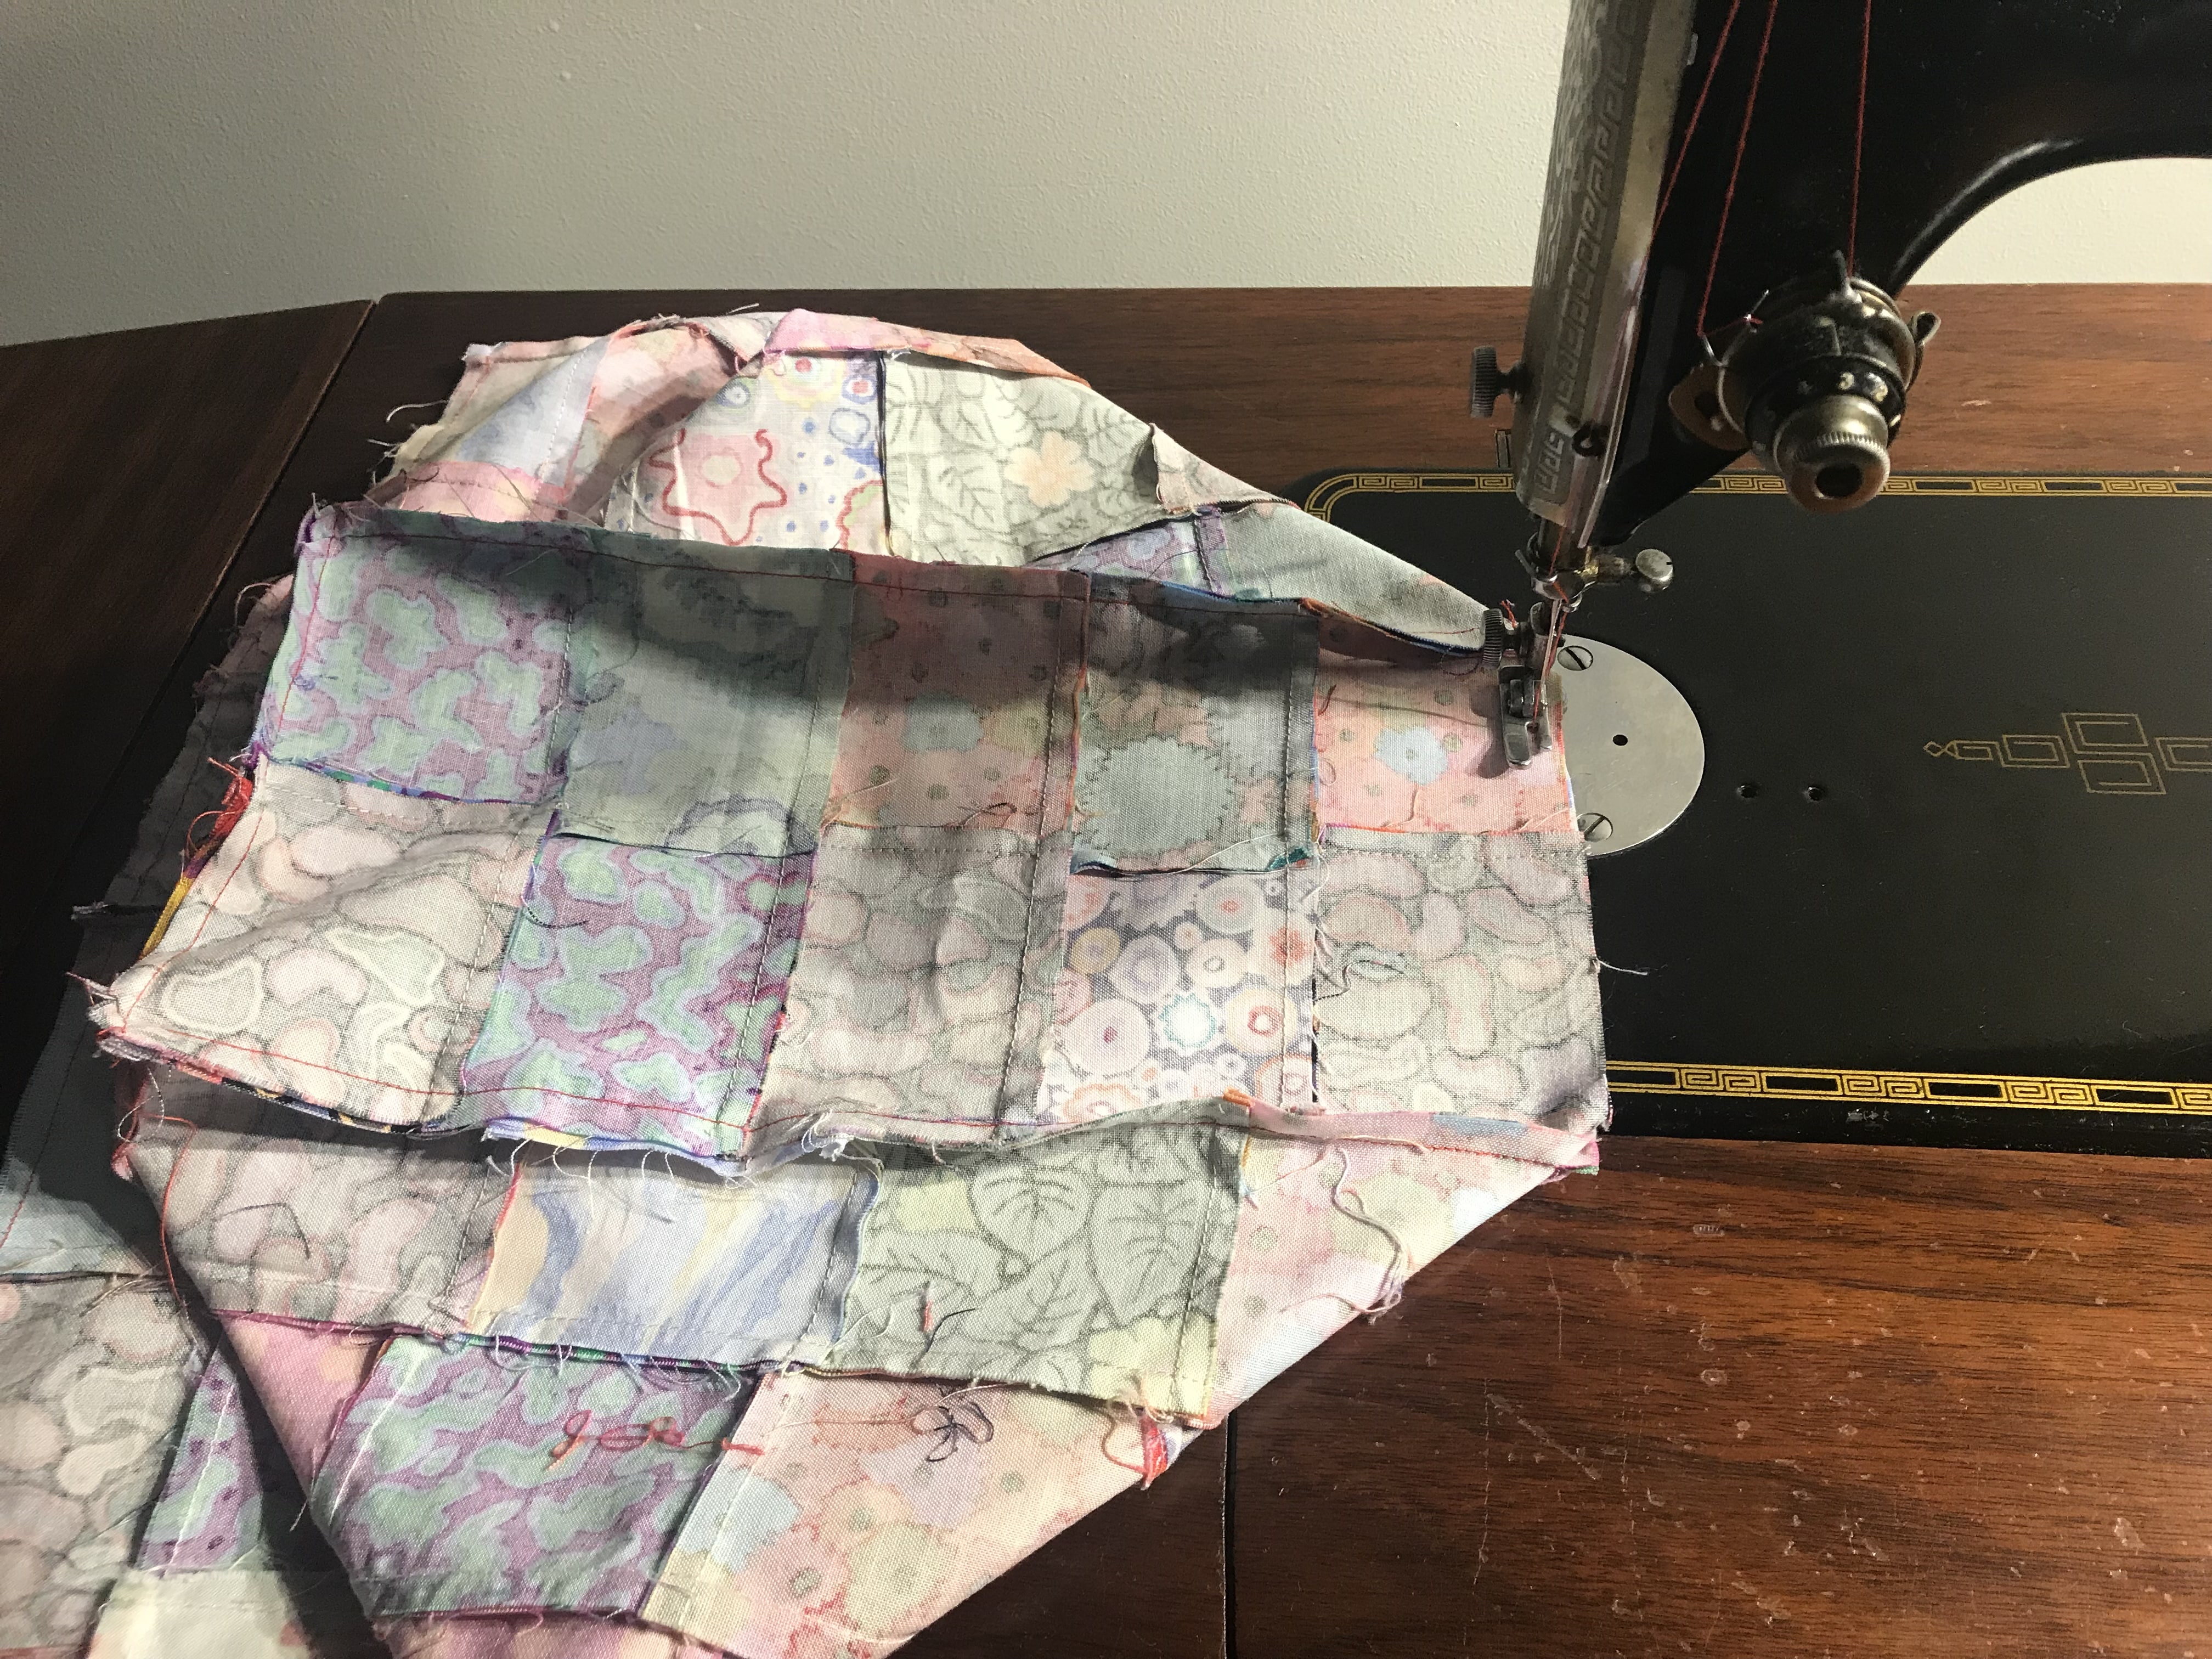
Join 30 of the 3” x 2 1/2” pieces in a 5 x 6 configuration, to make an oblong 10” 1/2” x 15” 1/2” as pictured. Repeat to make a second panel. They will be the bag front and back. Make sure that there is good distribution of the fabrics. Use the remainder 10 pieces to make the bag base. Sew them together in a 2 x 5 configuration, which will measure 5 1/2” x 10 1/2”. Press the three panels. Use them as a templet to cut out three matching lining pieces.
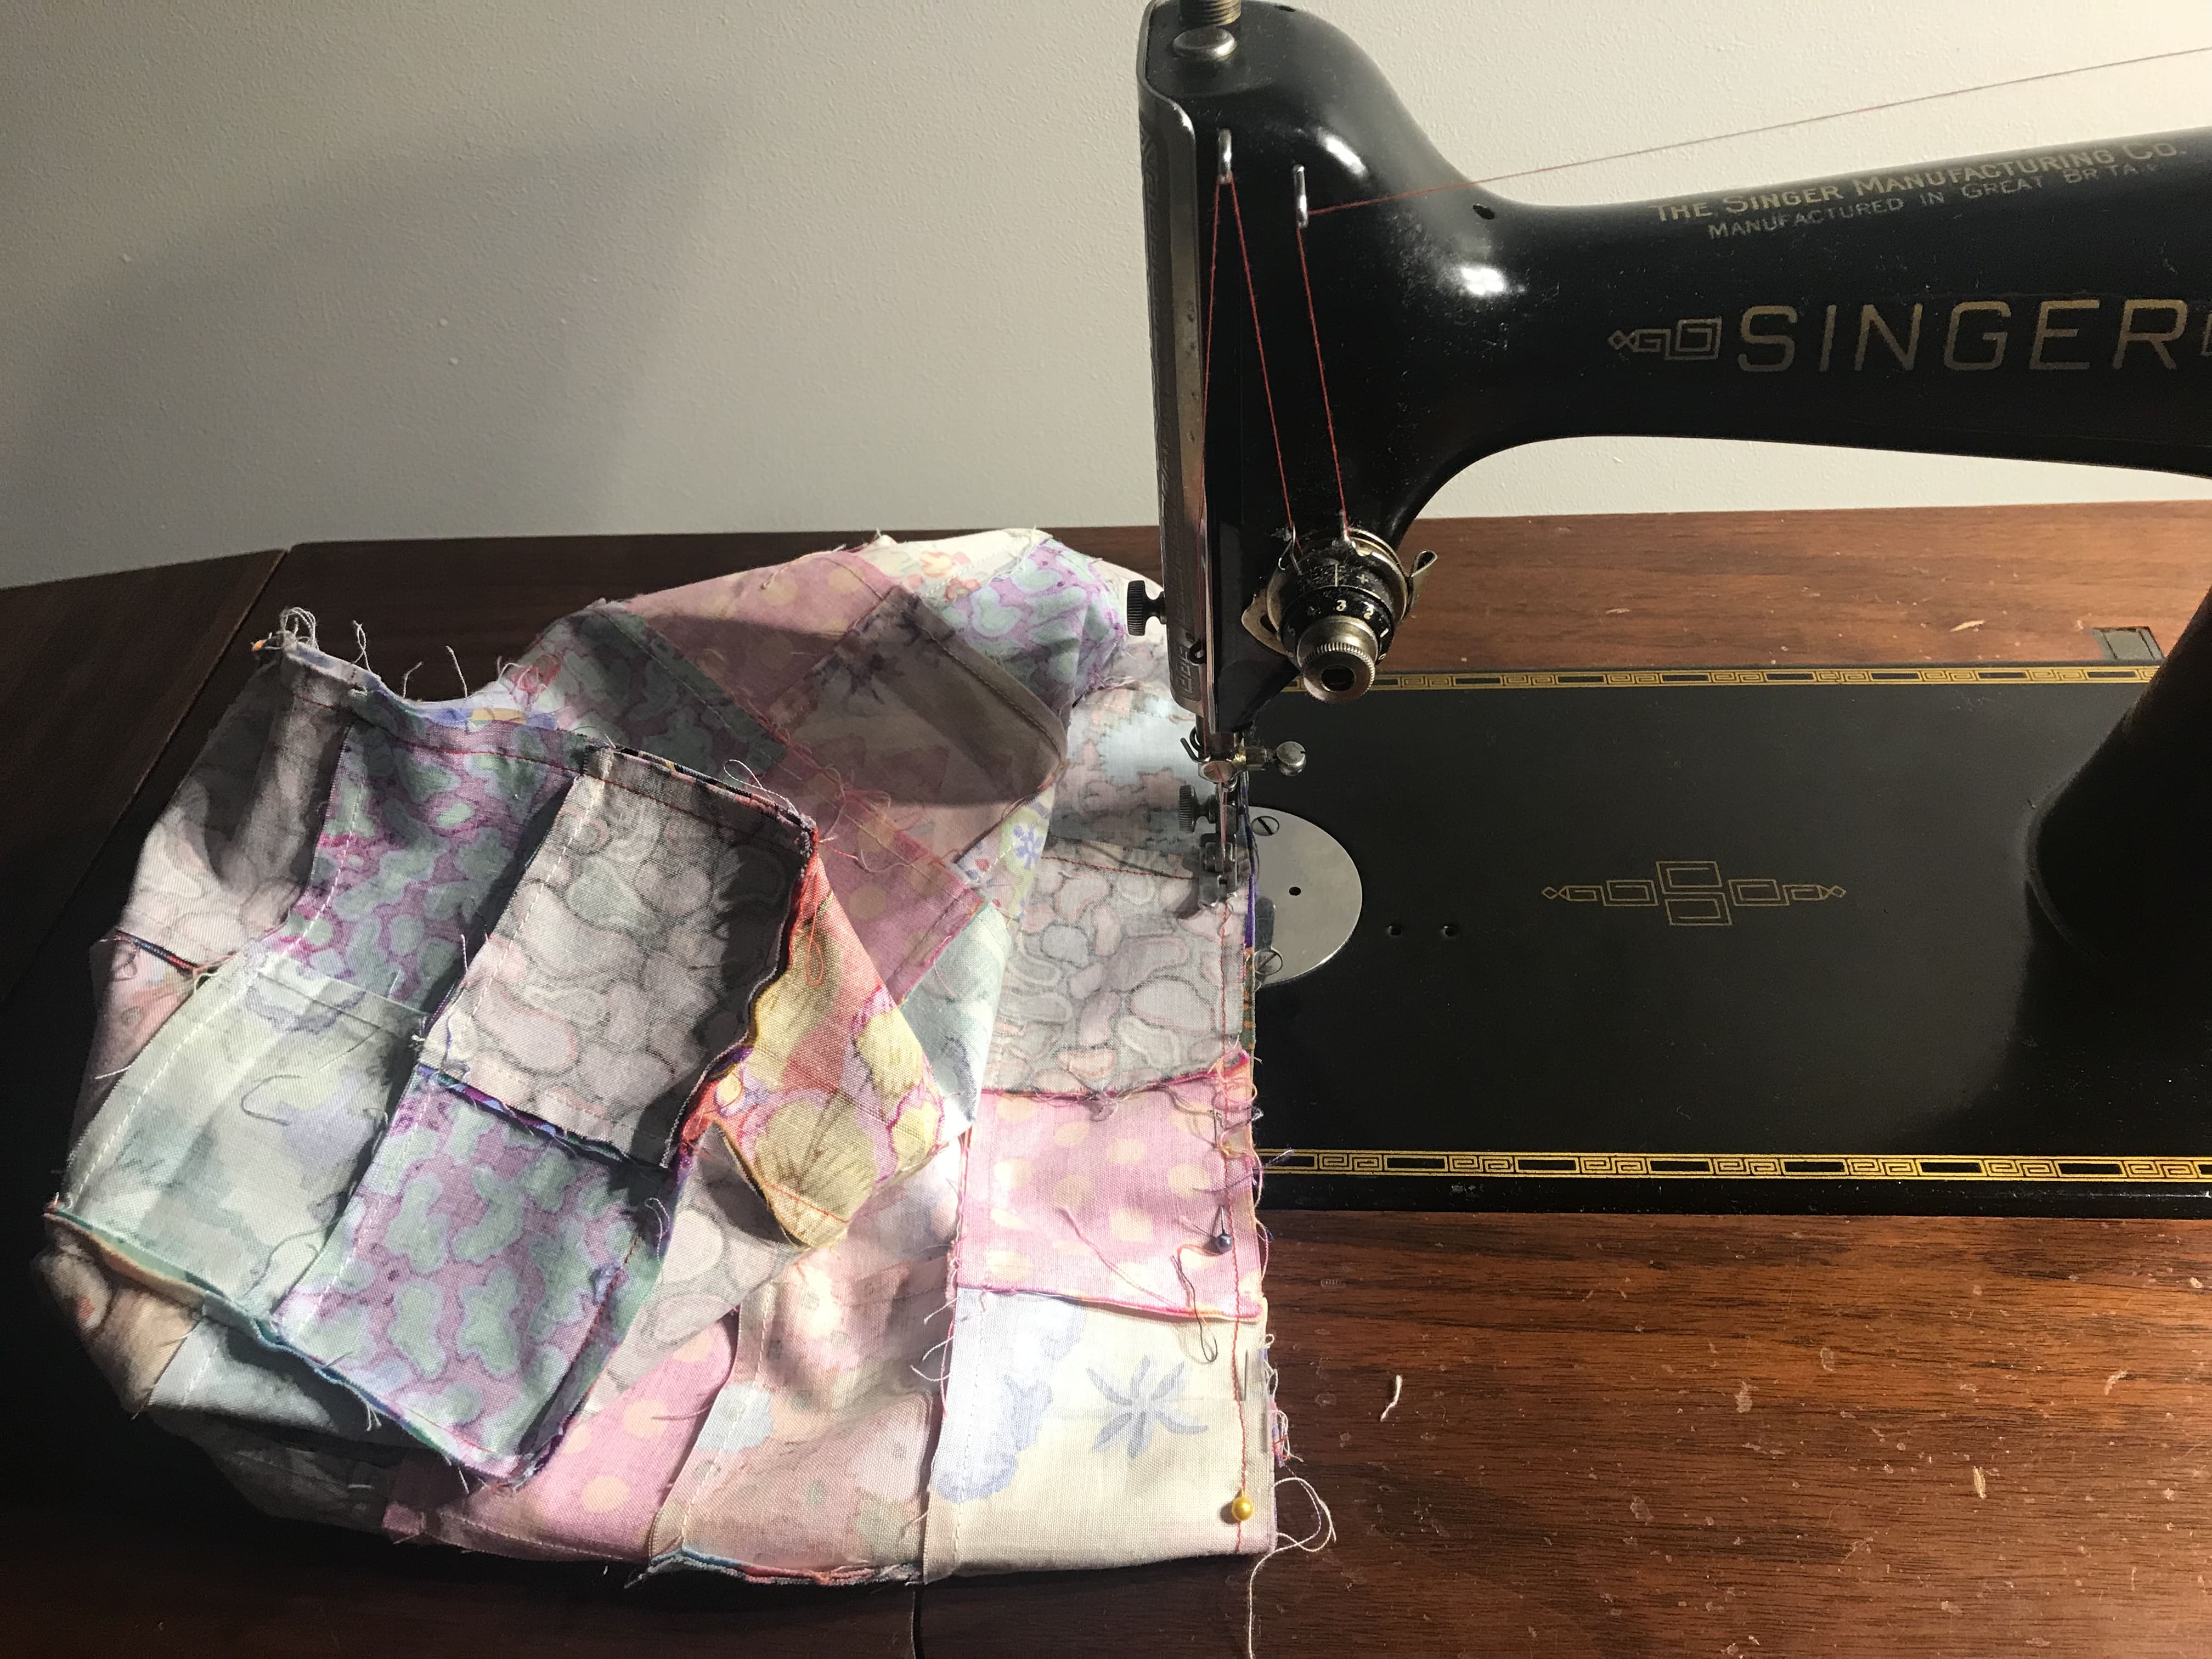
Fold each tab in half, and place down, raw edges aligning on the top edge of each of the bag front and back. Use six for each one. Place them evenly along the top edges, in the centre of each oblong.
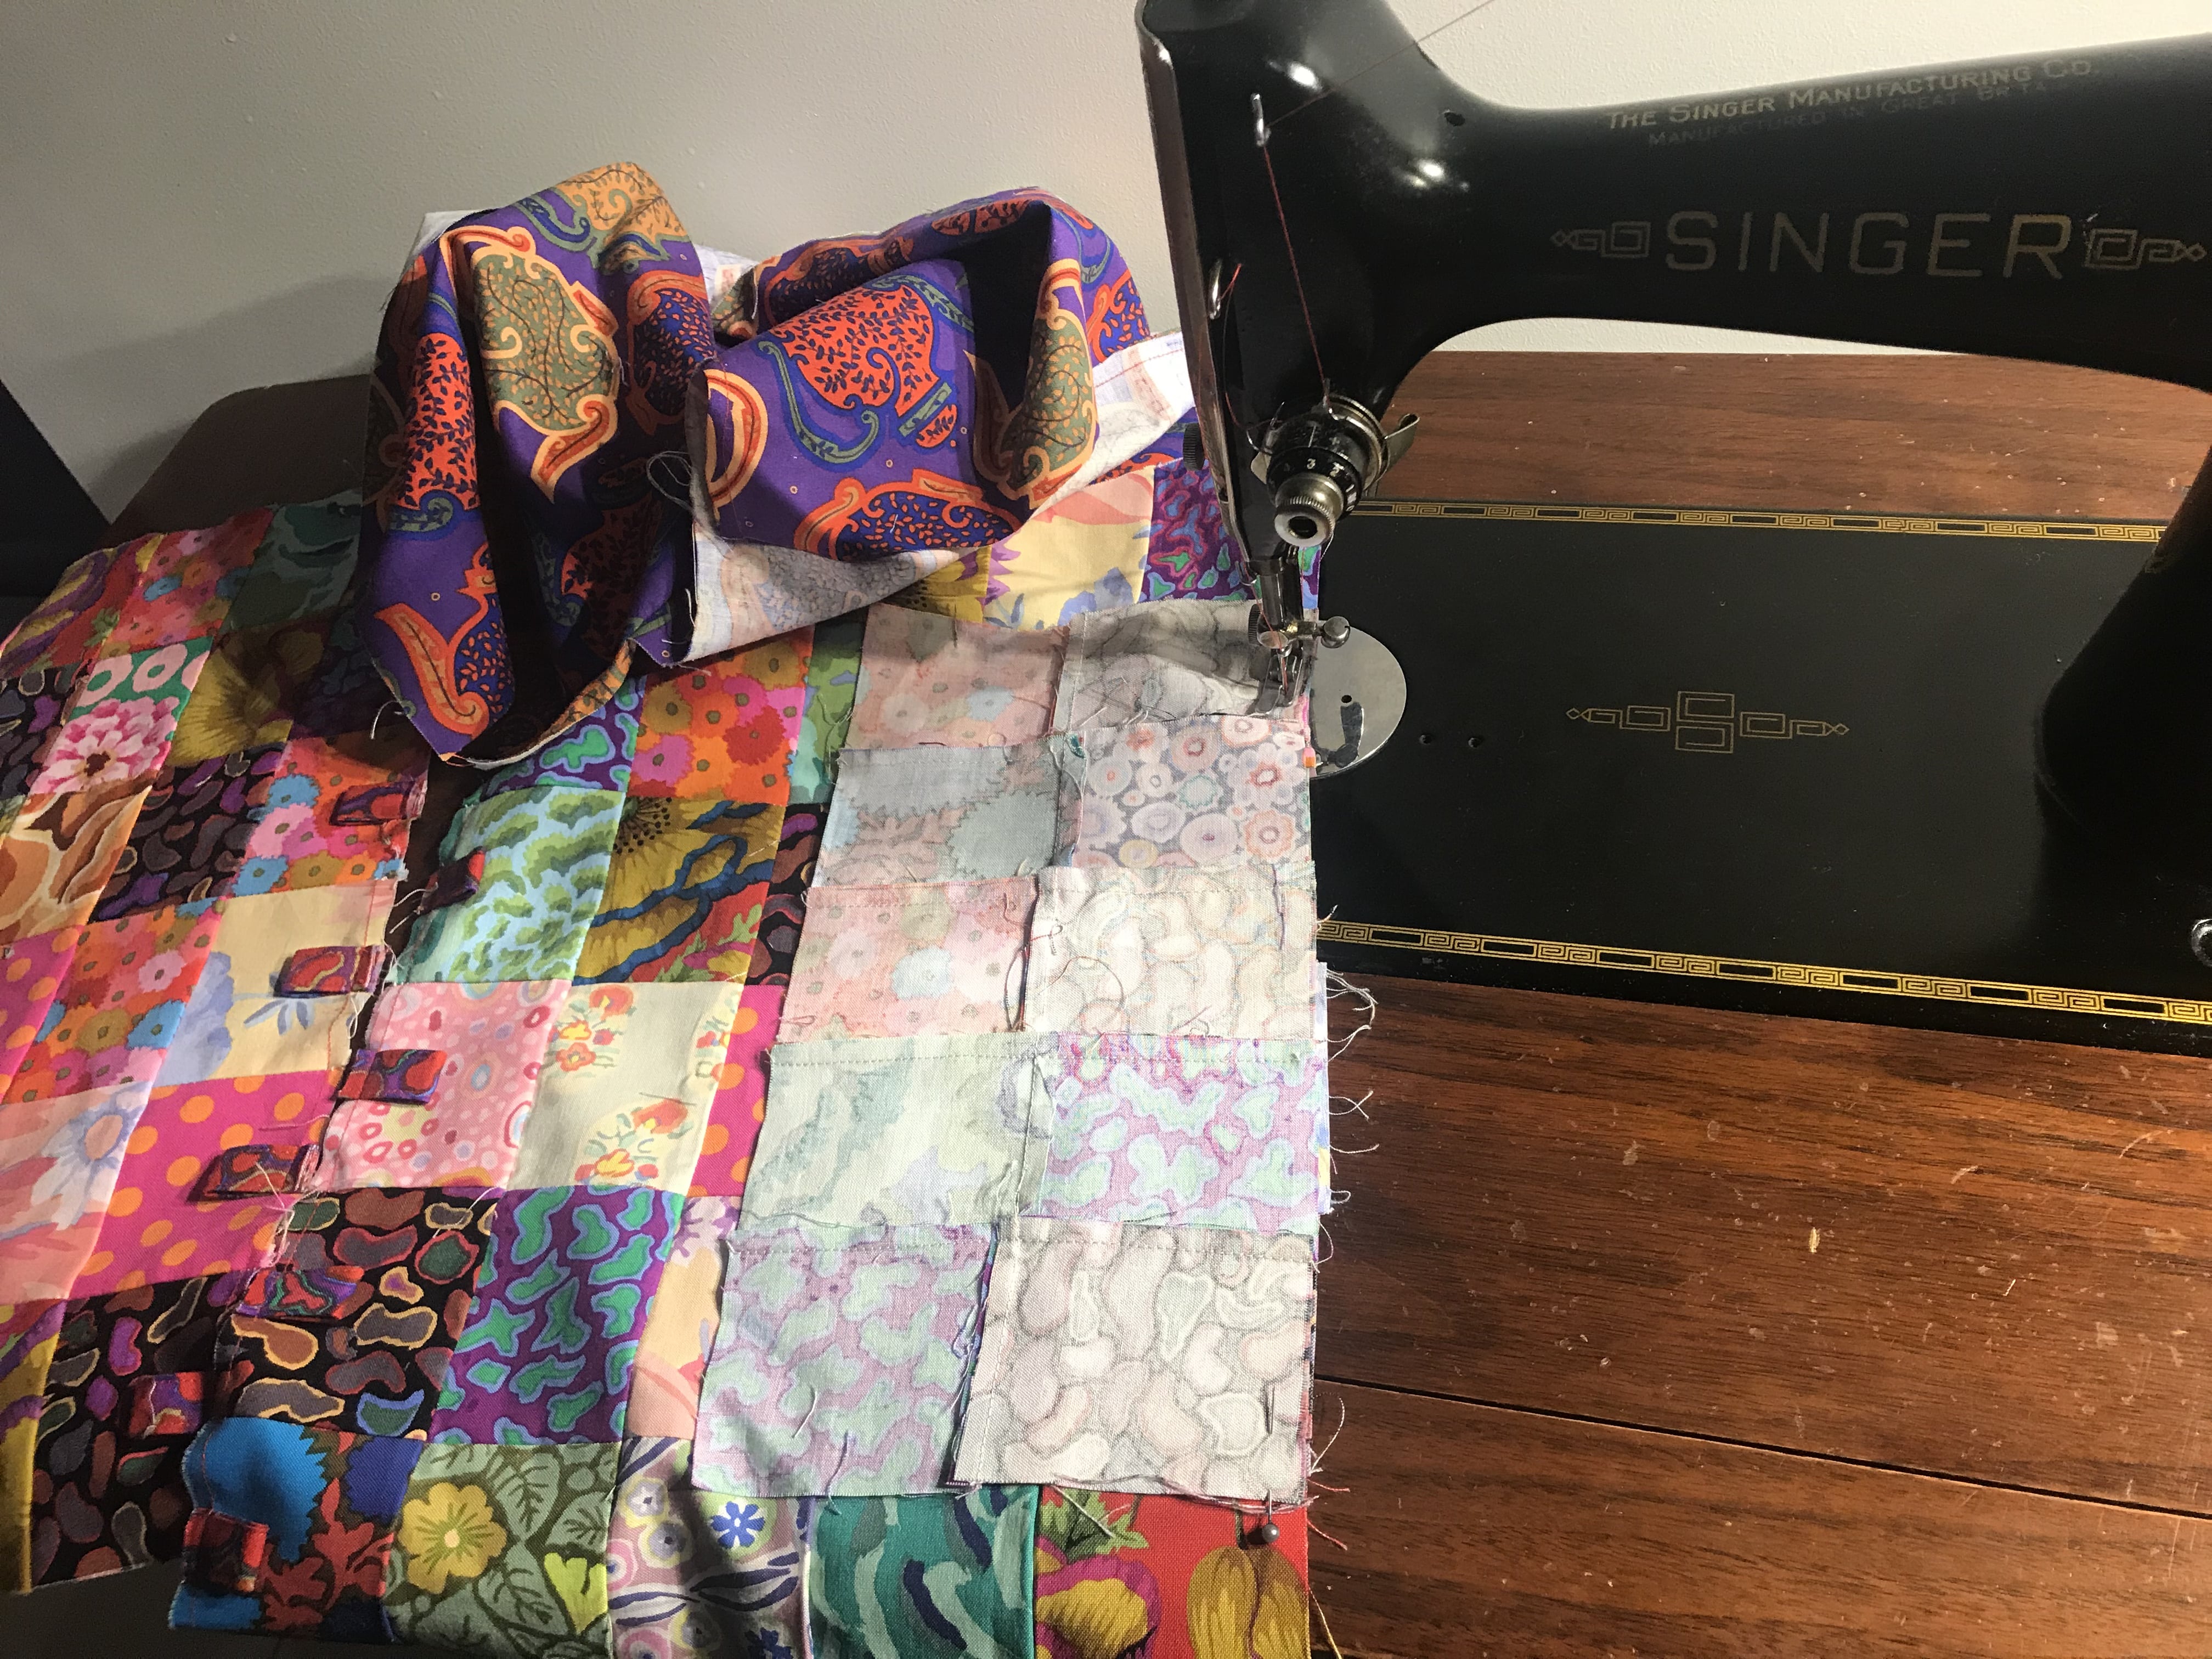
Take the bag base, centre it lengthwise along the base of the front panel, right sides together. Sew together. Open out and attach the bag back to the other long side of the base, as pictured below.

Thank you Susie! I just completed this ‘Wendy’s Bag’. I was drawn to the tabs, thinking it was unique, cute and easy. It was all of these. I don’t know how to send you a picture, but would if I could. Thanks so much.
An alternative to the draw string style is to put magnet snaps on the inside and attach straps of desired length at equidistant points on the top of the bag. Long straps means it can be worn across the body; and short straps make it an arm-carry bag. I’ve made bags like this using a fusible pattern/interfacing. Neat!
Thank you. That’s s great idea!
Susie, I just want to Thank you for all you share here with everyone. I love seeing what you make and reading what sewing machine you are sewing on for the project. Looking forward to seeing what you create in the New Year. Hope you are enjoying the Holidays and Happy New Year!