Hexagons from Circles
Hello Dear Friends and Readers and a warm welcome to today’s post. Recently, I had the loveliest email from a lady named Janet, who said she is 88, still quilting and loving it. She told me that she always makes her hexagons from circles. I found this very inspiring and so I thought I would follow advice from a very experienced and expert quilter and give it a try. Thank you Janet!
Maybe you are familiar with this process and although I do remember seeing it years ago, I have never used this method before and I am excited to give it a try today.
This lady said her hexies turned out perfect every time. That is an excellent recomendation! The only issue I guess, is working out the size of the circle to calculate the size of the finished hexagon.
Remembering that the hexagons are measured by the length of the side of the hexagon.
Requirements – Making Hexagons from Circles
This project will not cost you anything extra and you can recycle some things you have at home. Basic tools only are required. These are scissors for fabric and some all purpose scissors for cutting the templates, a pencil or marker, a needle and thread and your fabric scraps of course. No need to run to the shops! You can get started right away. Don’t you just love that? When inspiration strikes there is no delay!
By the way, I find this to be very gentle on the hands. No awkward cutting with rulers and rotary cutters.
Making template circles, will be my guide for cutting the fabric circles. I can honestly say this seems like a brilliant idea to me because once all the circles are marked, that can be a very nice evening project of cutting out the marked fabric circles. Also, if one was inclined to fussy cut, it would be very easy to mark circles over the right side of the fabric using a clear plastic template.
Just as an aside, In my honest opinion, cutting out actual hexagons is a bit of a pain. I have tried it and it was very time consuming. Then there is the traditional method of English Paper Piecing. I made my first ones like this Hexagons Charming Free and Easy. However paper templates are still required and it does make for quite a few extra steps.
I will use a whole lot of scraps and mark circles on them, just as you would if you were cutting out dough for scones or biscuits.
Very little thread is required to make each hexagon.
Making Templates for Hexagon Circles
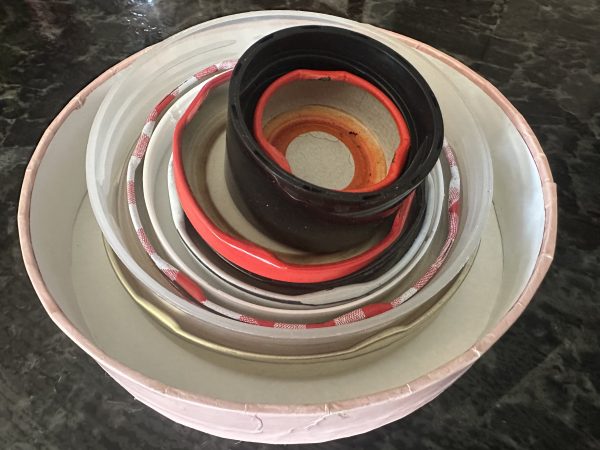
I decided to make a test group of templates so that I could wok out the sizes of the circles required. In the first instance I gathered some lids and small containers to use to make the templates. I used an empty cardboard pasta box and an empty clear plastic bottle to make some experimental templates. Empty plastic milk bottles would be good too. If you wanted a non slip template you could use sandpaper sheets. Janet uses a CD as her template which is brilliant as it’s a perfect circle and easily replaceable.
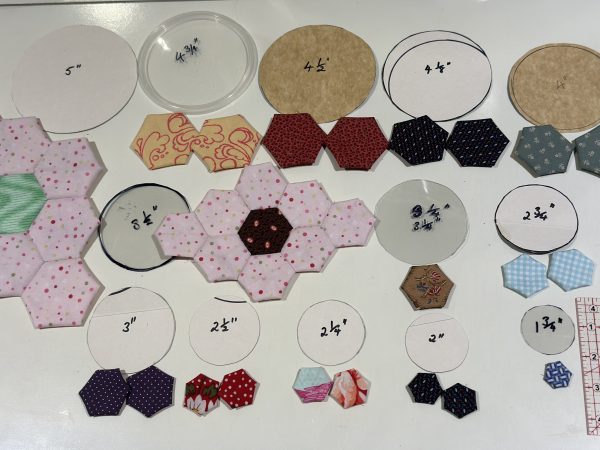
Here is my collection so far.
I drew around the various size lids onto the cardboard and plastic circles and cut them out with all purpose scissors and measured them.
Cutting the Fabric Circles for Hexagons
Now it is a matter of using the templates of your choice to mark the fabric circles.
Lay the template on your fabric. use a pen or pencil to draw around the circle. Use small fabric scissors to cut out the circle. I cut several at a time.
Use a clear template if you wish to fussy cut. Here you can see the various template circles I made and the resulting hexagons.
Stitching the Hexagons from Circles
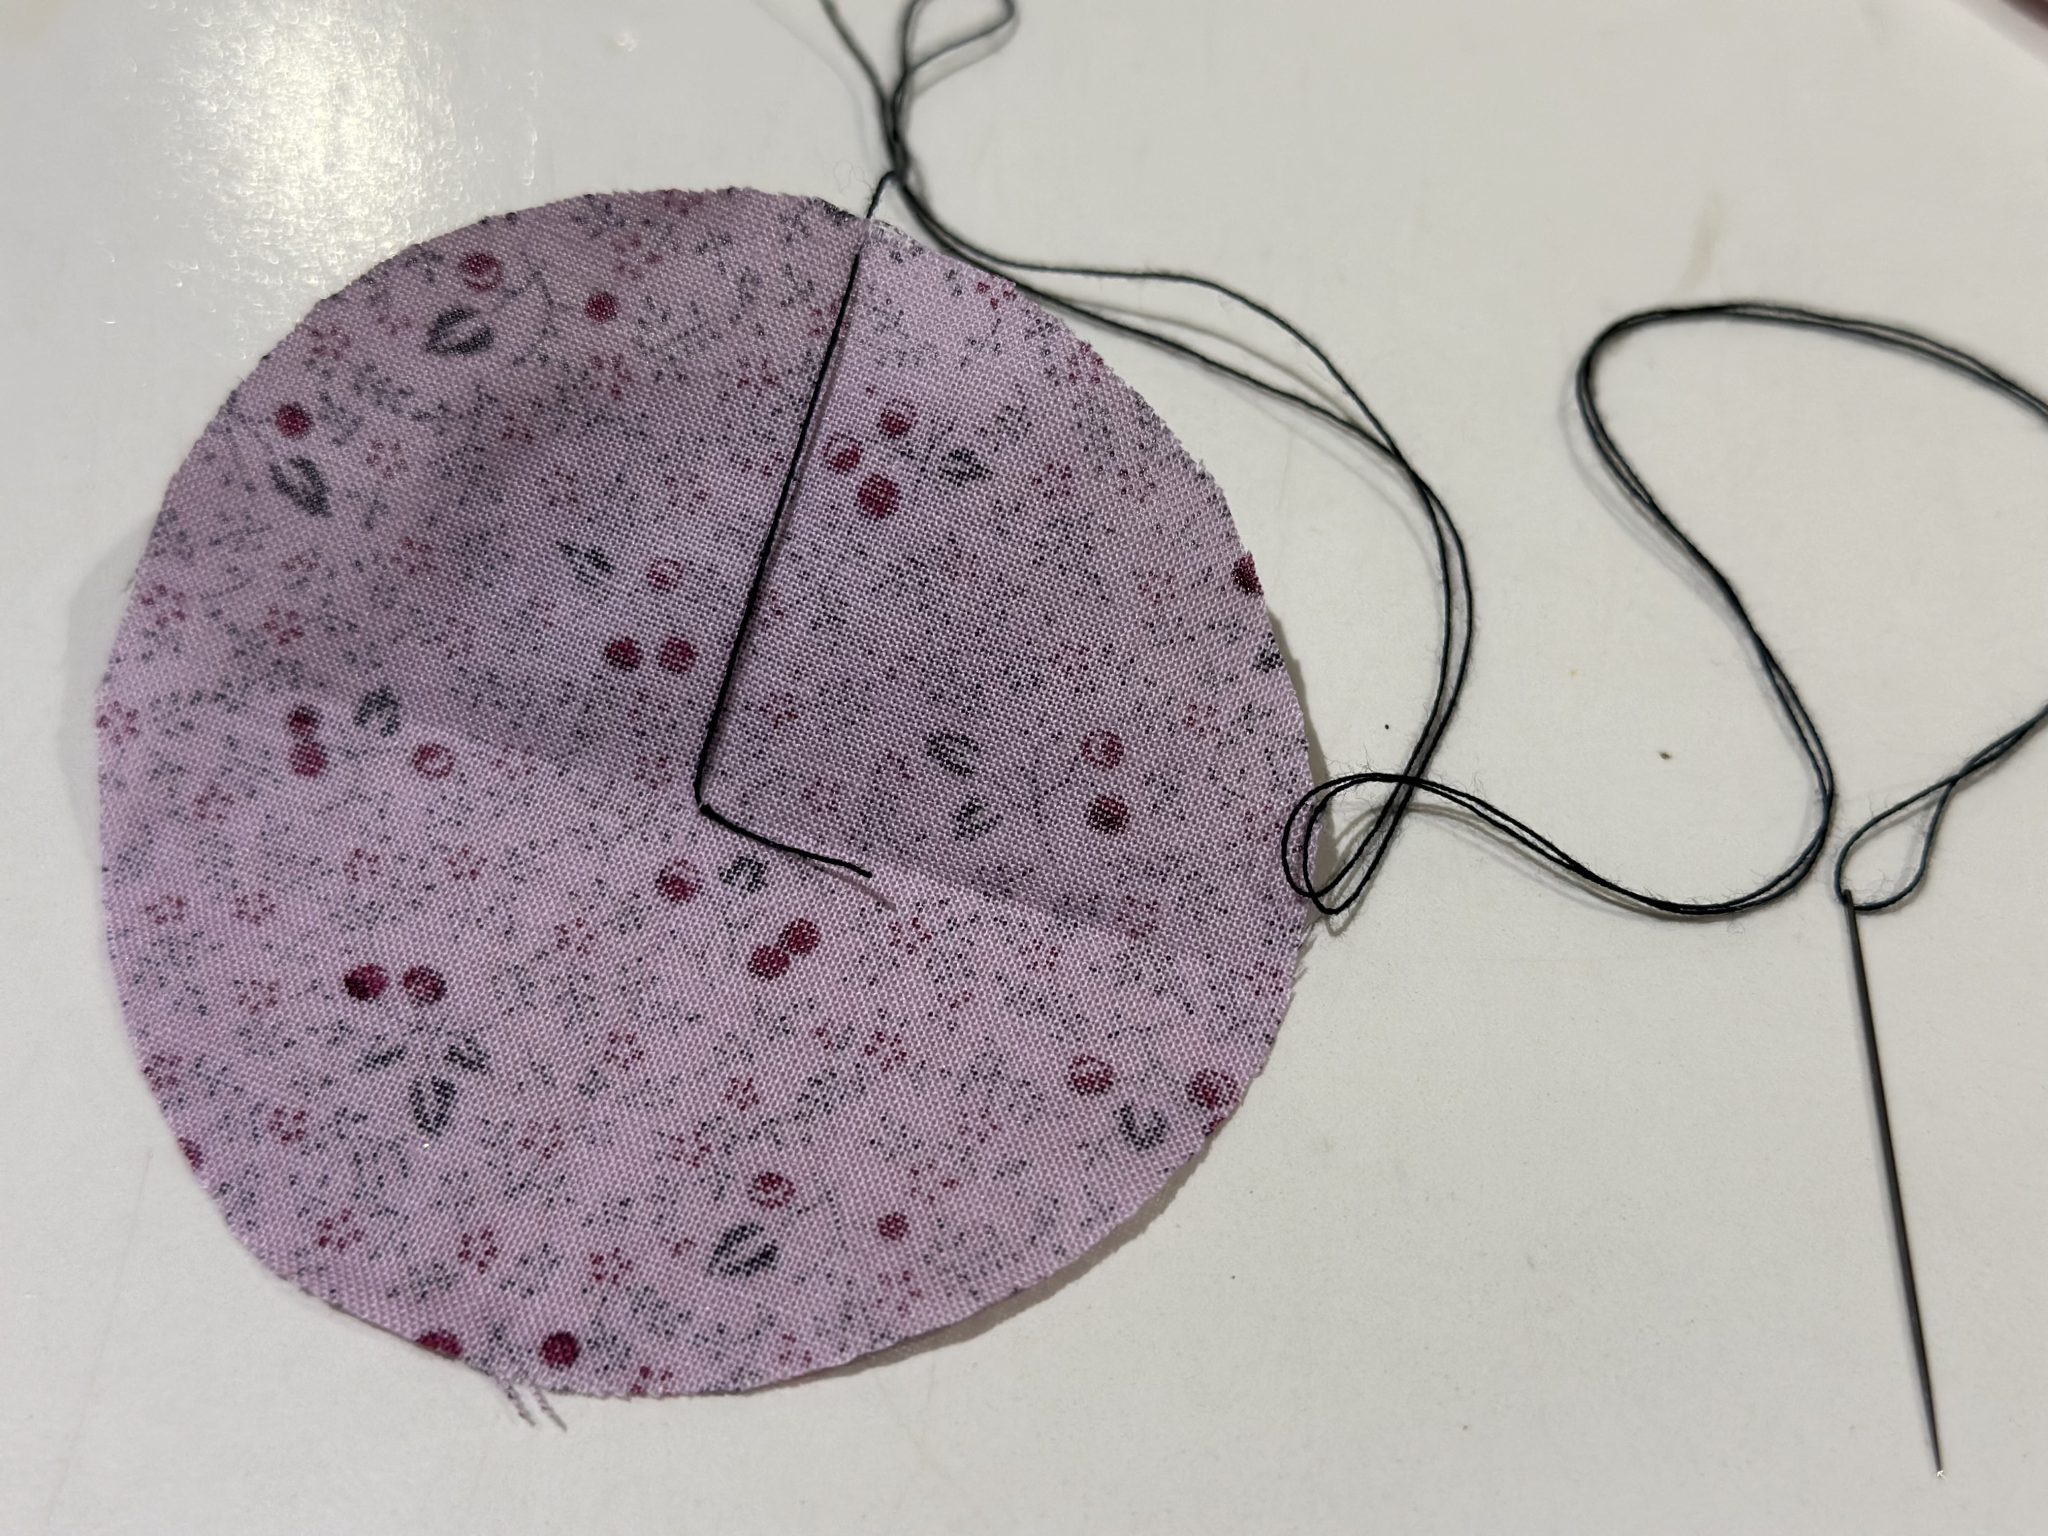
Once the circles are ready, fold each circle (only do this as you are about to sew) in half and then in quarters and lightly finger press just to find the centre of the circle.
- With your needle and a neutral thread, thread pick up one or two threads from the centre of the circle. Secure that stitch. (I have used a black thread merely to demonstrate)
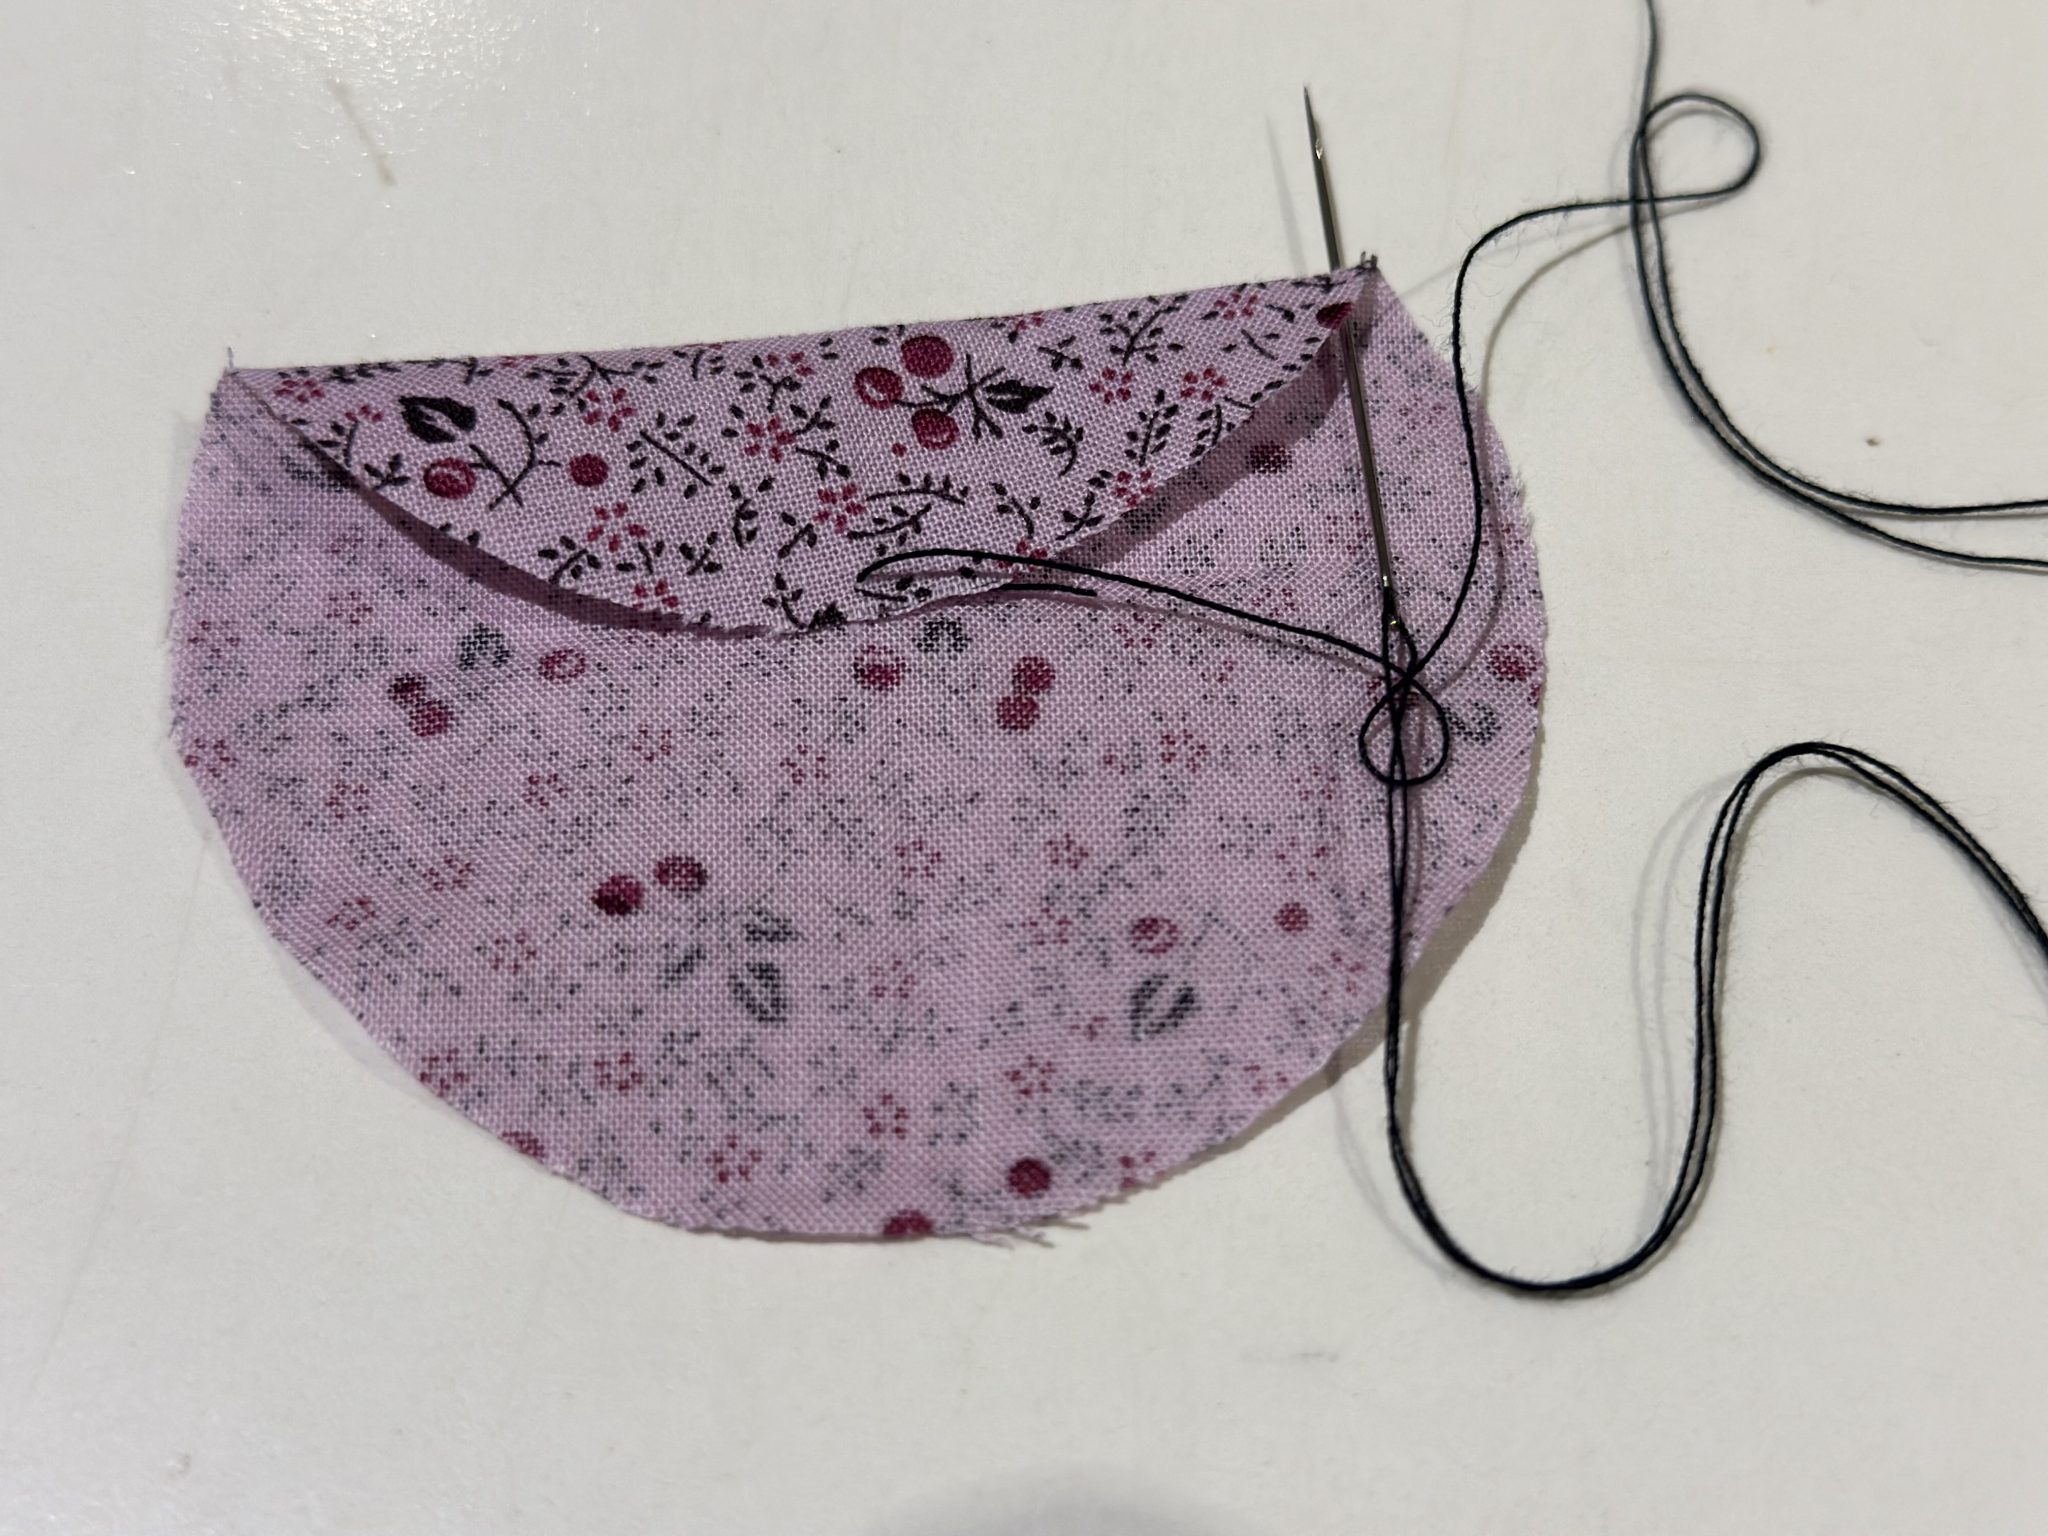
- Then sew through the edge of the circle just a few mm or about a 1/8″ from the edge and bring that edge to the centre.
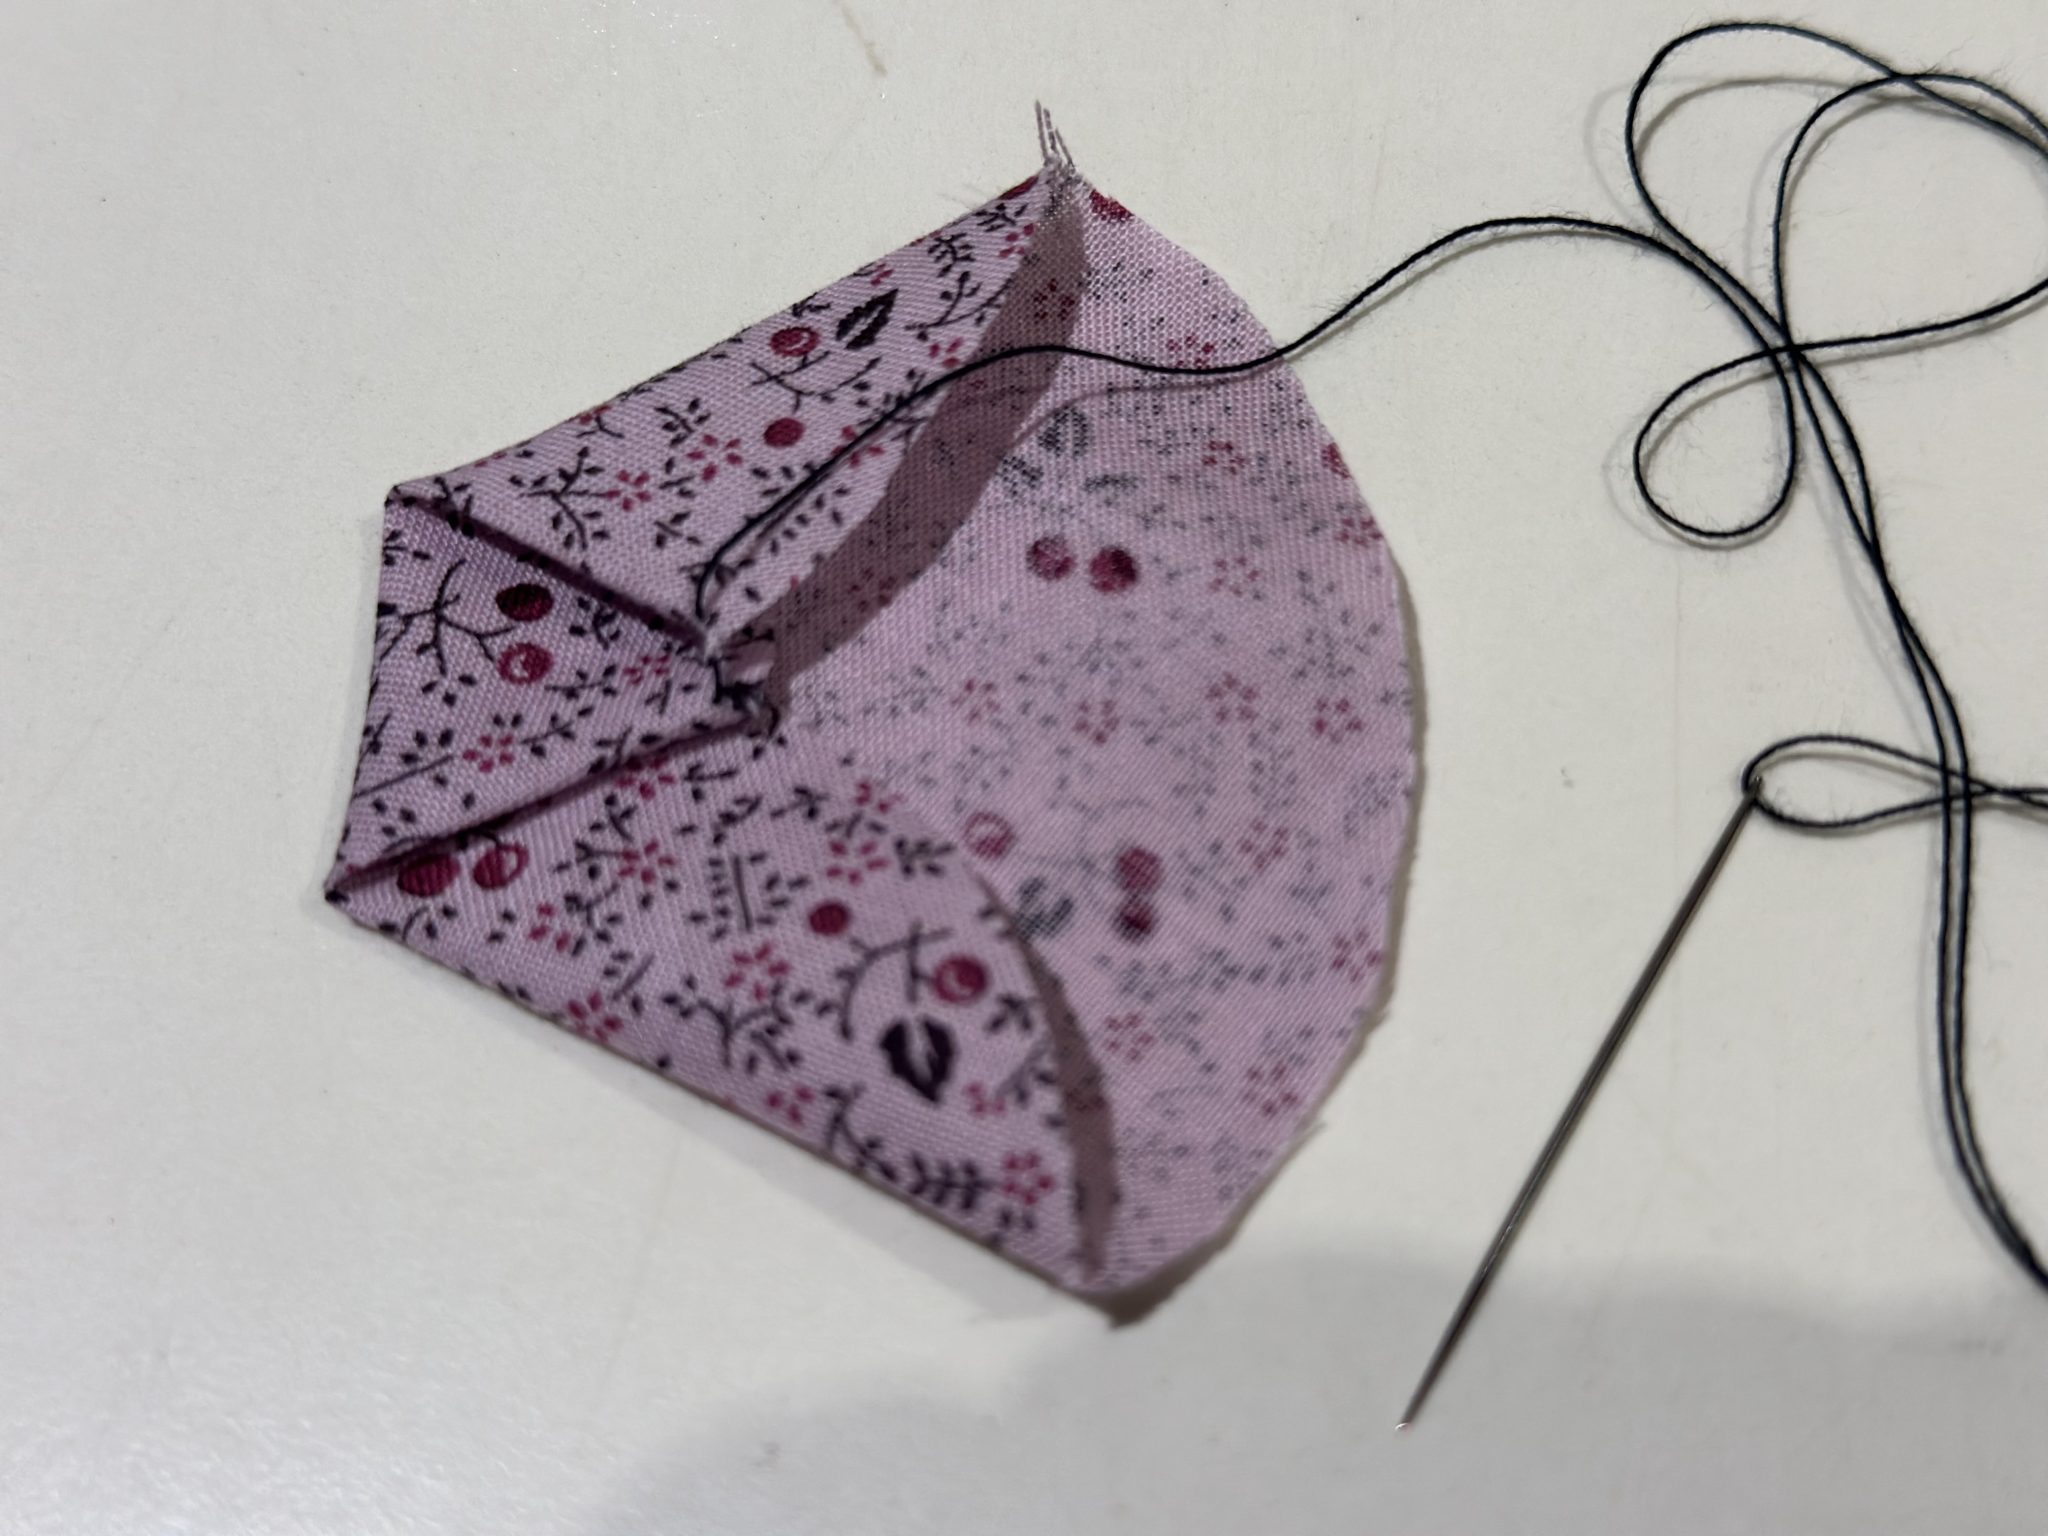
- Lightly finger press the fold then put your needle through the edge of the pressed fold near the point using the same distance from the edge of the fabric. Bring that to the centre. and finger press the fold. The first side is made.
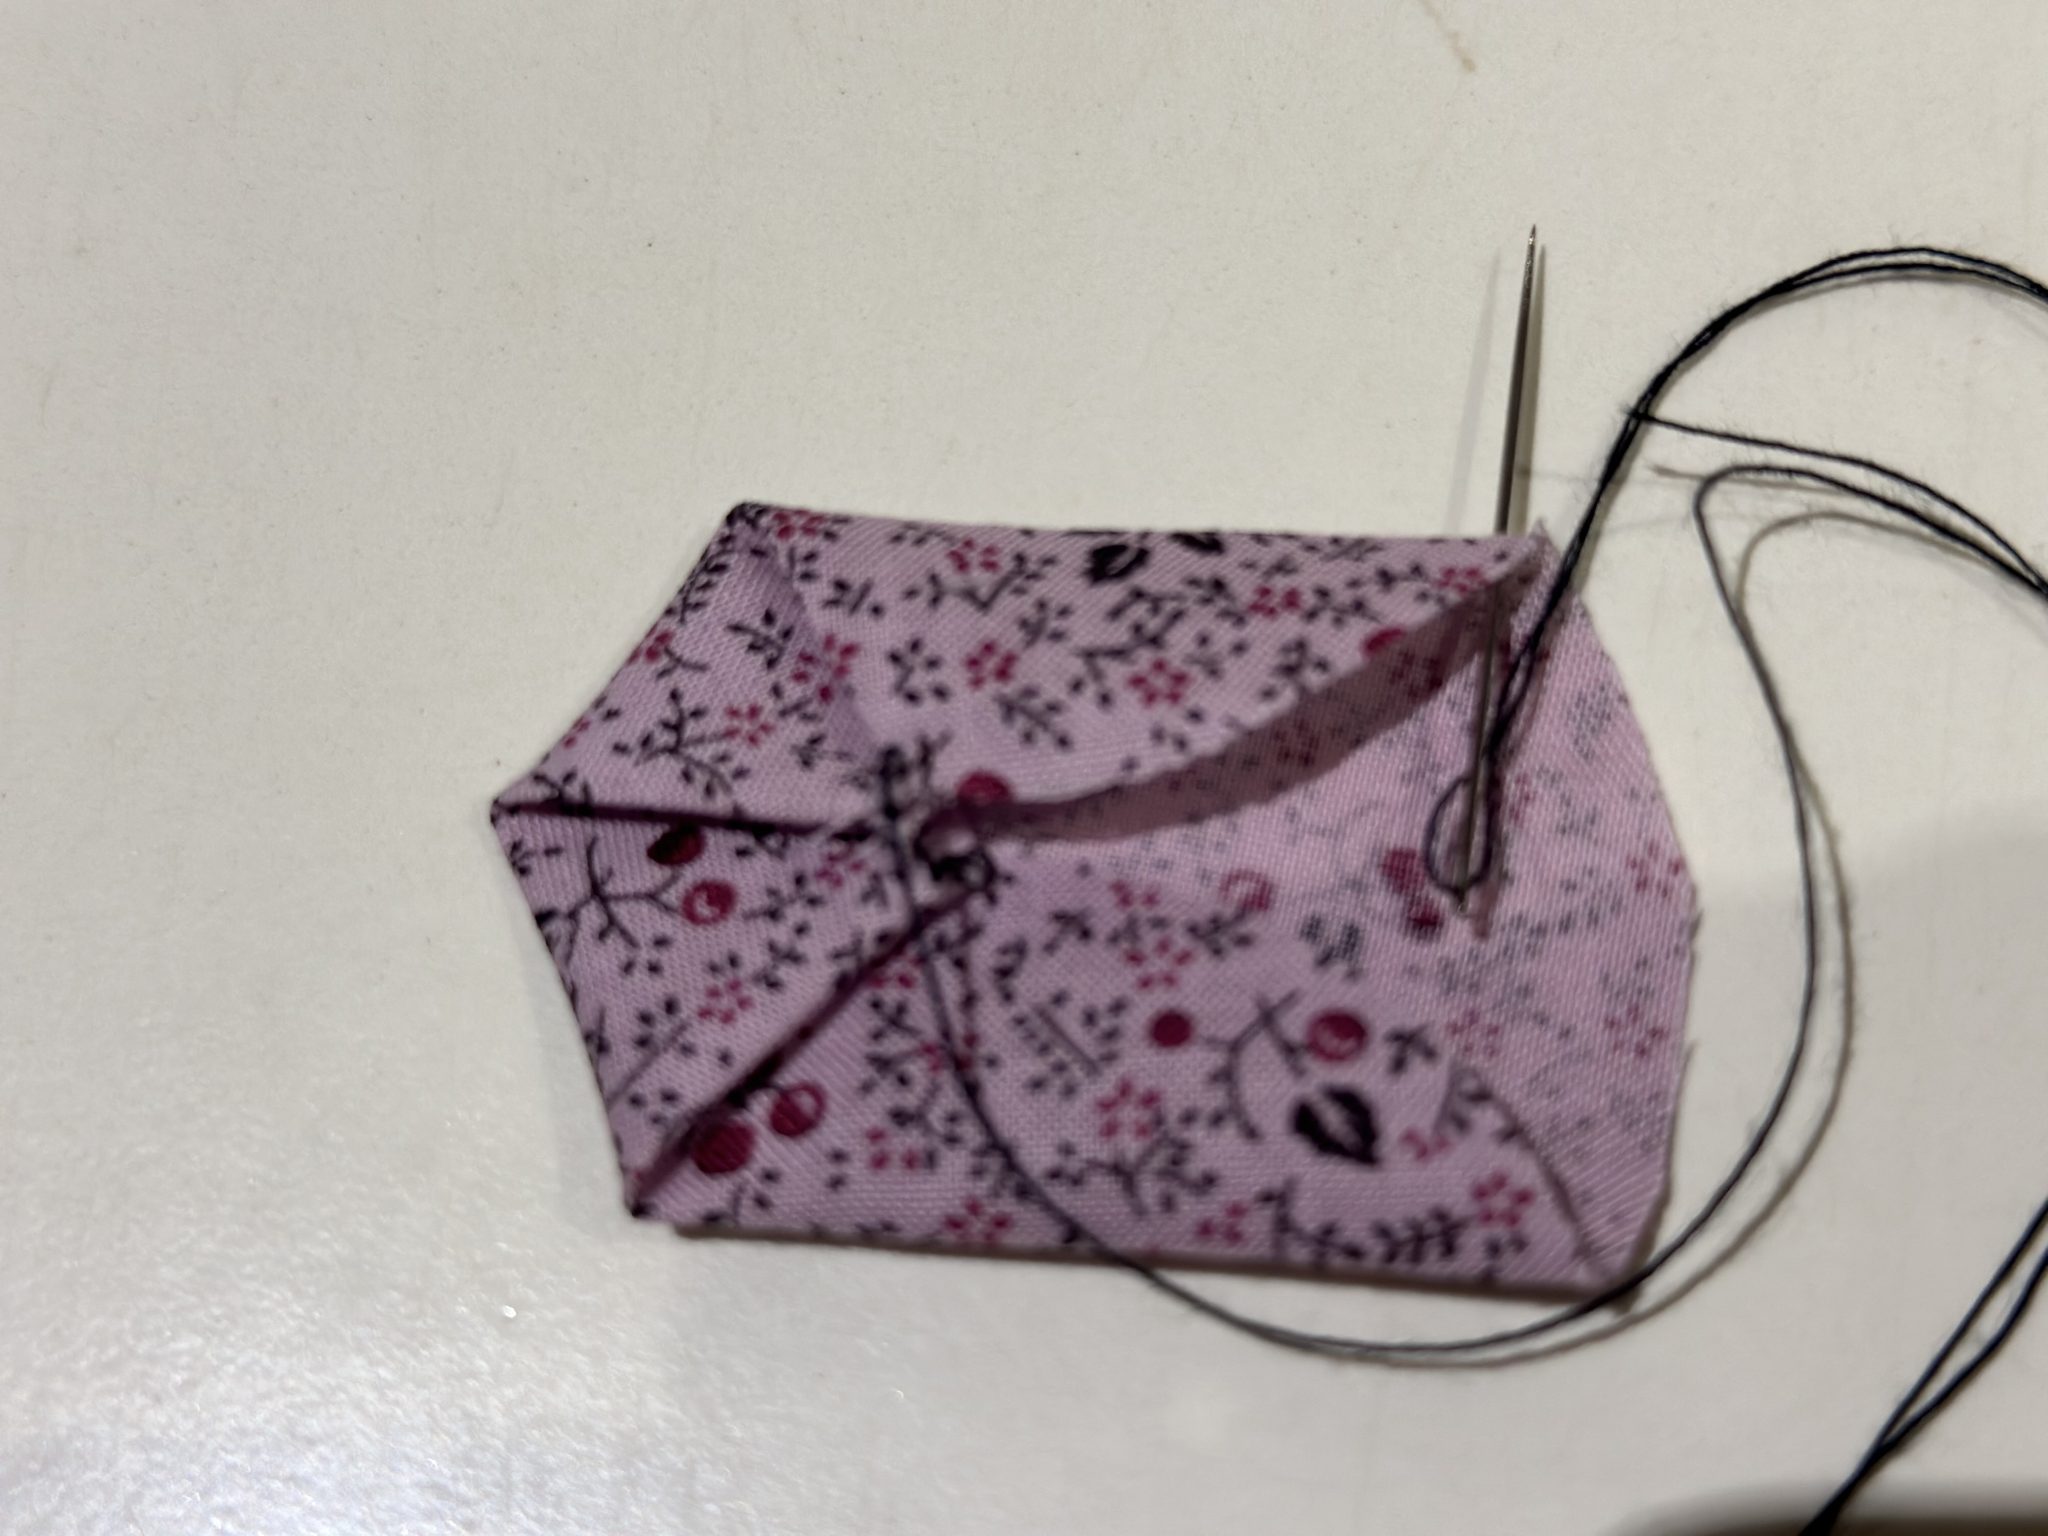
- Repeat until all six sides of the hexagon are made.
- Secure your stitch.
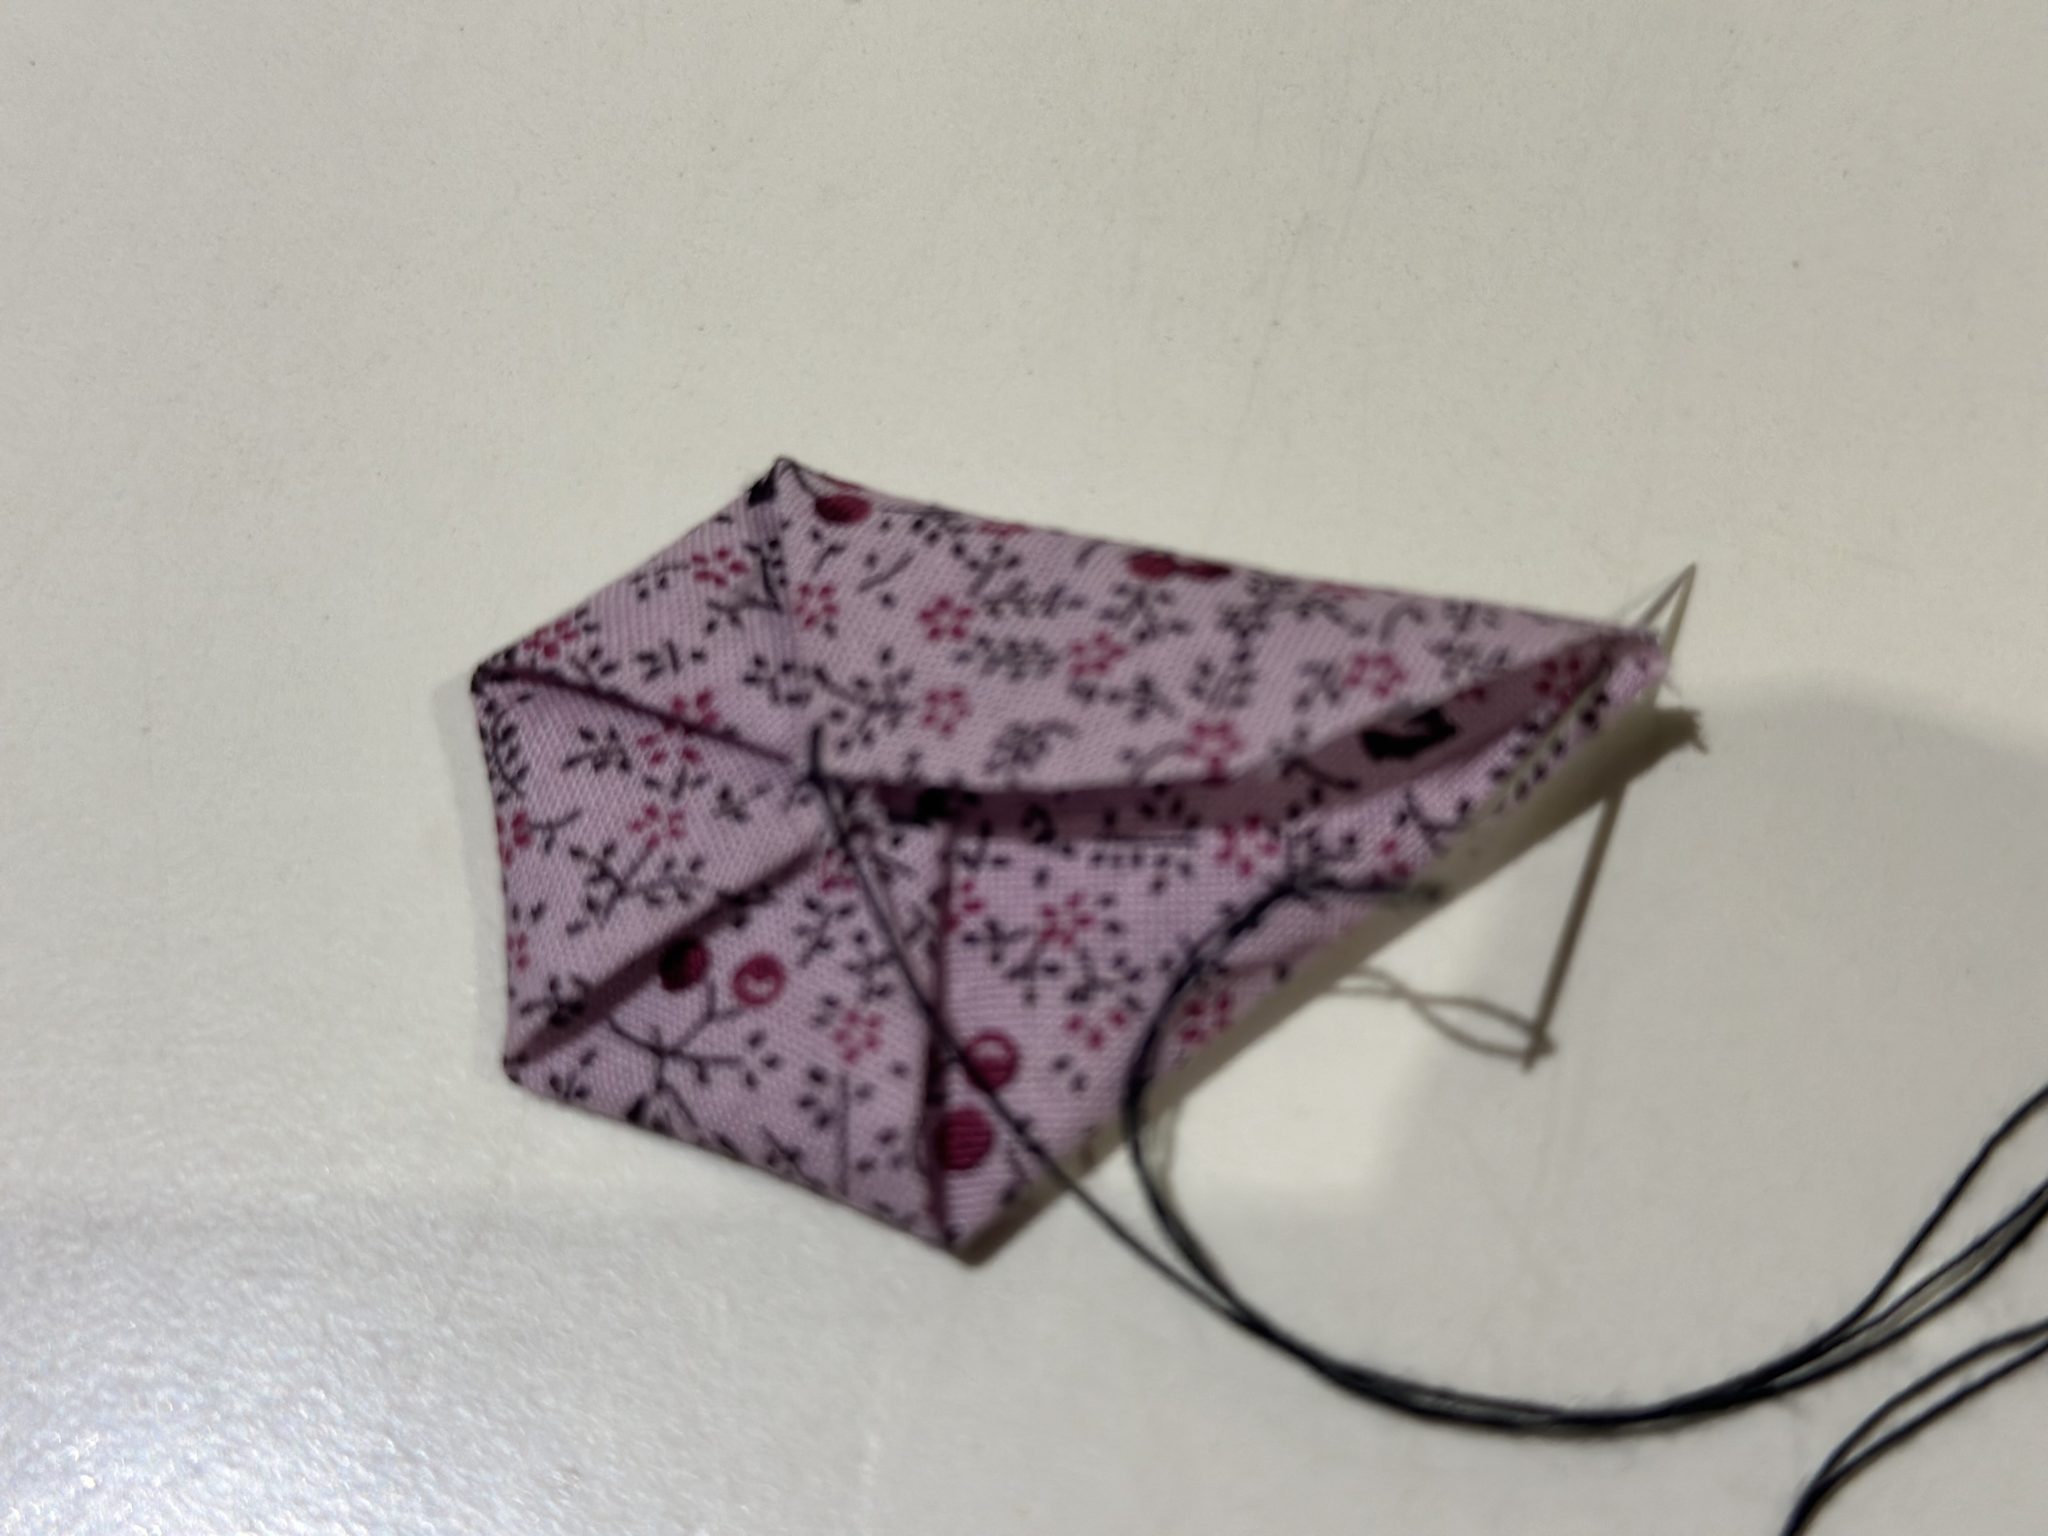
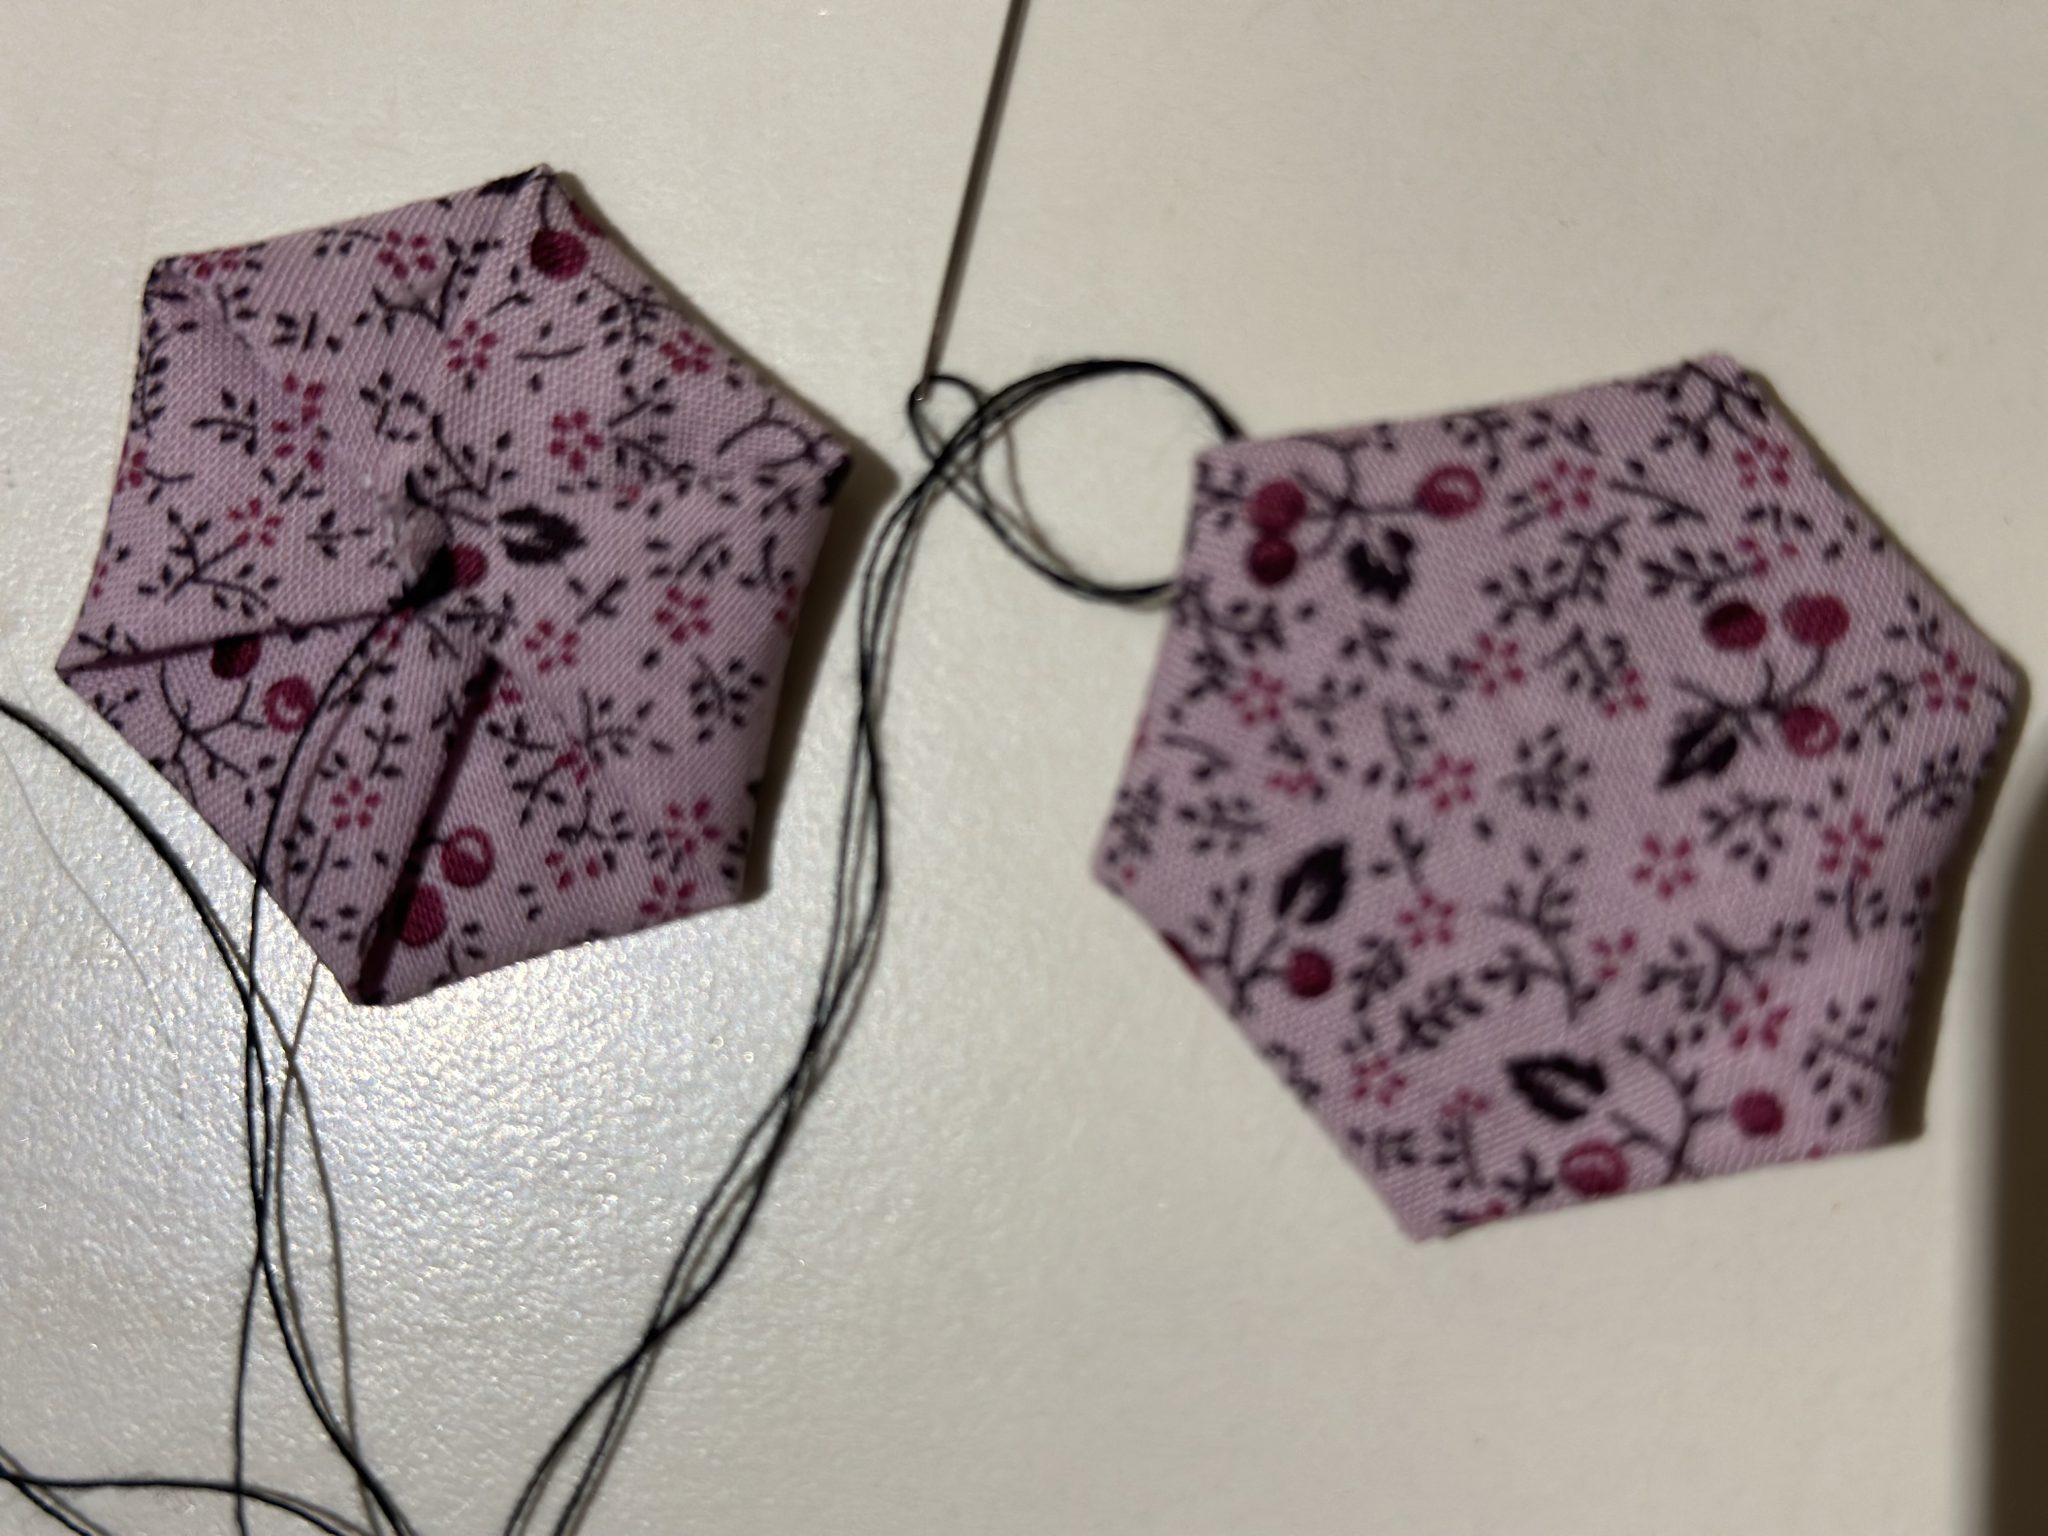
It us also possible to leave out step one. This is a bit tricker and will require more practice to make it even.
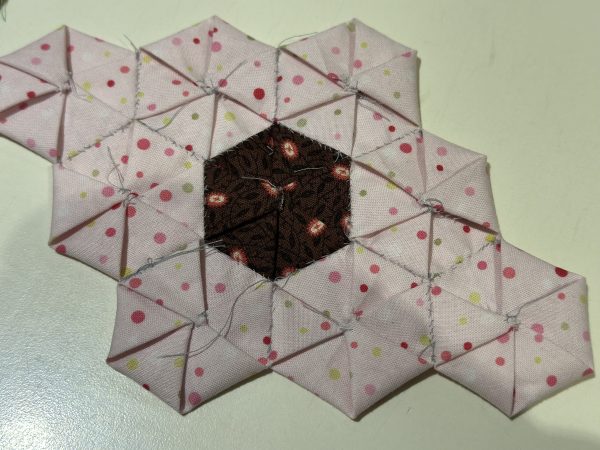
These are some of my experimental hexies. I think they turned out rather well.
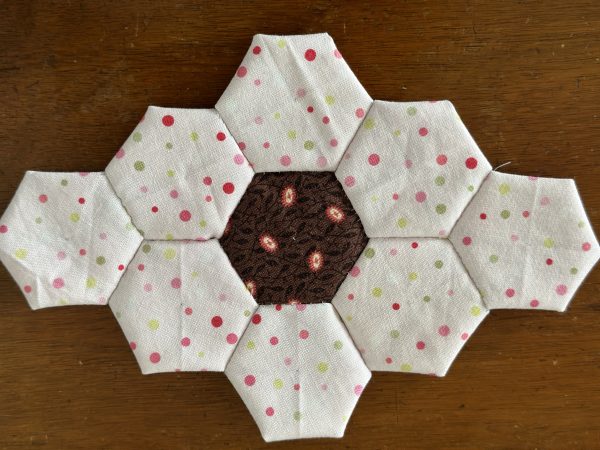
Here is what they look like from the back. Rather neat, don’t you think?
NOTE There may be a slight anomaly in the size of the edges of the hexagons. Don’t worry. I believe this is due to the natural warp, weft and bias of the fabric. This will occur inherently because of the differing directional stretch of the fabric. Once they are sewn together it doesn’t matter. I think that preparation of the fabric is much more important, but that’s just me.
Here are some articles – you can decide for yourself.
To Wash or Not to Wash?….This is the Question
A Guide to Sizing the Hexagon Circles
Here is a rough guide to achieving the size of hexagon that you would like to make from a circle. Hexagon size is measured from the side of the hexagon, You will need to make your own test just to be sure.
1 3/4″ circle = hexagon of 1/2″
2″ circle = hexagon 9/16″
2 1/4″ circle = hexagon of 5/8″
2 1/2″ circle = hexagon of 3/4″
2 3/4″ circle = hexagon of 7/8″
3″ circle = hexagon of 15/16″
3 1/4″ circle = hexagon of 1″
3 1/2″ circle = hexagon of 1 1/8‘
4” circle = hexagon of 1 1/4” (scant)
4 1/8″ circle = hexagon of 1 1/4″
4 1/2” circle = hexagon of 1 3/8”
4 3/4″ circle = 1 3/8″ hexagon (same as Janet’s CD)
5″ circle = 1 1/2″ hexagon
I am happy to say that I think I have found my next portable hand piecing project! How about you?
If you enjoyed this post, you may also like
Grandmother’s Flower Garden Quilt Like Grandma Used to Make
Hexagon Stars Quilt Antique Inspired – Part 4 Diamond Circles
Happy stitching,
Susie

Look awesome. I am going to give it a try.
Thanks,
Rose
Thanks Rose!
THanks for sharing this , I am excited to get started !
Hi Rosa, you are welcome!
I am very excited to try this! Thanks for sharing.
I don’t care for the fussy cutting of hexie fabric with paper piecing and recently tried this method. With some practice, the hexies become more and more uniform. I have also been using a CD for the circle. I was able to get quite a rhythm going! You will use a just bit more fabric with these, and the finished project will have a bit more weight to it. I really enjoy this method!
Hi Susie and welcome! Thank you for your feedback. I am glad you are enjoying this method. I am still enjoying it too and working towards another project.
This sounds easier than the way I was taught. Thanks for sharing it.
I’ve made many Christmas ornaments this way – if you don’t “finish” the hexie (you leave the last side out and don’t bring it to the center) you get a star shape when you put them together. Fussy cut the center – easy take along project!
I thought about trying this method, but since I hand quilt everything that I sew by hand, it would be another layer to quilt through. I imagine you will machine quilt this. I still might give this a try for small items like coasters, hotpads, and the like. Thanks for the circle sizes, that helps a lot.
Good morning Susie. This style of sewing reminds me of an Xmas decoration I’ve made in the past. I don’t sew hexagons but if I did, I think I would use my adjustable circle cutter for the fabrics. It’s always interesting to read what you’re up to so thanks for sharing your latest adventure – happy sewing 🙂
Loved this post! Janet sounds like a very sweet lady! She shared her experience shared with you, then you sharing with us in the blogosphere. Thanks for doing all the measurement work and the thorough tutorial. You are kind to share your time and work.
I remember doing this method years ago, with one difference – no stitching with each fold. I just ironed it really well (maybe with a spritz of starch or Best Press) and then it was ready to stitch down. Thanks for the handy sizing table – definitely saving it! I’m not a big fan of EPP but this method certainly makes it easier – thanks for sharing.