Japanese Knot Bag No. 2
Hello Dear Friends and Readers,
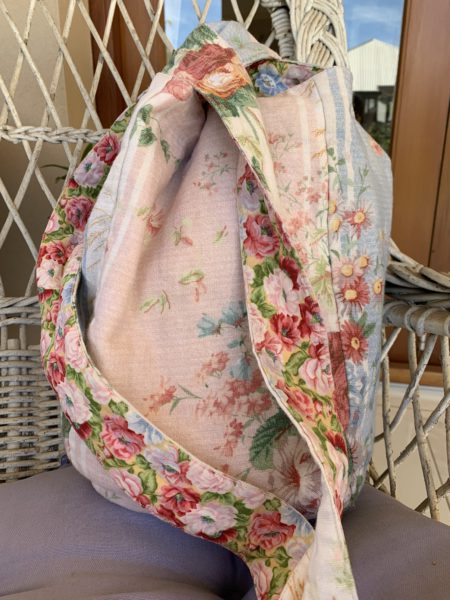
Today I am following on from my Japanese Knot Bag – A New Pattern, with Japanese Knot Bag No. 2.
I can honestly share with you all, that I have loved this original bag to death. I have literally worn it out. It now needs some repairs and I believe that that is testament to it’s usefulness and appeal. I have washed it many times too. I love that about hand made bags – washable, because, they do get around, if you know what I mean!
The other thing I need to add, is that I have also received a multitude of compliments, both for the original and for the new one I am showing you today. They came from both friends and strangers who have approached me and asked about the bag.

It has become my go to handbag when traveling, for a number of reasons.
1. It is highly capacious,
2. Because of the method of closure. There is nowhere for pickpockets to open it.
3. It is light. With luggage restrictions, there is very little extra weight.
4. Hands free Cross body bag. That is liberating at any time, but especially when traveling.
5. It is comforting, warm and malleable. Many times I have held it on my lap for extra warmth.
6. Fully washable.
7. You could say it is eco friendly as I made it from some left over linen pieces from an old furnishing book and leftover quilt batting pieces. The lining and pockets are quilting cotton.
8. Its pretty – that counts!
9. There is even room for my makeup bag and a hand sewing project and that matters to me. (Frees up my carry on luggage)
10. It is totally individual.
Japanese Knot Bag No. 2 Construction Instructions
In order to complete, this bag, you will need to follow the pattern and construction tutorial for the original bag with these modifications. When drawing up the pattern, increase the length of the sides by 4”. Use some complementary fabrics, but they can be different for each panel. For mine I use two blue florals and two pink florals of linen. Please also bear in mind that you may want to shorten the length if the main strap, as this bag is physically longer. You may need to adjust it to make it ergonomically correct for yourself.
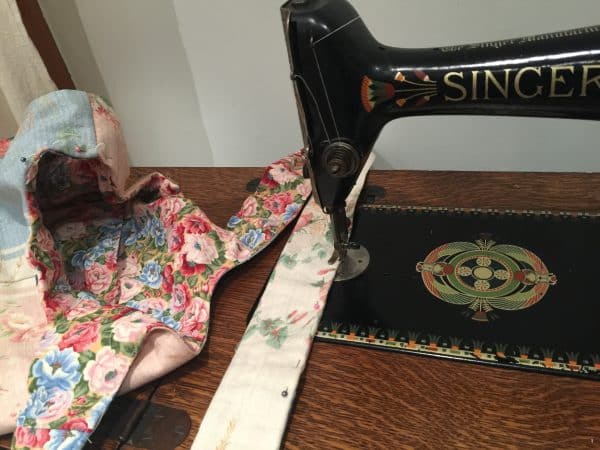
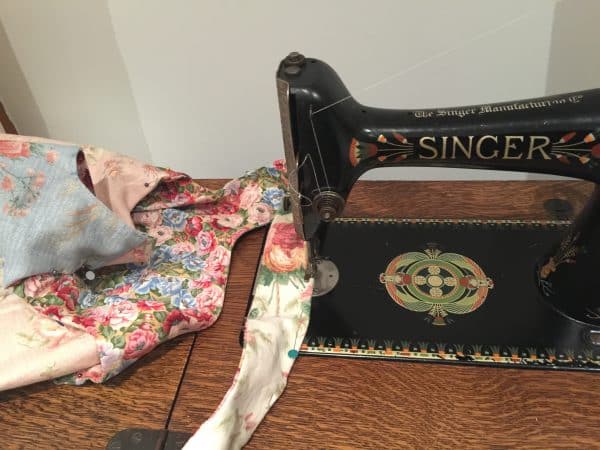
Here I am doing the last sewing of the strap on my Singer 66 treadle.
Now if you are ready, jump to the original pattern.
Japanese Knot Bag & Tutorial – A New Pattern
I really need to make another one too!

If you love making bags and baskets as I do, you may also like these posts!
and this one,
Making a new End of Day Quilters Basket
Have a great day, and thank you for visiting susies-scraps.com


