The Spinner Quilt – Part 3
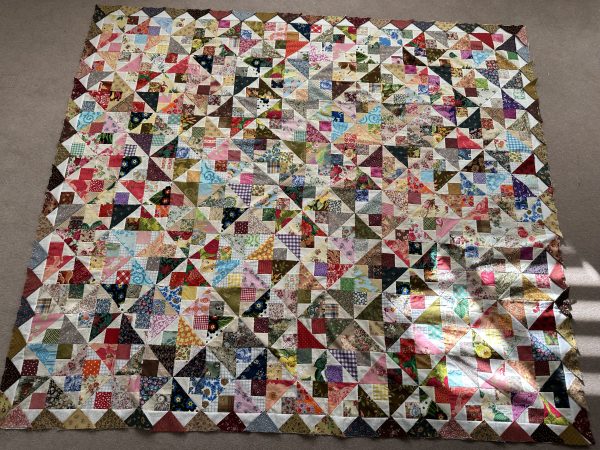
Hello Dear Friends and Readers, welcome to todays post which is the final of The Spinner Quilt construction. It is a reality that sometimes it just takes some time before the light comes on about how a quilt should progress or indeed finish. This one is no exception as it has languished in a pile for sometime without direction. It just needed something….🤔
Here is the links to part one and two which will give all the details so far.
The Spinner Blocks Made Easy – Part 1
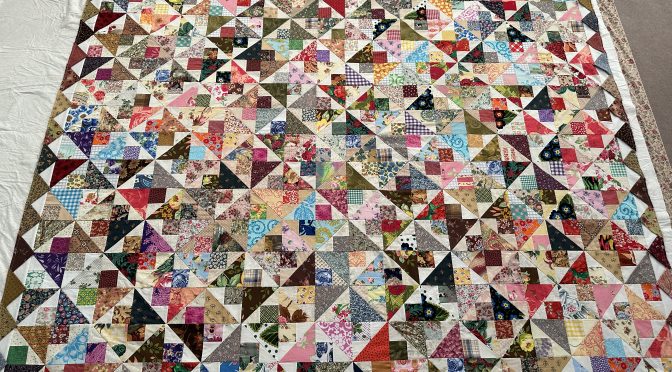
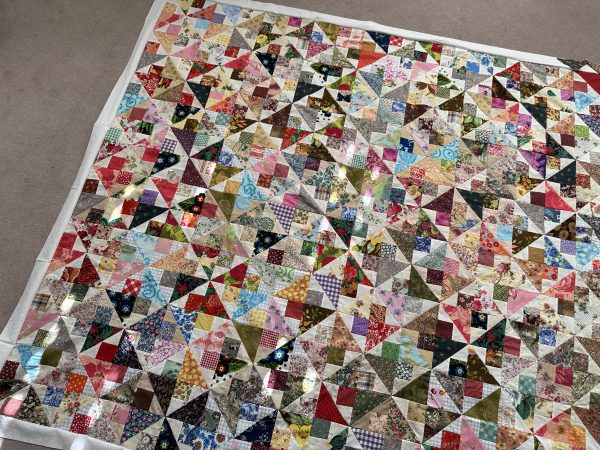
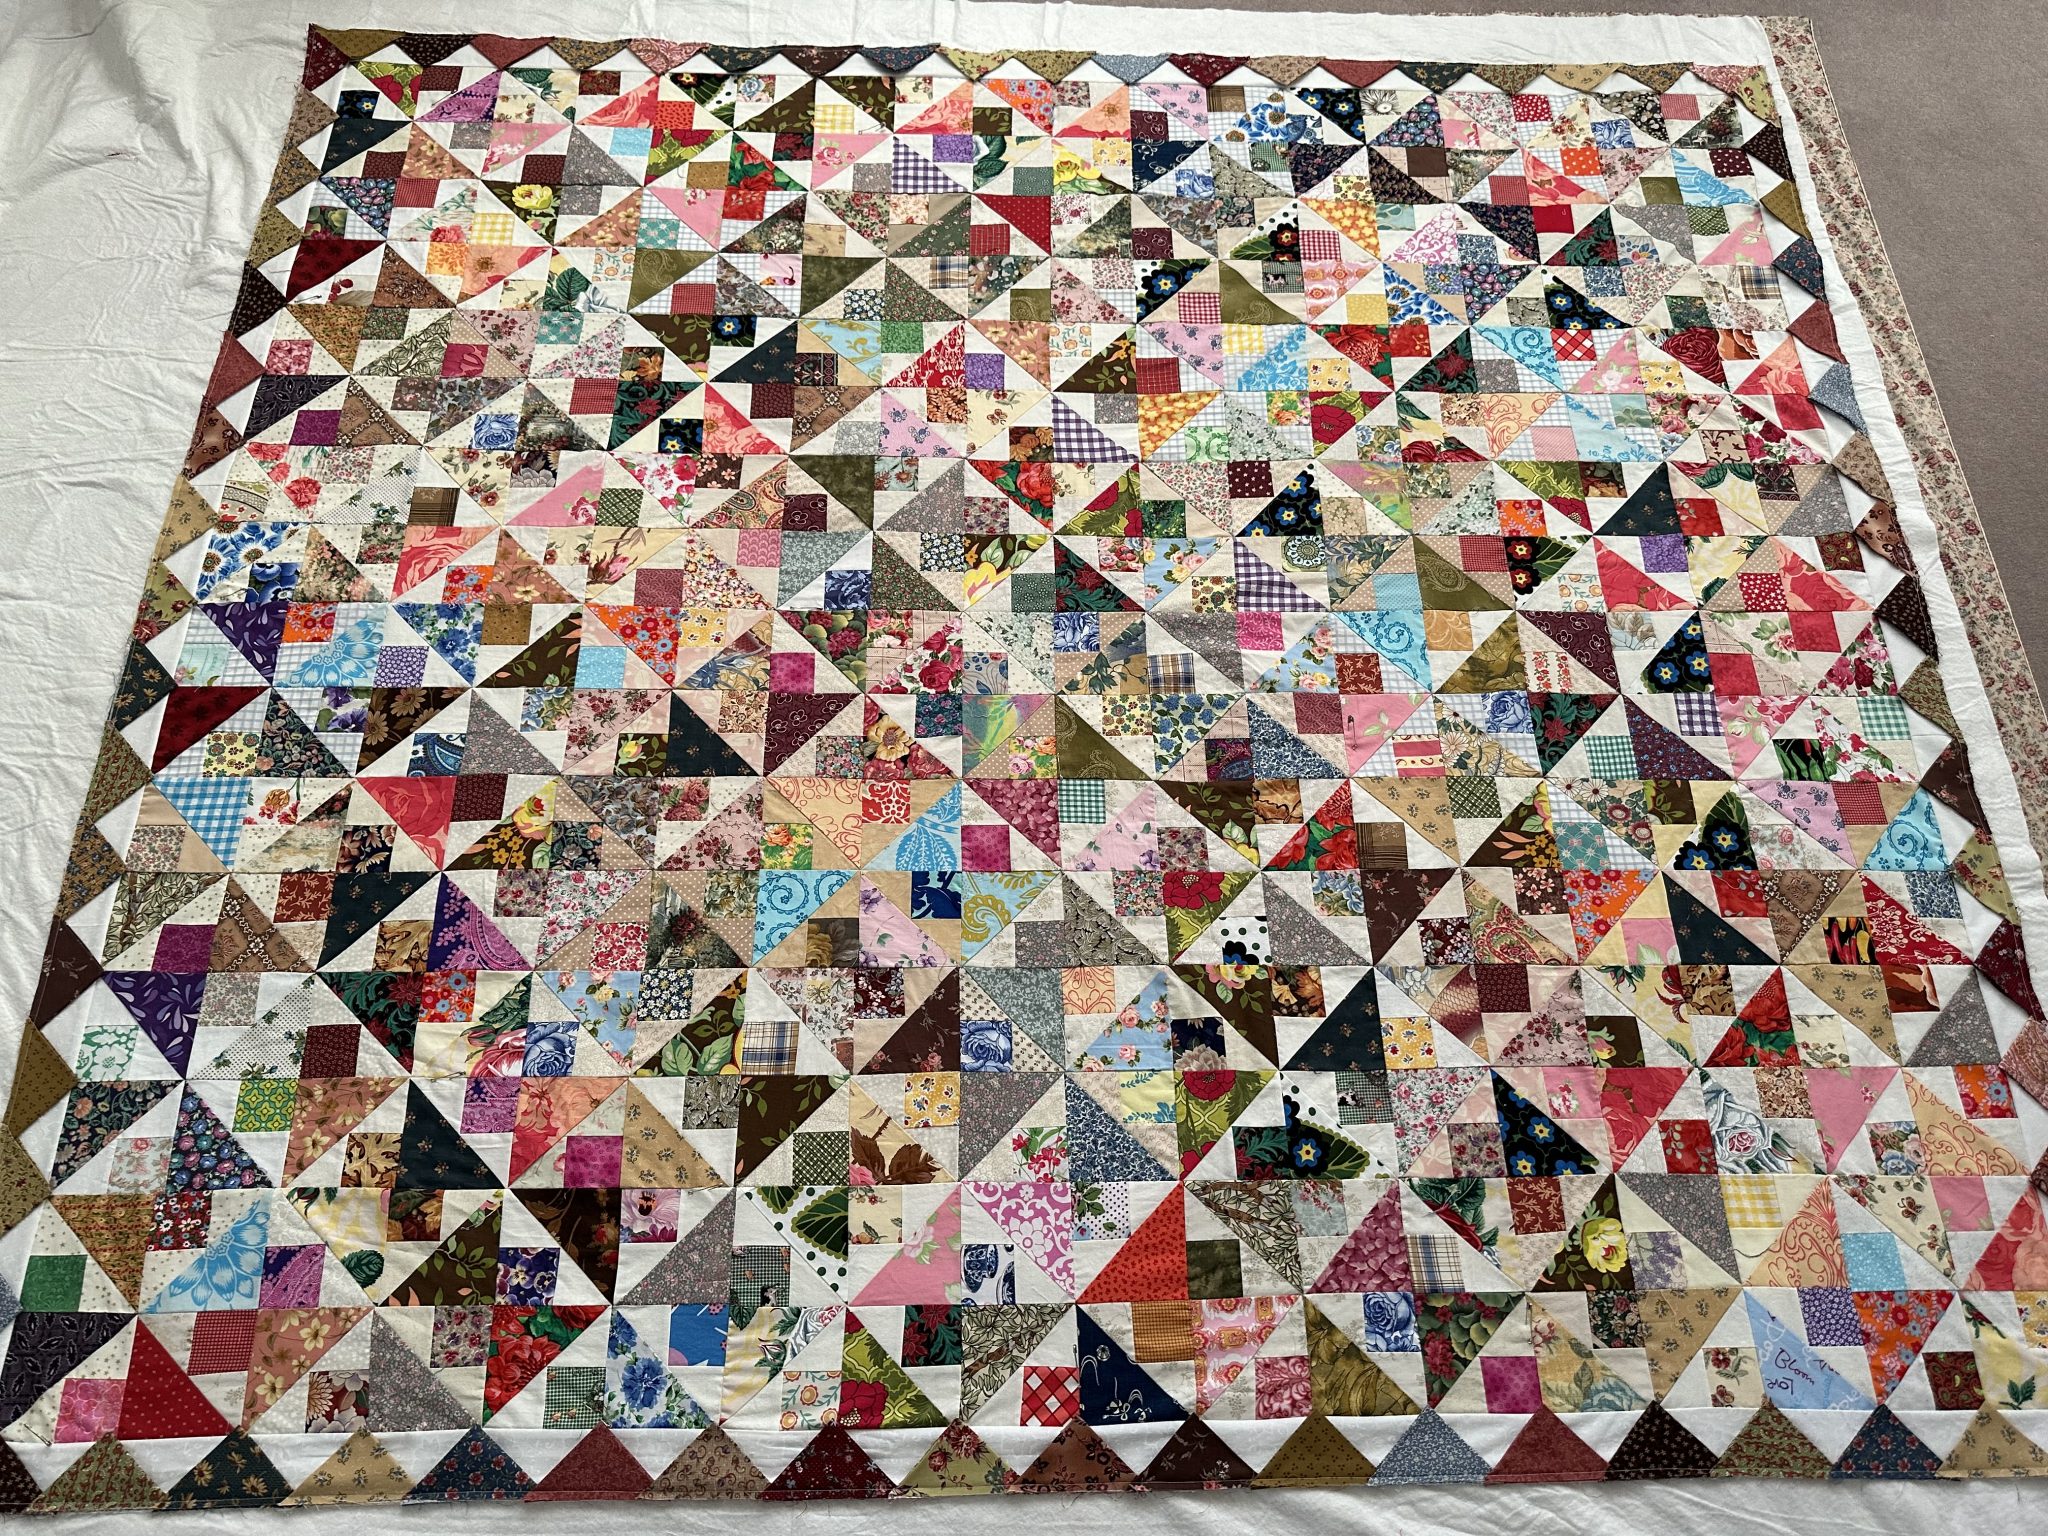
Then yesterday, the illumination did occur. I realised that it needed some kind of framing and so I set about doing that by then adding prairie points to the perimeter which I think really sets it off by giving some colour and diagonal movement which compliments the design without competing with it. This is how I did it.
This quilt top measures approximately 76” x 84 1/2” including the prairie points.
Requirements for the Border and the Prairie Points
8 of cream/white 2 1/2” width of fabric strips
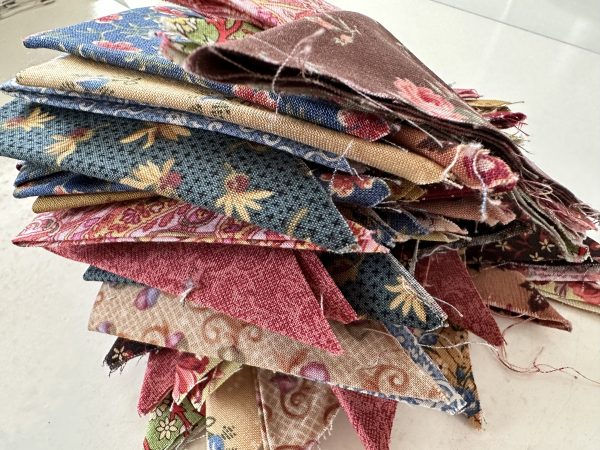
72 of 5” x 5” scrap squares
I then added the 2 1/2” cream/white borders to the perimeter of the quilt as pictured above.
Make the Prairie Points
Press each of the 72 squares once on each diagonal to form a triangle.
Placing the Prairie Points
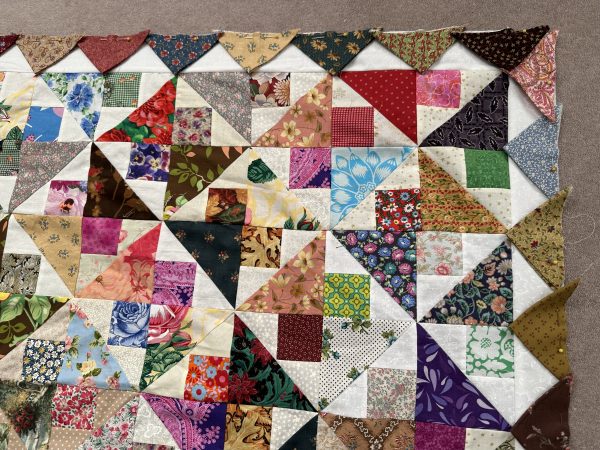
With raw edges all aligned, evenly place the prairie points around the perimeter of the quilt edge. 17 each along the short sides and 19 on each of the longer sides.
Here all the prairie points are laid out and pinned ready to sew.
Carefully machine stitch 1/4” away from the edge to fix all of the points in place.
Now all the points are stitched on the the top is laid our ready for quilting. Obviously once the quilt is quilted the points will be along the free edge and the raw edges will be slipped stitched into the quilt back.
Here is a smaller example of a quilt finished with praire points. I love the way they give some three dimensionality to the quilt and also can add some extra weight.
If you enjoyed this post, you may also like,
I Spy Pinwheels Quilt and Pattern
Scrappy Thousand Pyramids Quilt and Lessons in Pyramids
Happy sewing as always,
Susie
© Susan Stuklis 2023

