The Spinner Quilt – Part 2
Hello Dear Friends and Readers,
Wishing you all a happy and healthful festive season! Now that the hubbub of the Christmas period is drawing to a close I’m feeling good about getting back to some sewing! I hope you are too! This has to be a really good time in history to be a quilter, dont you think?
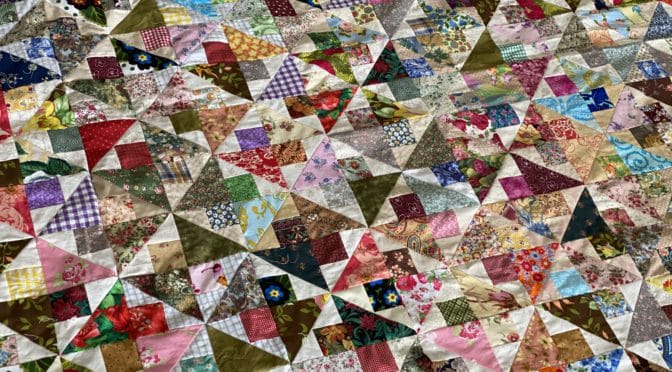
Whenever possible (not much 😂) I have been slowly working on the blocks for The Spinner Quilt. It really is super scrappy. I have tried to put this together fairly indiscriminately without too much thought of the fabrics. Just aimed to use up some scraps, and my only real consideration was contrast of light and medium/dark fabrics.
For a simple block, many secondary patterns are created when it comes together. There are the pinwheel blocks, and double pinwheels, there are strong diagional movements like zig zags running backwards and forwards,and there are hourglasses when you look again.
In case you missed it here is the link to the block.
The Spinner Blocks Made Easy – Part 1
I thought I had enough blocks a while back but then I decided it should be bigger. Even now I am considering whether I should add another row??? But for the moment I will show you what I have done so far.
To date, the finished size is 68” x 76 1/2”
Although this quilt is very scrappy it would also look amazing as a two colour quilt in solids like red or as a themed colour like blue, brown, pink, or in plaids or your fabric style preference.
Use the link for instructions to make each of the The Spinner Blocks. The Spinner Blocks Made Easy Part 1
I will give the fabric amount for scraps and also for yardage so you can choose, scrappy or otherwise.
All fabrics were prewashed and lightly pressed.
Requirements and Cutting for The Spinner Quilt from Scraps
144 of 5” x 5” medium to dark scraps squares cut once on the diagonal
288 of 2 1/2” x 2 1/2” medium to dark squares
288 of 3” x 3” light coloured squares cut once on the diagional
Requirements and Cutting for The Spinner Quilt from Yardage
2 3/4 yards/metres of medium to dark fabric, cut 18 of 5” WOF (width of fabric) strips and cross cut 144 of 5” x 5” squares. Cut each 5” square once on the diagional.
1 1/3 yards/metres of medium to dark fabric, cut 18 of 2 1/2” WOF strips. Then crosscut 288 of 2 1/2” x 2 1/2” squares
2 yards/metres of light coloured fabric. Cut 22 of 3” WOF strips. Cross cut 288 of 3” x 3” squares. Cut each square once on the diagonal.
Making The Spinner Quilt
Make 72 of The Spinner Blocks Made Easy
Here is the first few blocks as they were coming together. The diagonal relief of the pattern is starting to show. All of these blocks were sewn by treadle.
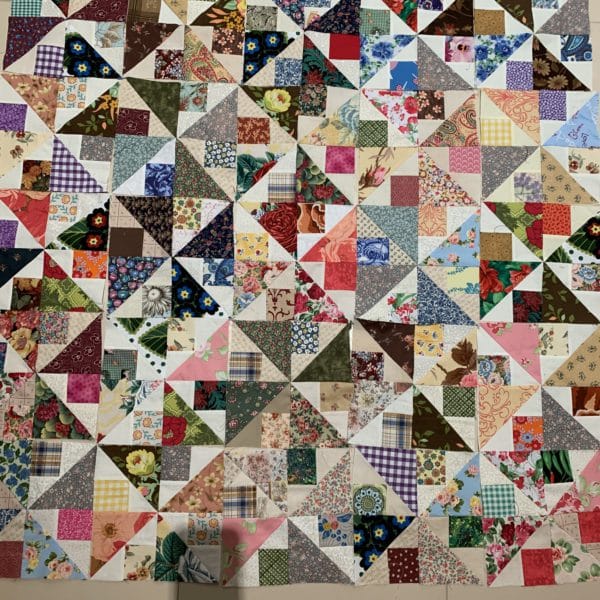
Lay out The Spinner Blocks in a 9 x 8 configuration.
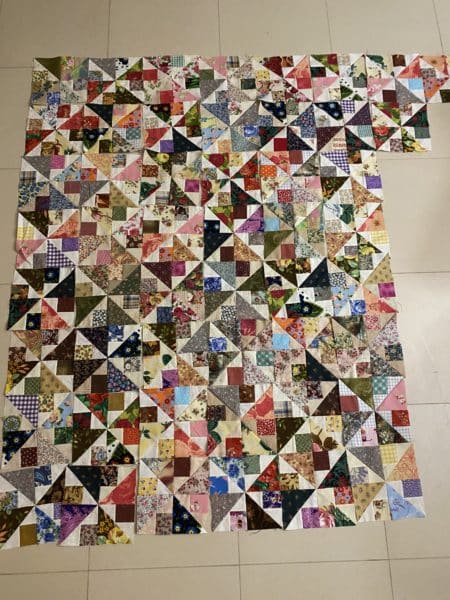
Here is the quilt coming together. Use a 1/4 seam to sew all the blocks together. They have been scaffolded together to keep it neat. For more information about this, see this post Nesting Quilt Block Seams
Make sure to nest the seams and line up the blocks as they are sewn together.
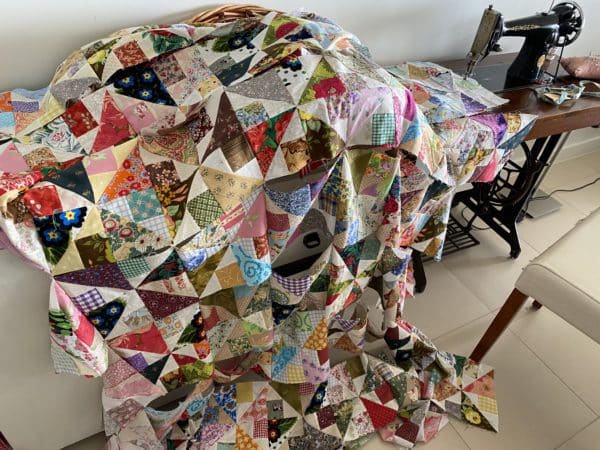
Now all the blocks are sewn together.
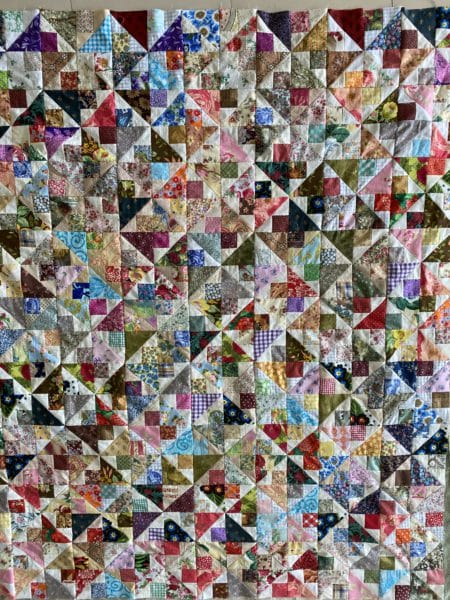
I’m loving that diagonal movement!
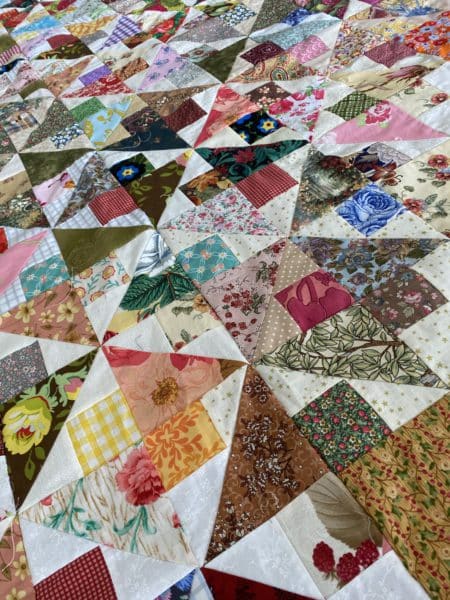
Lots of fun!! Lots of scraps!!
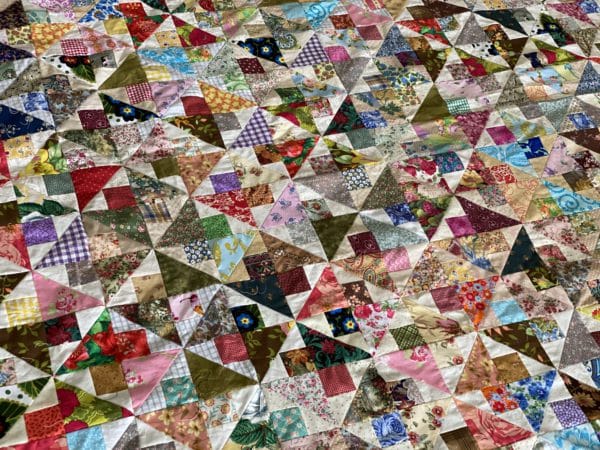
Happy New Year! Take care.
If you enjoyed this post you may also like
All the best,
Susie
© Susan Stuklis 2021

