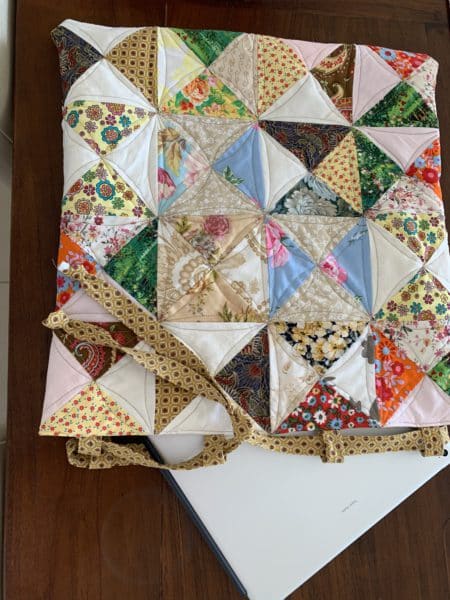
Patchwork Backpack Sashiko Style
Hello Dear Friends and Readers,
Today I would like to share with you a lovely project.
You can definitely use up some scraps, or better yet some left over patchwork blocks! You know the kind, surely you have some too, in a draw or bag somewhere that just haven’t found their way into a project.
I’m using these hourglass blocks that were laying around. Here is some of the links if you would like to make some really quickly!.
Hourglass Super Fast Blocks Tutorial
or these
Scrappy Yankee Puzzle Block Made Easy
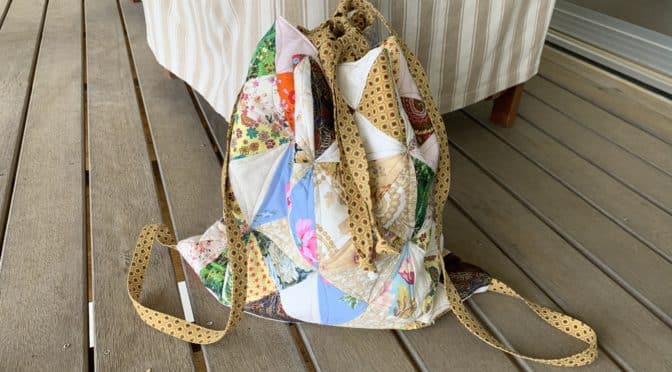
I put them together then quilted them onto some batting. Then I have put it all together to make this lovely super useful backpack. Anytime of the year is a good time to make this. And Christmas may be even better, if you want some gifts, or one for yourself – even better! By the way, it is so comfortable to use.
Lets not waste time because Christmas really is coming!
Requirements for one Patchwork Backpack Sashiko Style
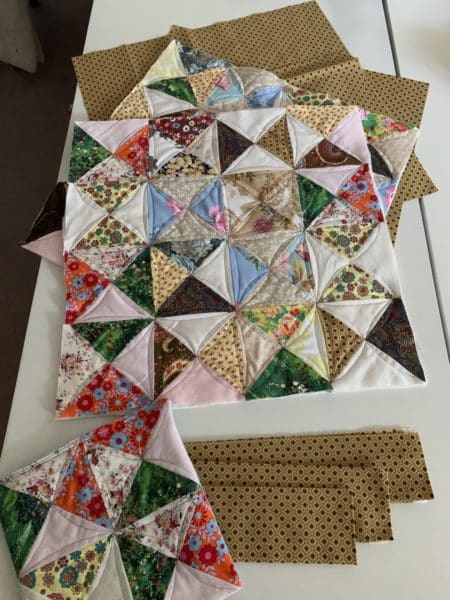
I used 36 of the hourglass block units as stated above. I used two sets of 16 in a 4 x 4 configuration. These measure 16” x 16”.
And one set of 4 for the pocket measuring 8” x 8” (optional)
2 pieces of batting 18” x 18”
1 piece of batting 10” x 10 “
I quilted them in a Sashiko style. It gave the bag pieces nice body. Here is the link.
2 squares of fabric 16” x 16” for the lining
1 square of fabric 8” x 8” for the pocket lining
and 3 of 2 1/2” width of fabric (WOF) strips
Method of Construction
All seams based on 1/4”, except where otherwise specified.
Trim all the quilted bag pieces to 16” x 16” squares. Trim the pocket piece to 8” x 8” square. Put the quilted pocket piece and the pocket lining, right sides together. Sew a 1/4 seam all the way around the edge leaving an opening for turning. Clip corners. Turn right side out. Tuck in raw edges and top stitch close the pocket edge.
Centre the pocket onto one of the lining pieces. Pin and then stitch around three sides to attach the pocket.
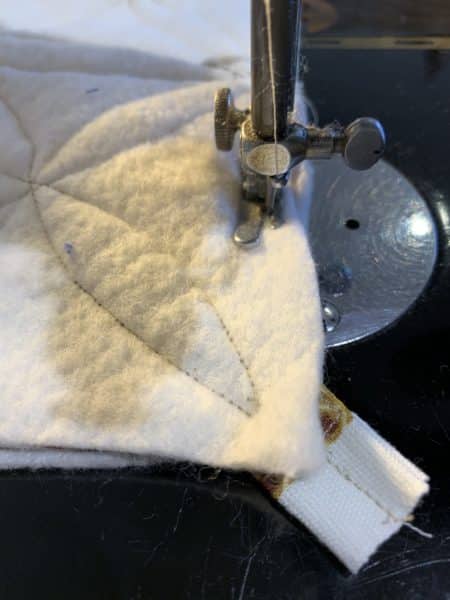
Take the three lengths of 2 1/2” WOF strips. Fold in the longitudinal lengths to meet in the the centre then fold on half. Pin well and complete for all three strips. Sew very close to the edge of the strips to close them. Sew along the closed side of the strip in the same manner.
(TIP) Sew both off these seams from the same direction. This will help to avoid warping of the strip.
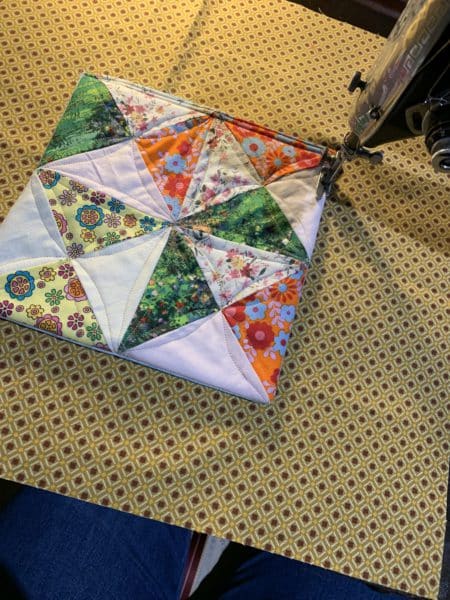
Sew three more times down each strip at equal distances as pictured below. This helps to make the straps very flat and give a professional look.
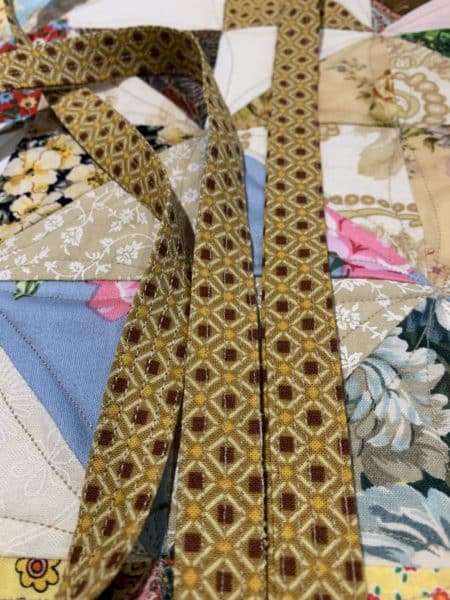
Put the two right sides of the quilted bag pieces together. Position a strap in each of the bottom corners on a 45 degree angle inside the bag with the end of the strip sticking out of the corners. Pin well.
Make sure the rest of the strips are free inside and not in the stitching line.
Sew down the sides and base of the bag, backstitch over the strap corners to give it extra strength.
Put the two lining pieces together. Make sure that the pocket is the right way up. Stitch down the sides and along the base of the bag lining.
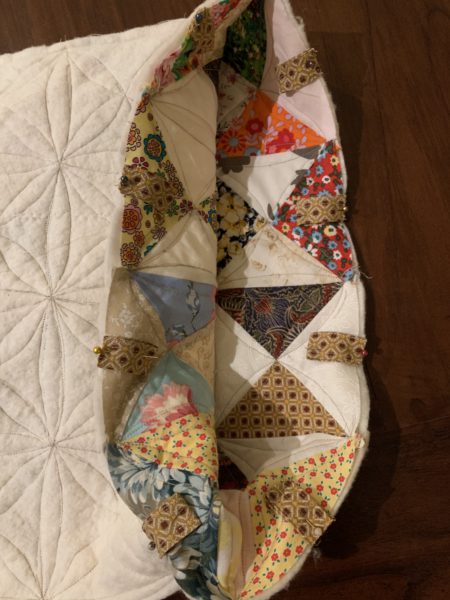
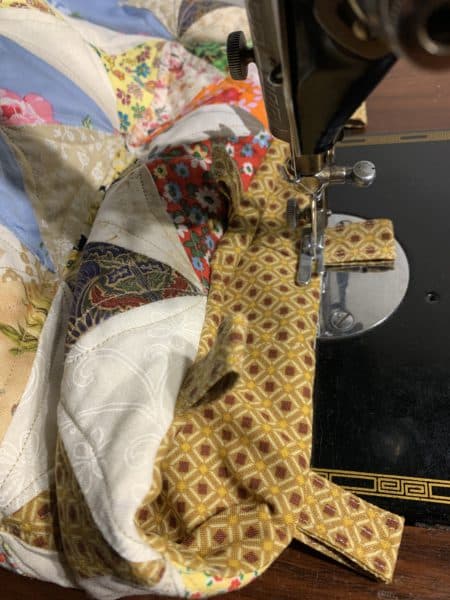
From the third strap cut 8 of 2 1/2” lengths. Fold each one in half and pin to the upper side of the bag edge, raw edges aligned at the centre of each hourglass block as pictured below. These will make the loops for the straps.
Stitch around the top edge to secure.
Turn the lining right side out. Place the lining into the bag, so that the right sides are together and the top raw edges are aligned. Make sure that the straps are sitting freely in the bottom of the bag. Stitch around the top of the bag leaving an opening for turning, at least 6”.
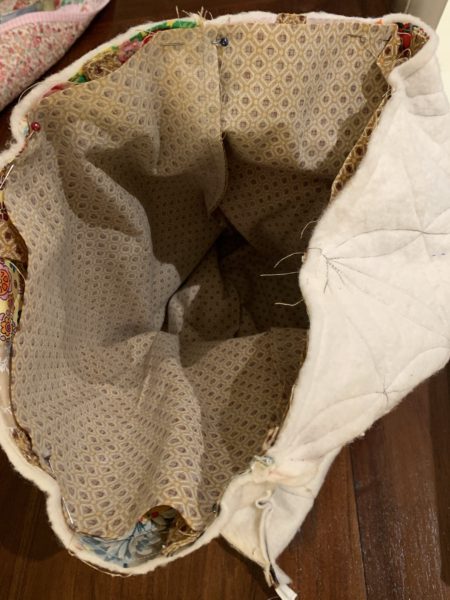
Turn the whole piece to the right side through the opening. It should look like this.
Tuck the lining into the bag. Tuck in the raw edge opening by 1/4”. Pin well. Top stitch very close the top edge of the bag, ensuring that the loops are standing out nicely.
With the bag facing you, bring up the right strap and beginning from the centre back, feed through the four loops on the left of the bag.
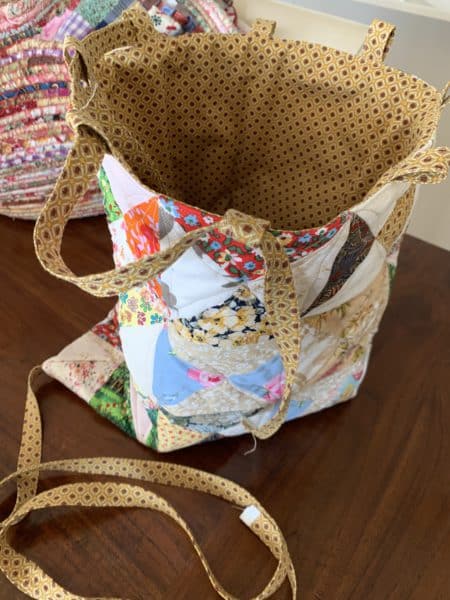
Now bring up the left strap and beginning from the centre back, feed through the four loops on the right side of the bag.
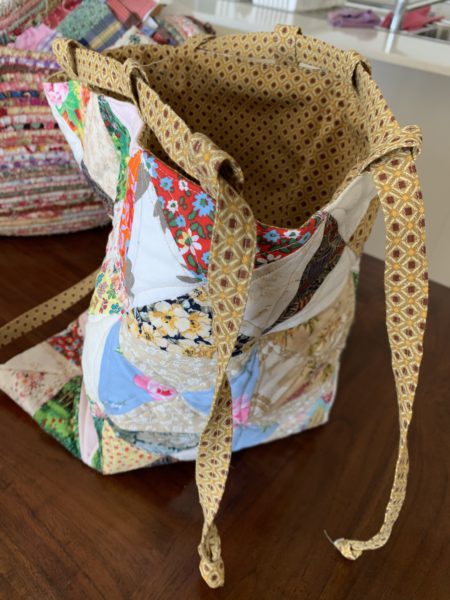
Tie a firm knot at the end of each strap. Make sure that the straps are sitting nice and flat all the way through then bring the two straps together and tie them together. I left a length of about 6 inches. You can adjust this length to fit your body.
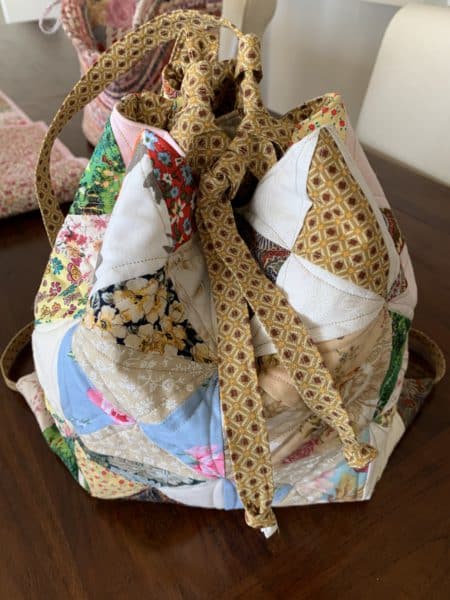
Your backpack is ready to use.
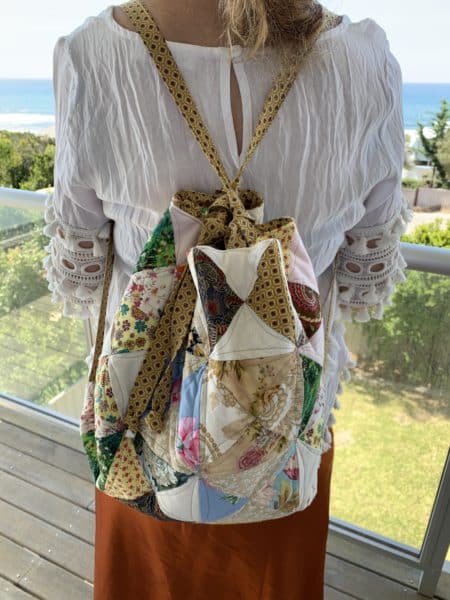
And it is device friendly too!
Perfectly fits your tablet and phone with room to spare.
If you make one please feel free to let me know! I would love to see it.
If you enjoyed this post, I believe you may enjoy this post too!
or this one…
Hope you all have a lovely festive season!
Susie x
© 2019 Susan Stuklis

