QAYG Backpack Quick and Go
Before I launch into this post, seriously, how many times do you think, I just want a bag I can throw on quickly, and be hands free. Its got to be easy to use, comfortable and quick to open and close.
In a short time, we will be moving to our new hospital. This has been a major production as you can well imagine. And as it turns out, it is the most expensive hospital in the world!
With a major change in how we work, how we arrive at that destination and how we will interact physically within the workspace, it turns out that we will be required to be even more self-sufficient and just like a highly organised worker ant. With this in mind, I have been considering all the ways I can pare down my daily situation by taking only the barest minimum with me to work. When one envisages being faced with a very fluid situation and nowhere to dock anything of a personal nature, efficiency must come to the fore.
So I dug out a very thin folding Backpack I bought many years ago in Japan. And while it has served the purpose for the moment, I recalled that I had already repaired it in the past and it wont take a lot of wear and needs to be replaced. So the other week when my work colleague Jane, was sporting a small neoprene Backpack, it got me thinking again about sewing my own. I am inspired by the shape, it’s small and compact. I’m taking inspiration from my previous bag design, the Patchwork Celebration Bags too.
Patchwork Celebration Bags – Antique Japanese Style Tutorial
So here is my plan for QAYG (Quilt As You Go) Backpack Quick and Go.
All fabrics have been prewashed. All seams based on 1/4″.
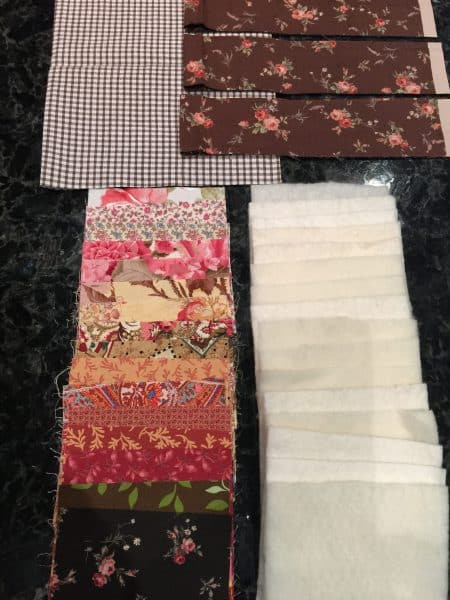
Requirements for one QAYG Backpack Quick and Go!
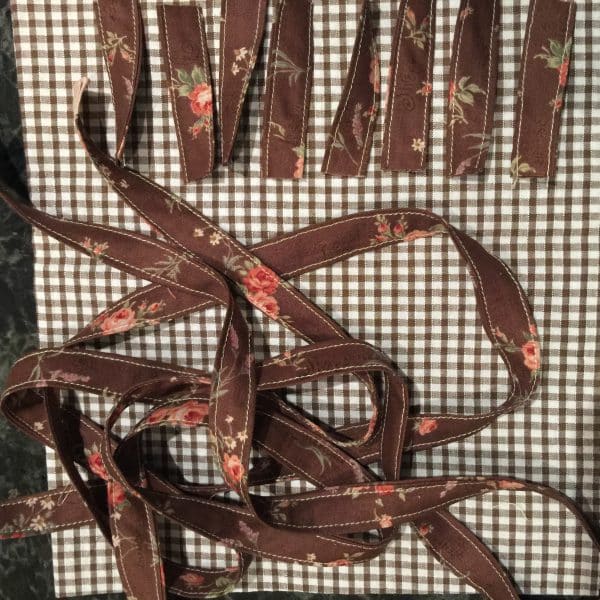
Take the 3 strips. Bring the long sides to the centre, so the right side is facing then fold in half and pin. Sew along each side of each strip. Leave two strips whole. Sub cut the third strip into 2 1/2″ lengths. You will need eight.
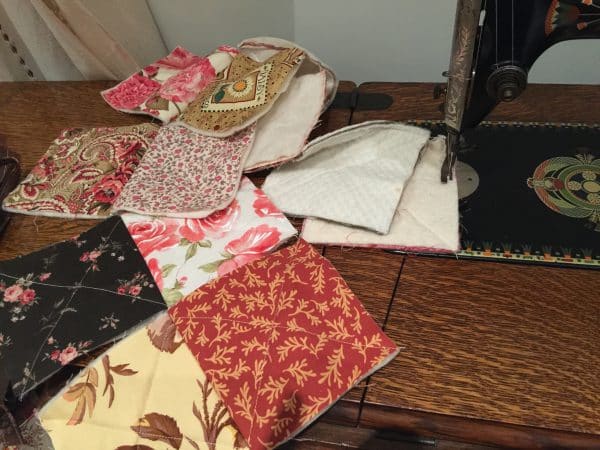
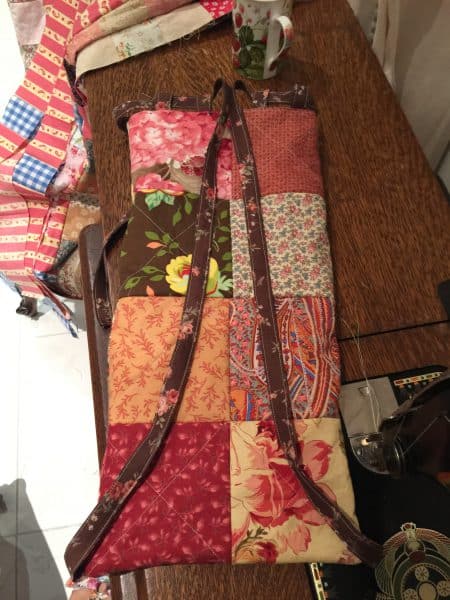
Sew the sixteen squares together into pairs then into a strip that is 2 x 8 squares.
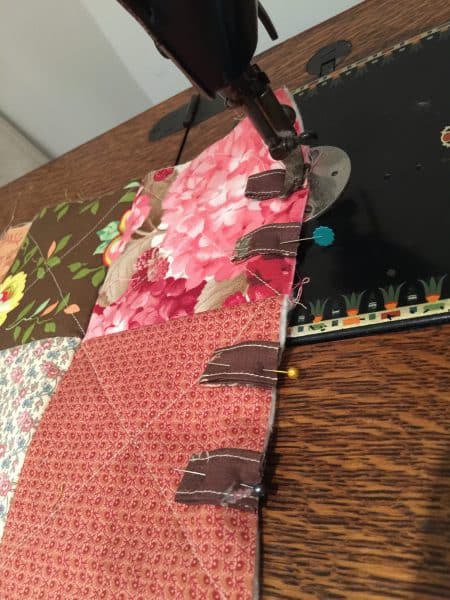
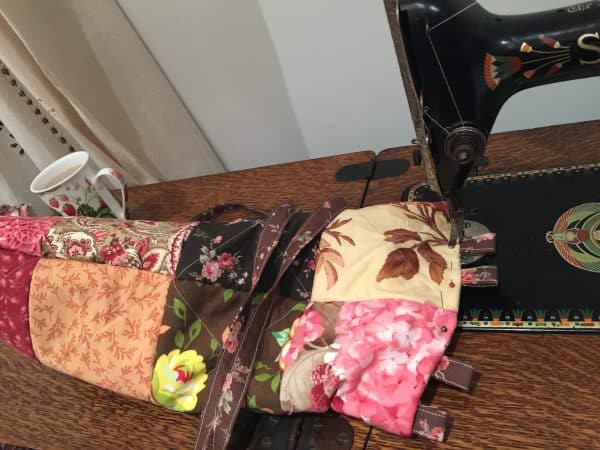
Fold the eight tabs in half. Position them equidistantly, four on each short side, raw edges aligning. Stich in place.
Cut the 9 1/2″ WOF strip to match the bag outer. Should be approximately 37 1/2″ long. Fold in half right sides together. Sew down each long side to make the bag lining.
Take the two long strips. Place just above the seamline half way along the long sides.
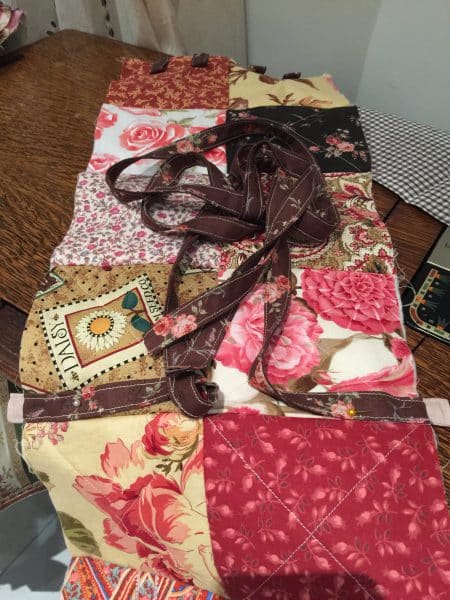
Place the straps so that they lay on the inside with the raw edges aligned as pictured. Pin in place. Fold the bag in half, short sides together. Pin the long sides matching the seam allowances. Sew down the long sides. Place the bag lining inside the bag, right sides together. Align side seams. Sew around the edge leaving about a 5″ gap for turning. 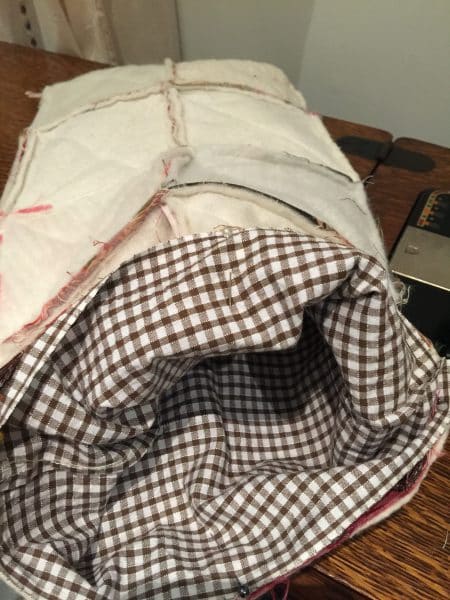
Turn the entire piece to the right side. Turn under a 1/4″ seam allowance at the opening. Pin. Top stitch around the top edge to close.
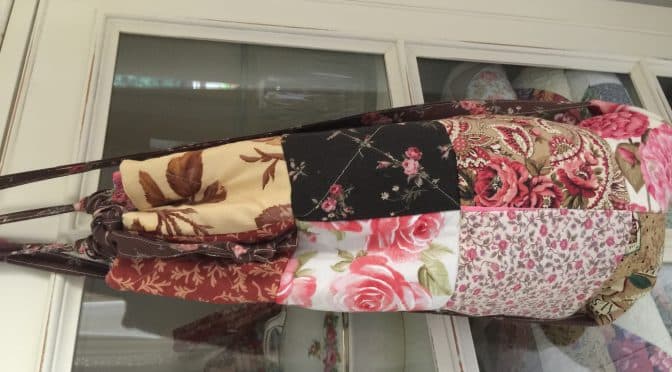
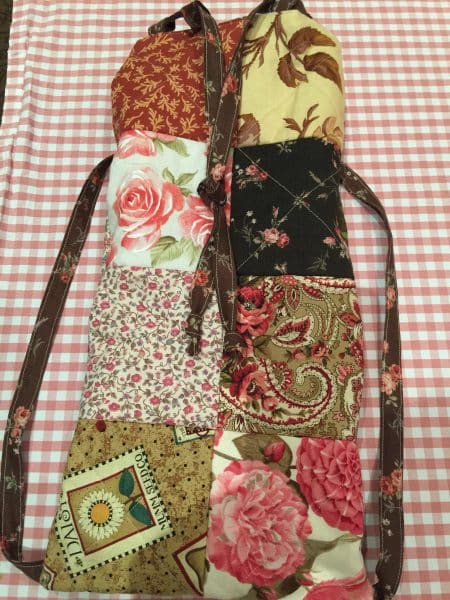
With the bag facing you. Bring up the straps from each side. Try to keep flat. Thread the left strap from the left centre tab and through the next three. Repeat with the right strap.
Tie a knot at the end of each strap. Now bring the two straps together and tie them into a knot about 6″ from the ends.
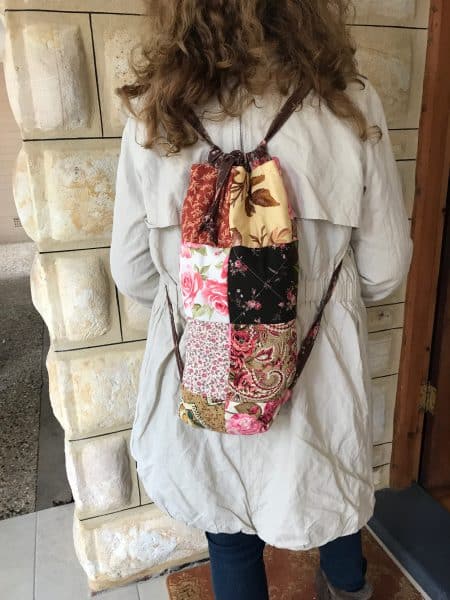
Enjoy you QAYG Backpack Quick and Go! Super comfortable! Christmas is coming! This would make a great gift for someone you love!
Have fun! Susie x

Sorry I got lost during your instructions. Looks great but which you would make a video tutorial.
You are just tooooooo clever.
Ideal for when I am walking my cat..
Yes I am that crazy lady that takes her cat for a walk..😱😱