Stitching by the Pool – Six Pointed Stars Antique Inspired
Hello hello Dear valued Friends and Readers. Welcome to today’s post. I just love stitching! I feel like it is such a privilege to have you all visit! My mission is to inspire you to make something today. And to use something you already have. Don’t go shopping. Go to your cupboard. Really. There will be something you can use. This project is done by hand stitching. Even if that is not your regular thing, I believe it is really lovely to have at least one hand stitching project in progress. Why you may ask? Well, for one thing, it is extremly relaxing, Hand stitching is a quiet and rather theraputic pursiut which also travels well, especially when it is small. I always try to take a hand stitching project with me on a holiday or if I have to be somewhere waiting. While We Wait Another advantage is, it lends itself to stitching shapes which may not be machine friendly.
Having said that, these stars could be machine pieced with a lot of care….
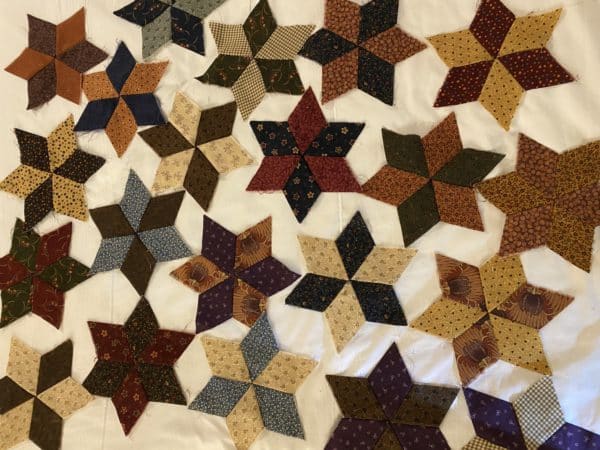
The inspiration was provided when my friend Ellie, sent me some of her beautiful scraps. Thank you Ellie! Amoungst them was some jelly roll strips which appear to be antique reproduction prints, at a guess. As I have always wanted to make some six pointed stars it seemed like a logical and obvious use for the strips. So, I cut some delicious diamonds and packed them nicely to take on holidays with me and escape the winter cold for a little while.
Requirements for the Six Pointed Stars Antique Inspired
Do you have some 2 1/2” strips lying around? Or……an “aging” jelly roll somewhere? These are easy to cut into diamonds for this Six Pointed Star Block – Antique Inspired.
Are you ready…the cutting is easy. Nothing special required. Just a cutting ruler with a 60 degree line on it and a rotary cutter.
Cutting the 2 1/2″ strips
It is important that the strips are accurate in their 2 1/2″ width. When I say that I am referring to 2 1/2″ width of fabric strips.
Lay out a strip on the cutting board. A few can be stacked if preferred. If you want to fussy cut – then stick with one at a time.
Make sure the strip/s are as straight as possible. Position the ruler with the 60 degree line aligned with the top edge of the strip. For the first cut make sure the ruler is near the beginning end of the strip. Make the first cut.

Move the ruler so that it is 2 1/2″ from the first cut maintaining the 60 degree line at the top edge and the ruler edge is parallel with the first cut. I hope that makes sense.
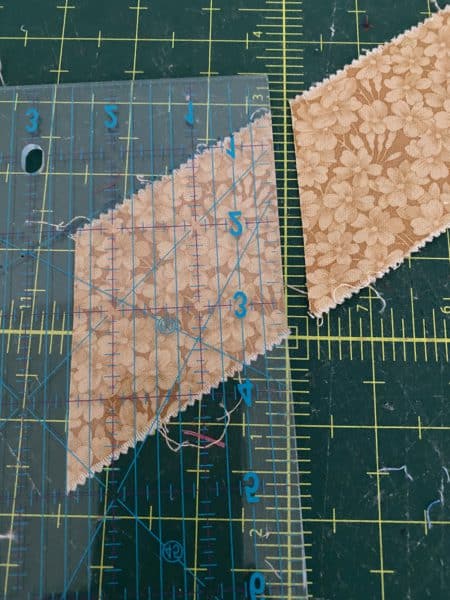
Continue cutting in the same way for the rest of the strip. At least six diamonds should be able to be cut from one width of fabric strip.
It certainly gives a feeling of accomplishment having a nice stack of diamonds ready for hand piecing.
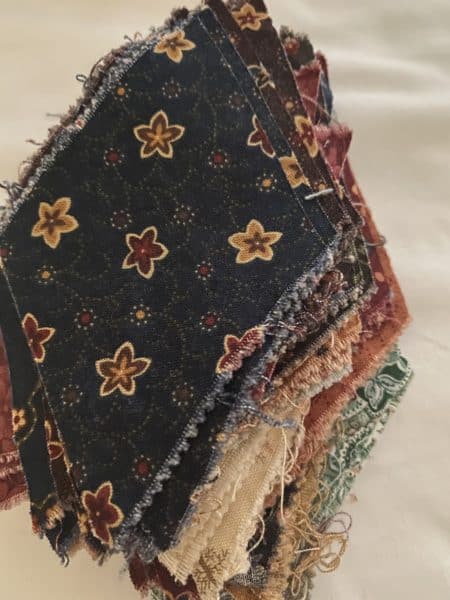
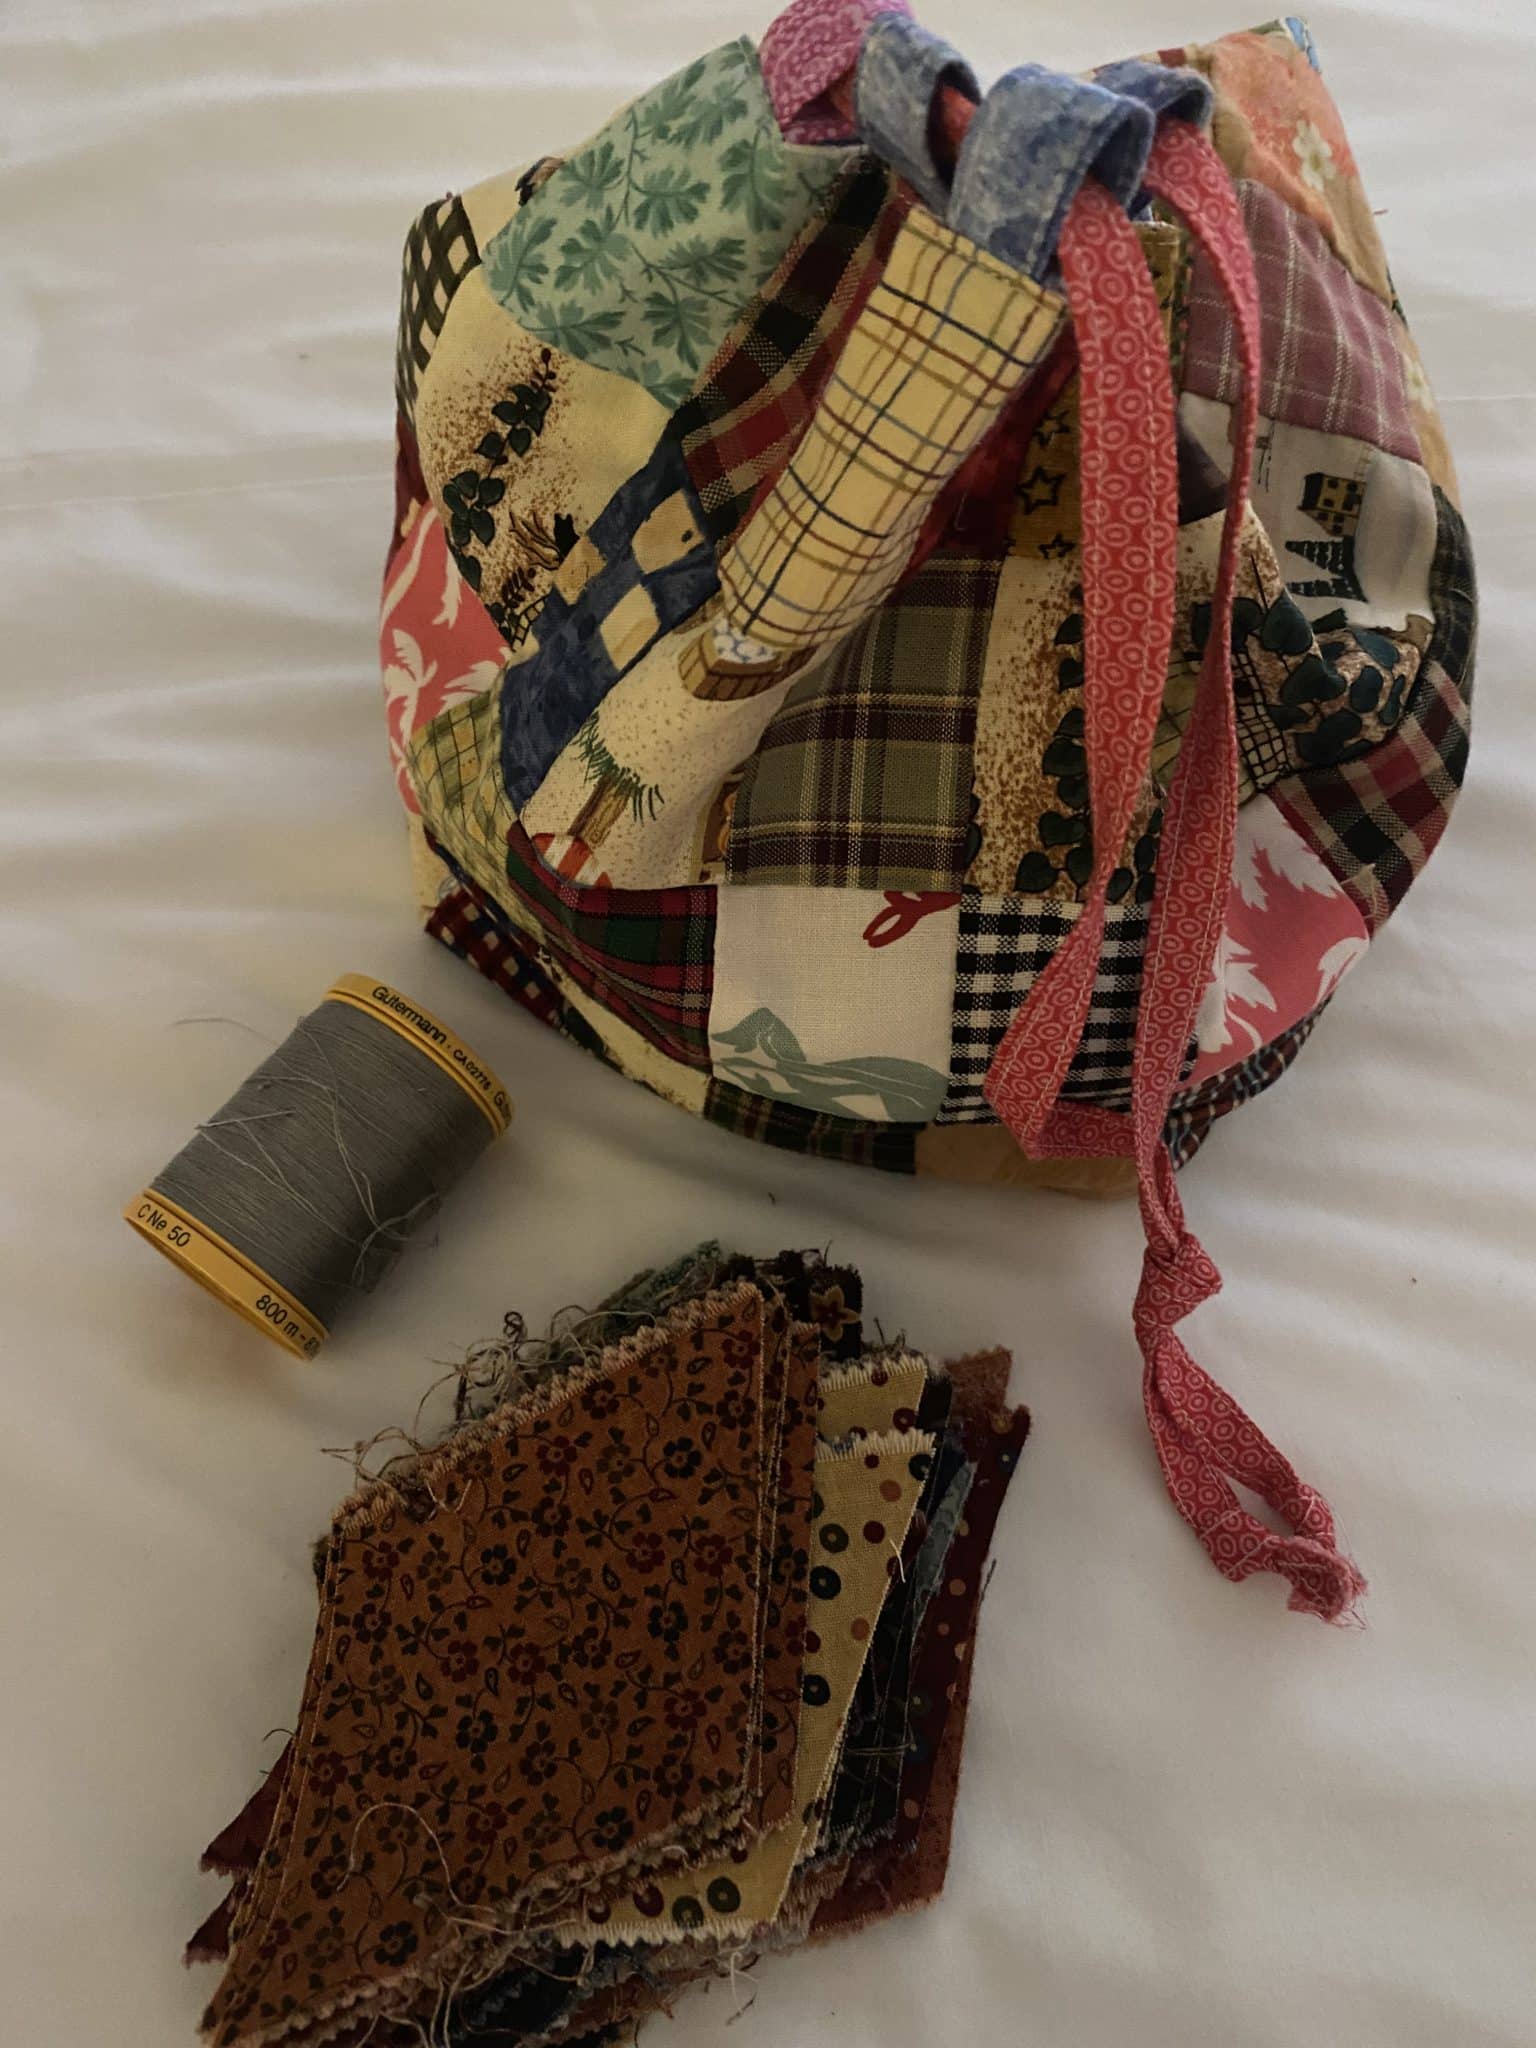
They can be packed into a nice little bag ready to take with you. I’m using this one. This Patchwork Celebtion Bag can be easily made from scraps. This is the smaller version.
Patchwork Celebration Bags – Antique Japanese Style – Tutorial
Stitching the Six Pointed Star Antique Inspired
Now for the yummy stitching. Choose six diamonds three each of two different fabrics.
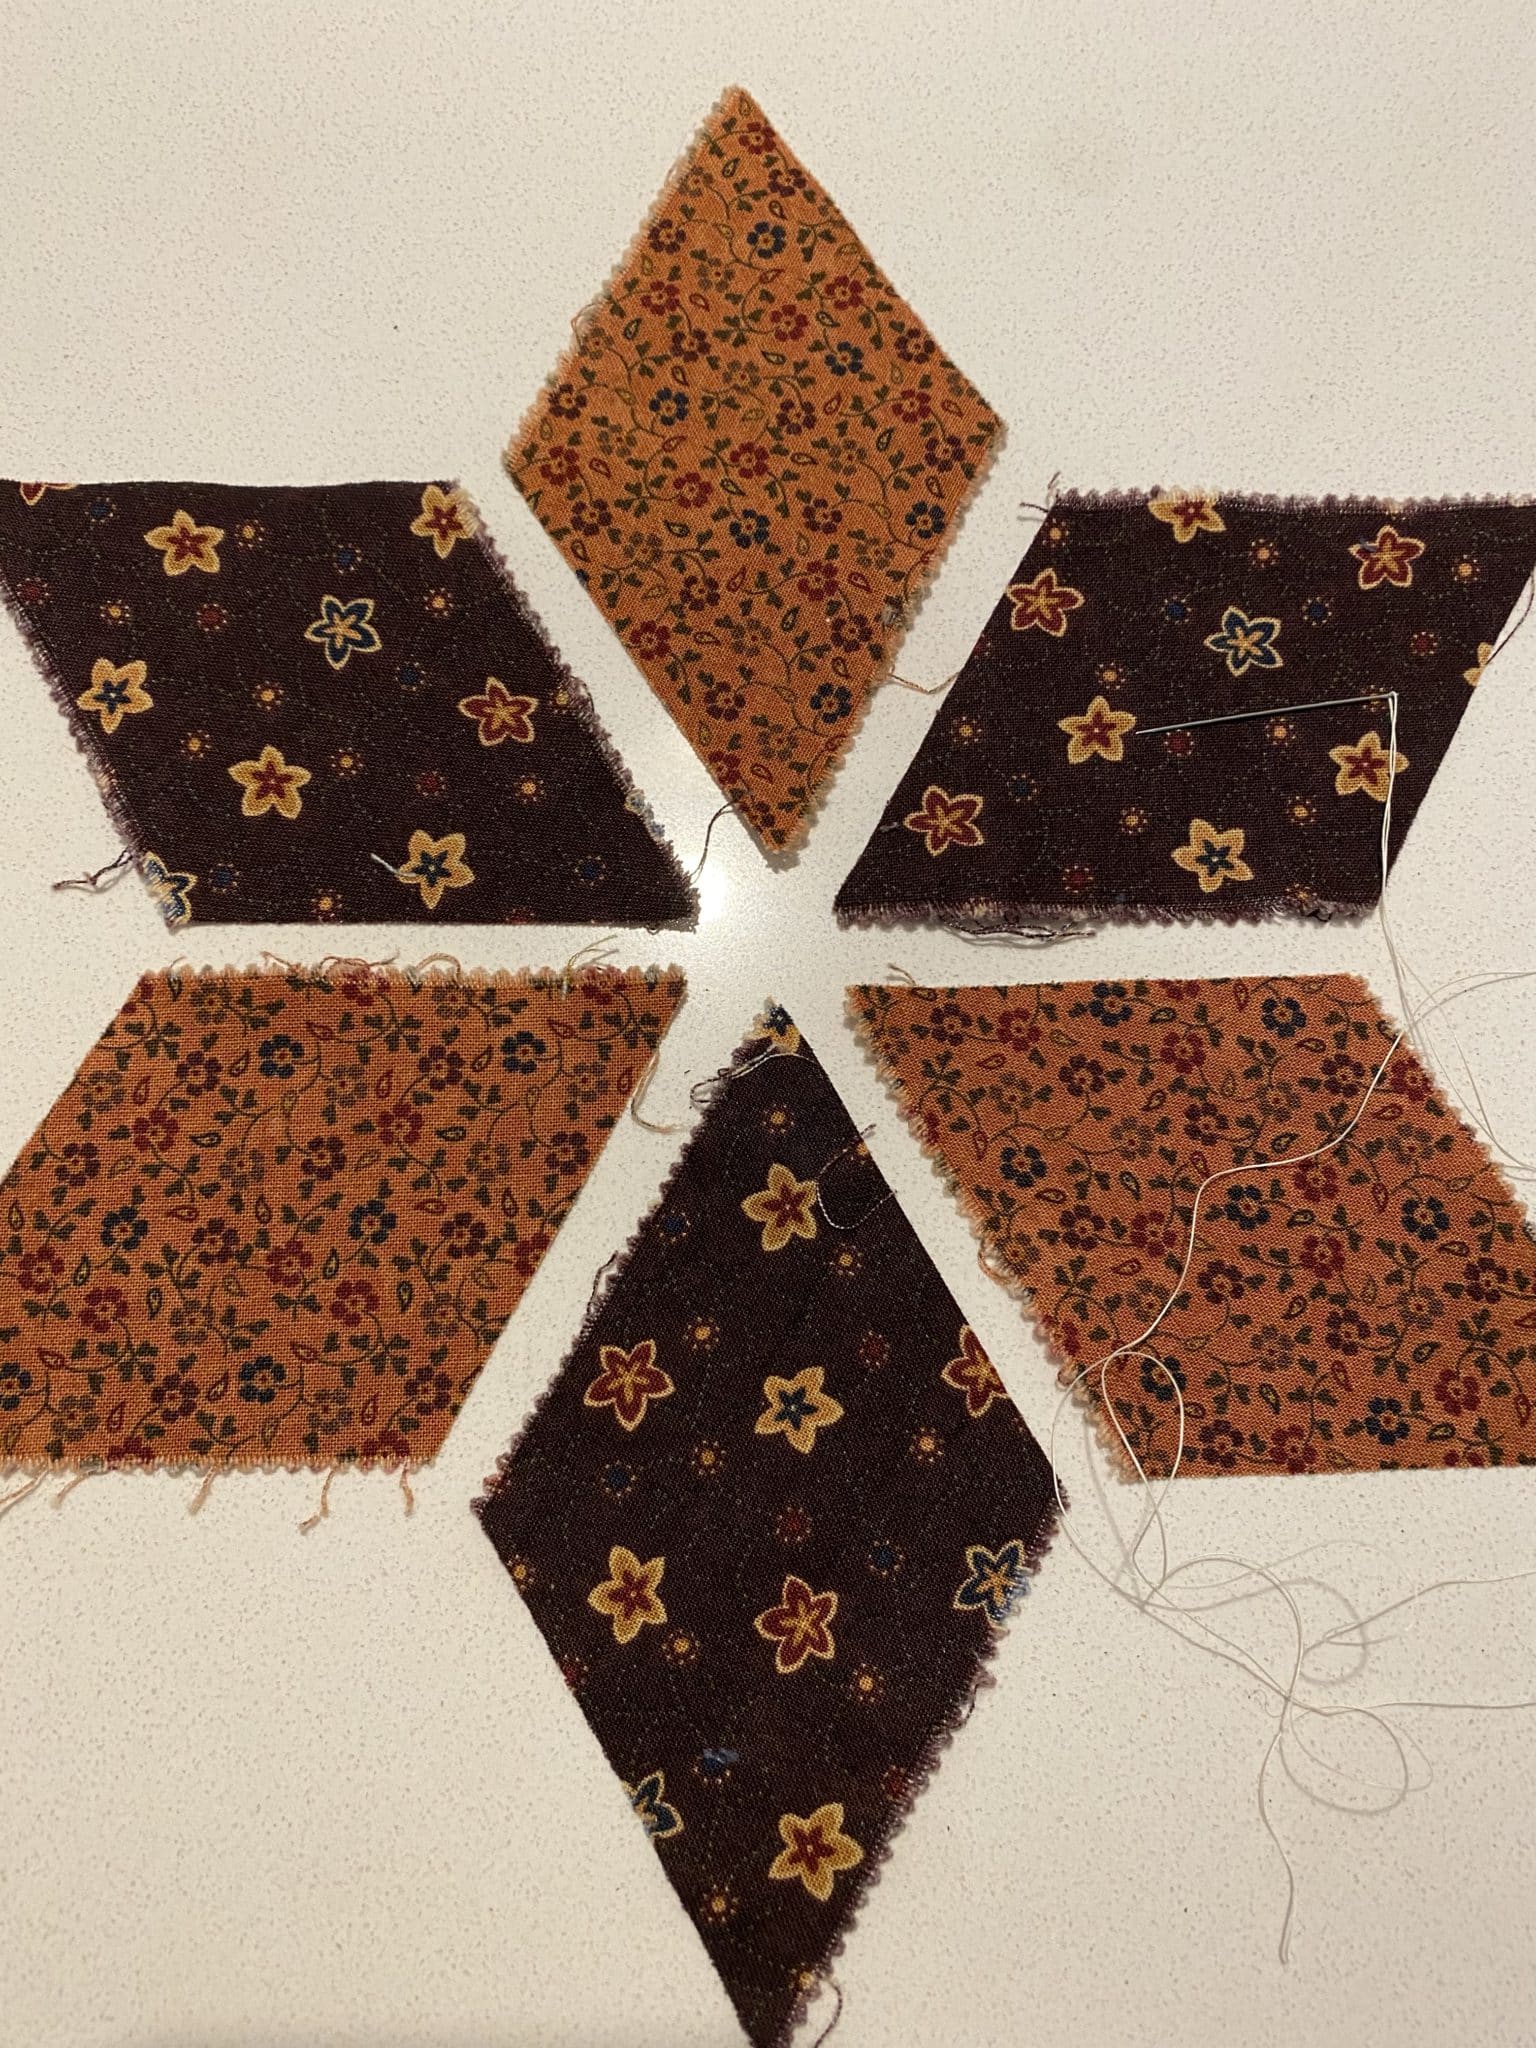
Put two different diamonds right side together. Using a quarter inch seam allowance and beginning the seam approximately 1/4″ to 3/8” from the diamond end, use a small running stitch to hand stitch the seam along one side and finish with a couple of locking stitches 1/4″ from the end.
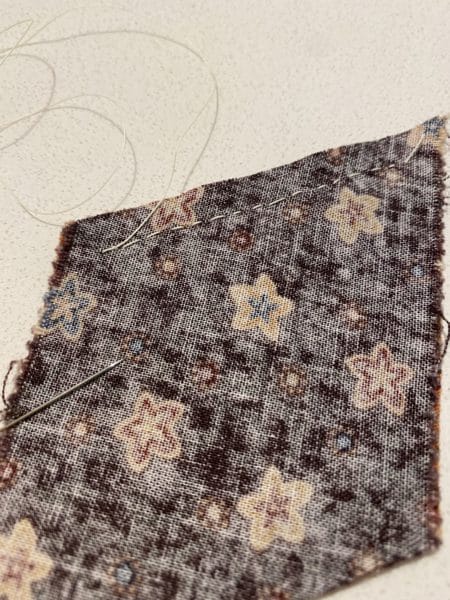
Open the two and place the next diamond alternating the fabrics and taking care to match each new diamond with the previous one.

Sew the remaining five seams in the same manner.
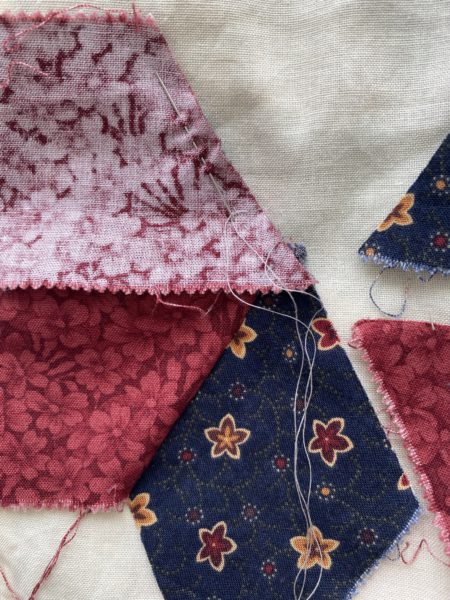
Continue until the six diamonds are used and the star is complete.
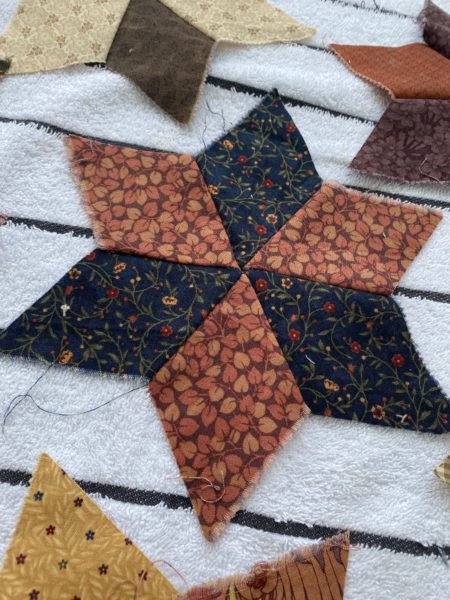
Actually quite simple.
These Six Pointed Stars stitch up surprisingly quickly!
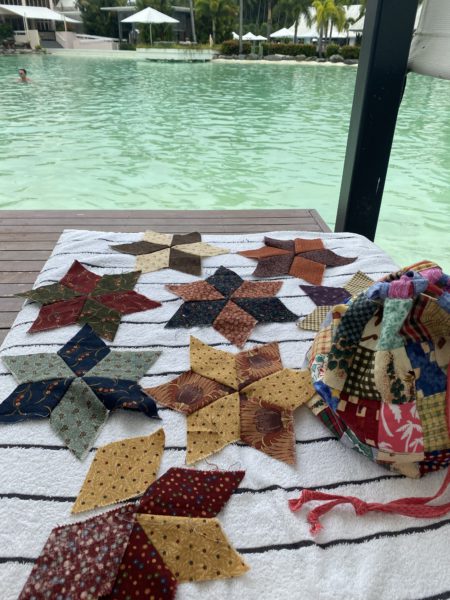
And indeed it is so relaxing. Stitching by the pool!
Here is the link to part 2
Six Pointed Hexagon Stars Antique Inspired Part 2
If you enjoyed this post, you may also like
Hand Pieced Spool Blocks with Instructions
Starmania Trip Around The World quilt challenge
Holiday Stars Quilt and Pattern
Orange Peel Quilt with Charms – Journey so Far
Grandmother’s Flower Garden Quilt Like Grandma Used to Make
Happy Hand Stitching,
Susie
© Susan Stuklis 2022

Hello Susie. Thank you for this tutorial. Not something I would do but I enjoyed reading your post. Nice to see you by a pool keeping cool. Greetings from a hot UK – we have a weather warning for next Monday/Tuesday – I’ll be indoors with the doors closed and the blinds down. I have plenty to keep me busy indoors. Have a lovely weekend 🙂
Have you ever tried Inklingo by Linda Franz? You print the lines on the wrong side of the fabric with your printer. A lot of people really like using it but I have yet to try it, though I have purchased the Lucy Boston Quilt pattern from her.