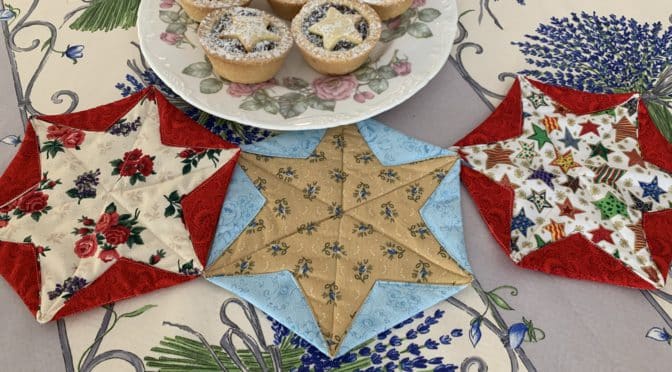
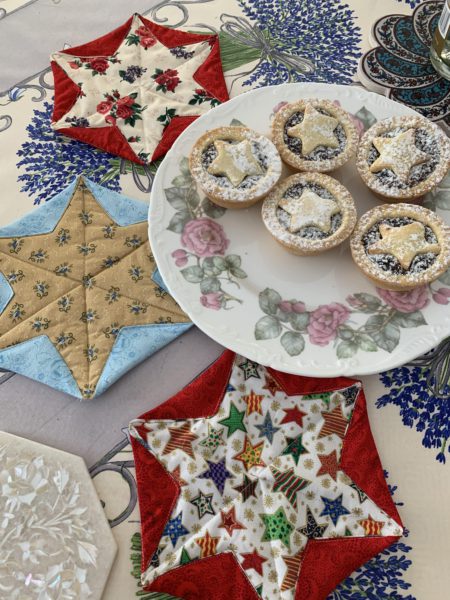
Hexagon Star Snowflake Trivet
‘Tis the season…..
Hello Dear Friends and Readers, Season’s Greetings and best wishes to you all!
I just have to tell you, I’ve been busting to get to the sewing machine to make something! Preparing for the Christmas rush is lovely but time consuming……
Anyhow I wanted to share with you all a wonderful, last minute Christmas project/gift which you might enjoy for your Christmas table. There are never enough trivets at this time of year and having some with a Christmas theme look wonderful on the table!
This is pretty much a Quilt As You Go project.
Once you have cut your hexagons it is quick and easy to sew. As always you can make it with your scraps and it is perfect for left over batting pieces! I don’t like to harp on, but pre-washed fabric is best. When cutting Hexagons, the size refers to the length of each of the six sides of the hexagon.
Requirements for one Hexagon Star Snowflake Trivet
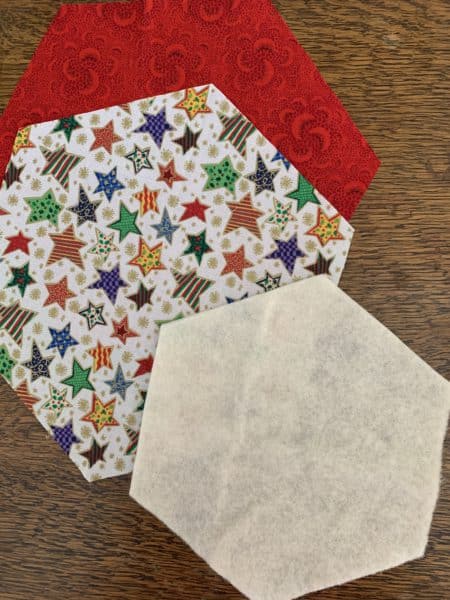
2 of 5“ hexagons, one dark, one light fabric
1 of 4” hexagon batting piece
Cut your own templates or download some, here is an example for the 4” hexagon.
Method
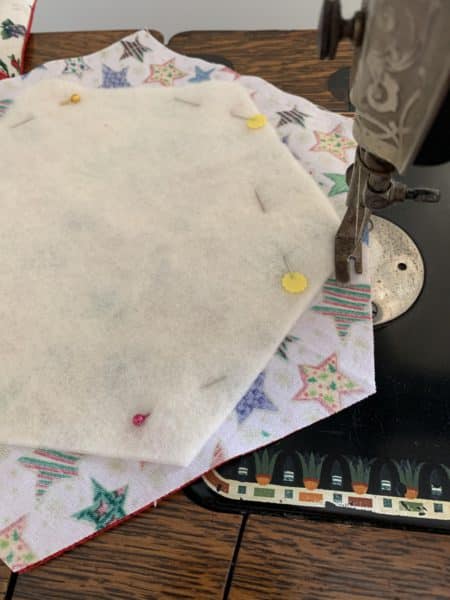
Put the Two hexagon fabric pieces right side together. Make sure the edges are perfectly aligned. Now place the piece of hexagon batting on top so that each point of the batting is exactly at the Centre of each side of the fabric hexagon.
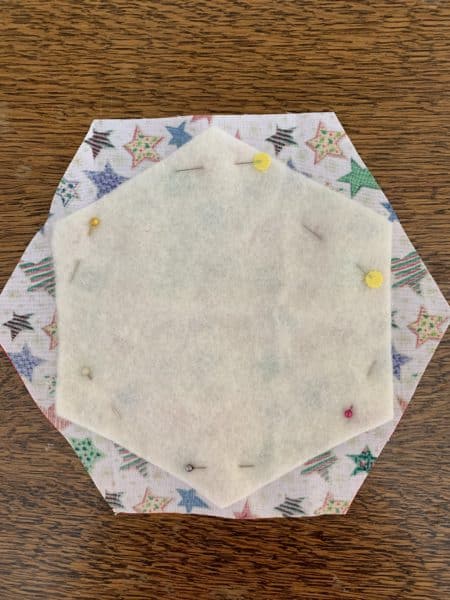
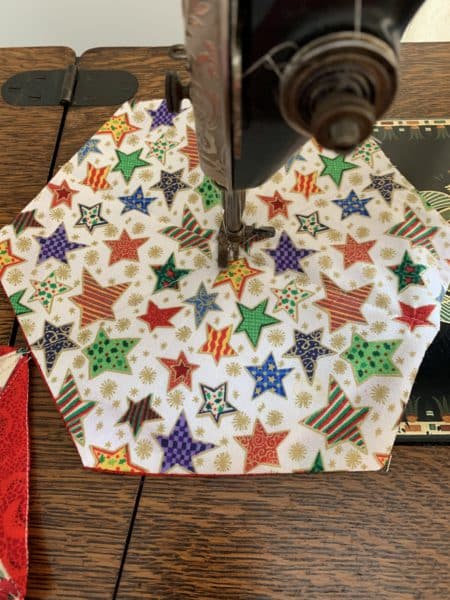
Take to the machine and sew 1/4” from the edge all the way around leaving an opening on one side edge for turning. As you sew around make sure to catch a fraction of the corner of the hexagon batting into the seam to anchor it.
Clip the corners. Turn to the right side Use a chopstick or similar to push out all the points. Turn under the opening 1/4” . Make sure to press well at this point.
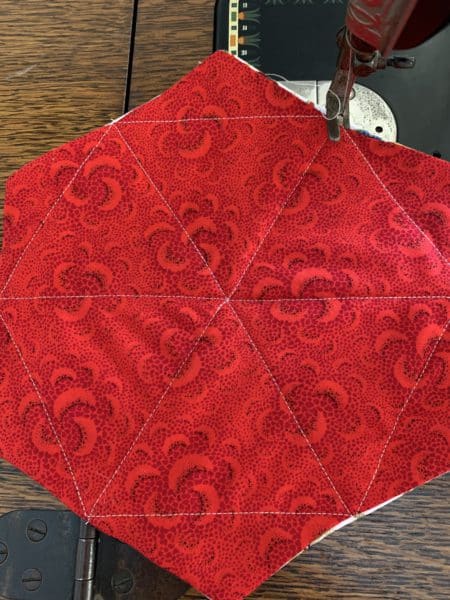
Beginning at the centre of each side quilt across the hexagon to the opposite side. Repeat for the other sides completing 3 lines of quilting.
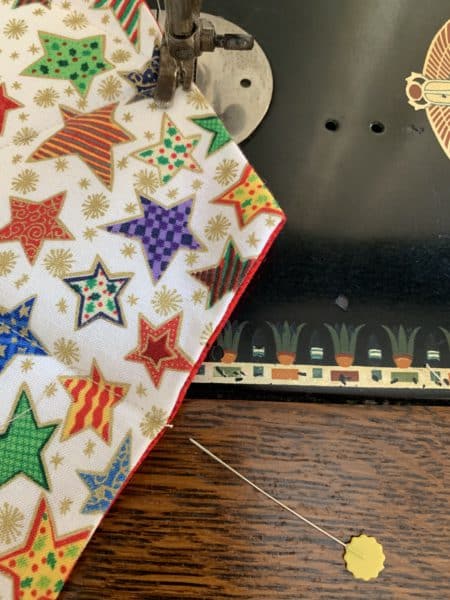
Using the quilting lines as a guide, stitch between each point at the end of the quilting lines around the whole piece, following the lines of the underlying batting. These will become your folding lines. I have placed a yellow pin pointing to the spot I’m aiming for.
Here is a picture of the reverse so that it is easy for you to see the sewing lines.
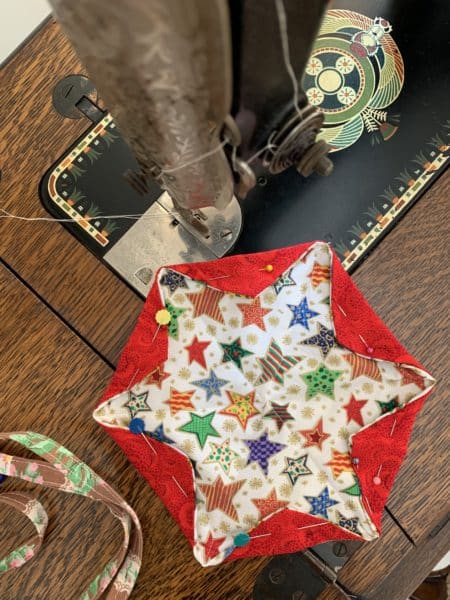
Now, with right side facing you, turn down the corners of the hexagon so that it lines up with the internal hexagon batting and follows your fouling stitch lines. Now the snowflake star should be visible. Try to make the folded seams as crisp as possible.
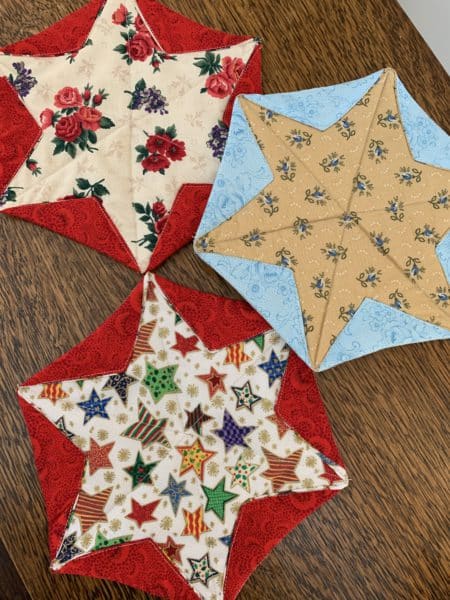
Top Stitch as close to the star edges as possible.
There you have it! I am definitely going to have these scattered on my Christmas table, decorative and useful!
I wish you all a wonderful, safe, happy and healthy Christmas!
If you enjoyed this post, you may also like these useful items,
Pot-Holders Quilted Flower Pot
Happy Day Microwave Bowl Holder Pattern
Quilted Flower Bowl & Tutorial
All the best,
Susie
© 2019 Susan Stuklis

