
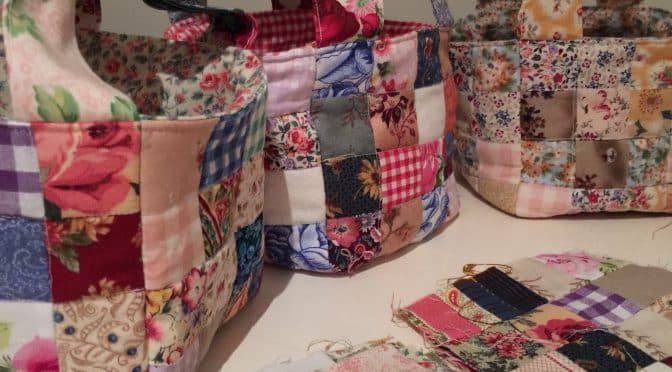
Quilted Scrap Fabric Baskets – Tutorial.
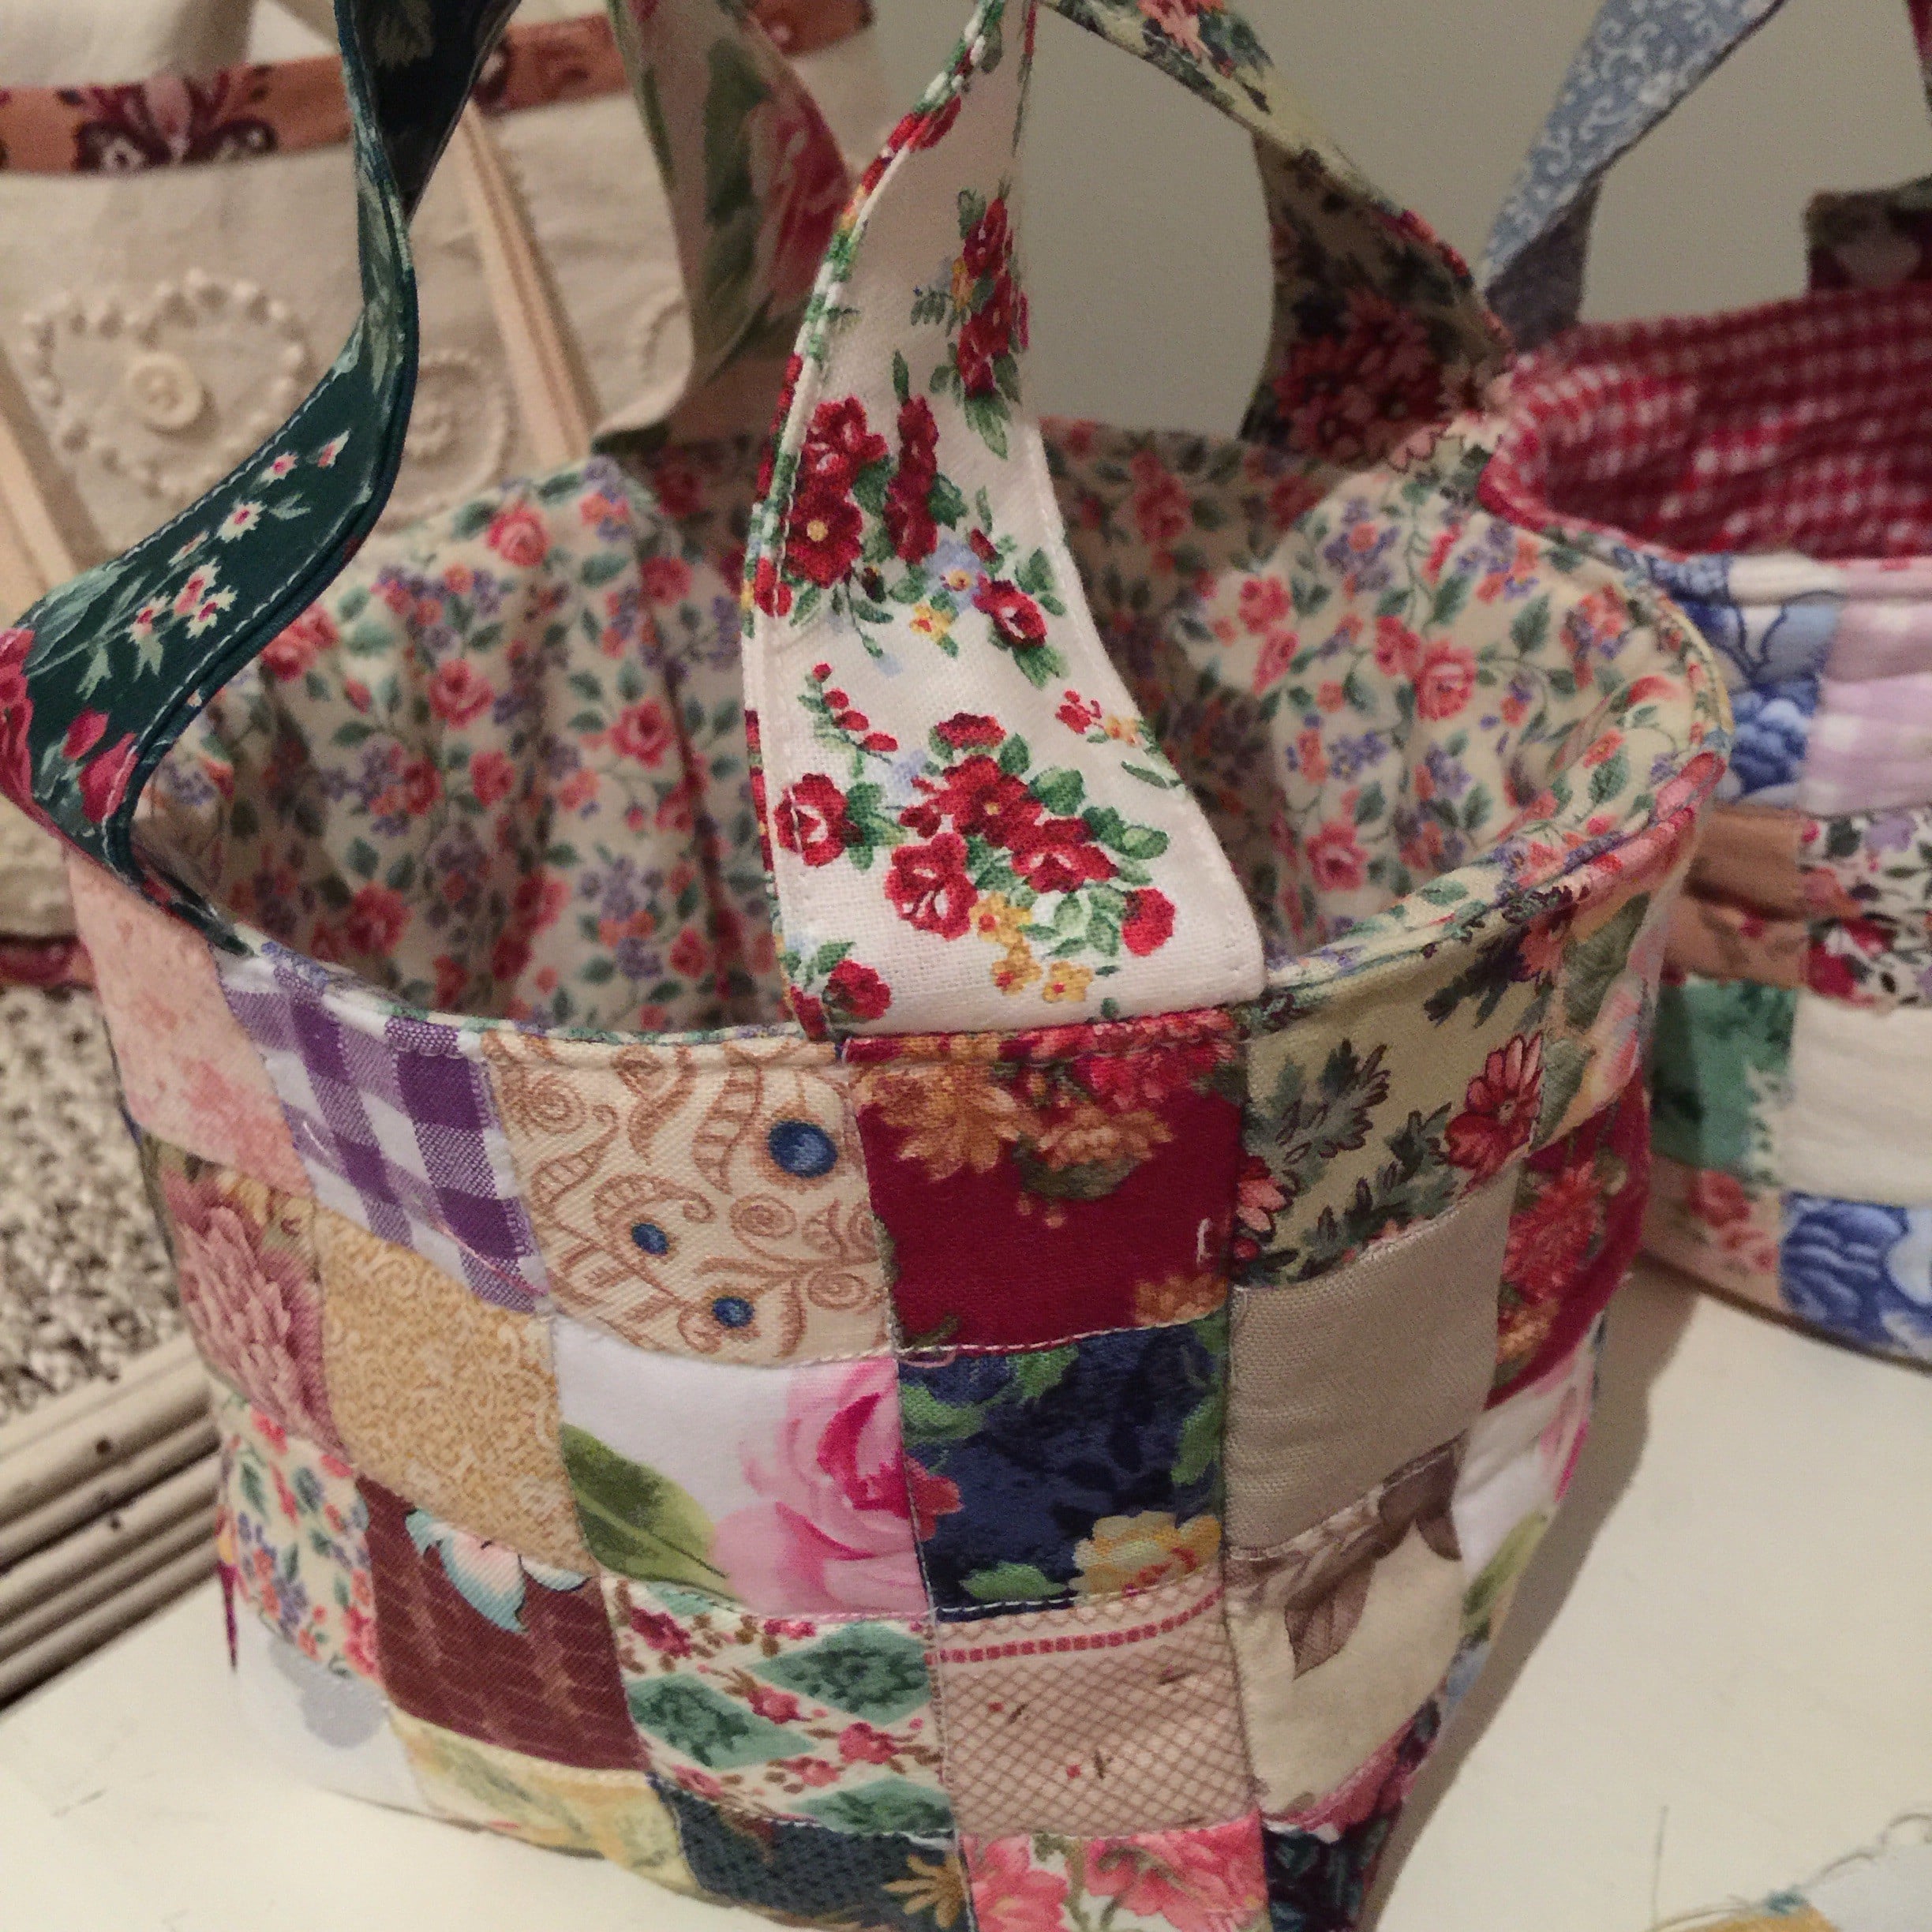
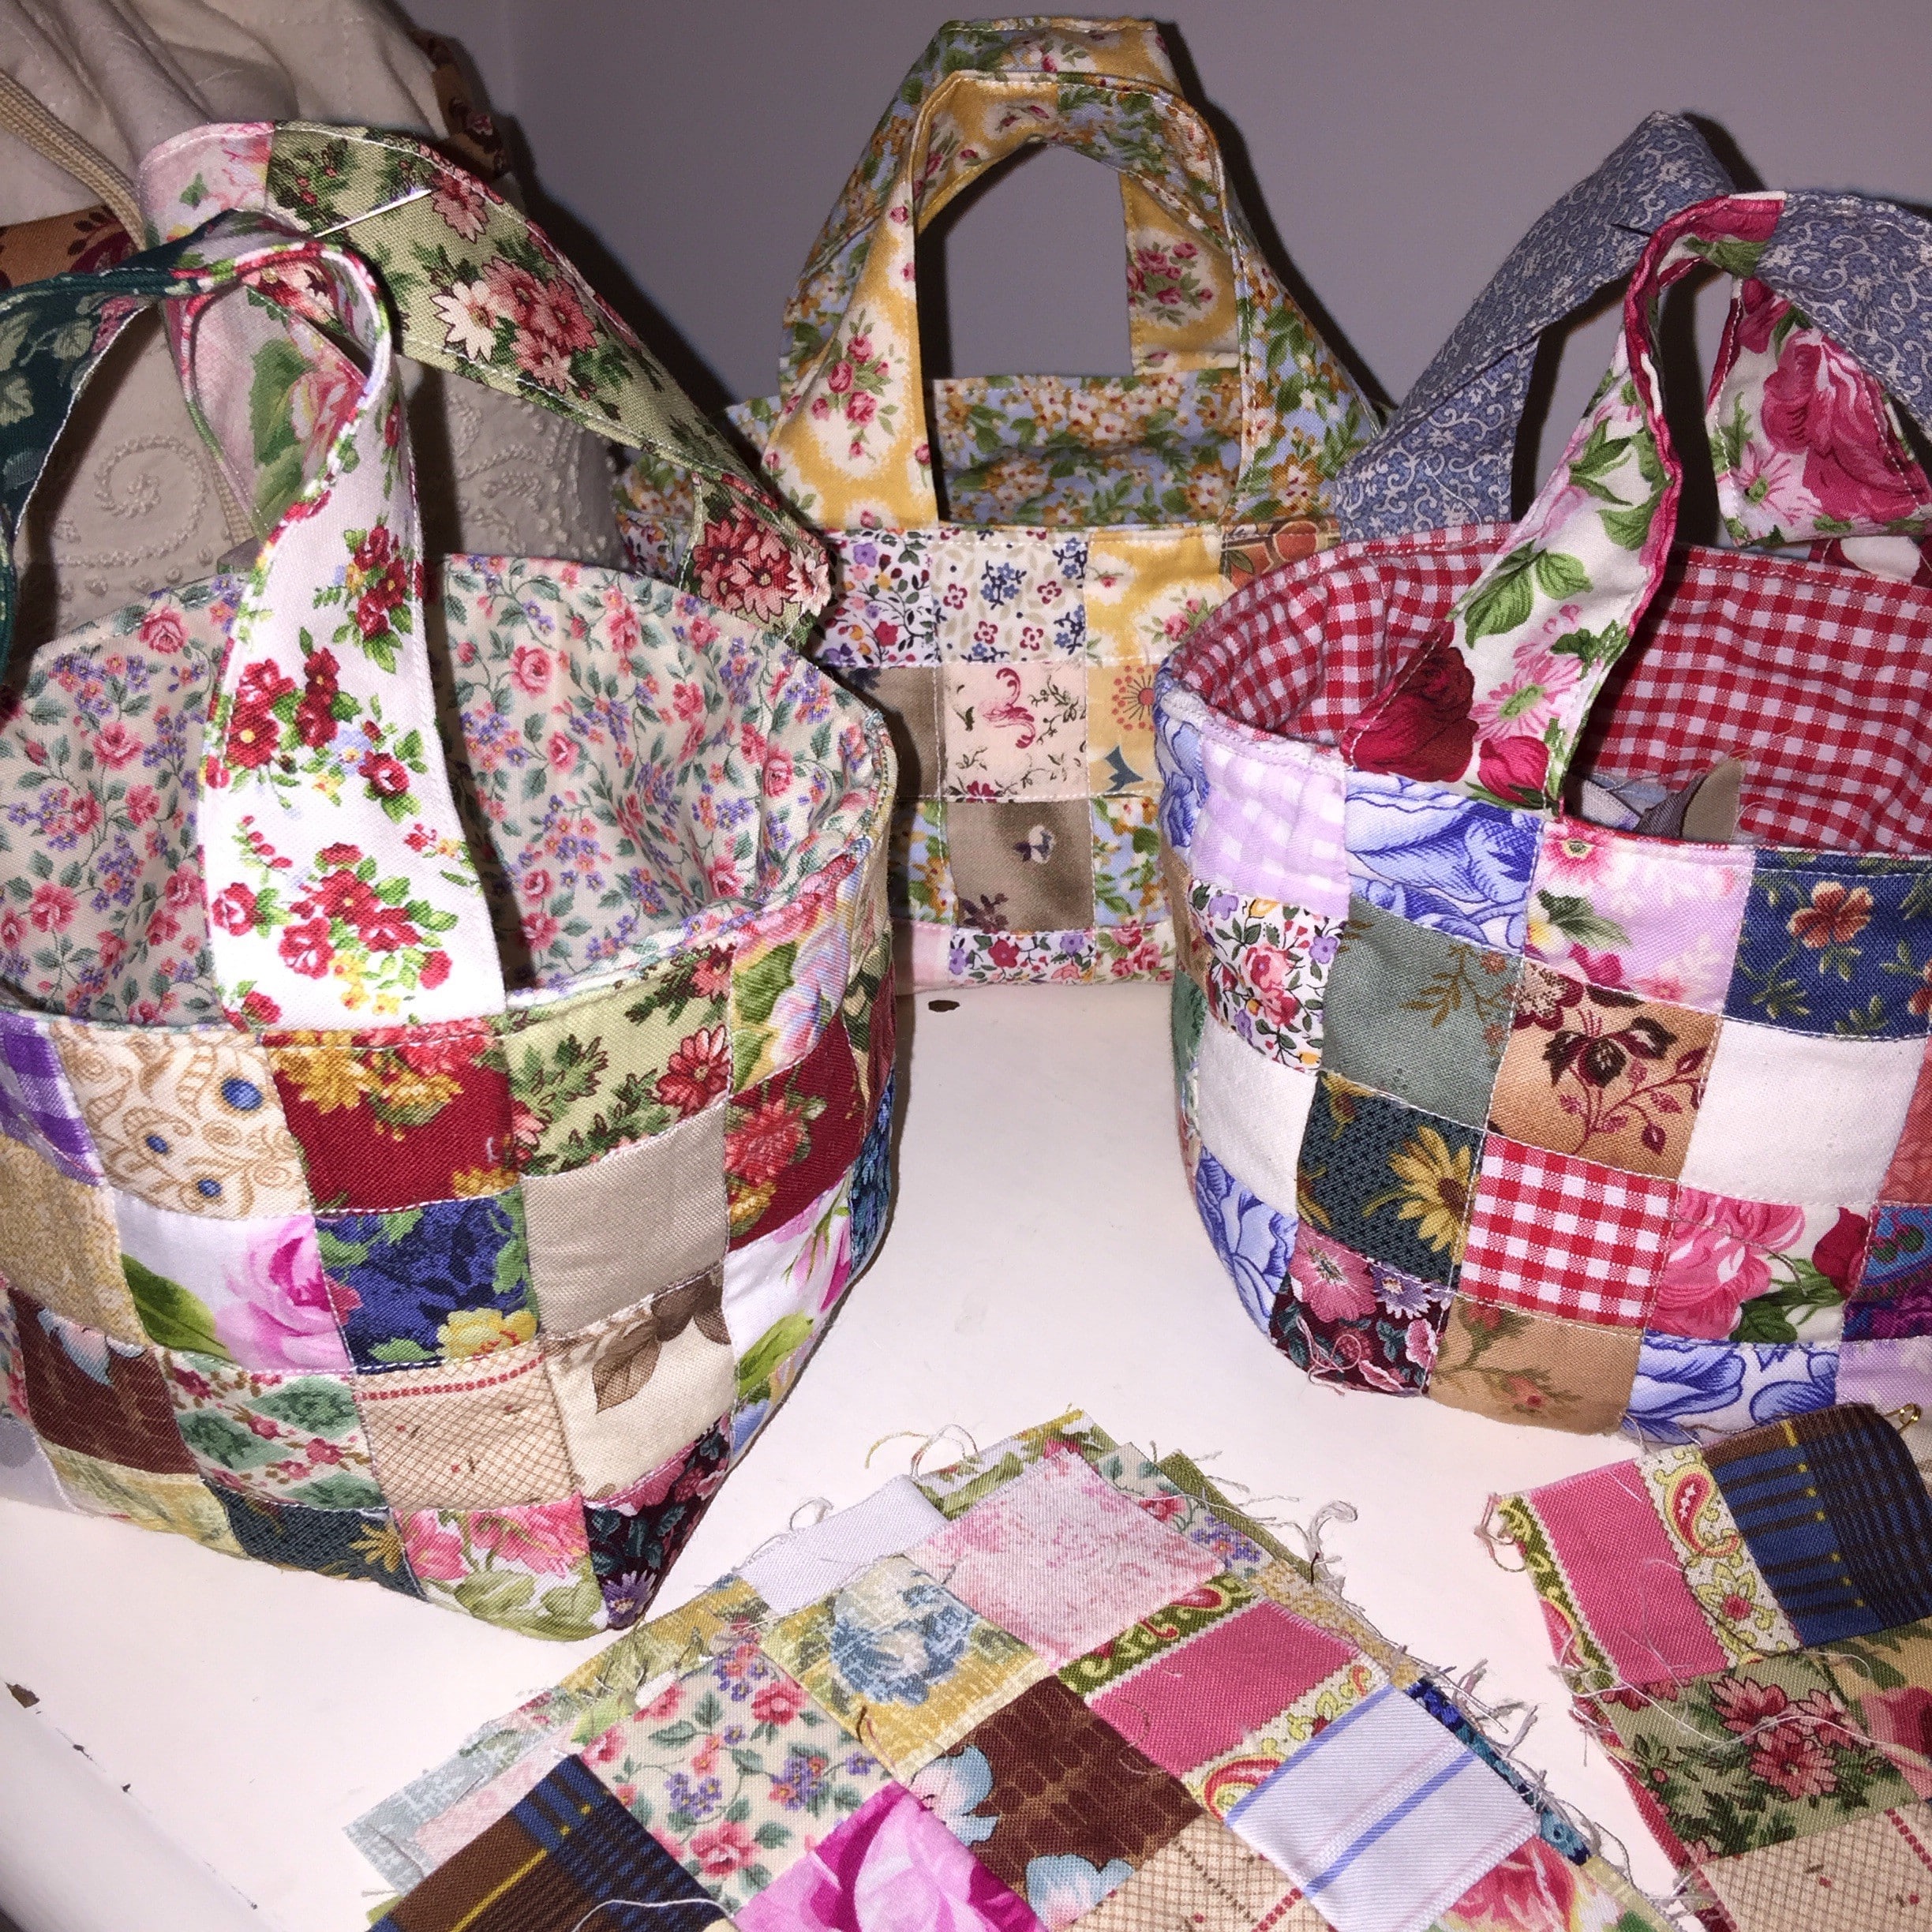
Hello Dear Friends and Readers. Making these little scrap fabric baskets is a really nice way to use up some very small scraps – even ones that don’t look that good. Once they are incorporated together they are very pretty. They are handy to have in the sewing space next to your machine for holding same shaped scraps, for small notions, or as a thread catcher, a pretty gift, or for cosmetics, or whatever you fancy. It’s is also a lovely way to use up scraps of batting to make something useful.
Finished size approximately 4 1/2” x 4 1/2” x 4 1/2”.
Requirements for one basket
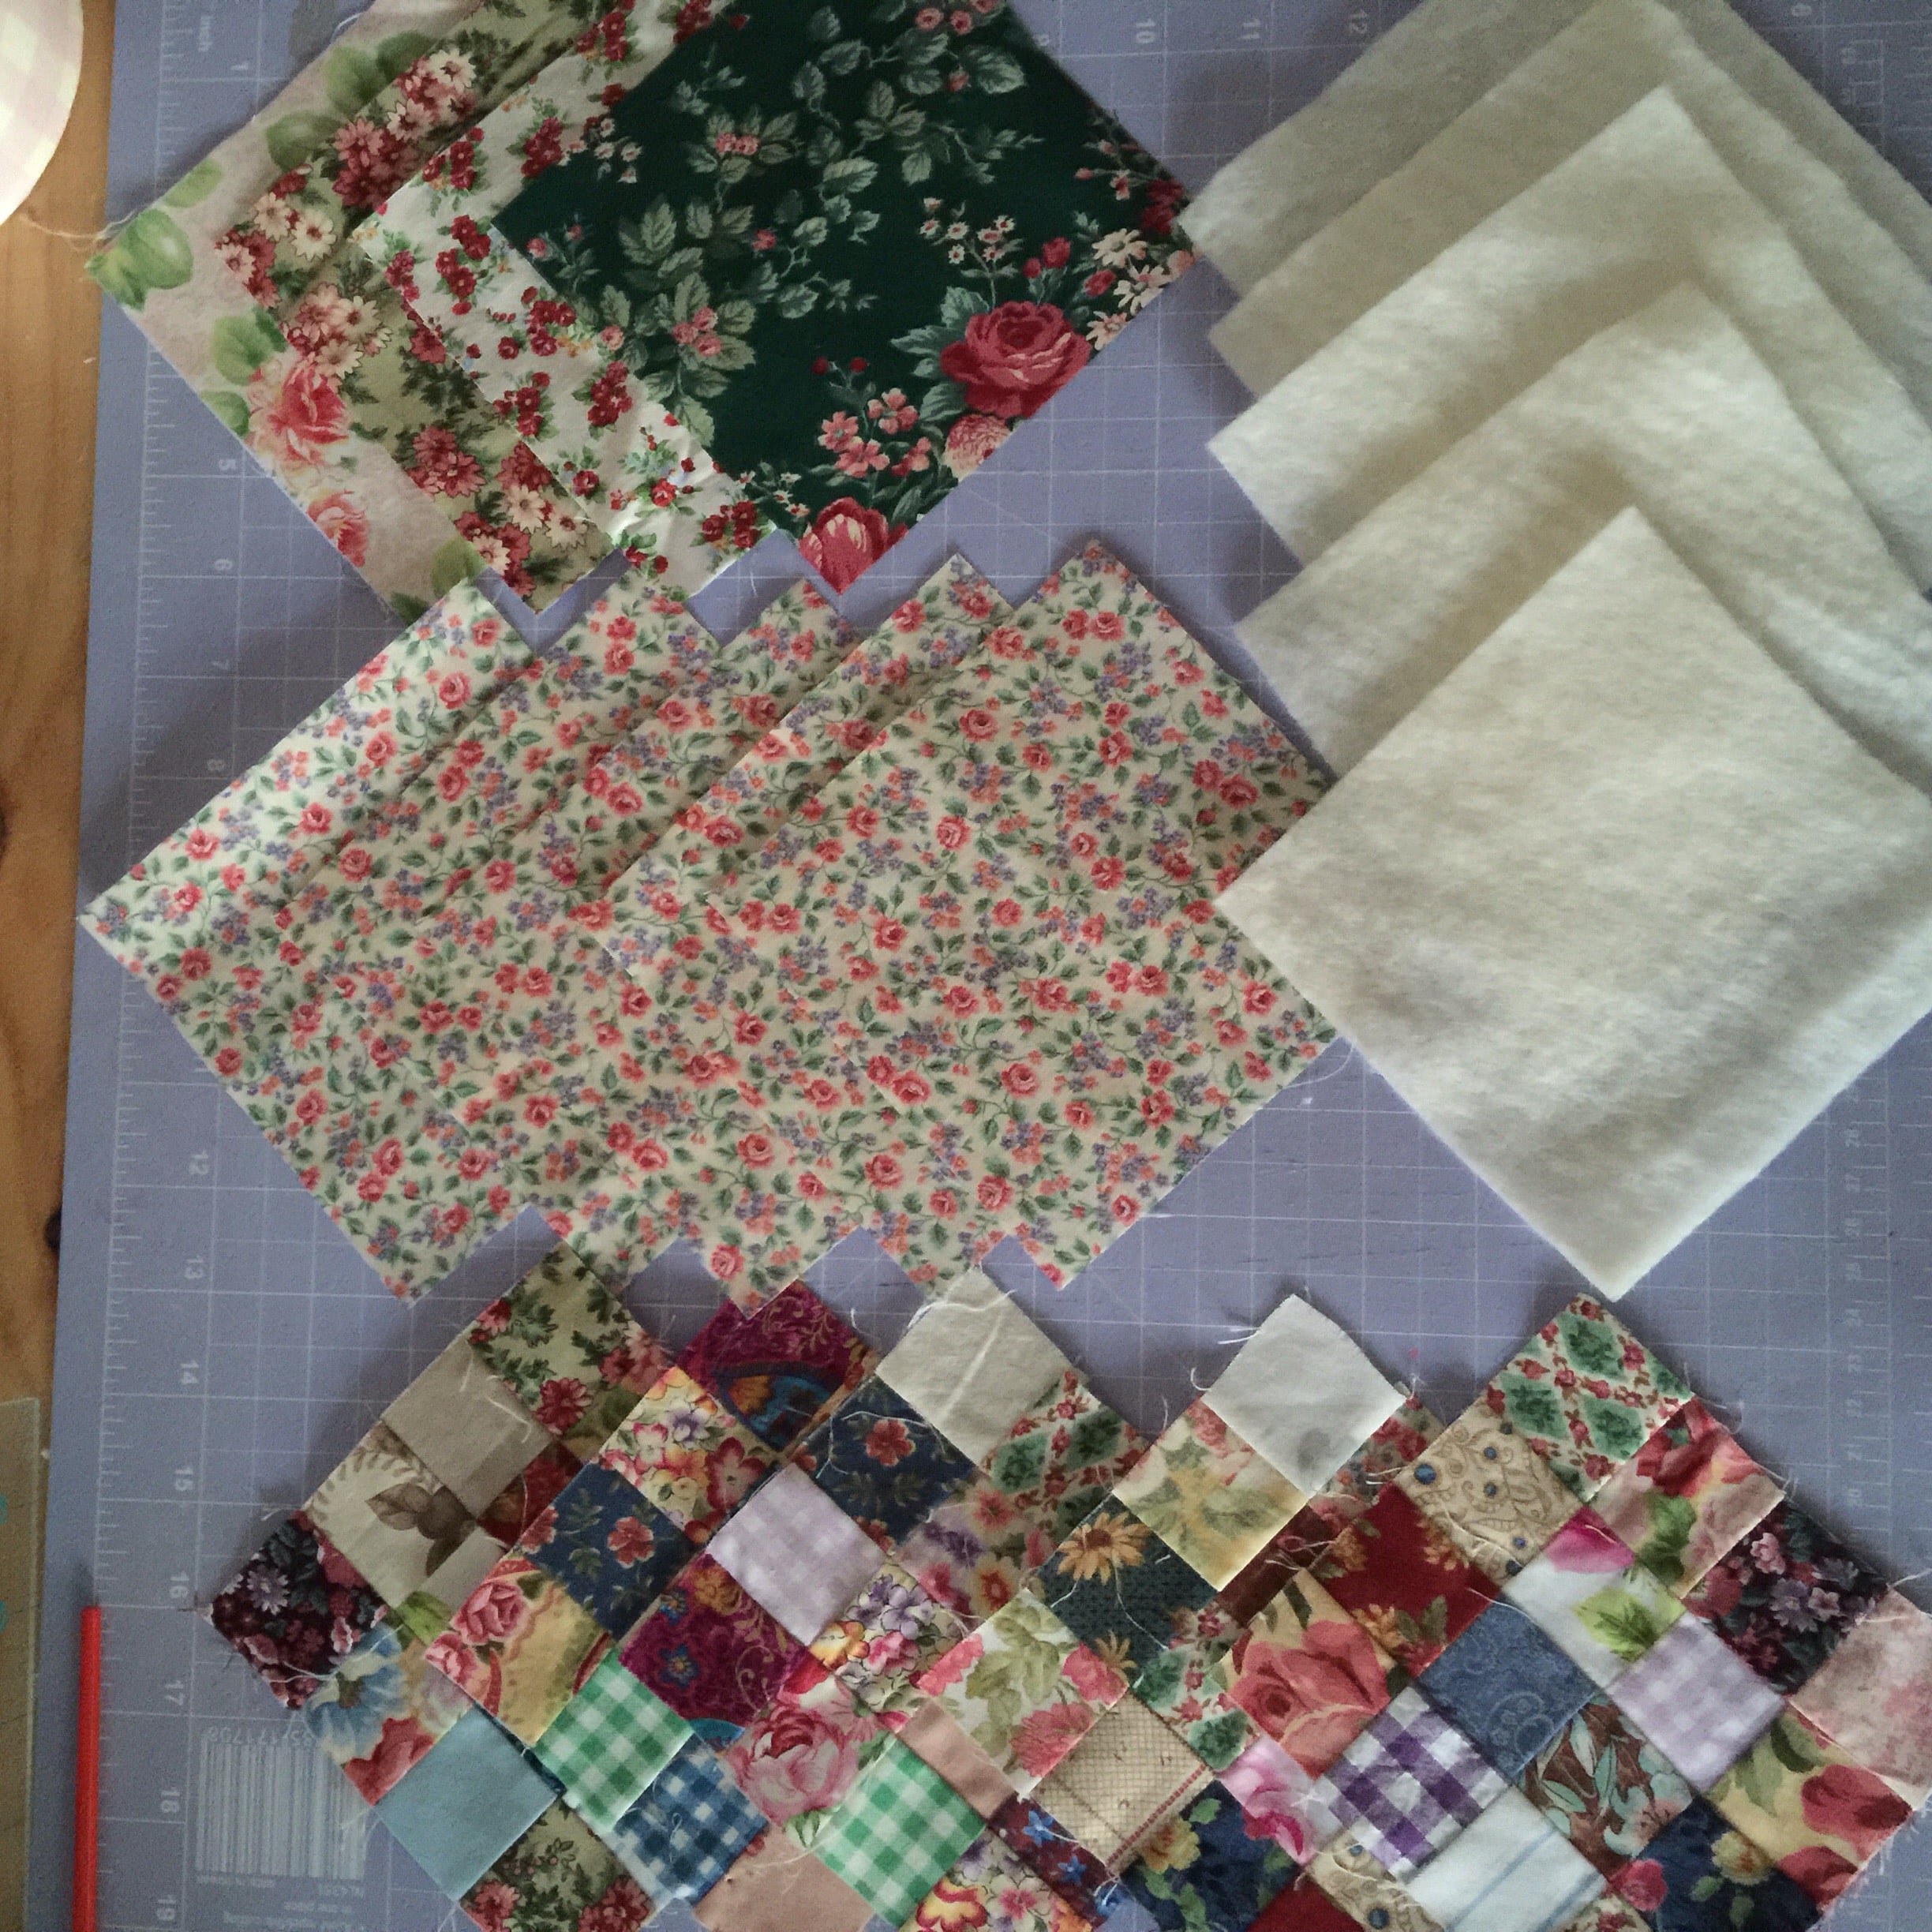
80 x 1 1/2″ squares
5 x matching 5″ squares for the lining
4 x scrappy 5″ squares for the handles
5 x 5″ squares of scrap batting
Method
Please read the link on assembling Postage Stamp Blocks.
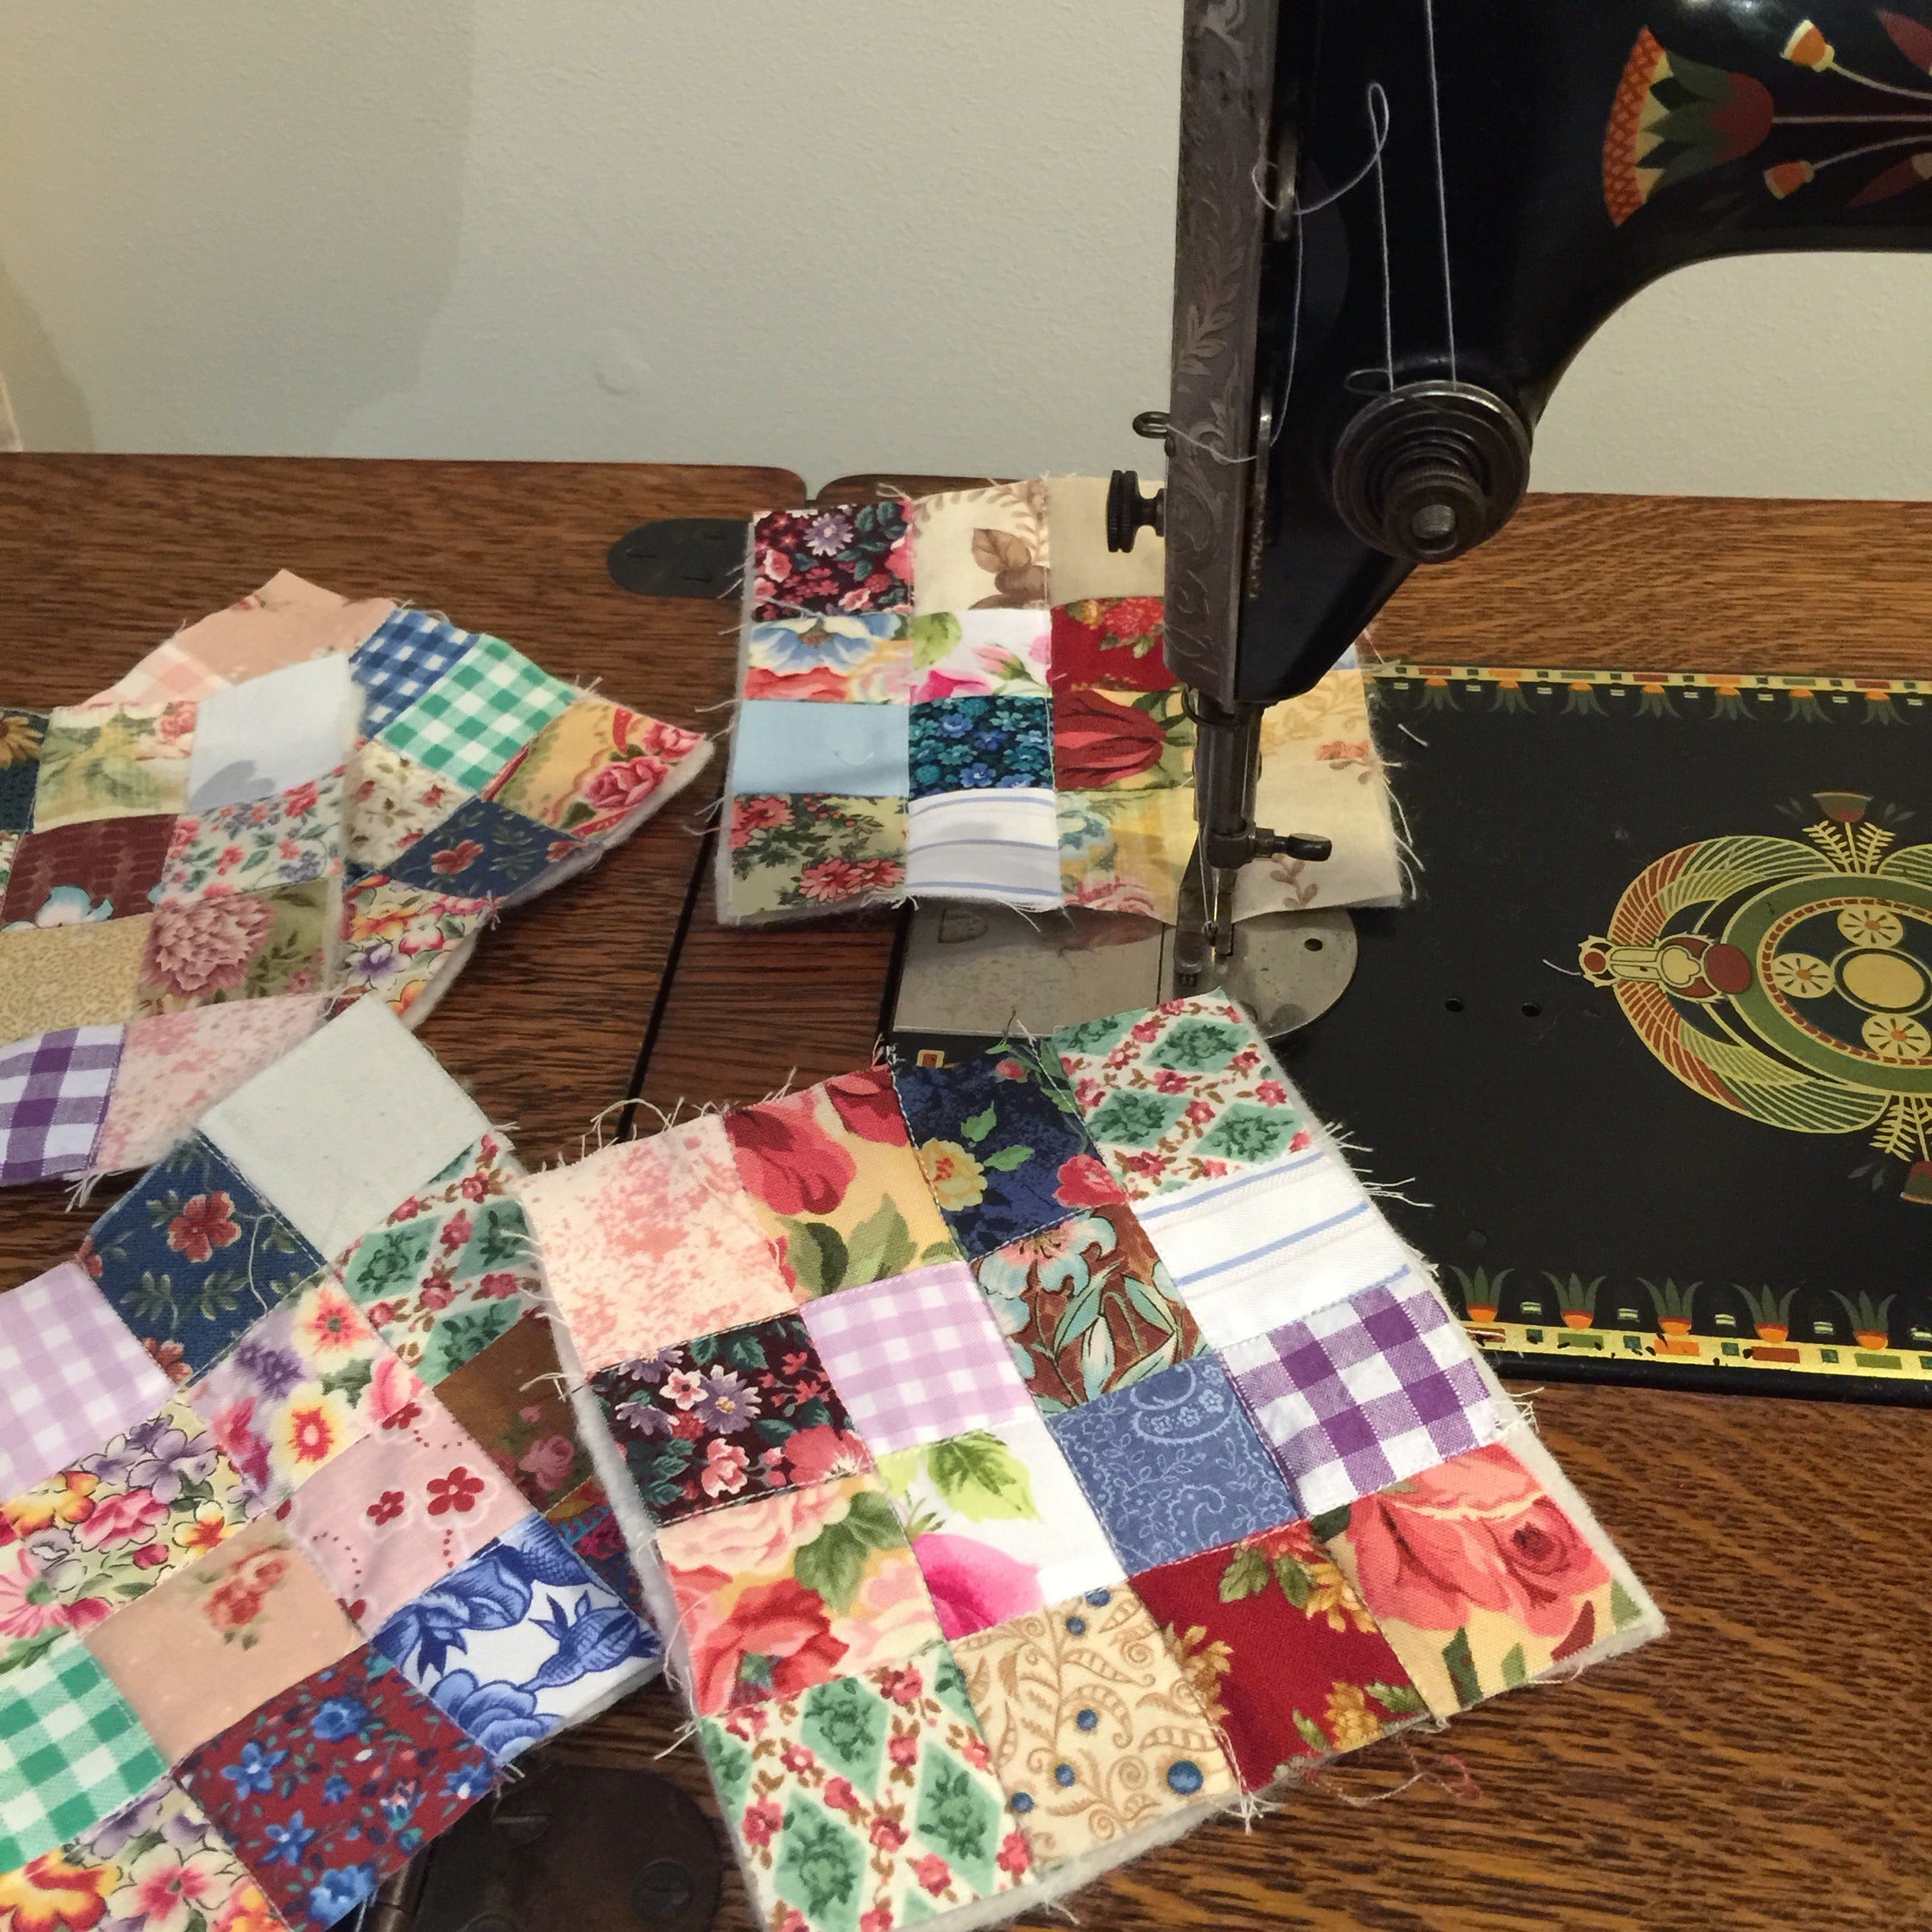
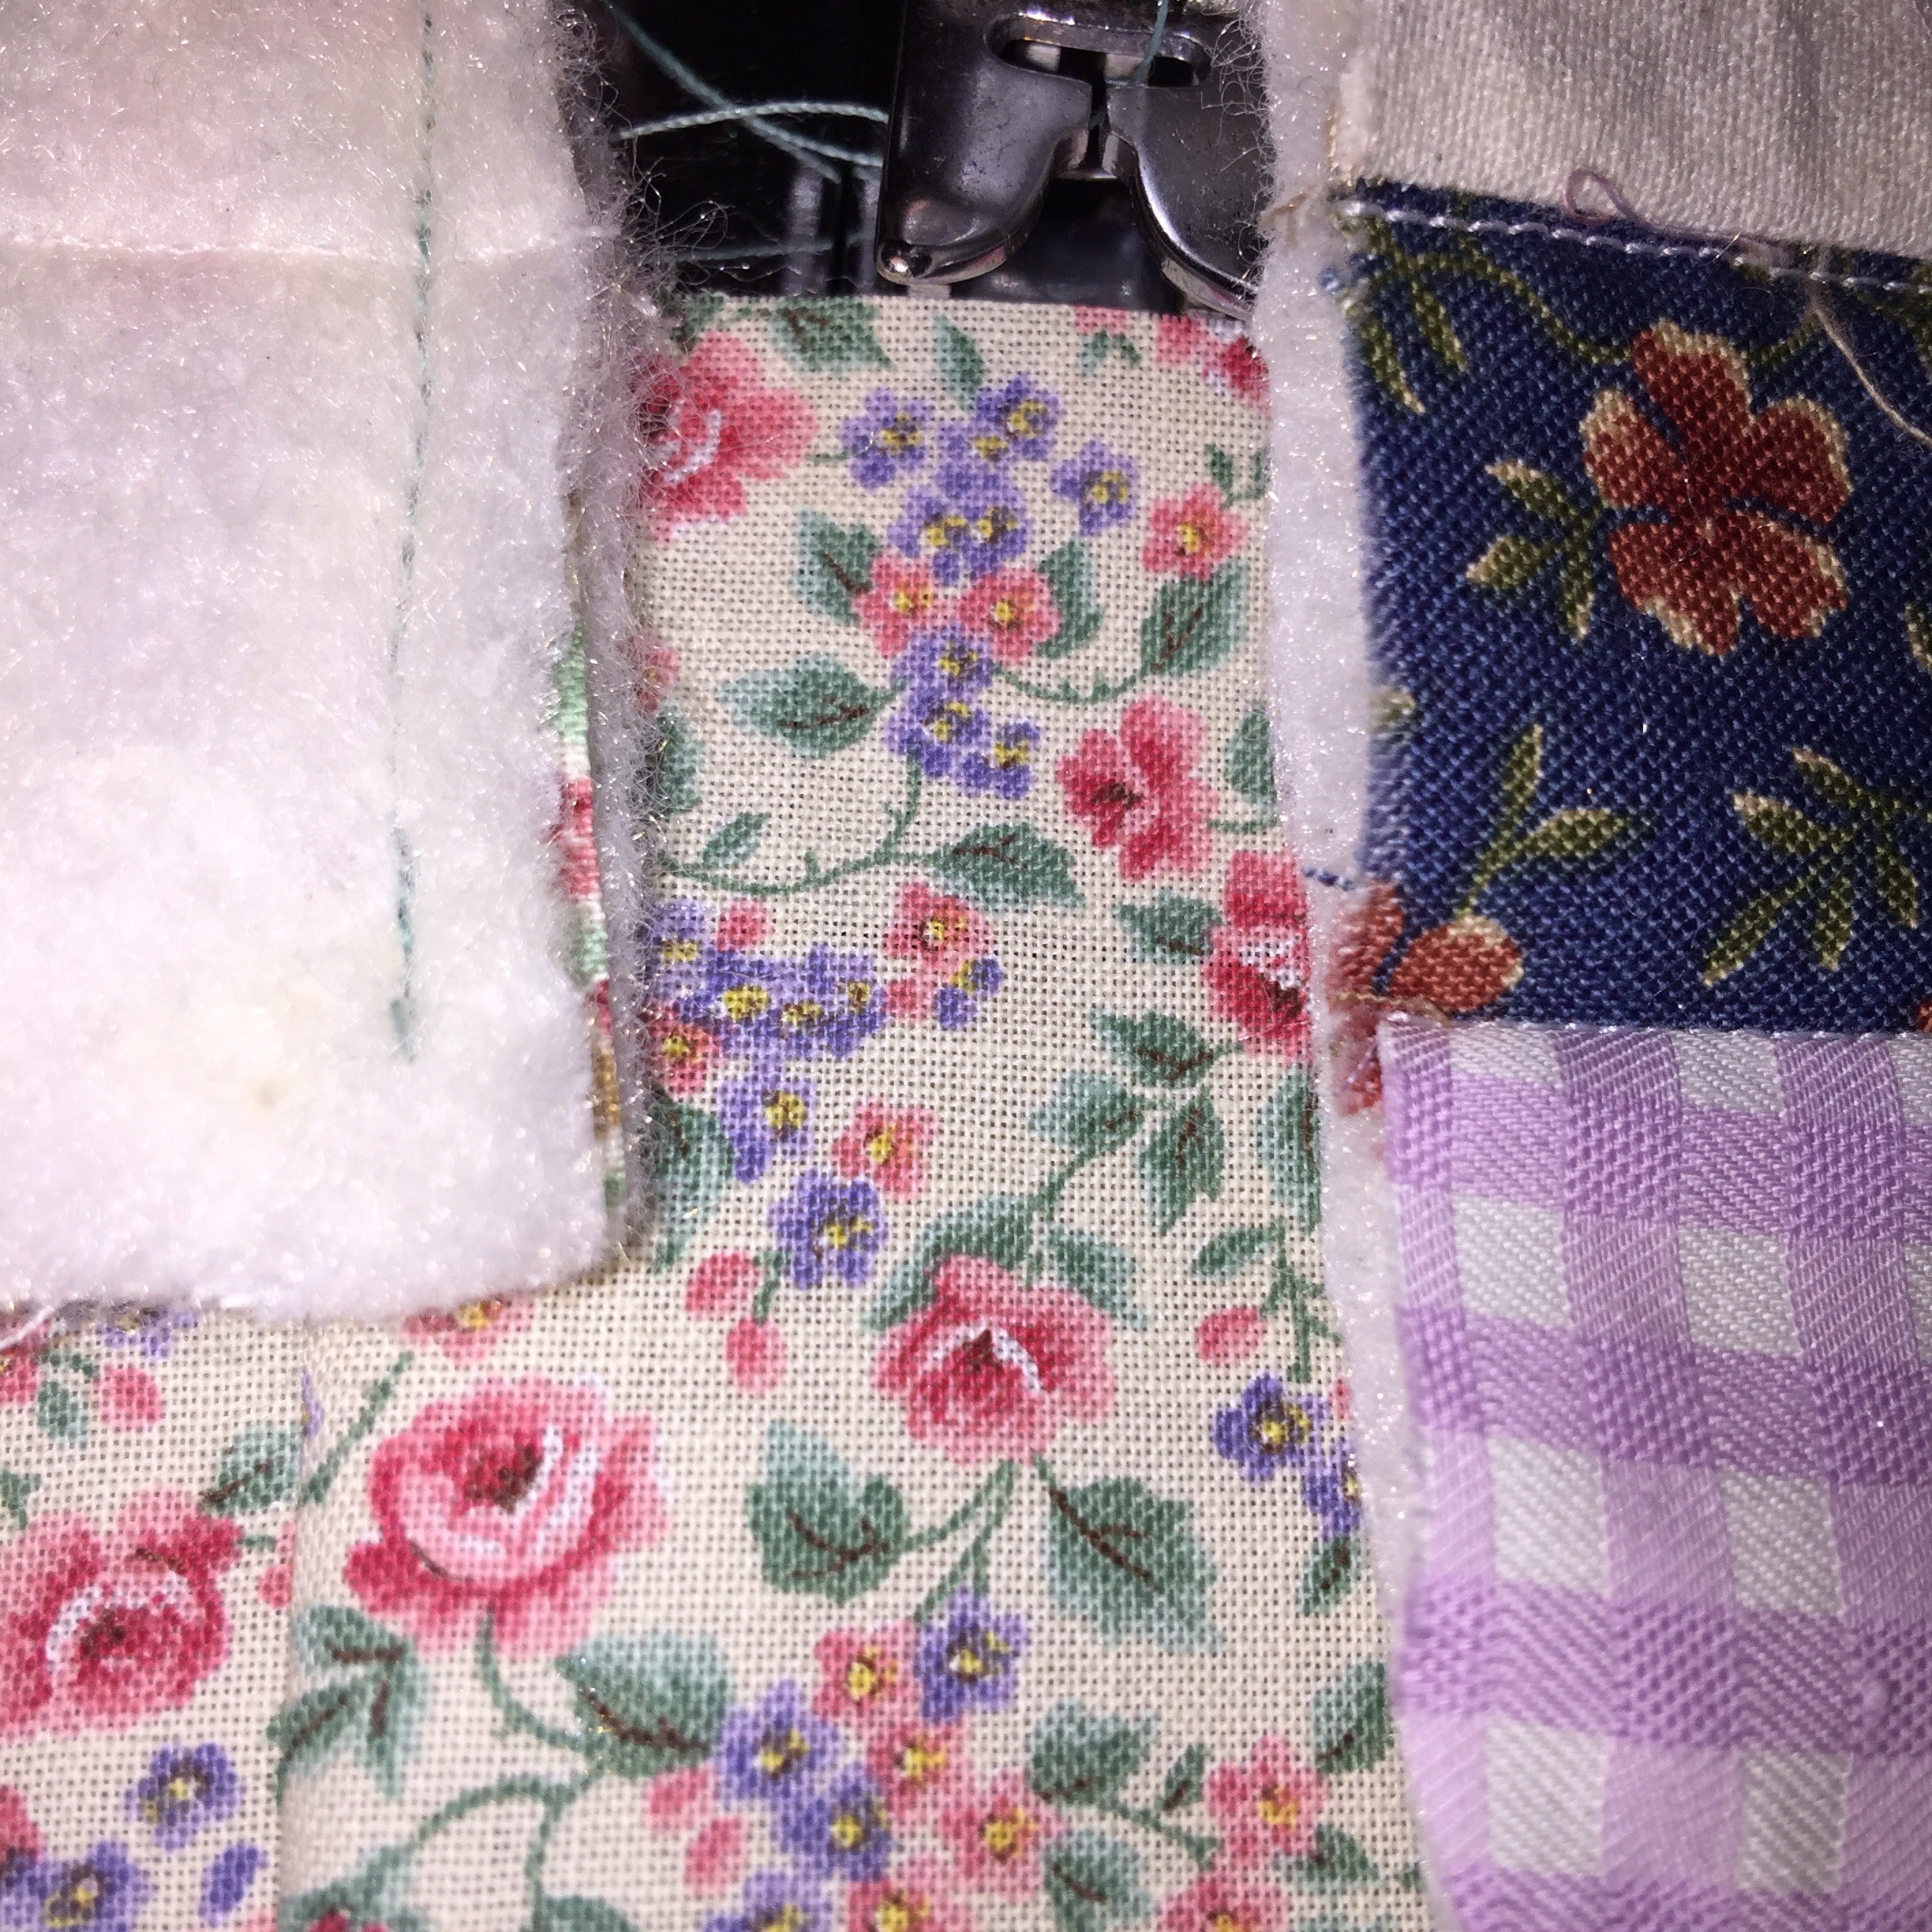
From the 1 1/2″ squares, make 5 x 16 patch blocks. Use a consistent but scant 1/4″ seam to assemble the blocks. Press the blocks. Place each block on the centre of each of the five batting squares. Quilt in the ditch of all the seams in both directions. This can be done by chain sewing if all the blocks are assembled. Once they are quilted, trim the batting to match the block. Measure the blocks. Cut the 5 x 5″ matching squares to match the quilted blocks.
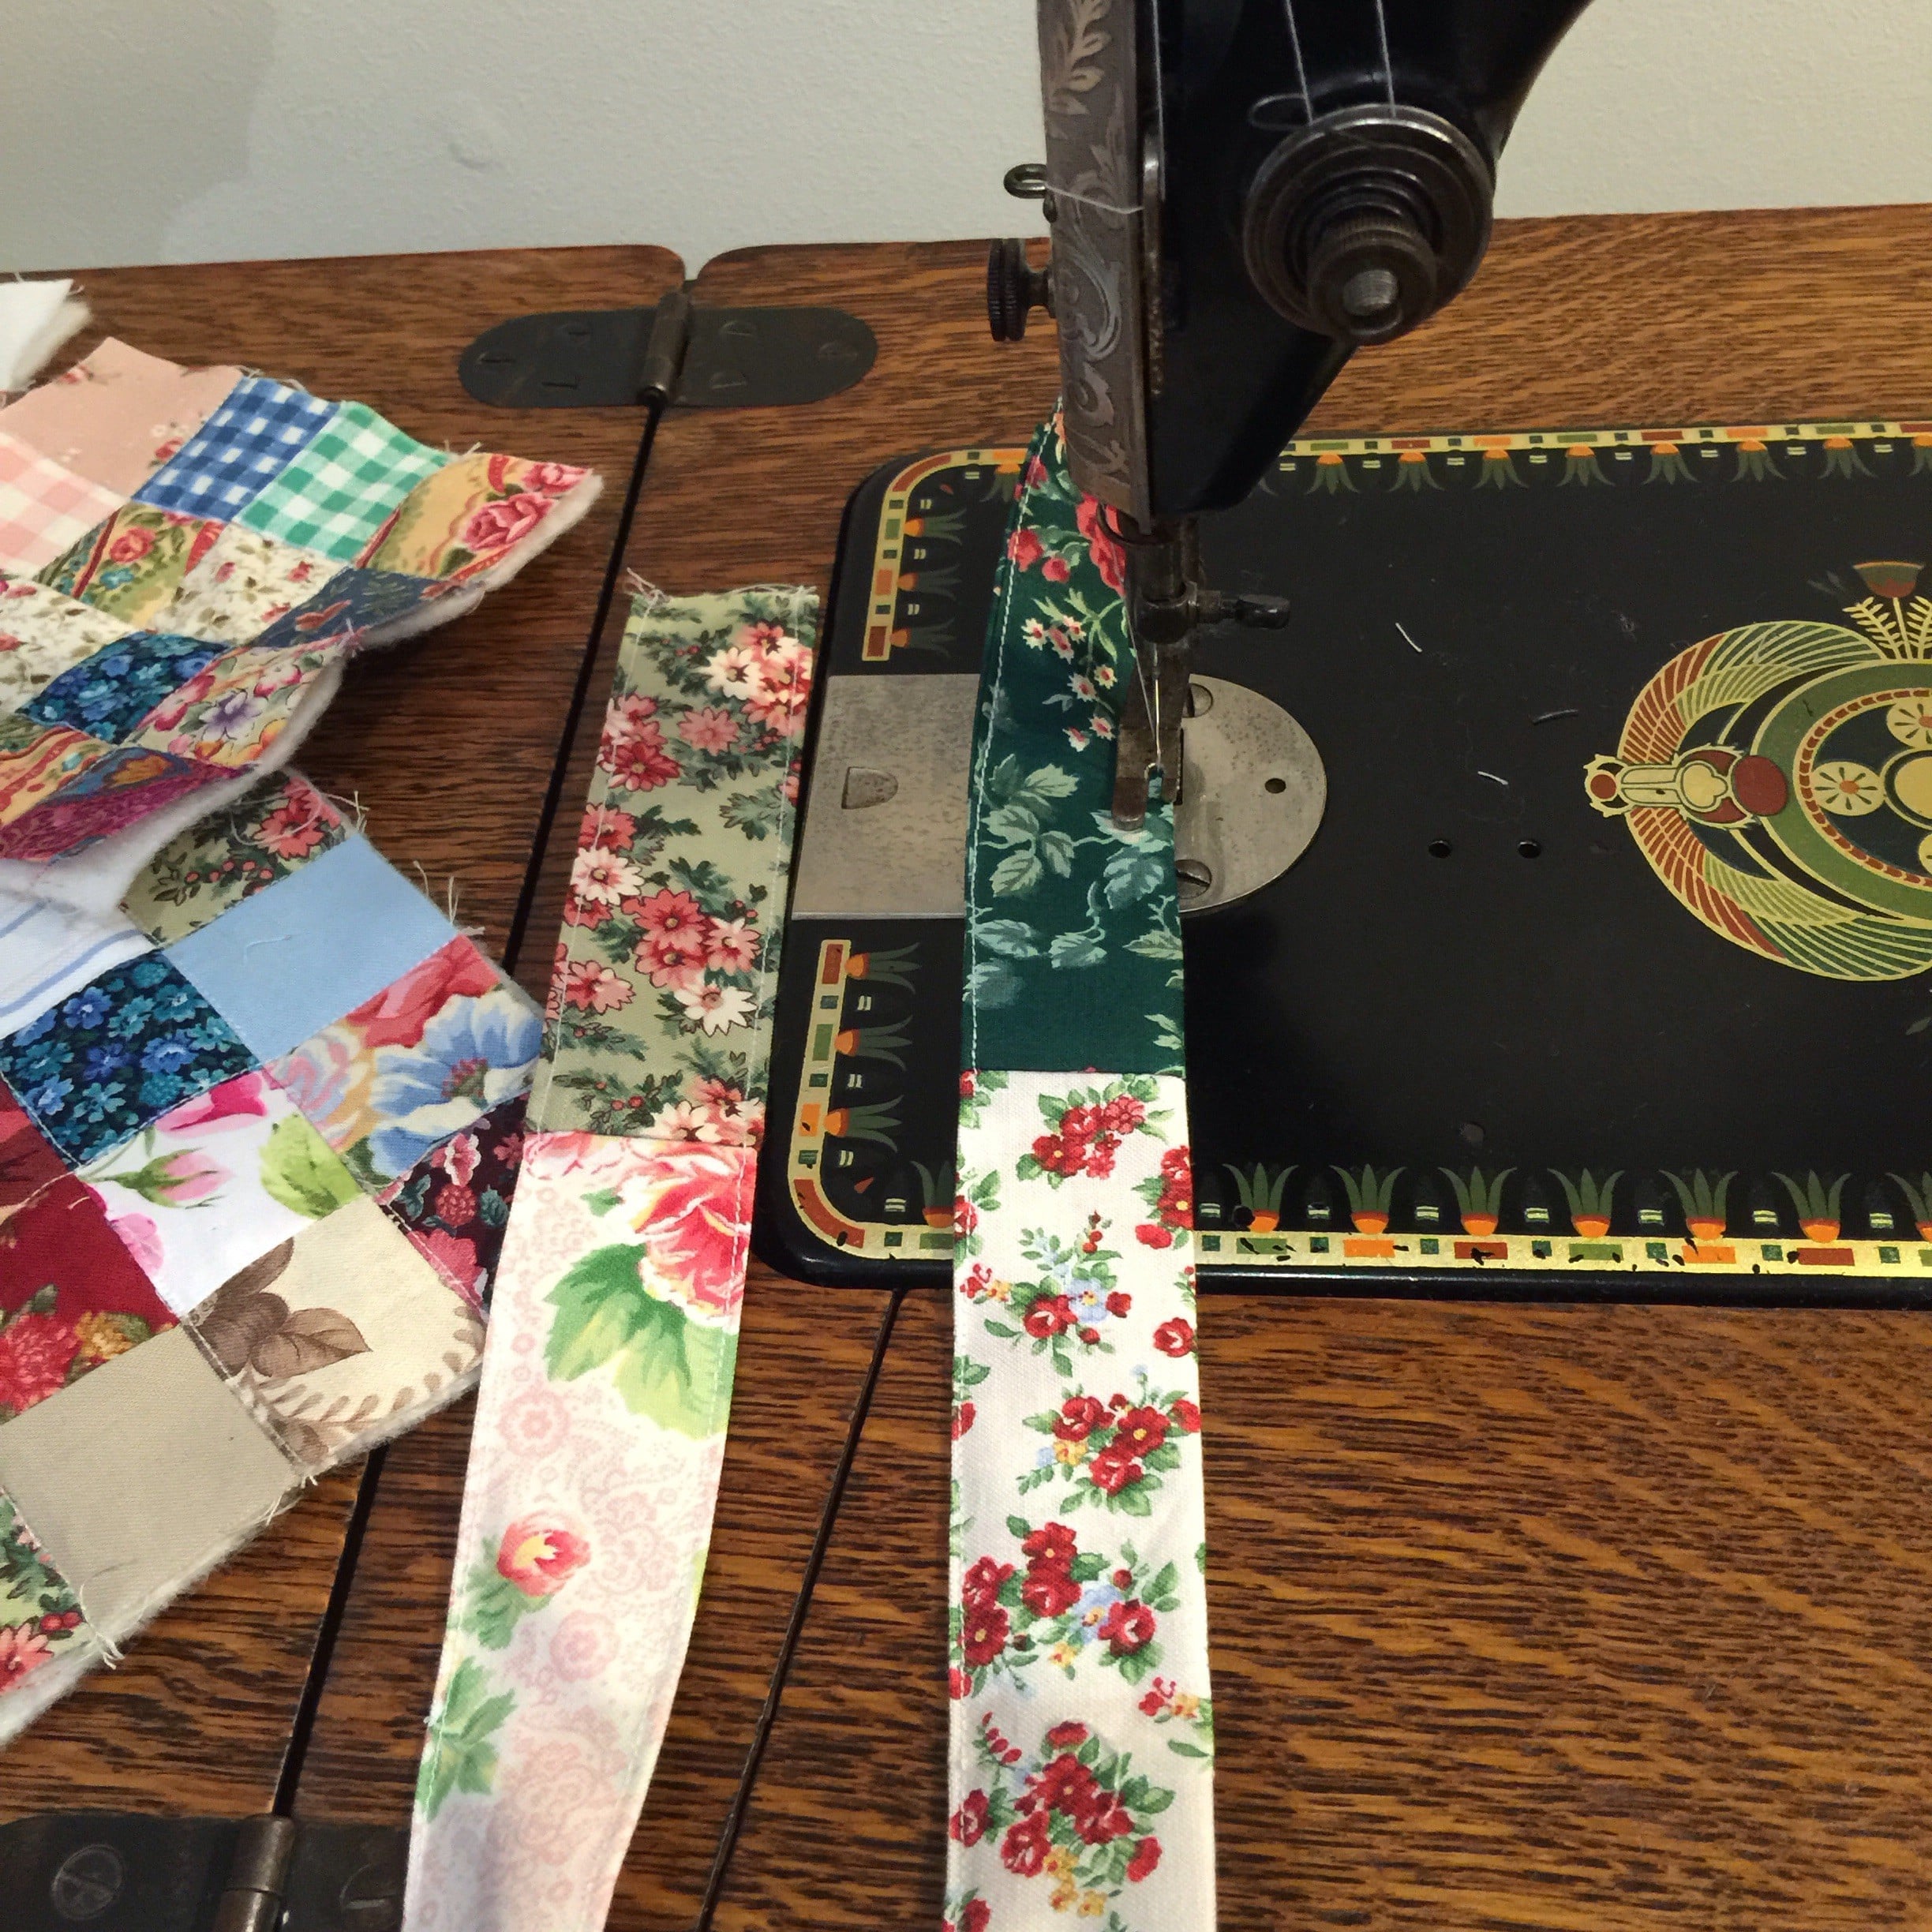
Make the handles from the 4 x scrappy 5″ squares by sewing 2 squares together x 2. Press. Fold both long sides to the centre, right sides out.
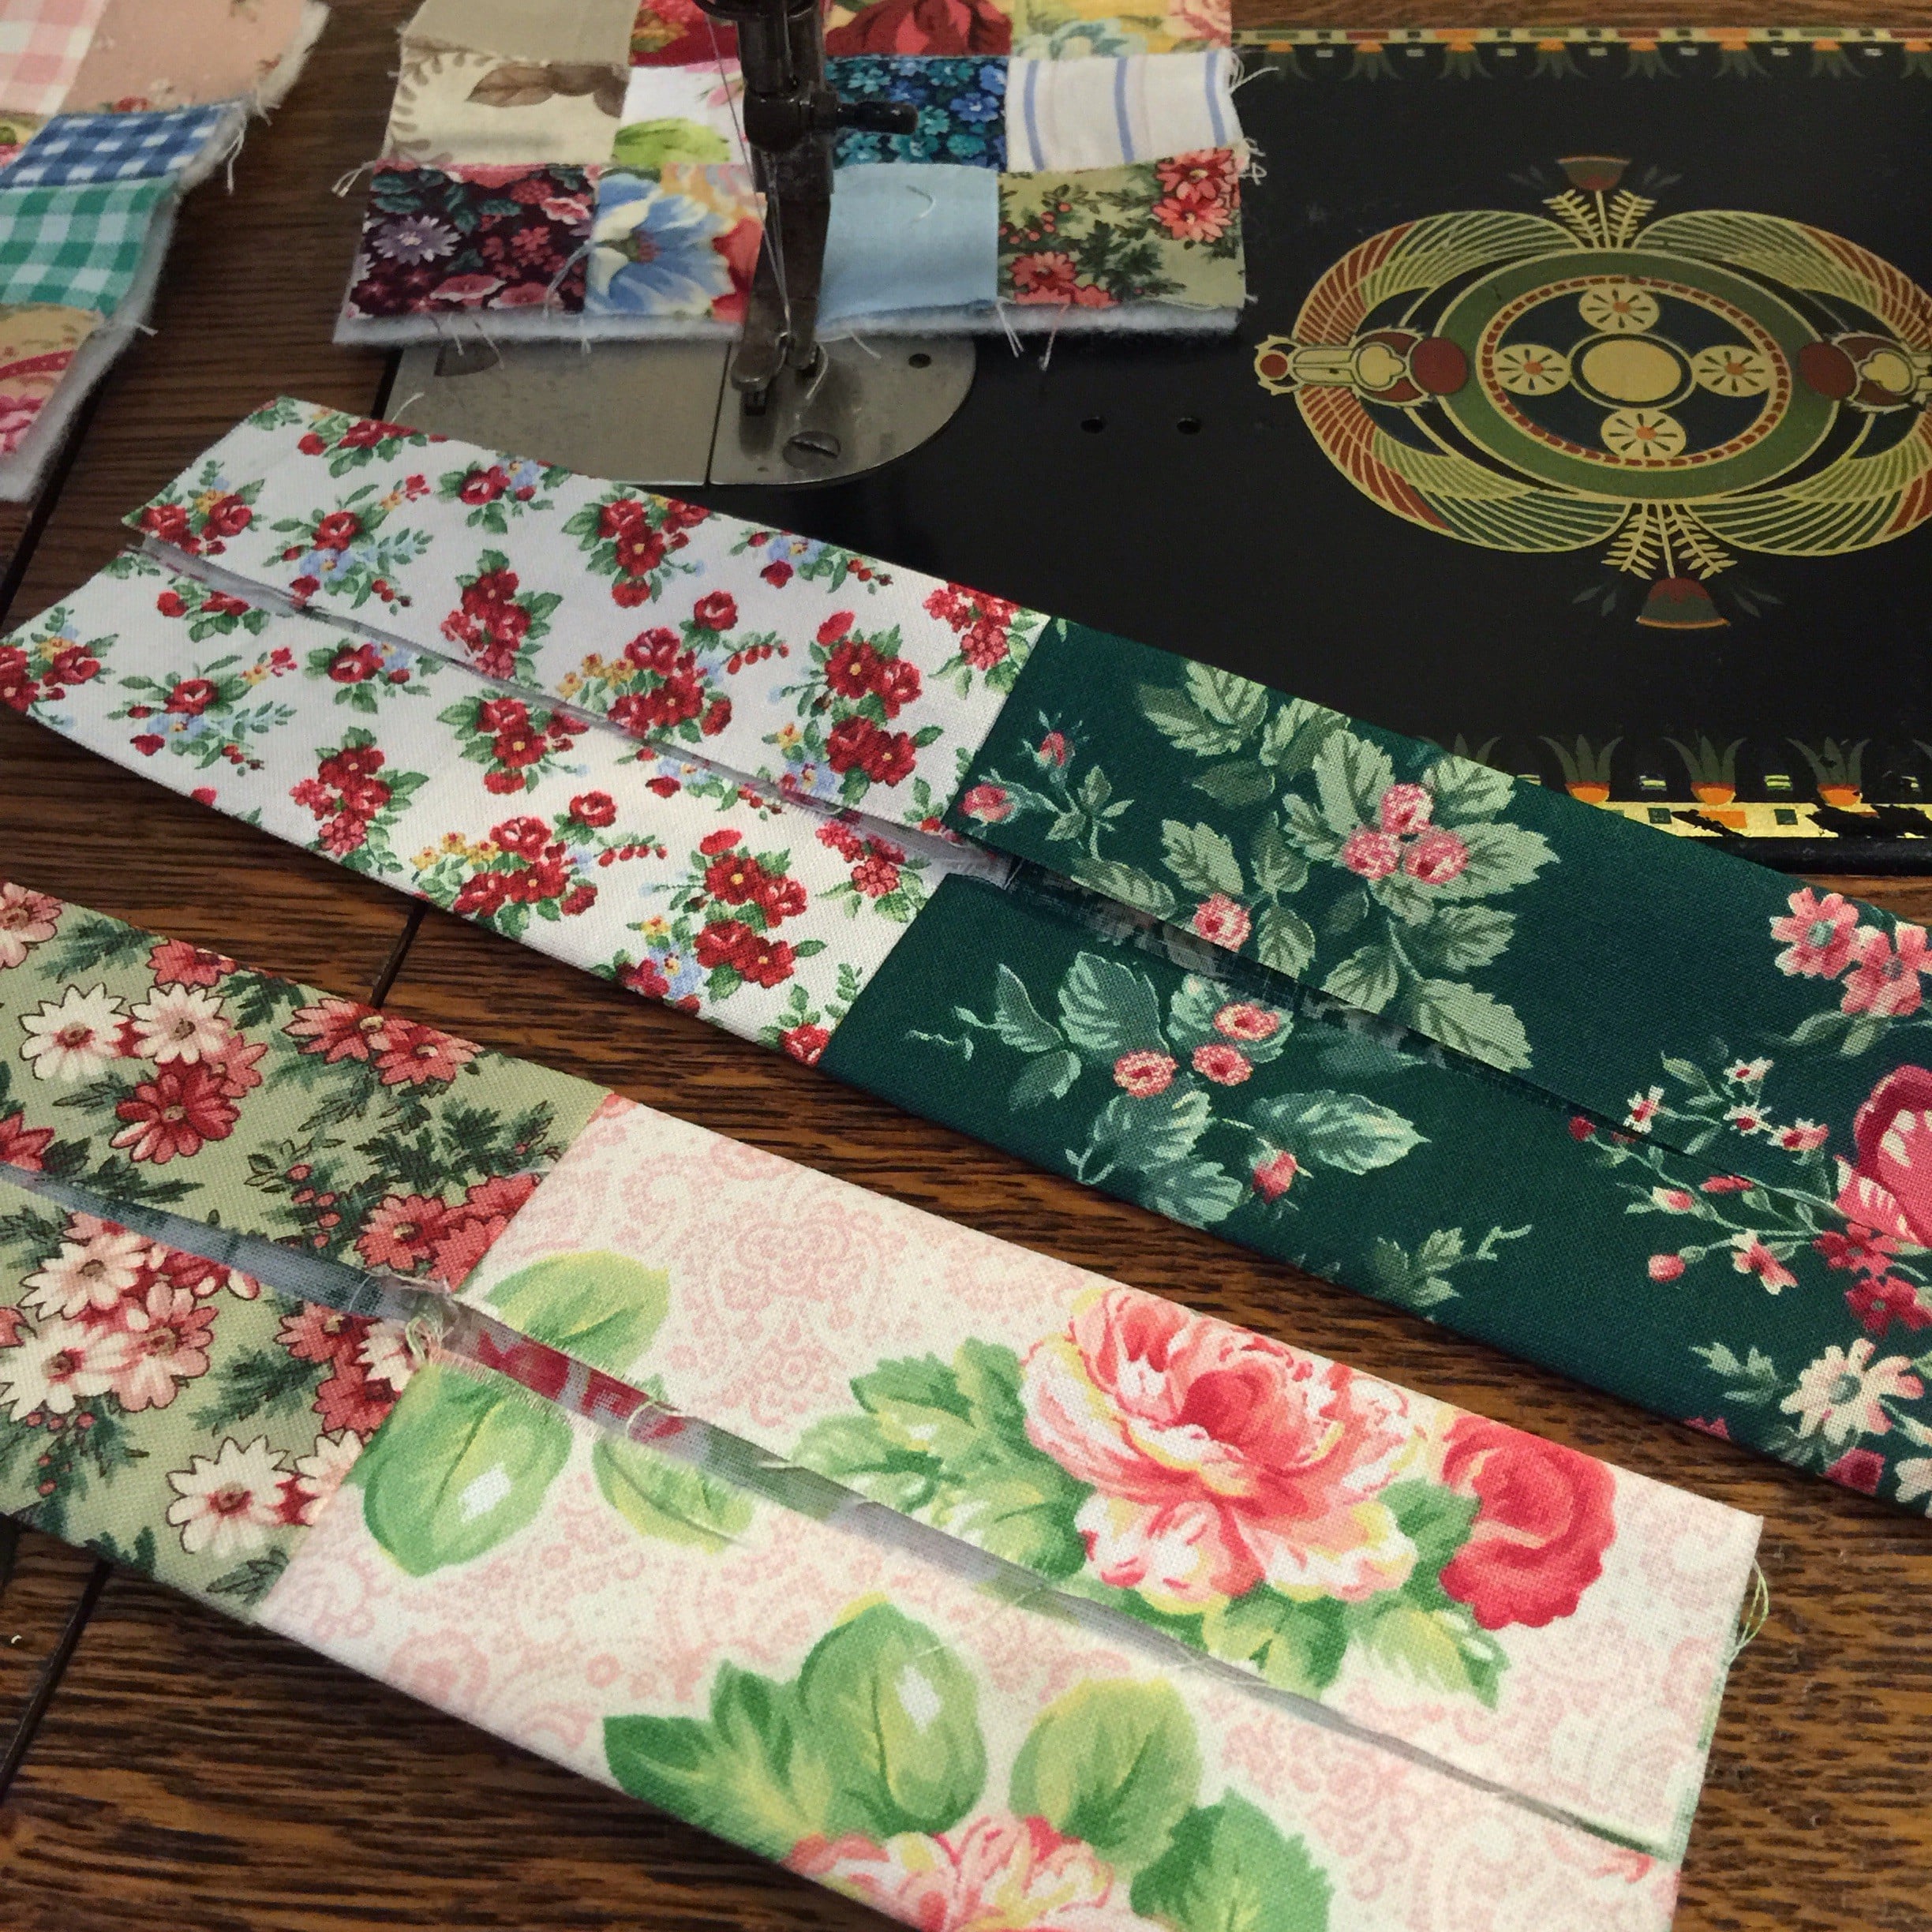
Then fold the whole in half lengthways. Sew down both sides to make the handles.
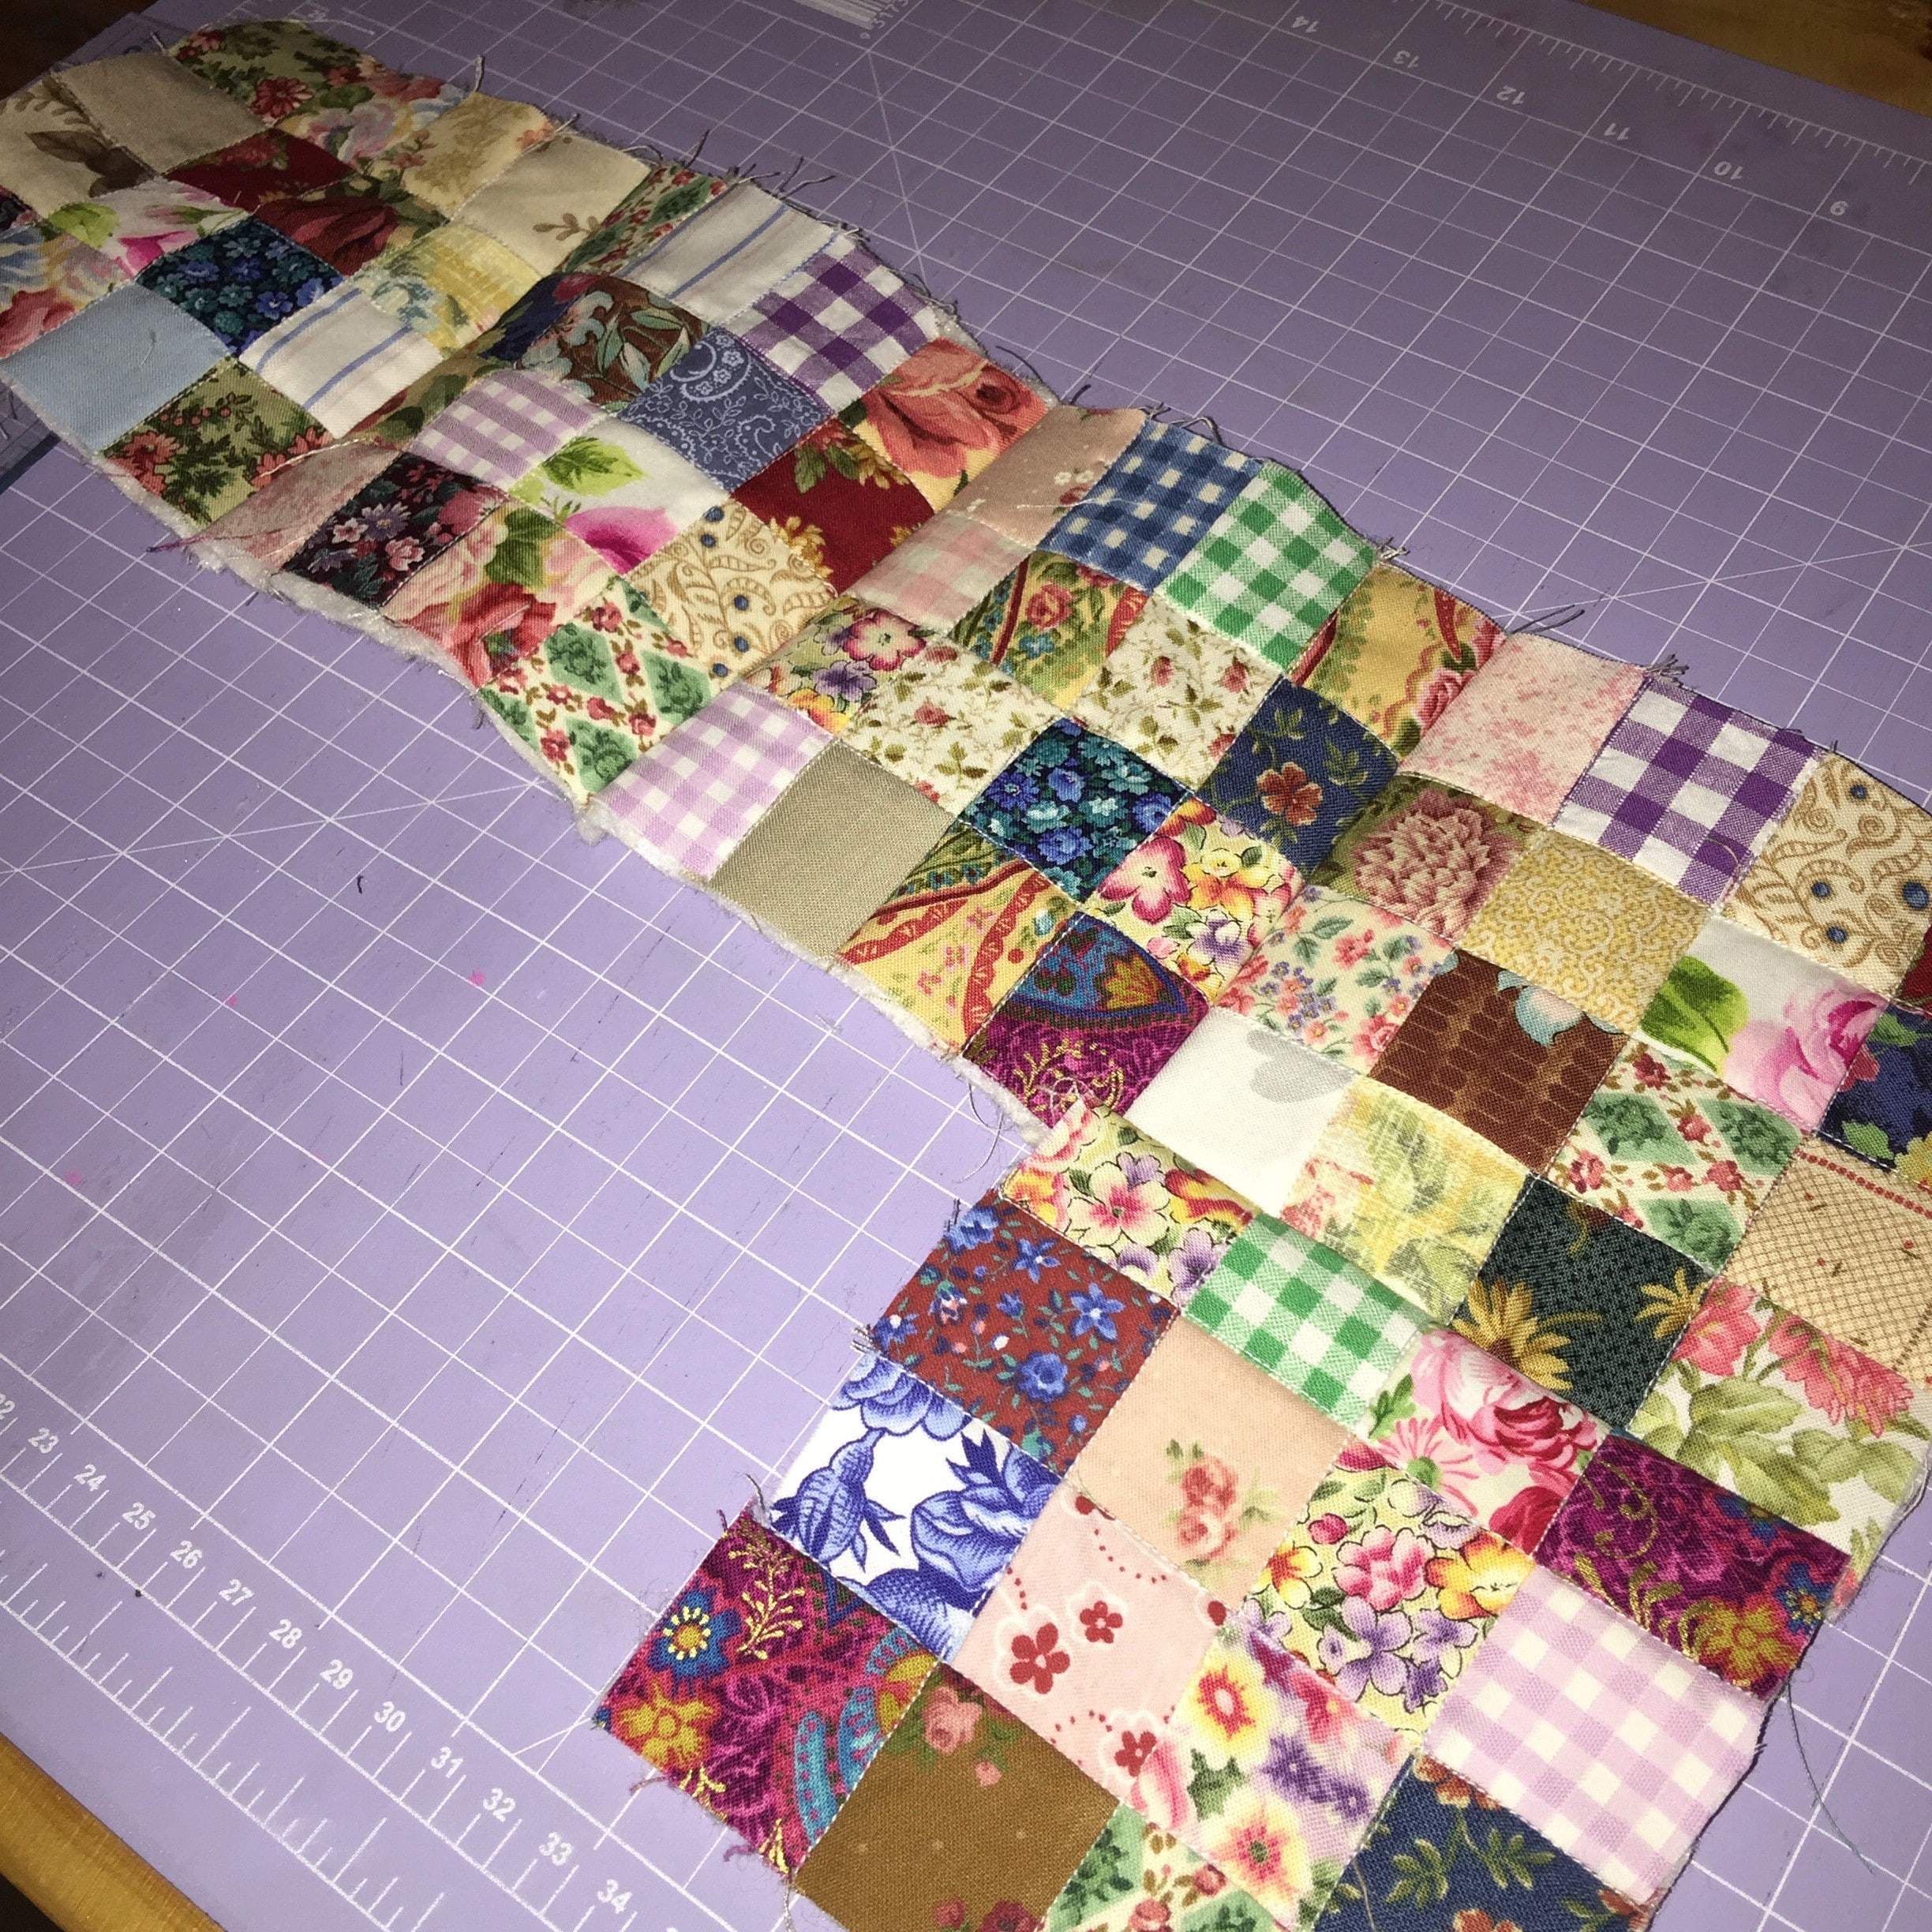
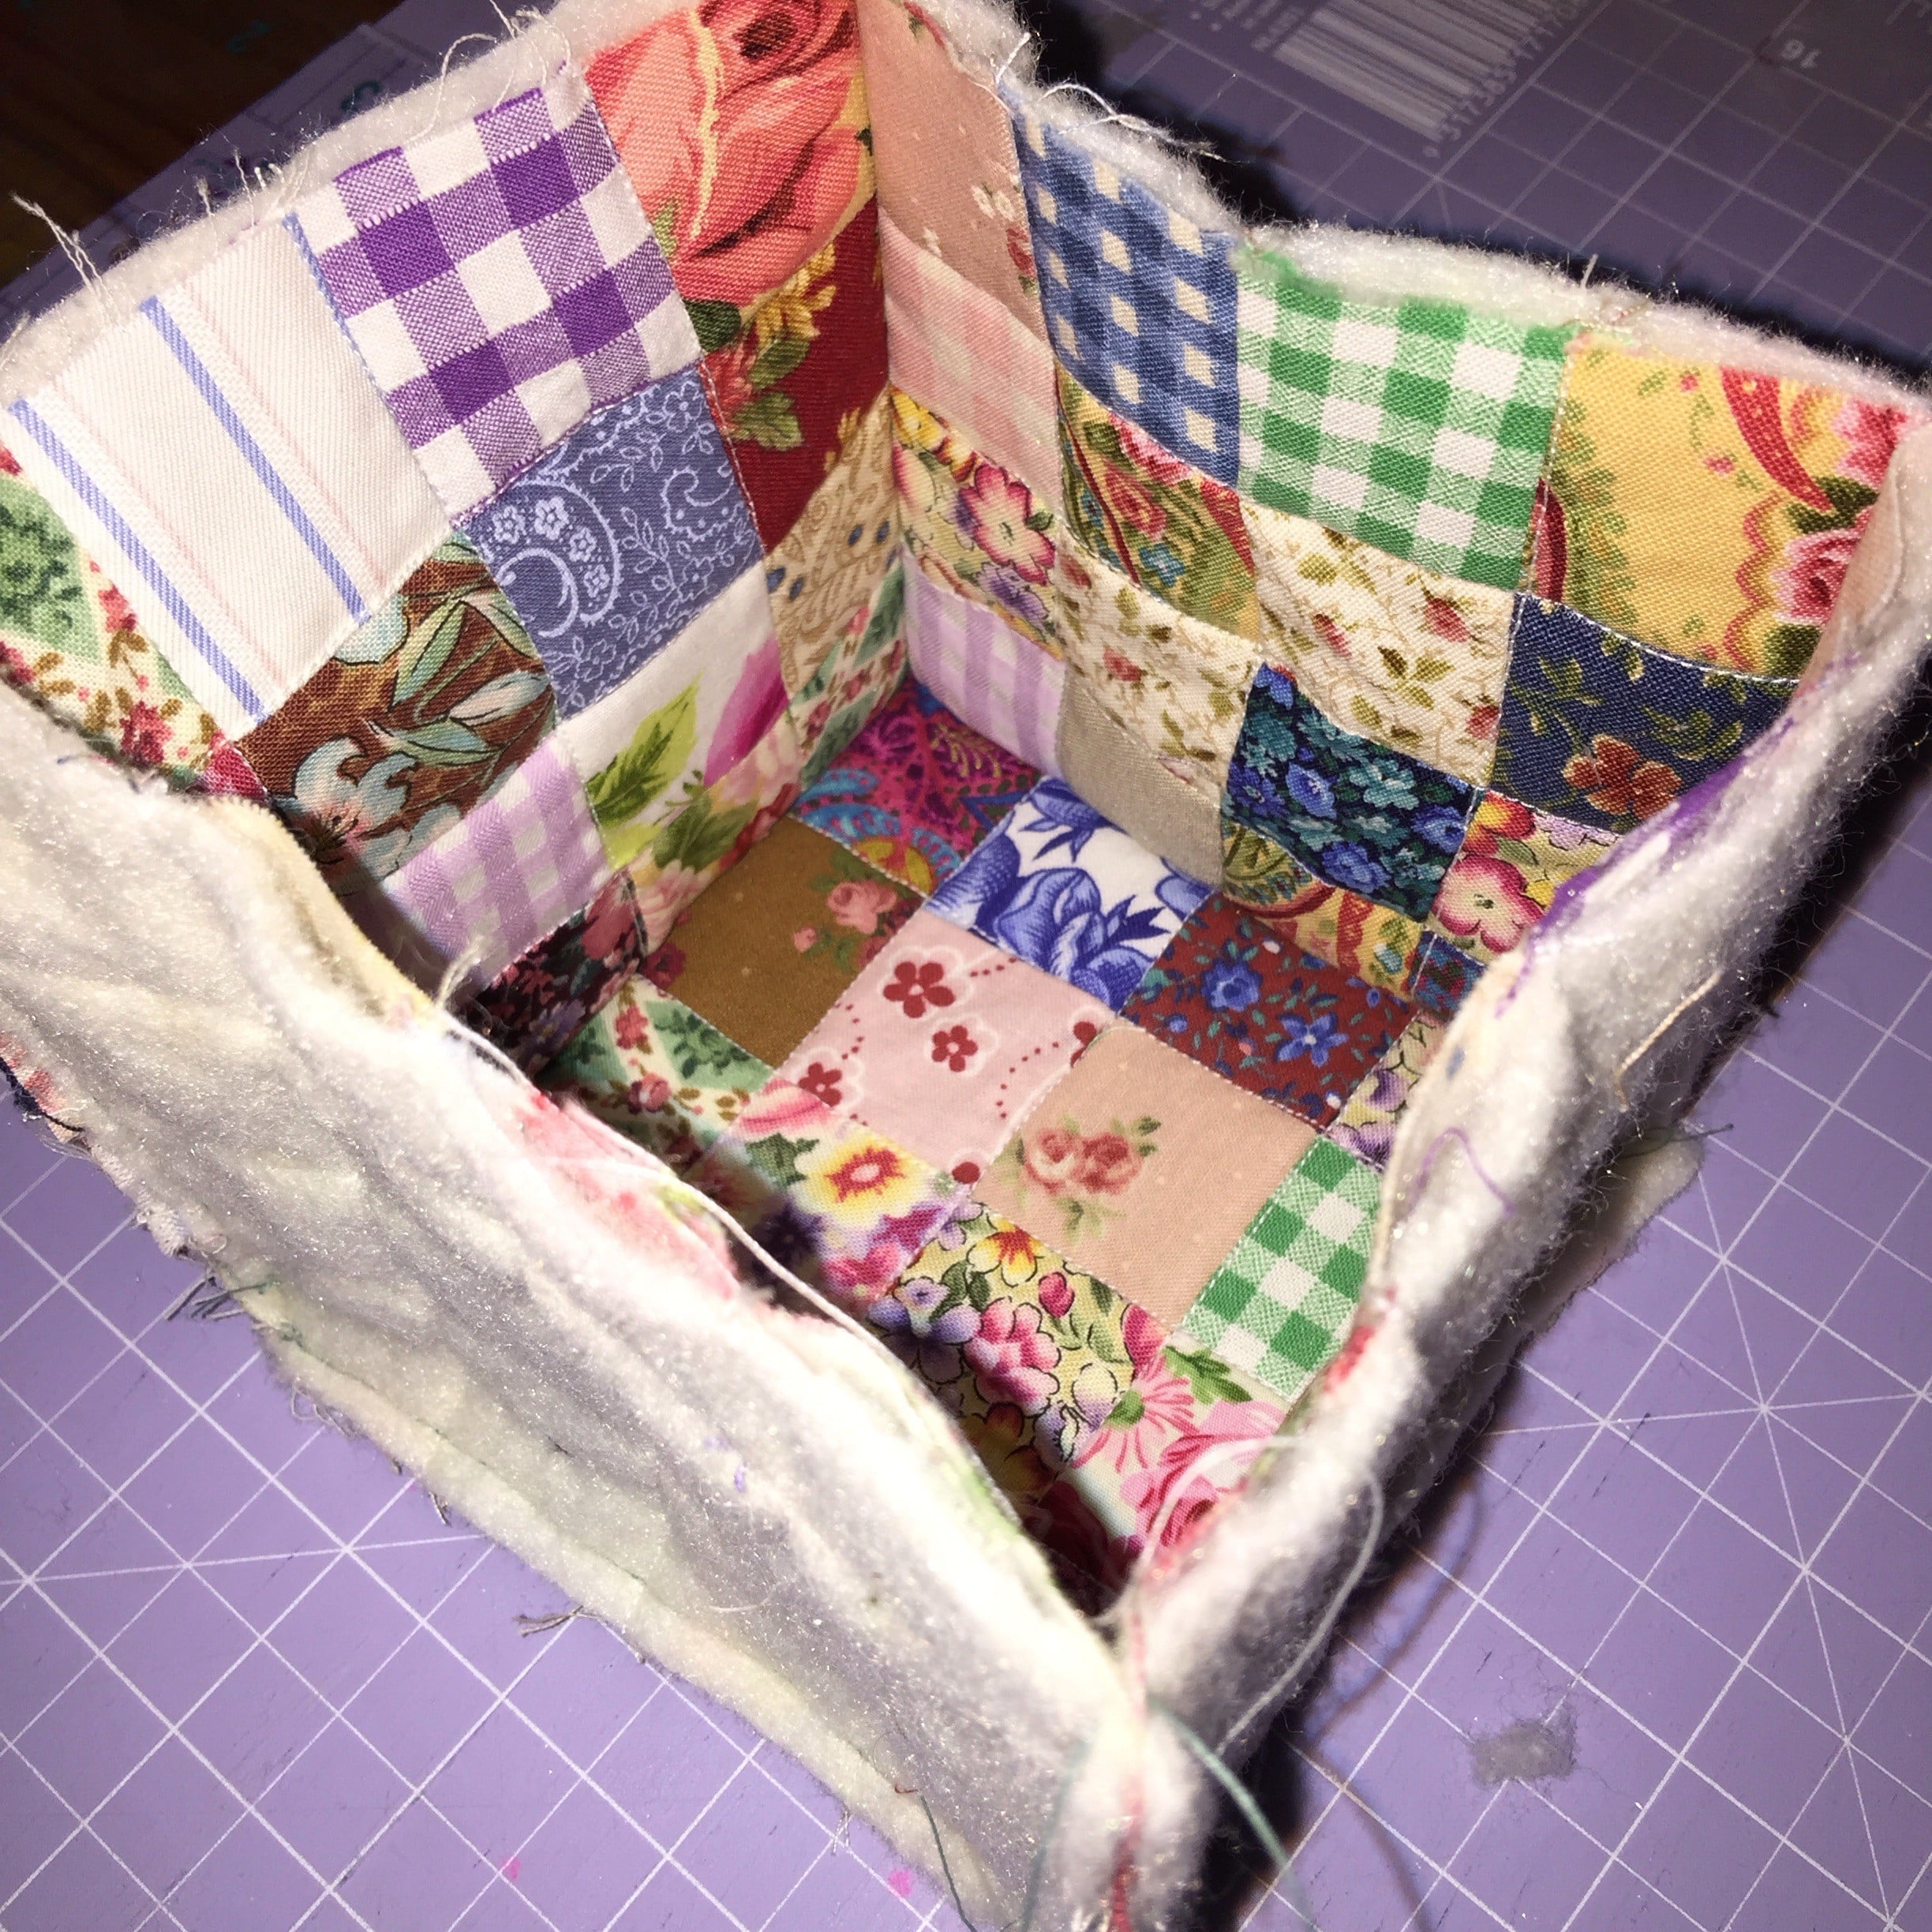
To assemble the basket. Sew four of the quilted blocks right sides together in a row to make the sides of the basket. Stop sewing and then back-stitch 1/4″ from the bottom of each seam. Do not sew to the end.
Take the last block and place at the base of the row, so it looks like an L shape.
Begin stitching 1/4″ from the end of the block. Stop sewing 1/4″ from the end of the seam. Back stitch to secure. Align the next side square with the next side of the base. Now the basket will begin to look like a cube.
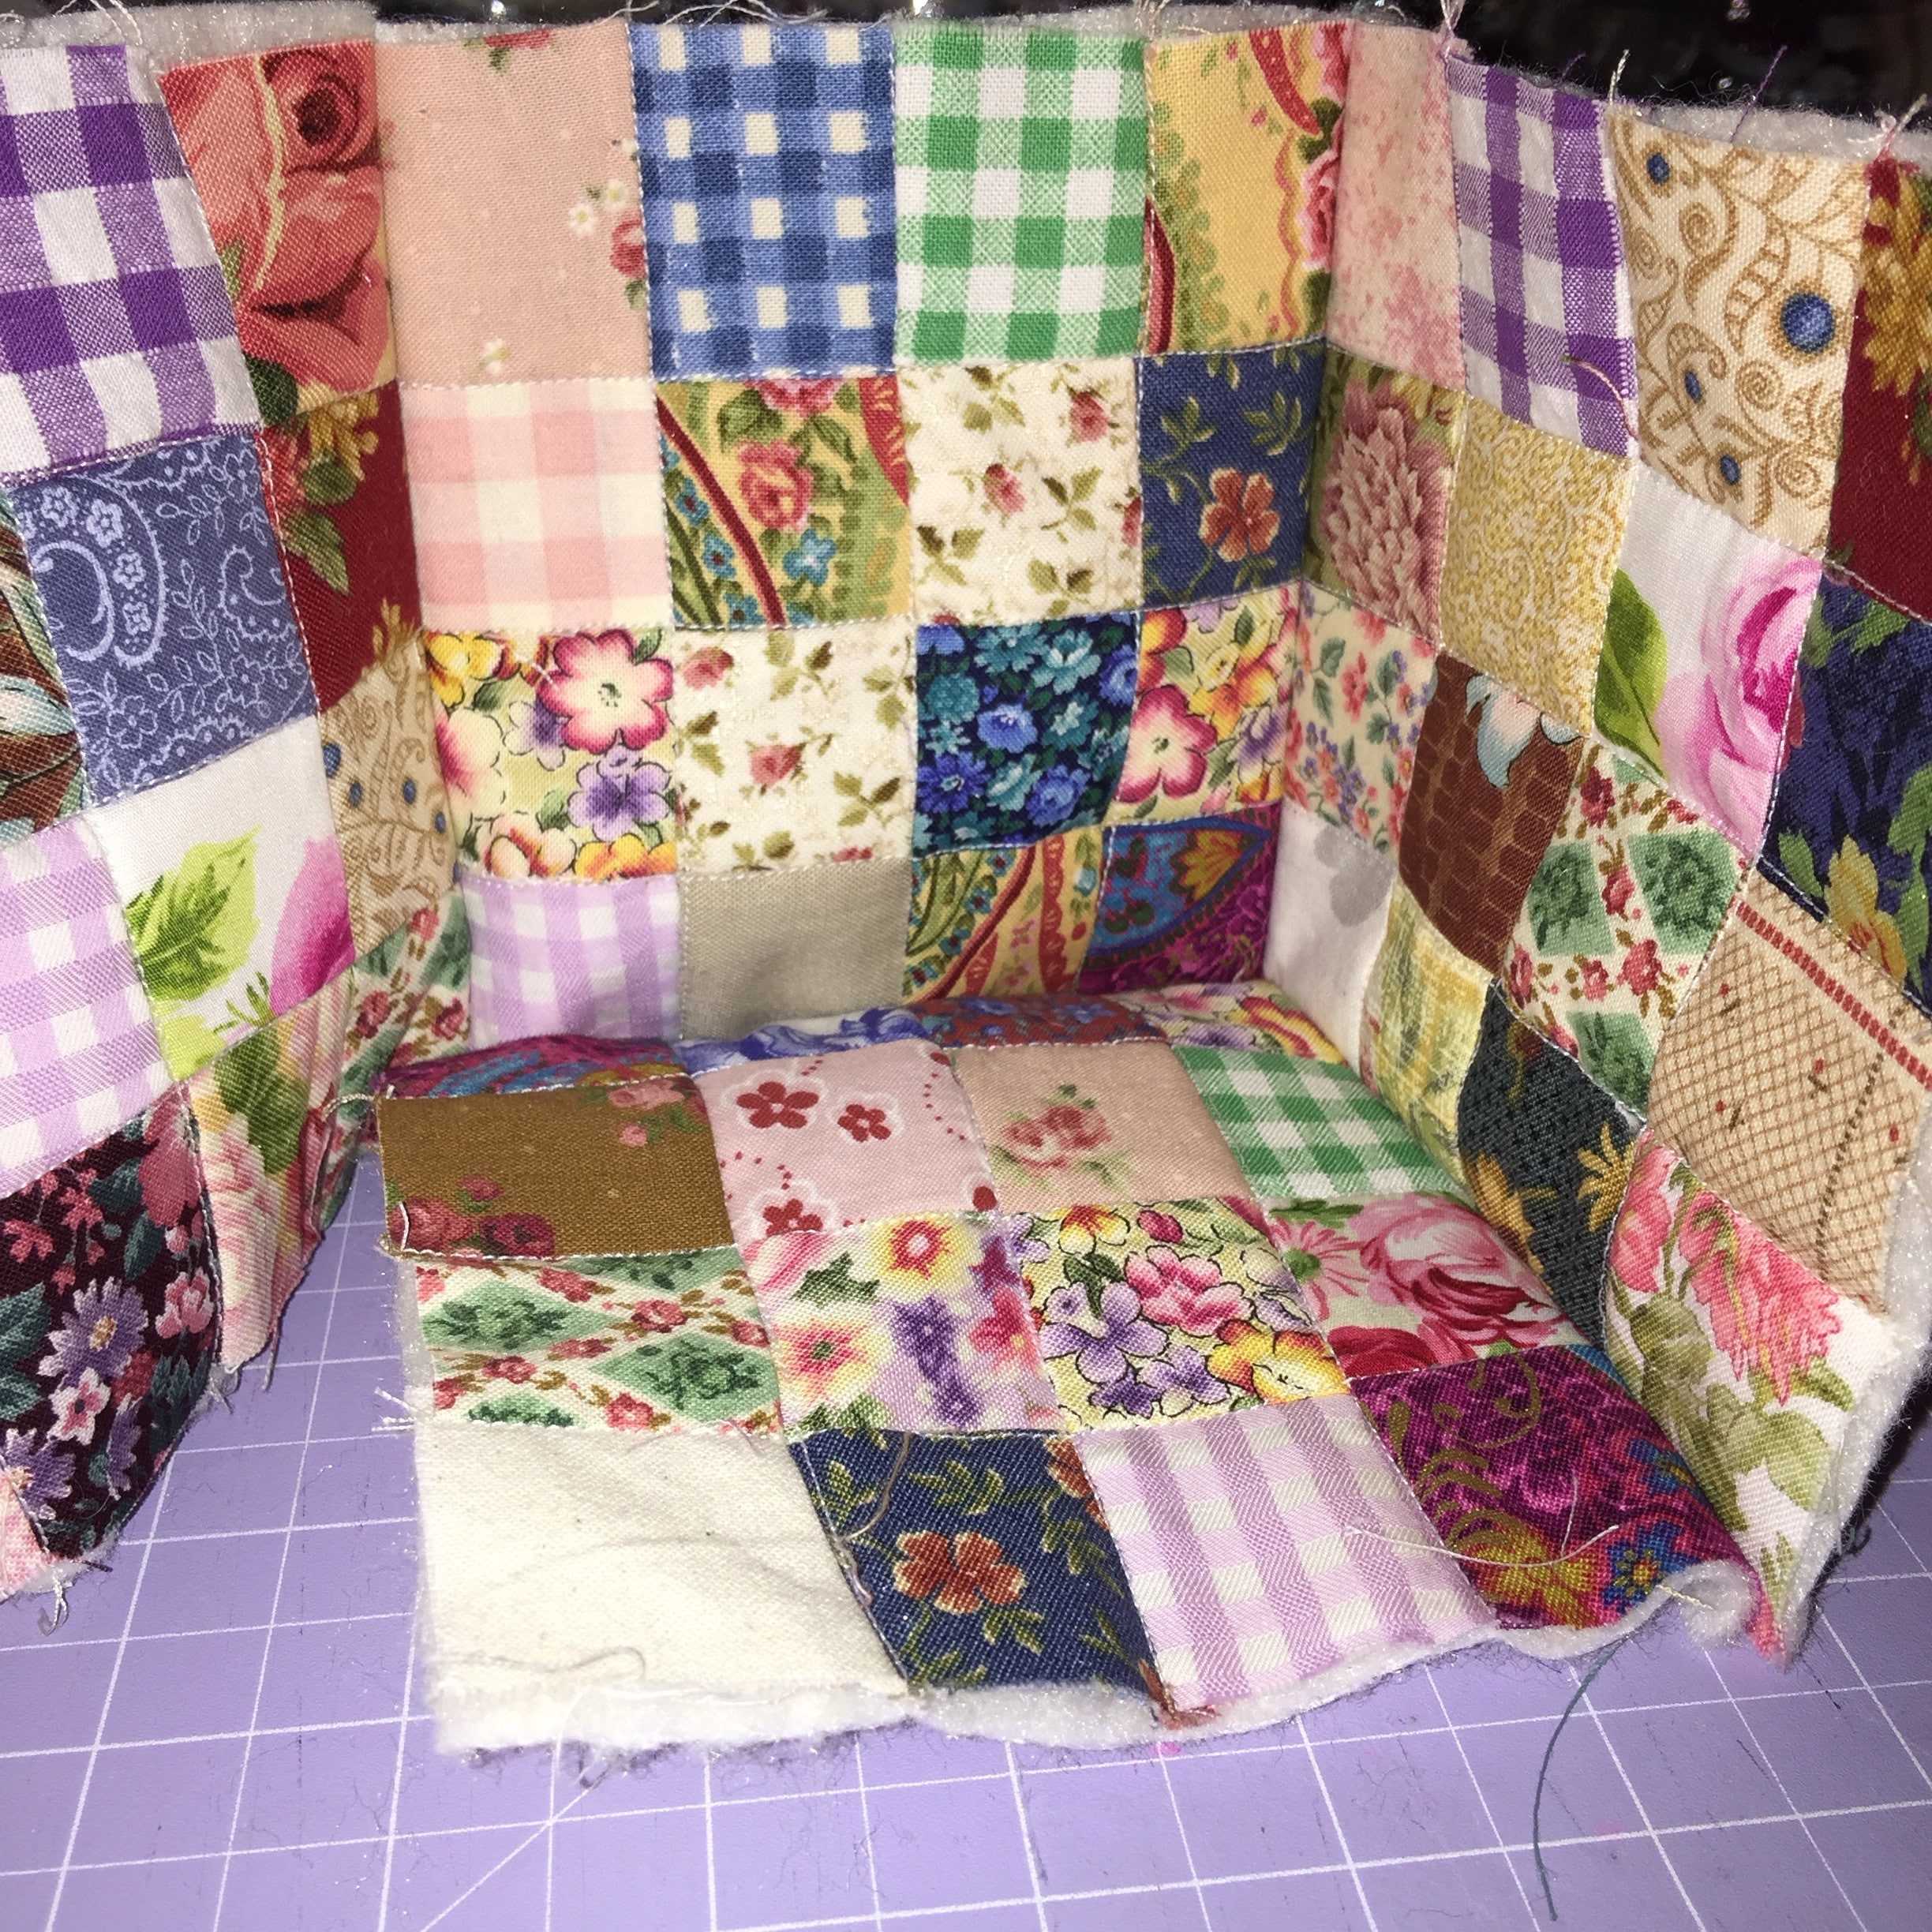
Continue sewing the base square in the same manner until all sides are attached. Sew the last side seam from the top edge to the bottom to complete.
To make the lining, take the 5 x matching squares and sew together like the basket.
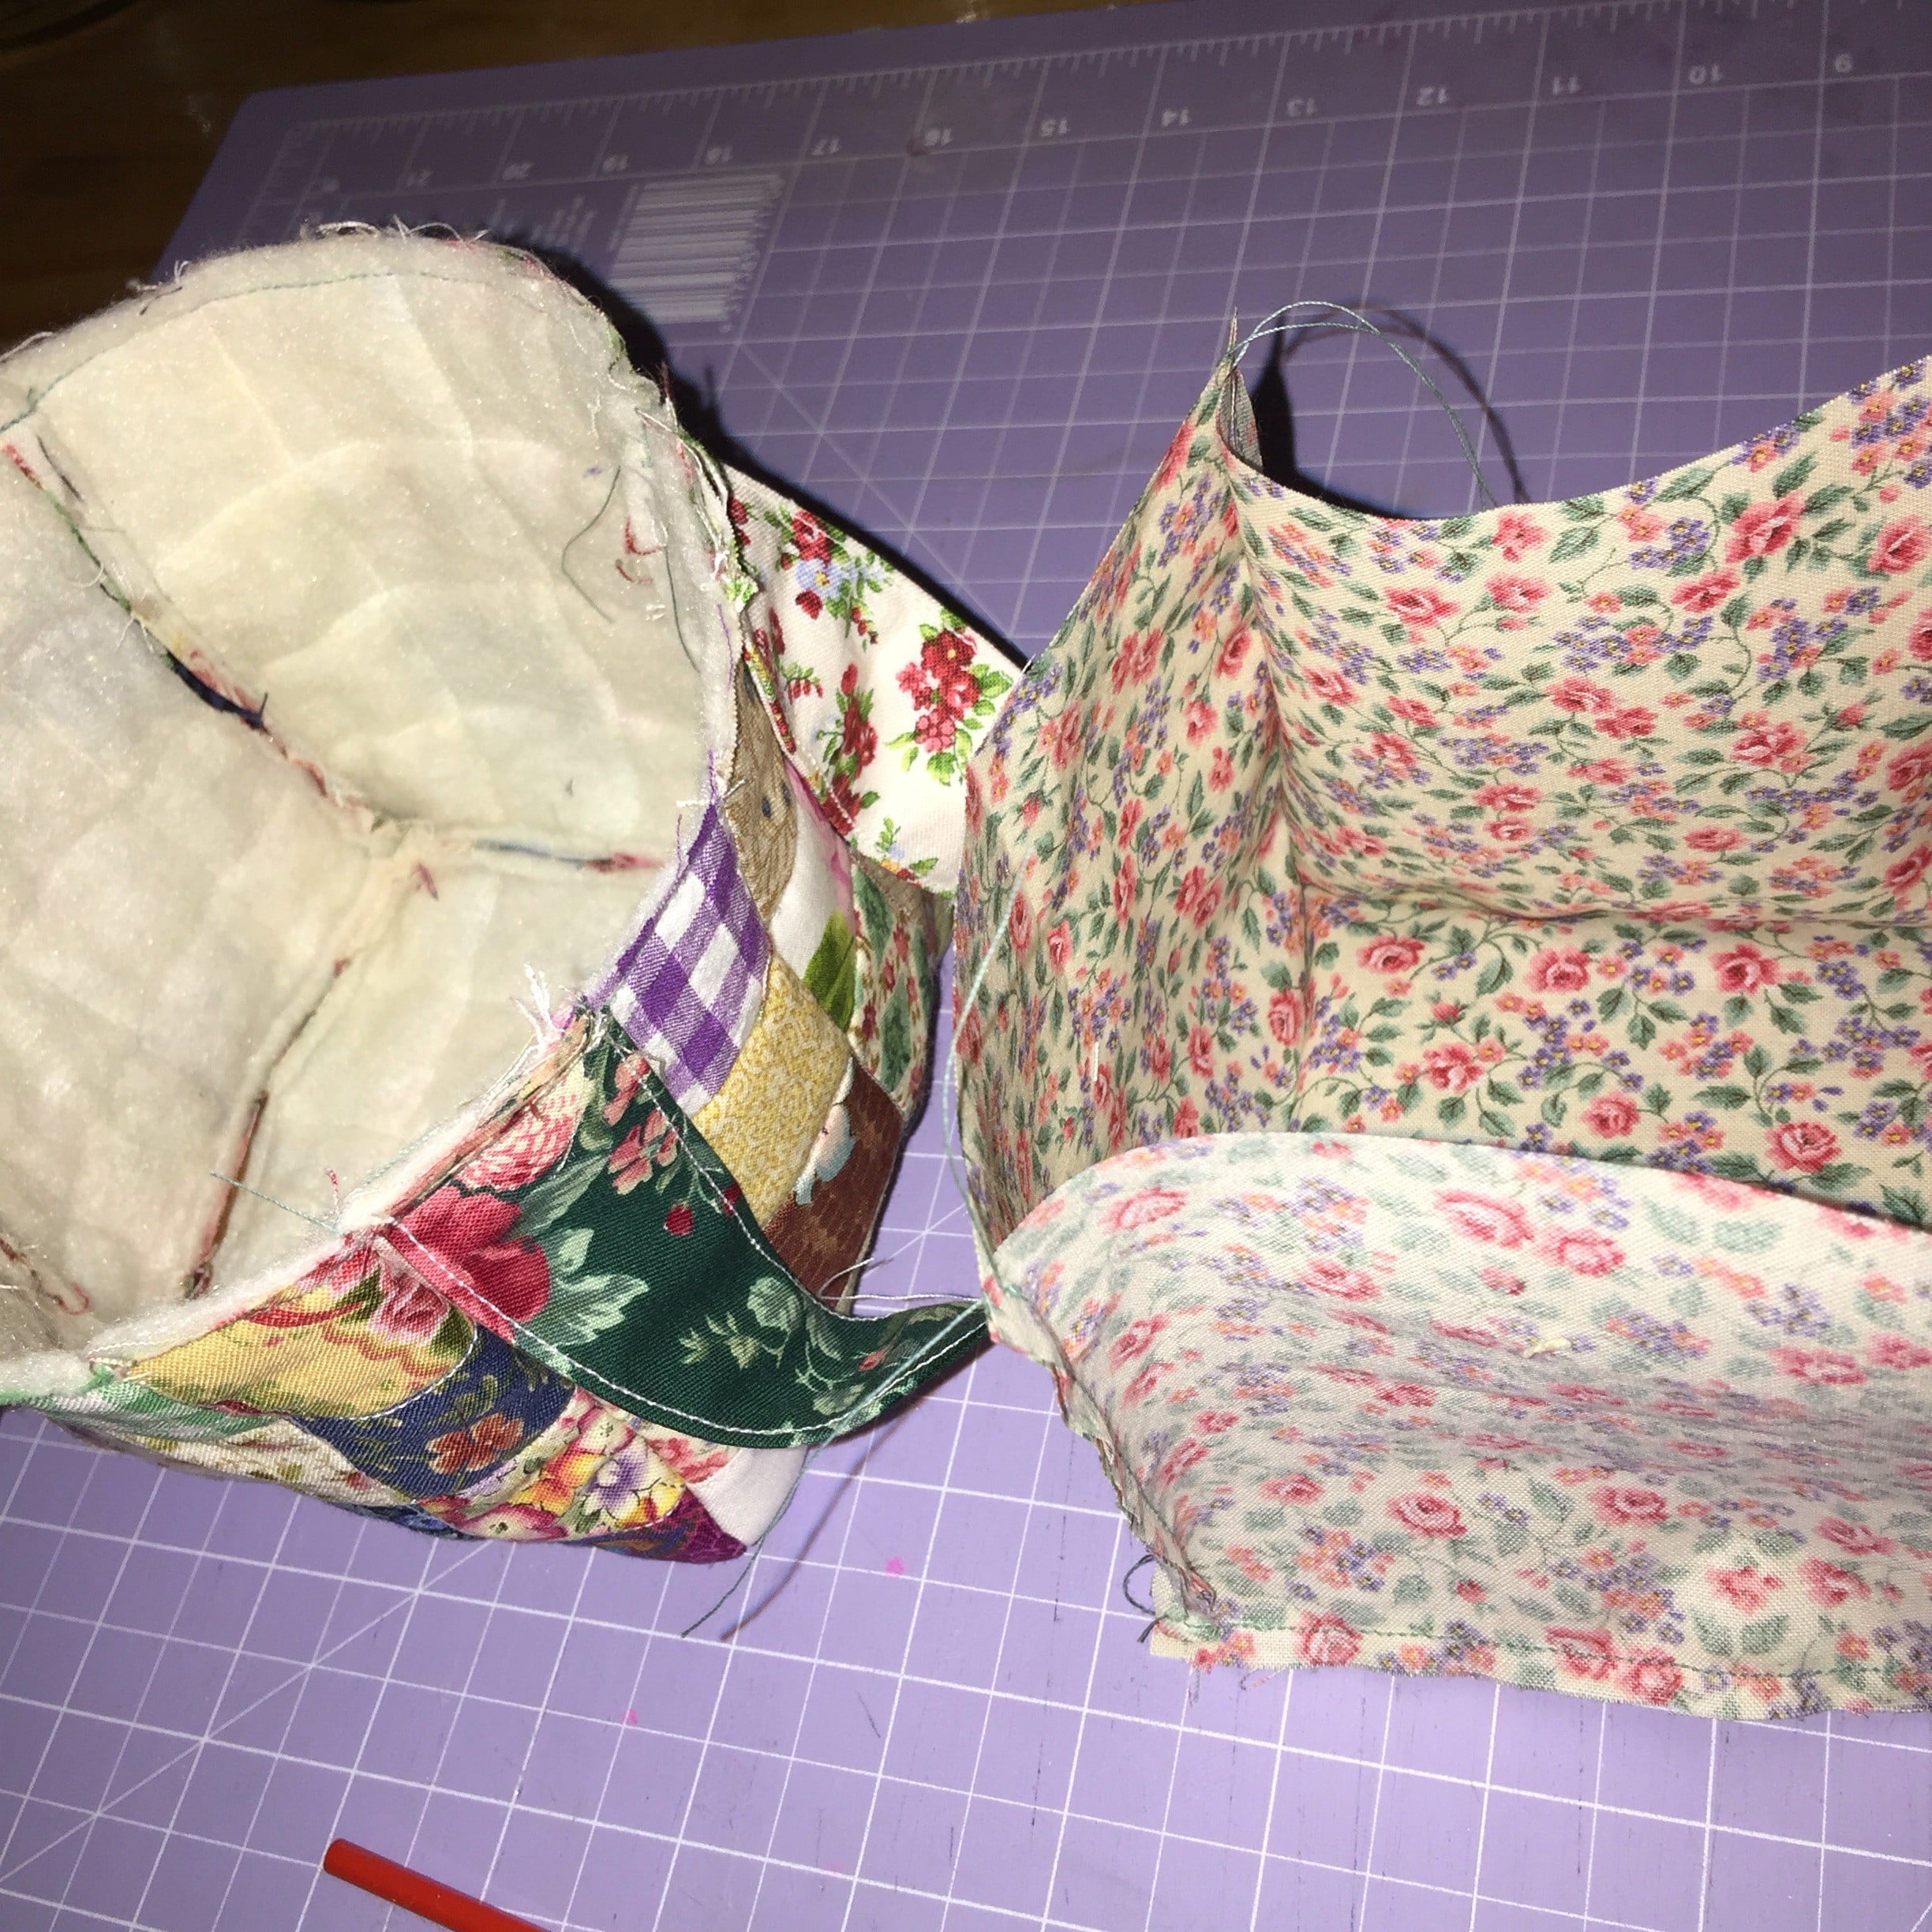
Turn the basket to the right side.
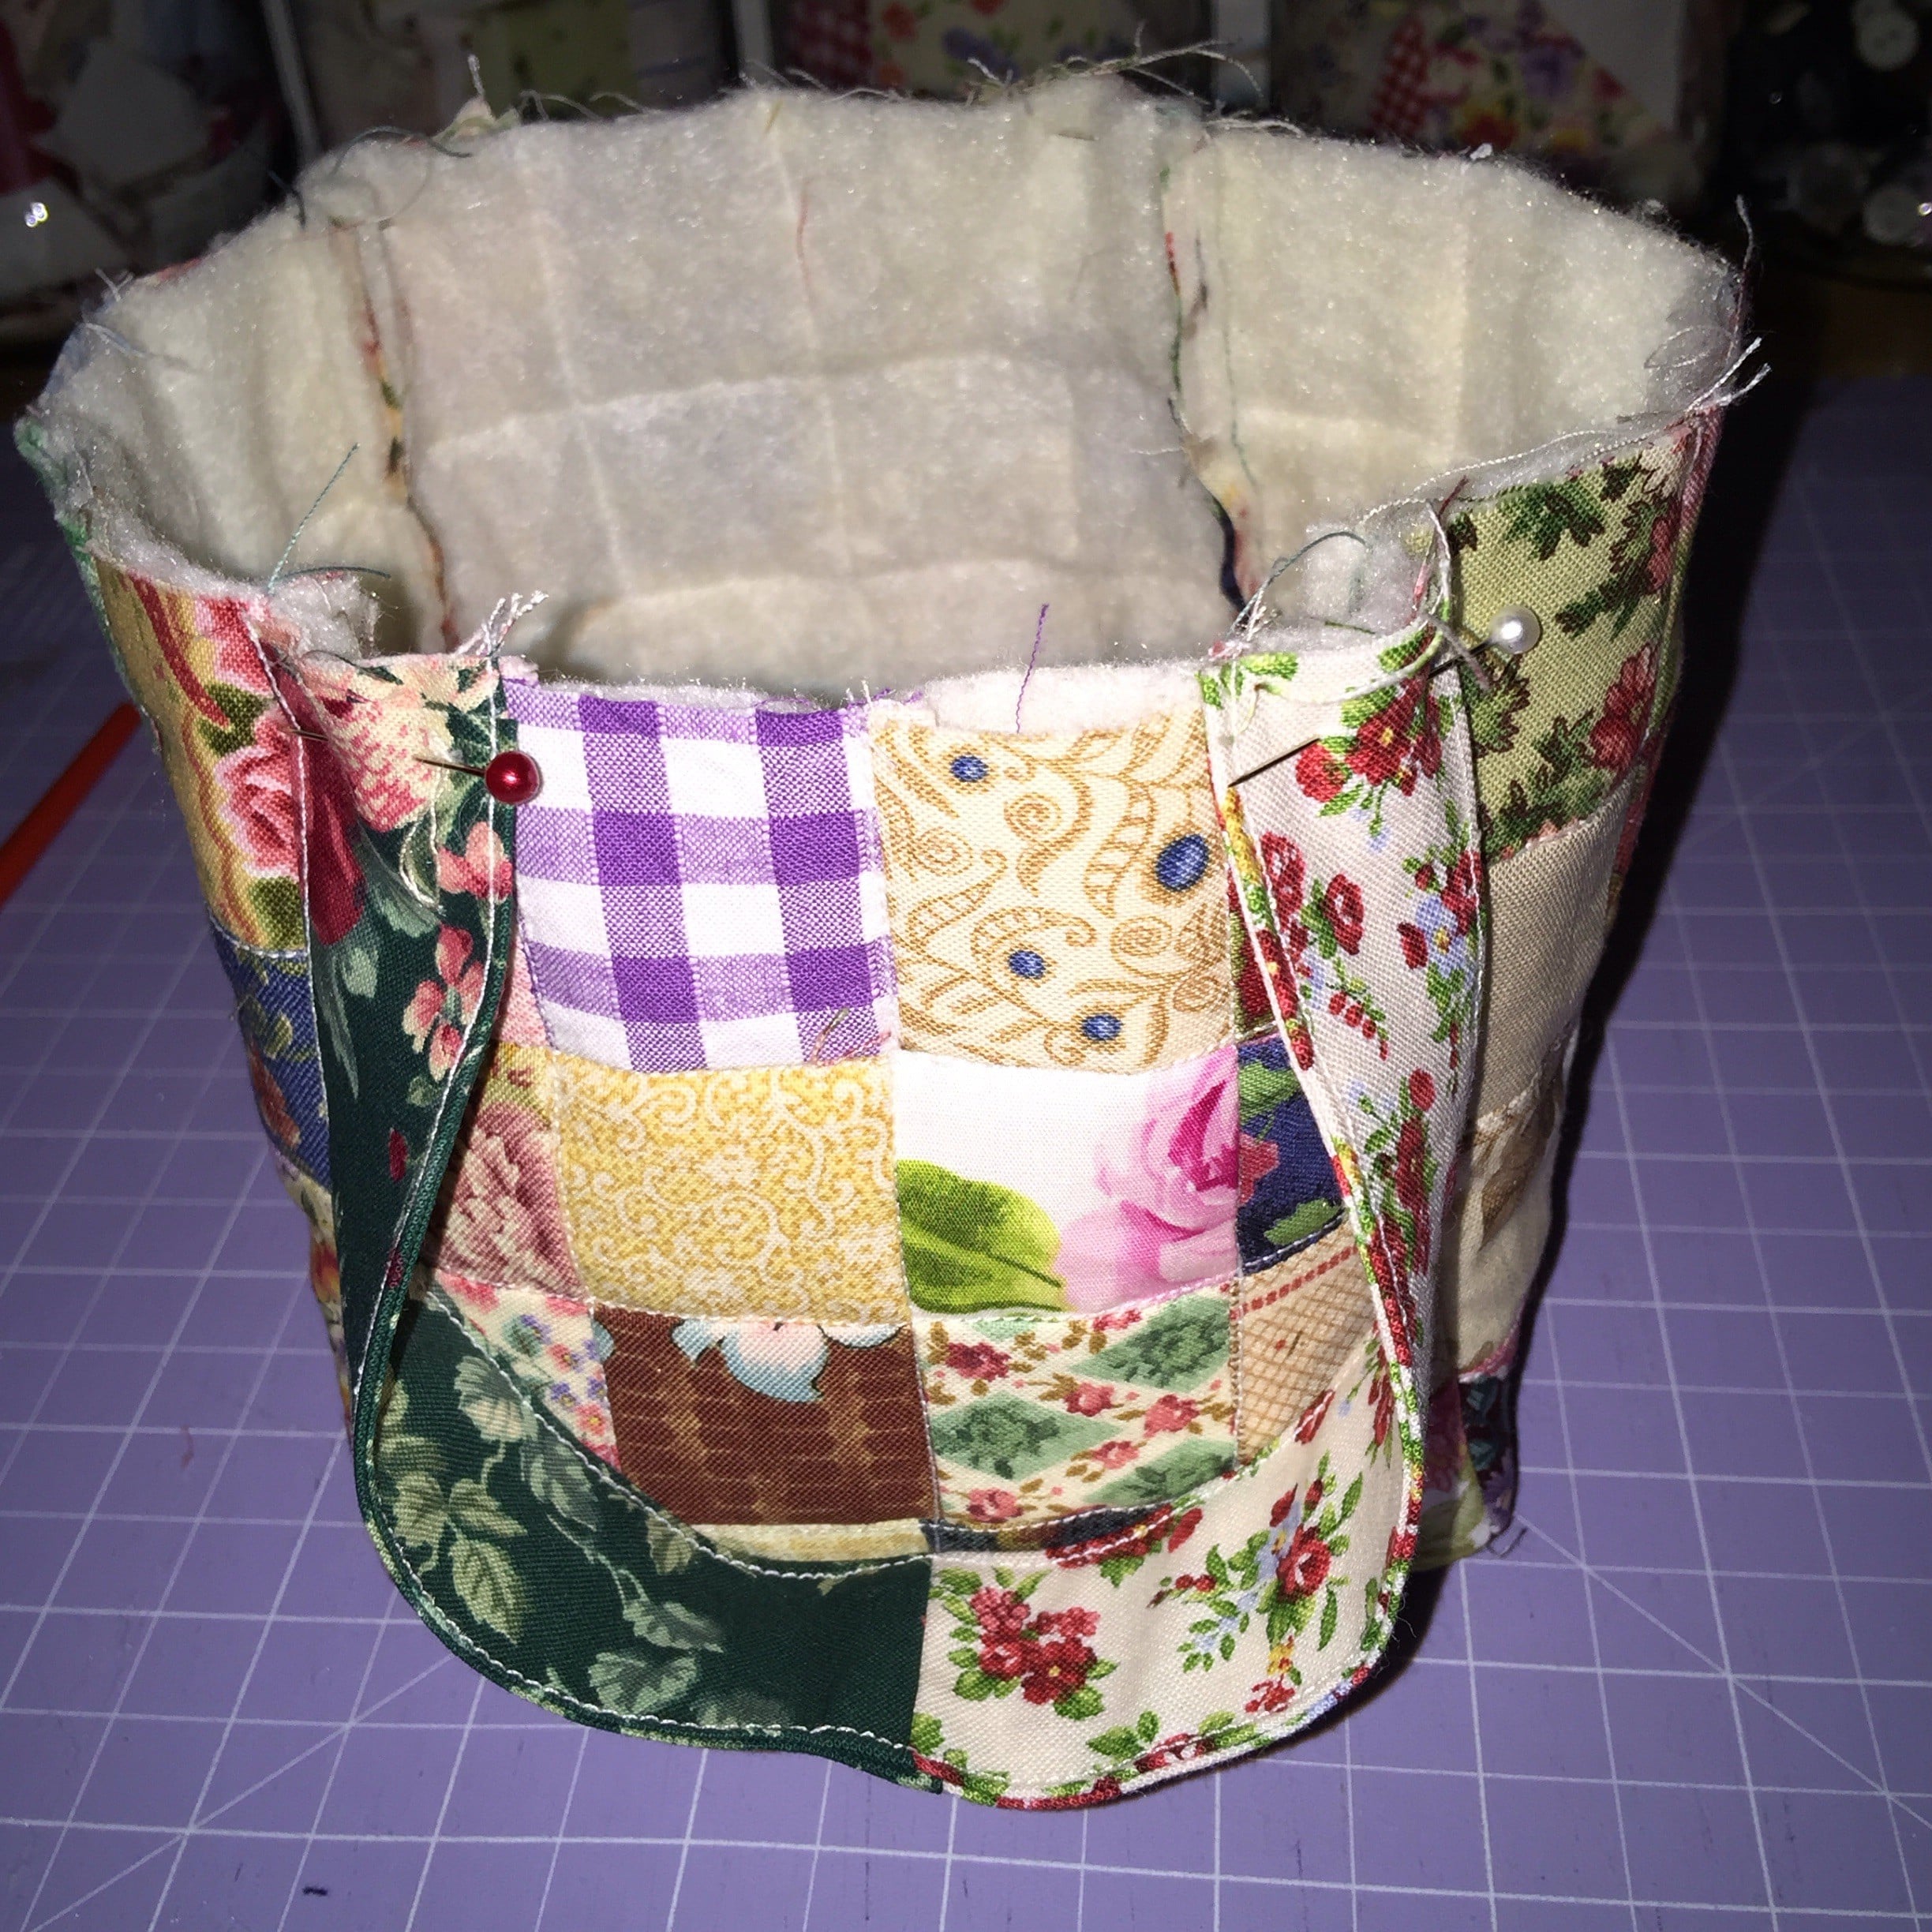
Attach the handles to the right side of two opposite sides of the basket, lining up the edges of the handles with the sides of the basket and the ends of the handles with the top of the basket.
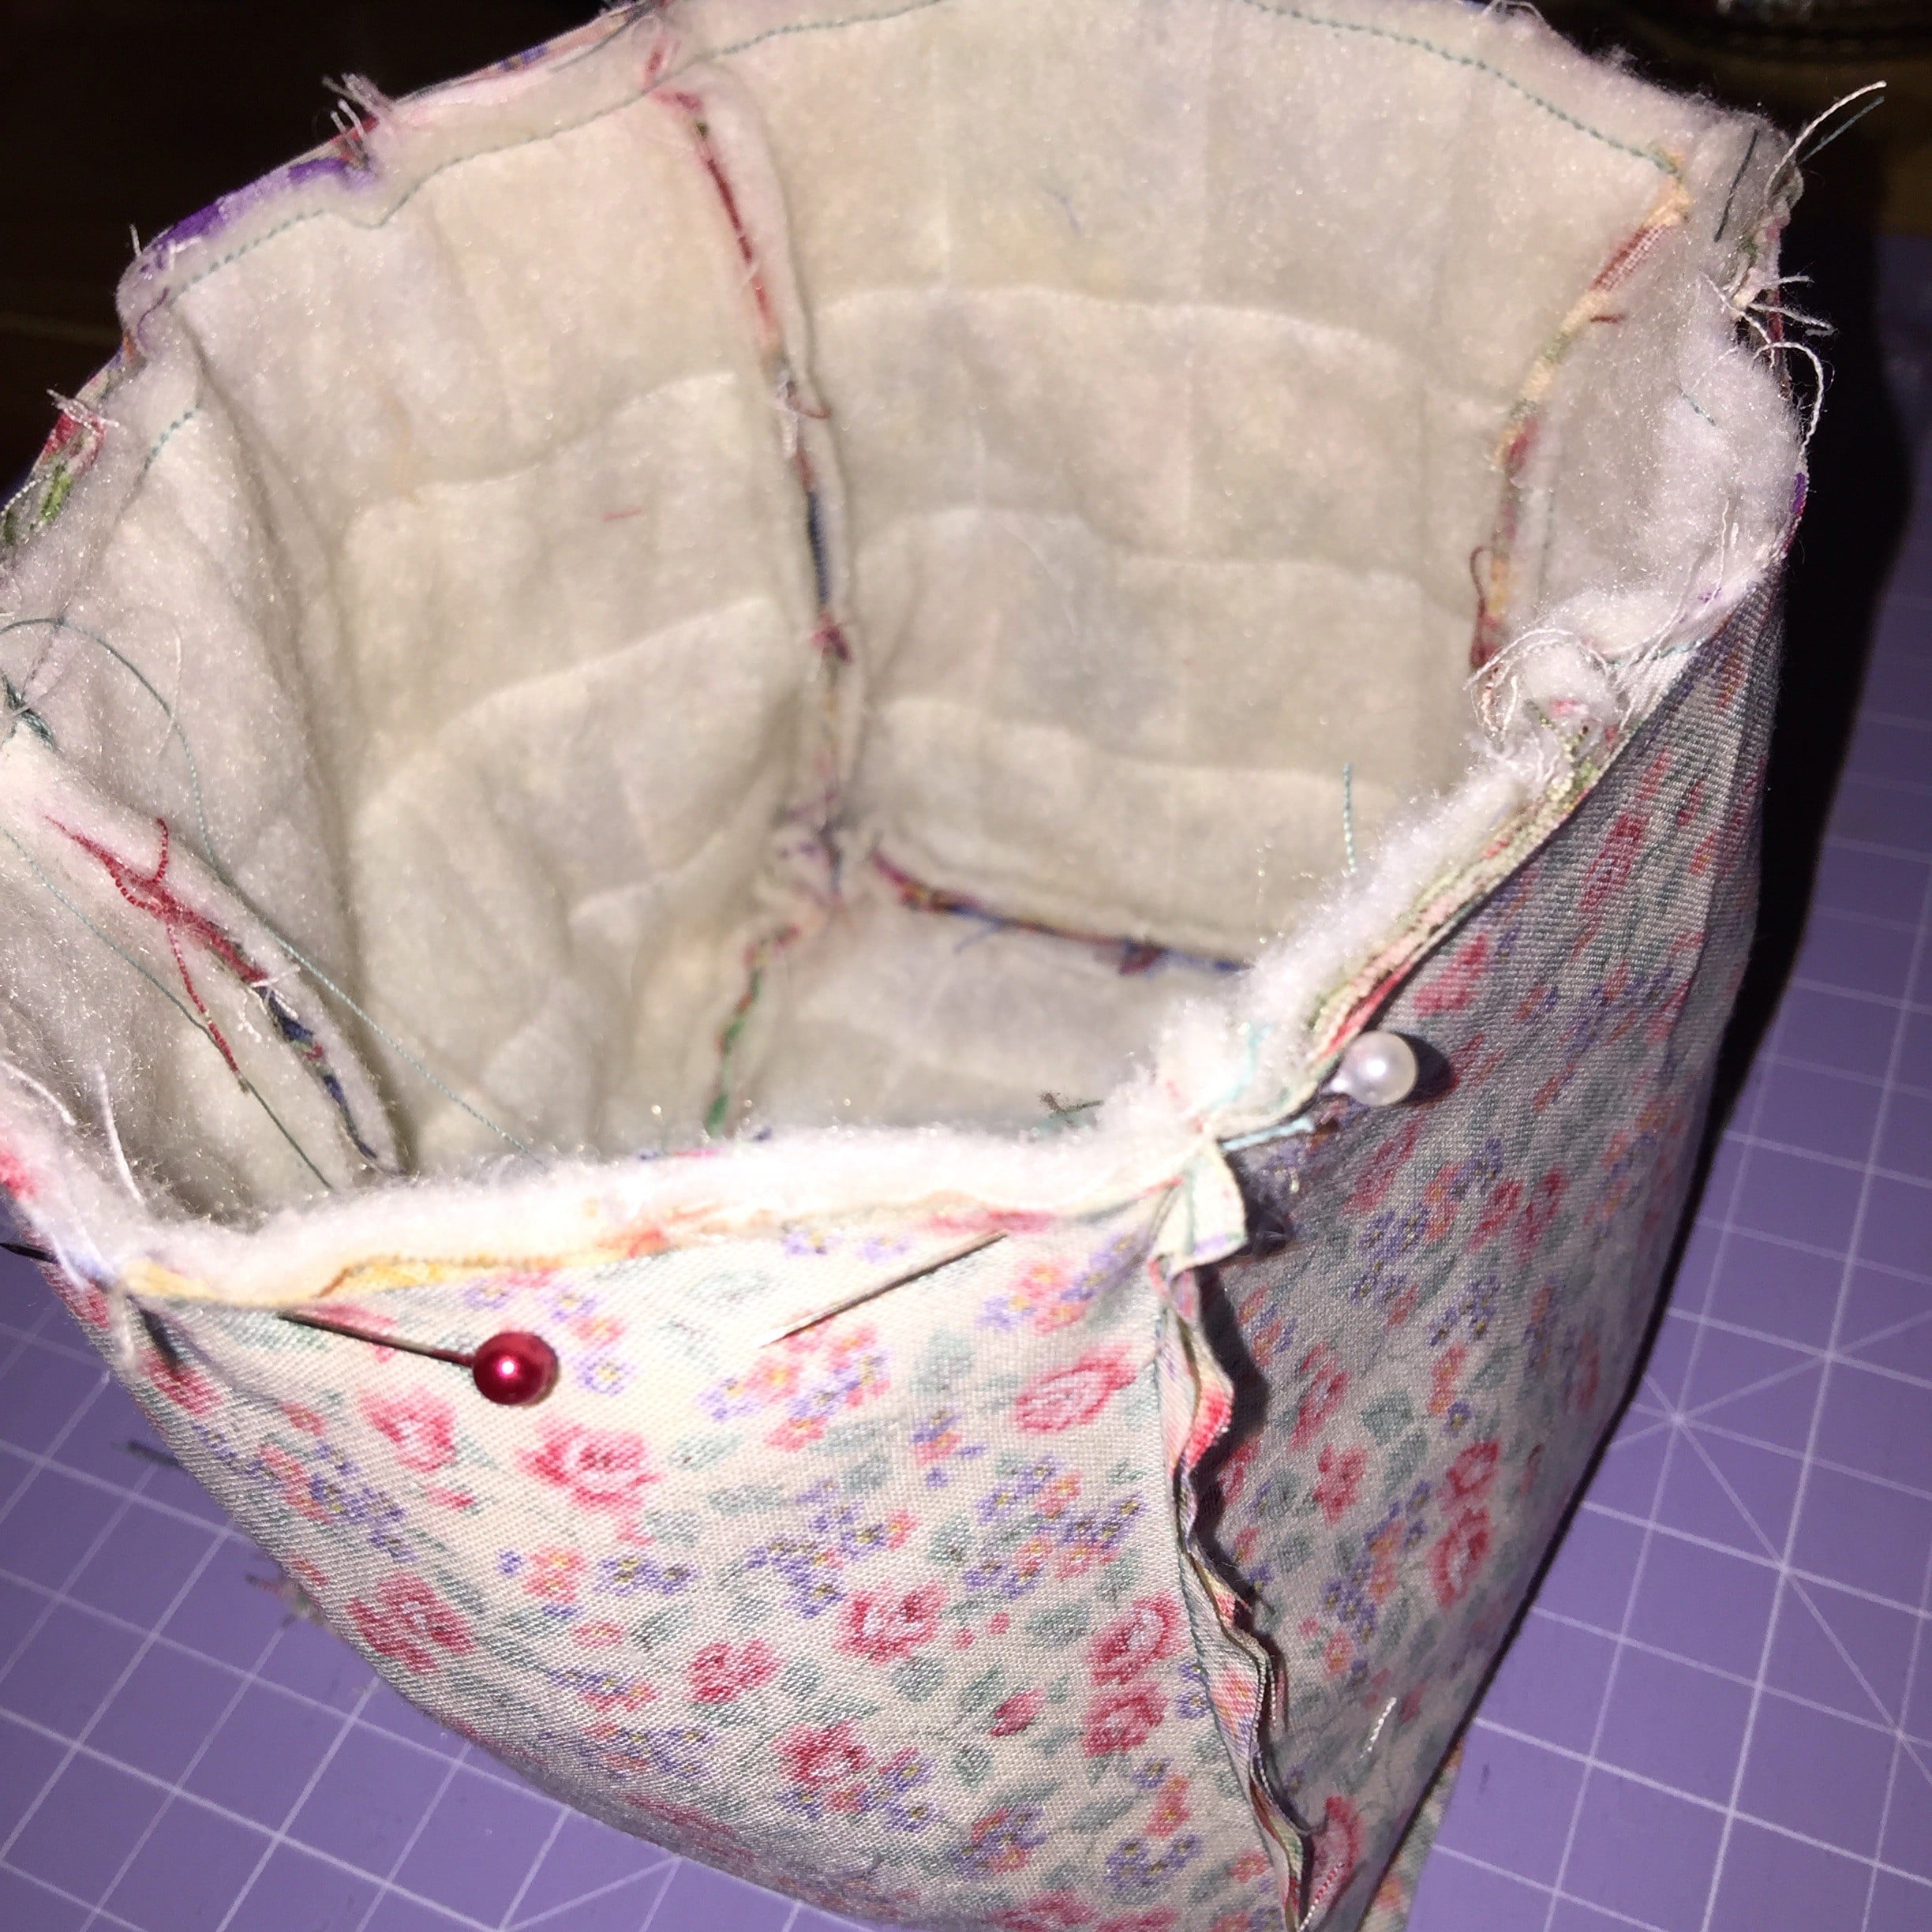
Set the basket into the lining with right sides together. Ensure all sides and seams are lined up. Beginning with a handle side, sew around the top of the basket, leaving the fourth side open. Turn to the right side. Use a chop stick to ease out the corners.
Pin the raw edges inside of the remaining opening, then sew close to the edge around the top of the basket.
There is your pretty fabric basket.
If you enjoyed this post you may also like,
Quilted Scrap Fabric Basket Upsize It Tutorial
Or this one, which can be closed,
Little Origami Patchwork Bag Tutorial
And if you are up for smaller scraps and a bigger challenge then….
Have a great scrappy day!
Susie
© Susan Stuklis 2015